Framing and composition are vital in making animations, videos and films. Every GIF or clip of a movie is made up of a series of frames. A video is nothing more than a file that contains all of the frames and plays them one after the other. It is difficult to extract frames from video. However, there are few options available and in this article, we will teach you how to capture frame from video in Windows 10.

Here, we have shown the methods to extract and capture frame from video.
Method 1: Take a Screenshot
This is by far the simplest way to extract frames from the video. Here is how you can do it.
1. Play the video on your preferred video player and pause it at the frame you want to capture.
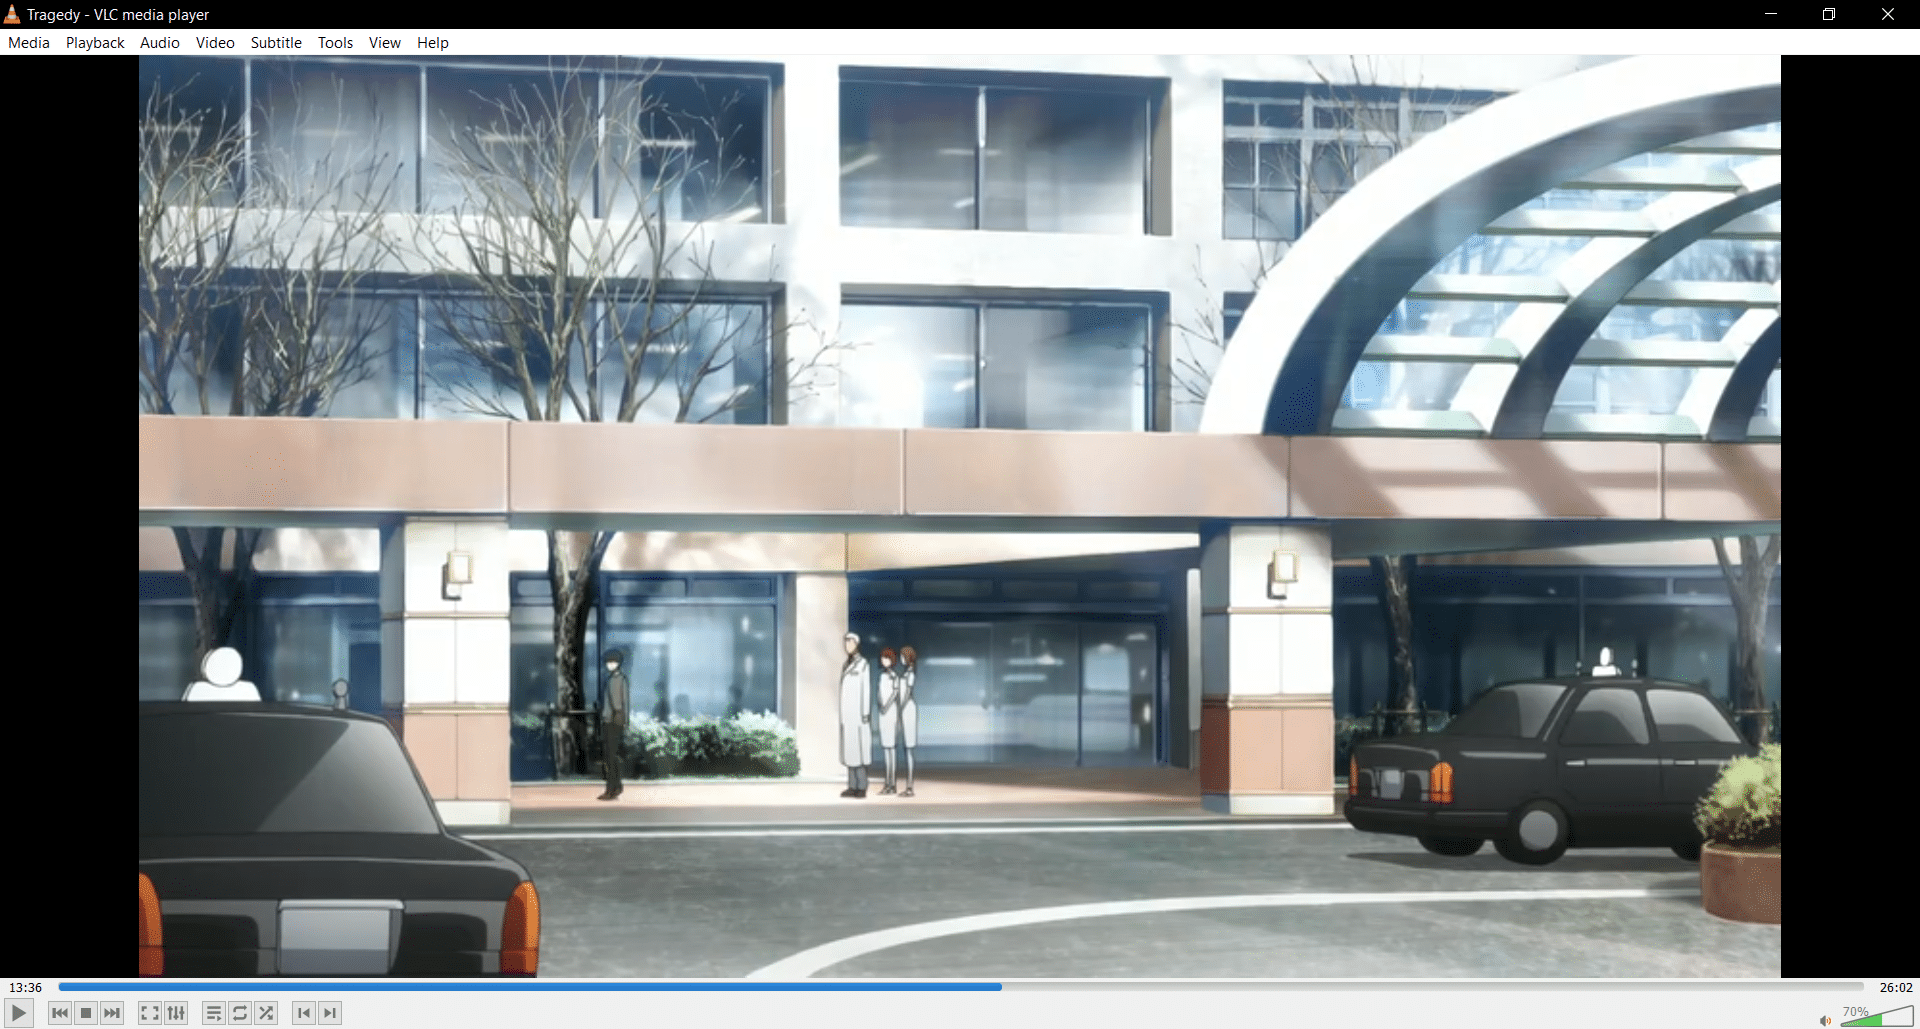
2. Capture a screenshot by pressing Win + Prntscrn keys together. Make sure the video player controls are hidden.
3. Go to the default pictures folder i.e Pictures > Screenshots and there you will find the captured frame in .png format.

4. You can crop or edit it further in Paint or Microsoft photos if you desire.
Note 1: Print screen key is represented by various letters like Print Scrn, Prnt Scrn, Prt Scrn, Prt Scn, Prt Scr, Pr Sc or PS.
Note 2: You can also use third-party apps like Greenshot for taking screenshots on Windows.
Method 2: Use Movies & TV App
You can use the default Movies & TV app for taking screenshots and extract frames from video by following the steps below.
1. Open Movies & TV app and open video from which you wish to extract frames.
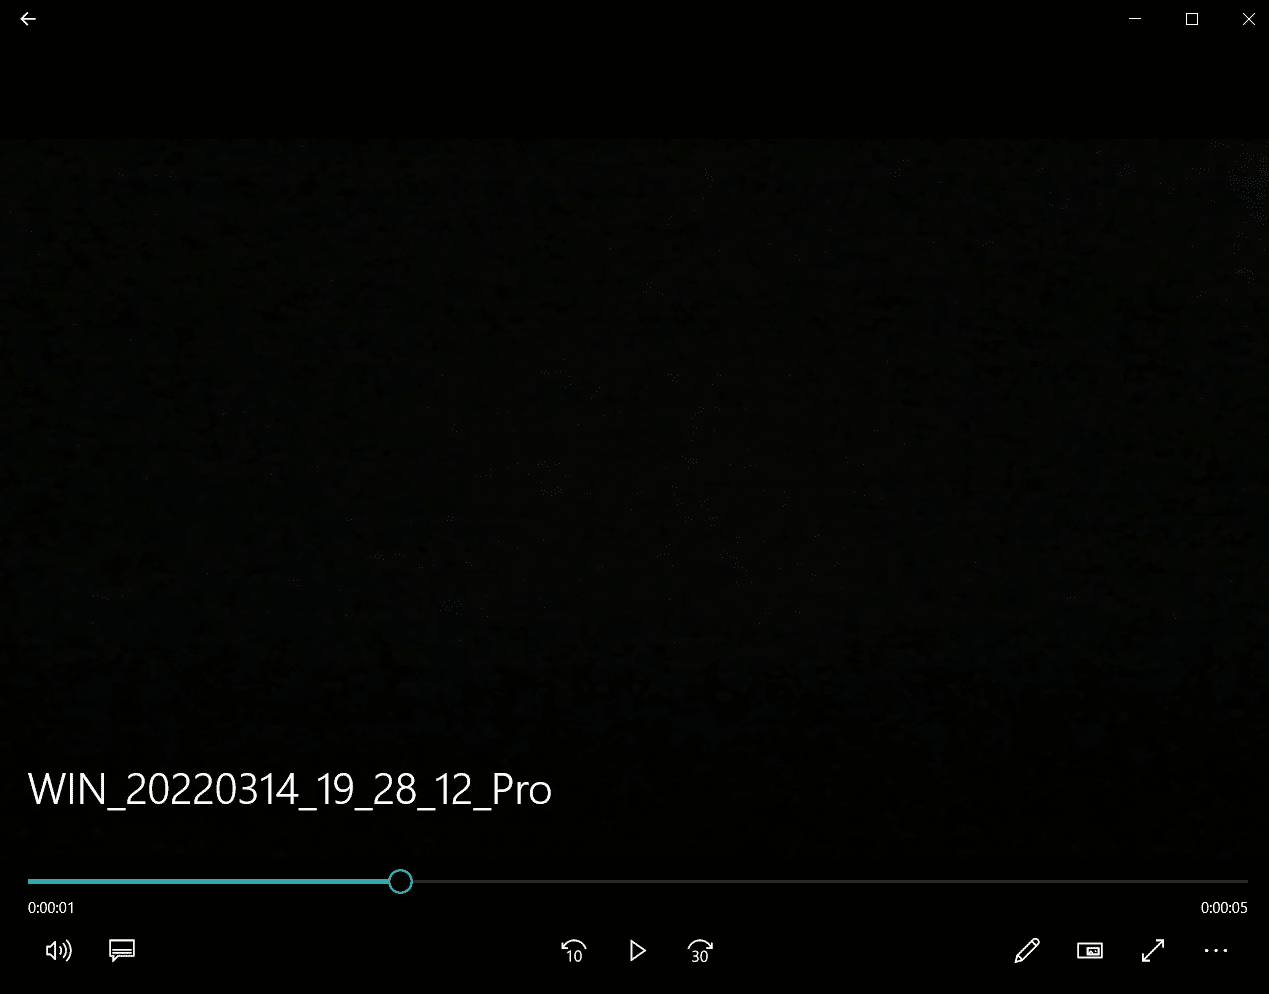
2. Go to the section from which you wish to extract a picture. Pause video.
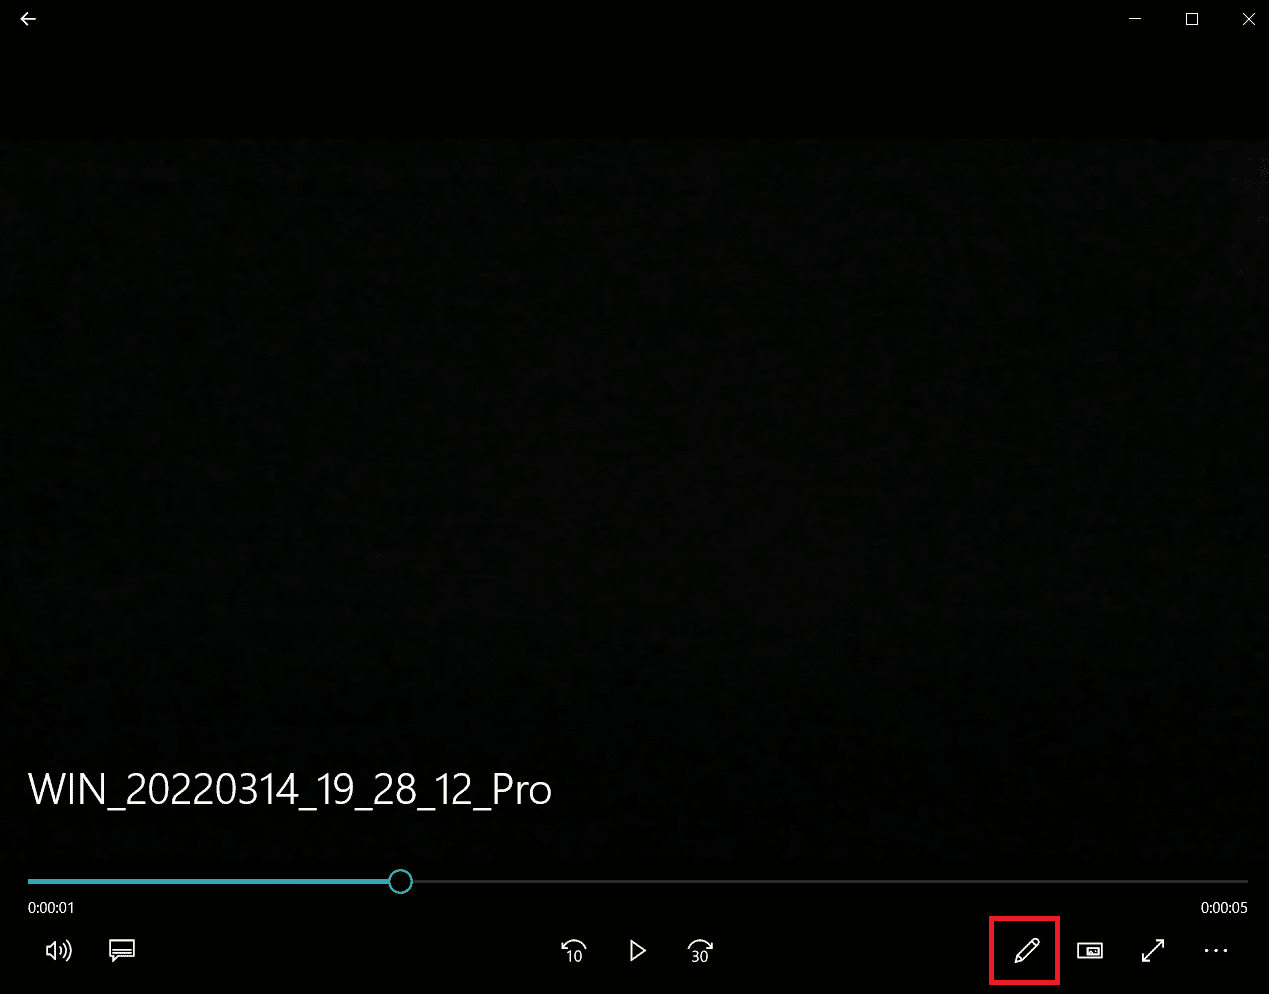
3. At the bottom right of the player, click Edit button that looks like a pencil.
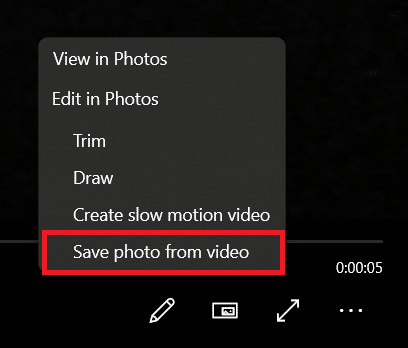
4. Select the Save photo from video option.
5. Photos application will open. Now, frame by frame, you can move back and forth using arrows.
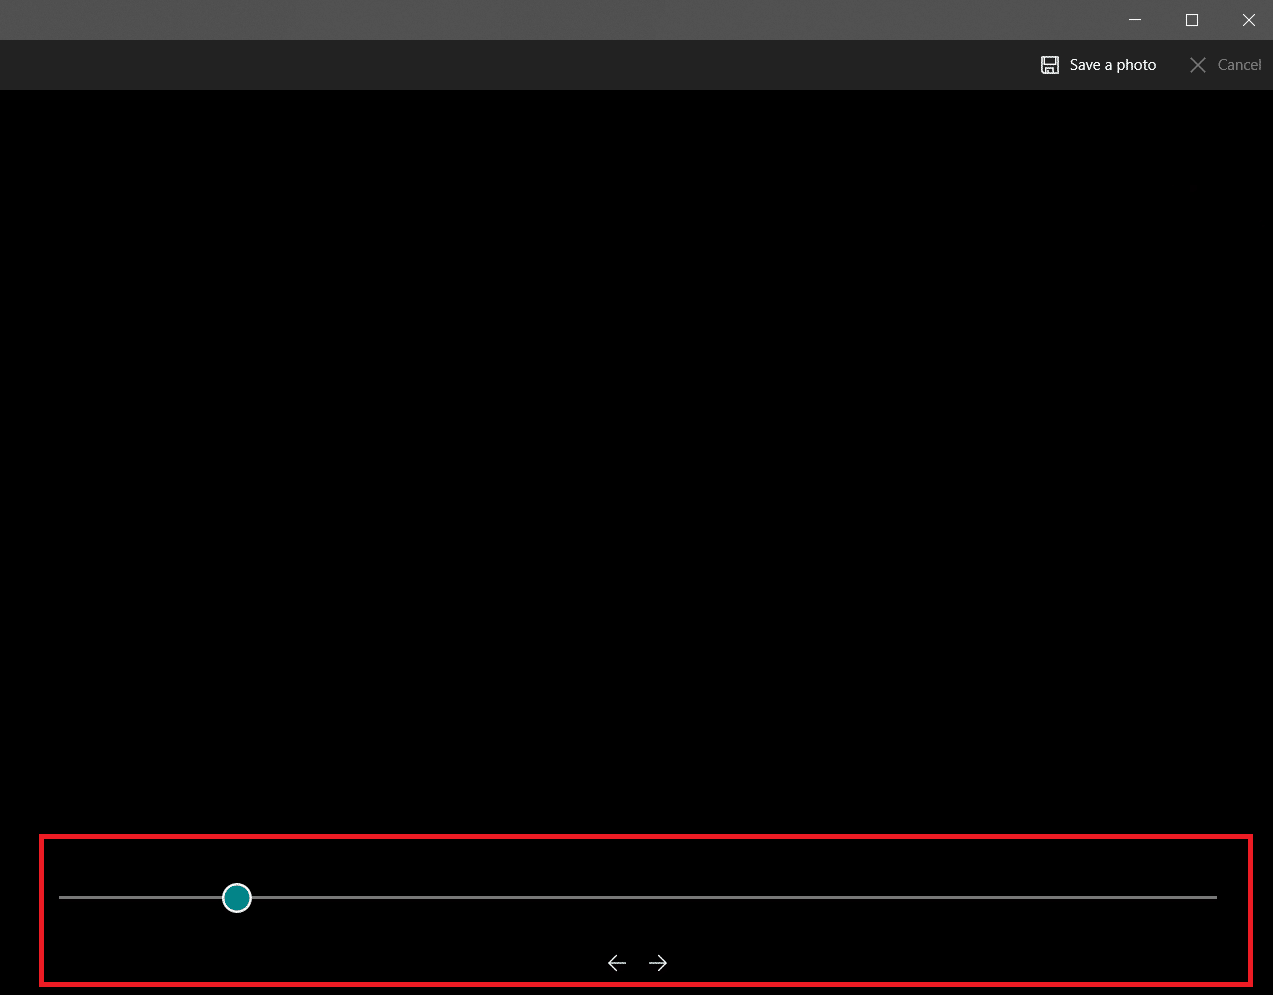
6. Click the Save a photo option when have found your desired frame.
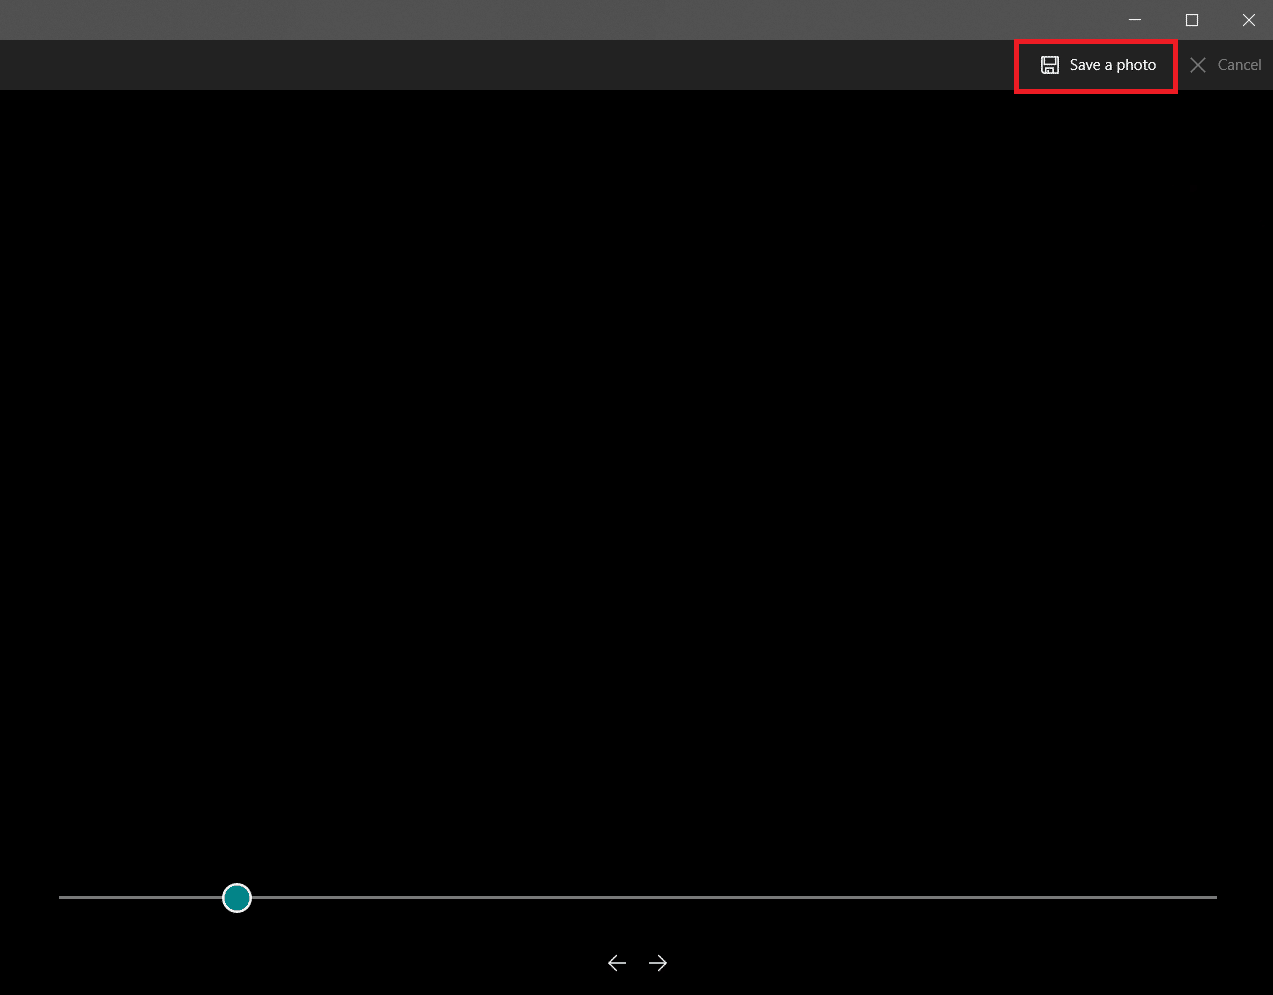
It will take a few seconds and will prompt you to save it in your prefered location. By default it is the Picture folder under This PC.
Also Read: How to Photoshop Convert to RGB
Method 3: Use VLC Player
VLC Media Player is a well-known media player that can play a wide range of video formats. It can be used to extract a number of frames from a video clip. Follow these instructions to do the same.
Note: If your source video is large then trim it down to a short video clip containing frames you want to extract.
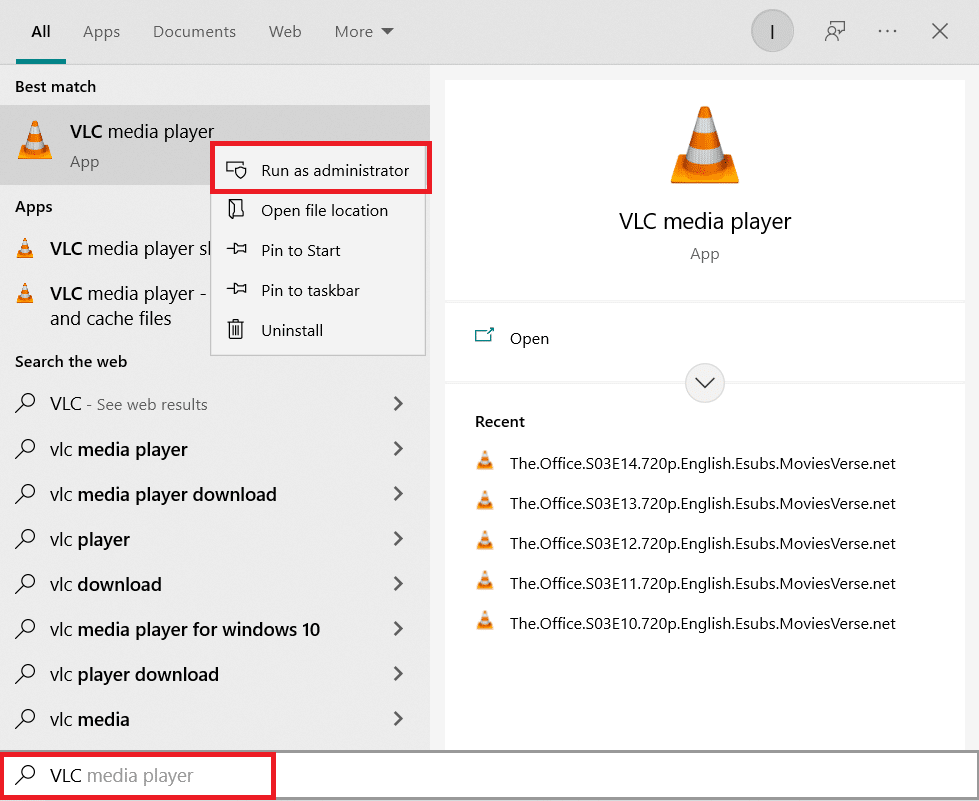
1. Hit the Windows key, type vlc, and right-click on VLC media player, and select Run as administrator.
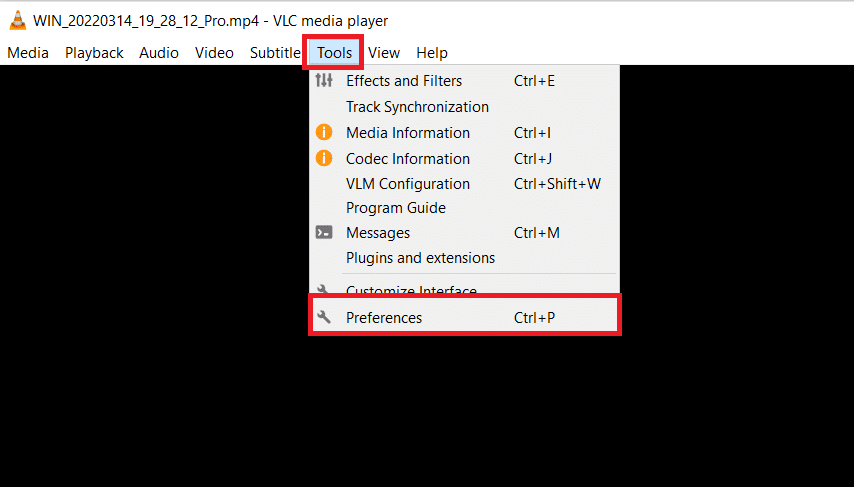
2. Select Tools > Preferences from the menu bar.
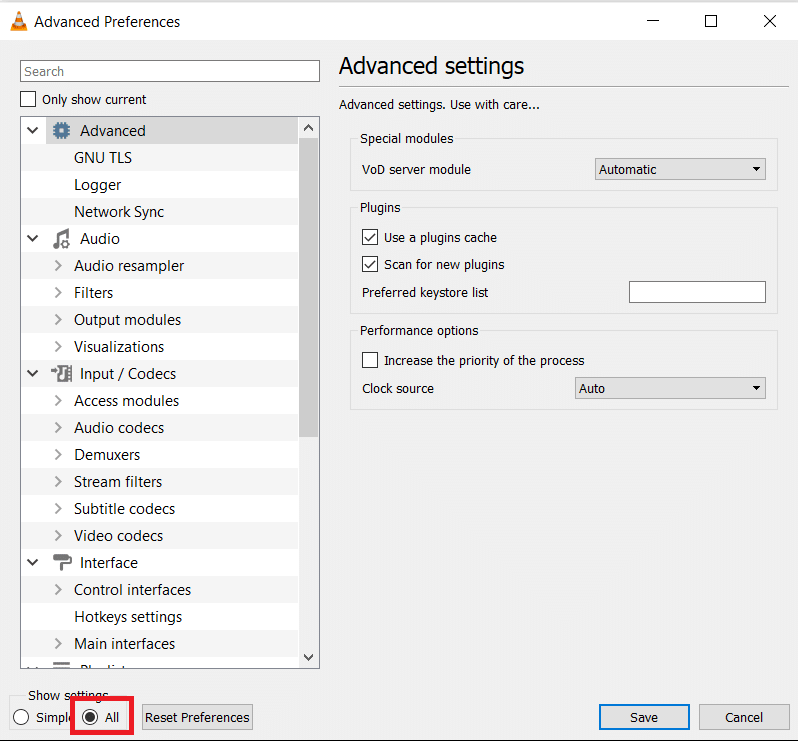
3. Select the All option at the bottom. It will open Advanced Preferences.
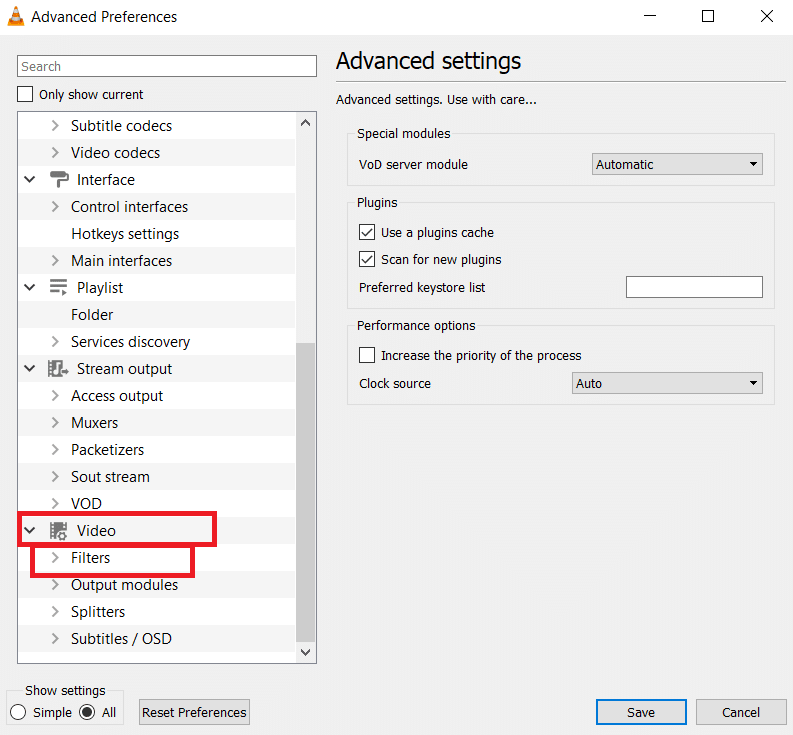
4. In the left column, scroll down to Video section and pick Filters. Click it once, don’t expand it.
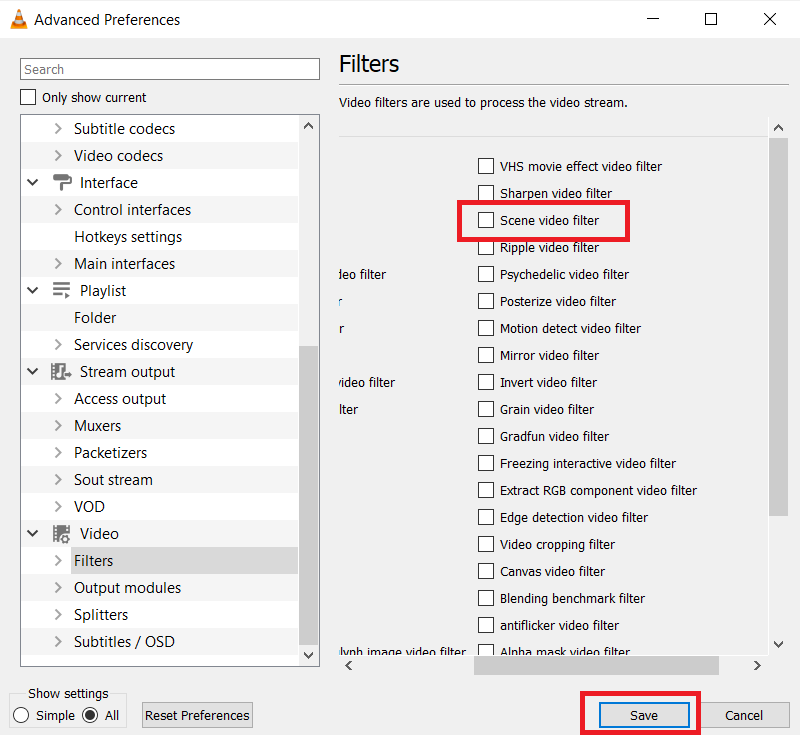
5. Select Scene video filter and click Save.
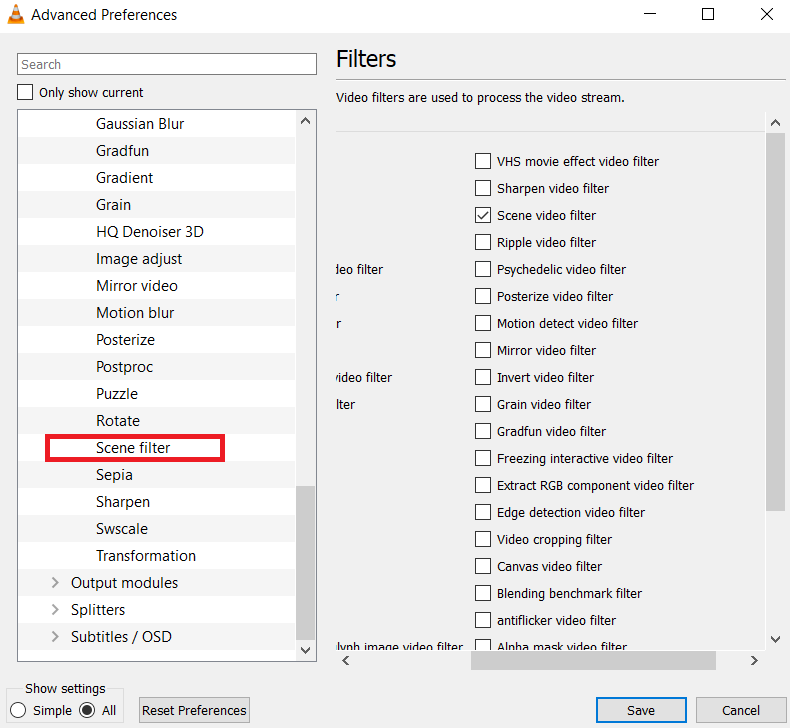
6. Expand Filters menu and select Scene Filter.
7. In Directory path prefix type the folder path where you want frames to be saved. You can make a new folder for this purpose or select any existing folder.

8. You can adjust Recording ratio depending on the FPS of your video. For example, if your video is 5 seconds long and 30 FPS then putting Recording ratio as 10 will extract a total of 15 images.
9. Click Save and exit VLC player. You’re now ready to start extracting frames.
10. Open the VLC media player again as shown in Step 1.
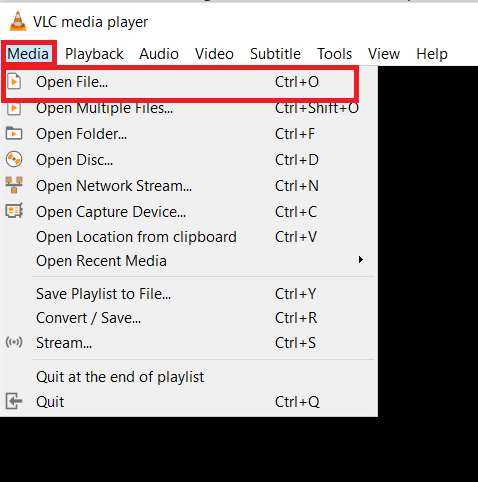
11. Go to Media and click on Open File.
12. Select the video from which you want to extract frames. Allow the video to play after you’ve selected it. Watch the video all the way through, you can minimize the window if you want but let it run. Don’t pause the video.
13. When the video is finished, go to the folder path which you typed in the Directory path prefix.
Note: If the folder is empty, alter the Recording ratio and try again.
Now you know how to capture frame from video using VLC media player.
Also Read: How to Cut Video in Windows 10 using VLC
Method 4: Use Photos App
You can use Windows 10 Photos app to save frames. It is loaded with features that let you crop, resize and scribble on photos. It has the ability to extract frames from video. Here is how you can do it.
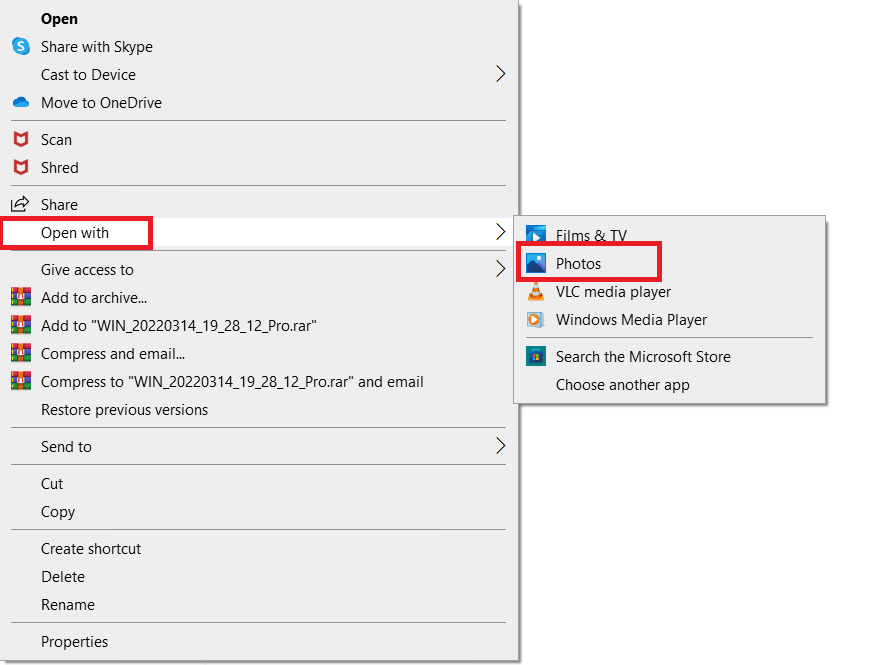
1. Right-click on the video, select Open With > Photos.
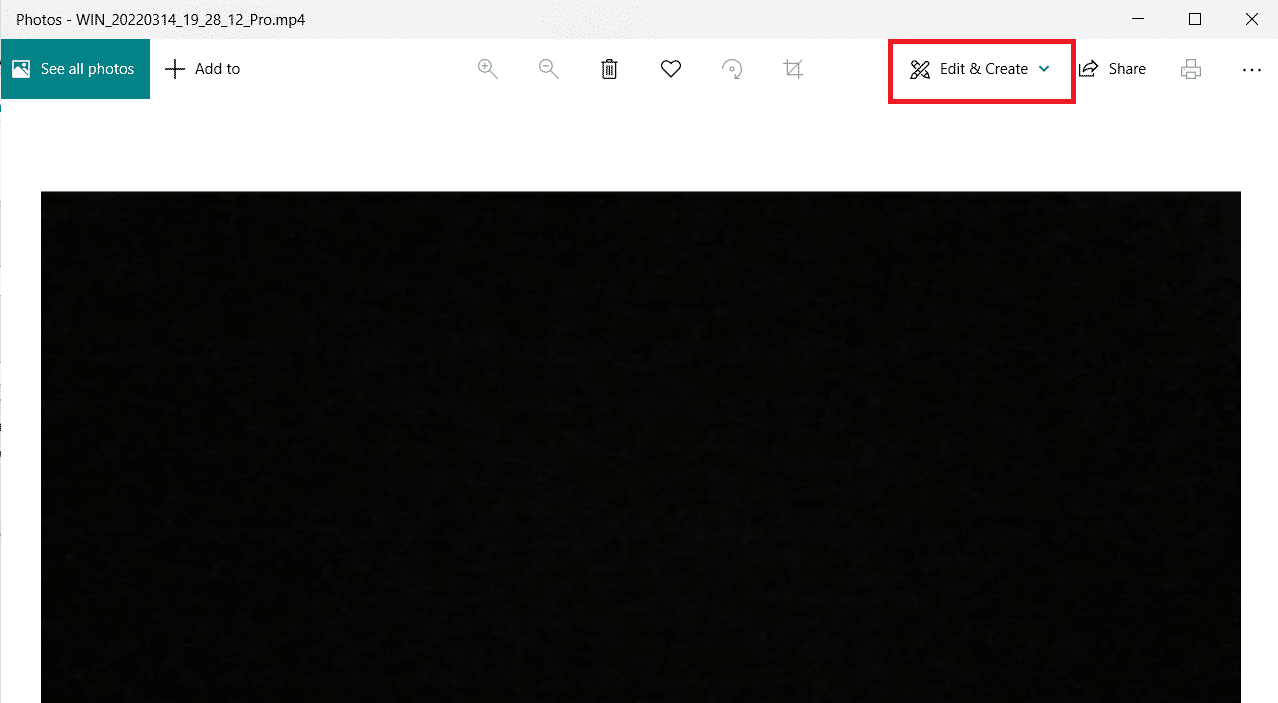
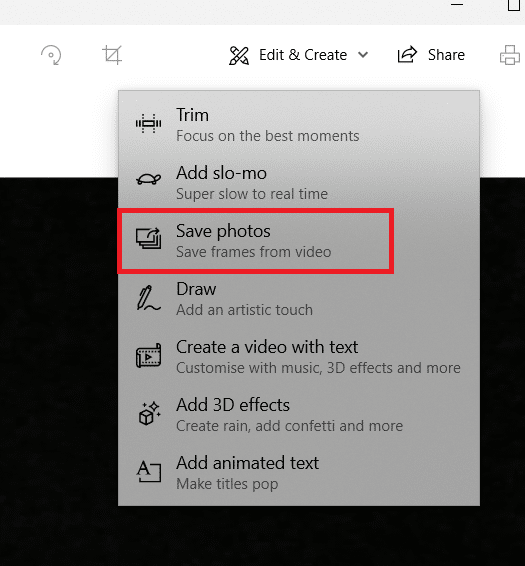
2. Wait for the section you want capture frames from and click on Edit and Create.
3. Click on Save photos.
4. It will get saved as a living picture in a few seconds. Close the Photos app.
5. Open that living picture again in the Photos app.
6. Forward or reverse frames using arrow keys until you reach your desired frame.
![]()
7. Repeat steps 2 and 3 and save the photo.
You have extracted your desired frame now.
Recommended:
We hope you found this information useful and that you were able to extract frames from video. Please let us know which technique you used to snap a frame. If you have any questions or comments, please leave them below.