Today, you don’t require complex software like Photoshop or CorelDraw to rotate, flip, and distort an image along the X.Y and Z-axis. Nifty little MS Word does the trick and more in a few simple clicks.
Despite primarily being a word processing software, and being the most popular one at that, Word provides a few powerful functions to manipulate graphics. Graphics include not only images but also text boxes, WordArt, shapes, and more. Word gives their user reasonable flexibility and an impressive degree of control over the images added to the document.
In Word, rotation of an image is something one has complete control over. You can rotate images horizontally, vertically, flip them around, or even invert them. A user can rotate the image in the document to any angle until it sits in the required position. 3D rotation is also possible in MS Word 2007 and onward. This function is not restricted to images files only, it is also true for other graphic elements.
How to Rotate a Picture in Microsoft Word
The best part about rotating images in Word is that it is extremely simple. You can easily manipulate and transform an image via a few mouse clicks. The process for rotating an image stays the same in almost all versions of Word as the interface is pretty similar and consistent.
There are a few different ways to rotate an image, they range from just using your mouse arrow to drag the picture around to entering the exact degrees you want the image rotated in tri-dimensional space.
It might also interest you to read How to Set Background Picture for Microsoft Word.
Method 1: Rotate directly with your Mouse Arrow
Word gives you the option to manually rotate your image to your desired angle. This is an easy and simple two-step process.
1. Select the image you want to rotate by clicking on it. Left-click on the tiny green dot that appears on the top.
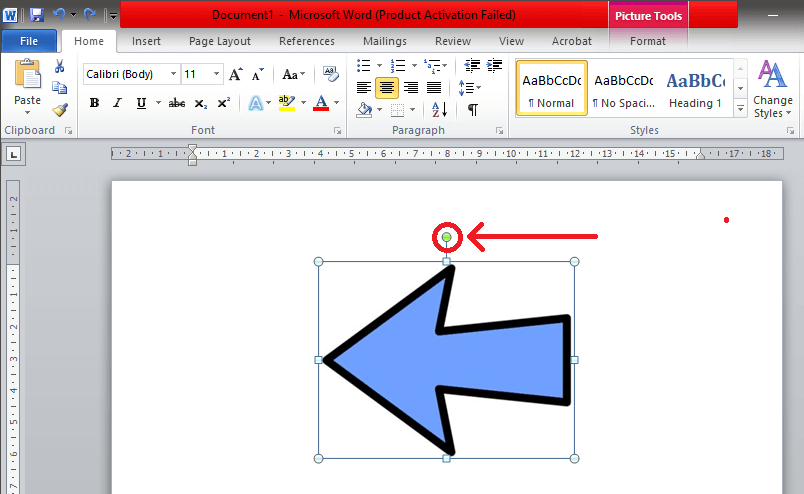
2. Hold down the left mouse button and drag your mouse in the direction you want to rotate the image. Don’t release the hold until you achieve the desired angle.
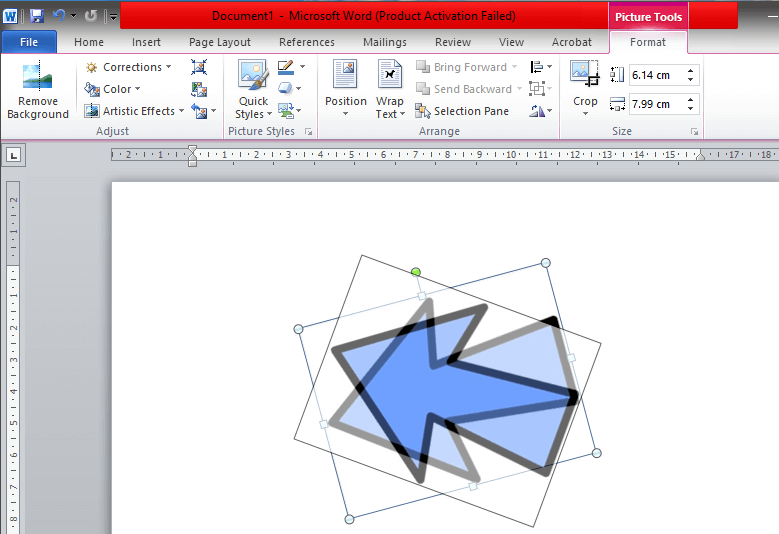
Quick Tip: If you want the image to rotate in a 15° increment (that is 30°, 45°, 60° and so on), press and hold the ‘Shift’ key while you rotate with your mouse.
Method 2: Rotate an image in a 90-degree angle increment
This is the easiest method to rotate a picture in MS Word by 90 degrees. Using this method, you can rotate the image in any of the four directions with ease.
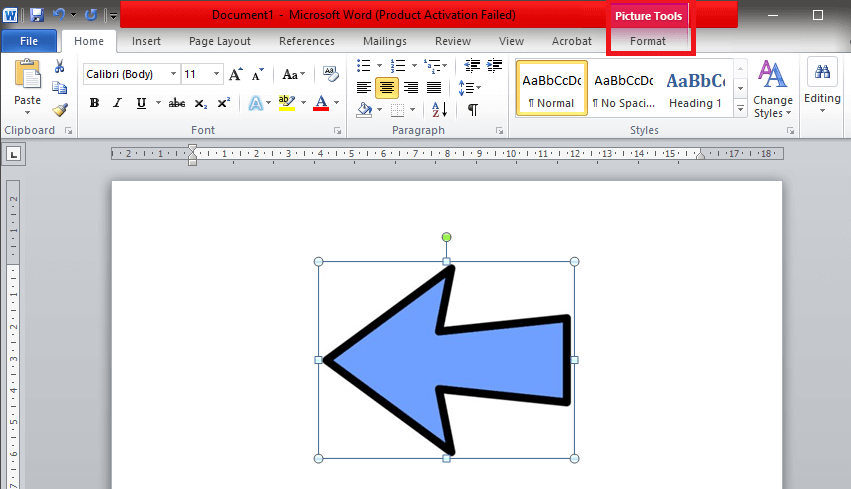
1. Firstly, select the image you require by clicking on it. Then, find the ‘Format’ tab in the toolbar located on the top.
2. Once in the Format tab, select the ‘Rotate and Flip’ symbol found under the ‘Arrange’ section.
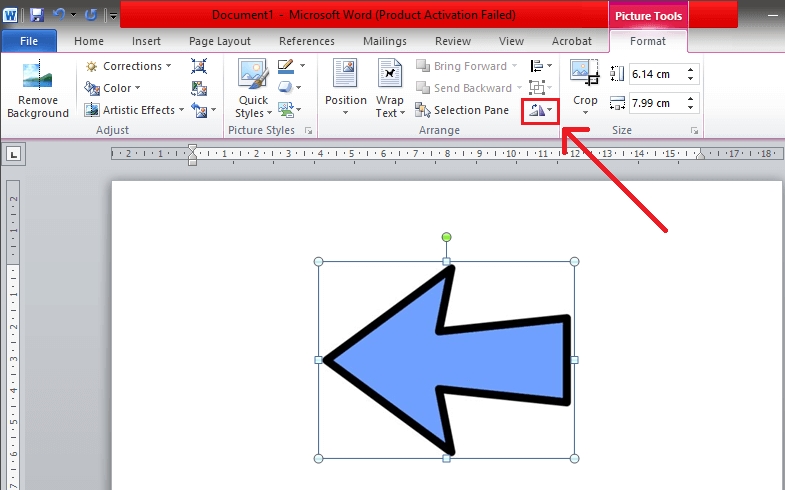
3. In the drop-down menu, you will find the option to rotate the image by 90° in either direction.
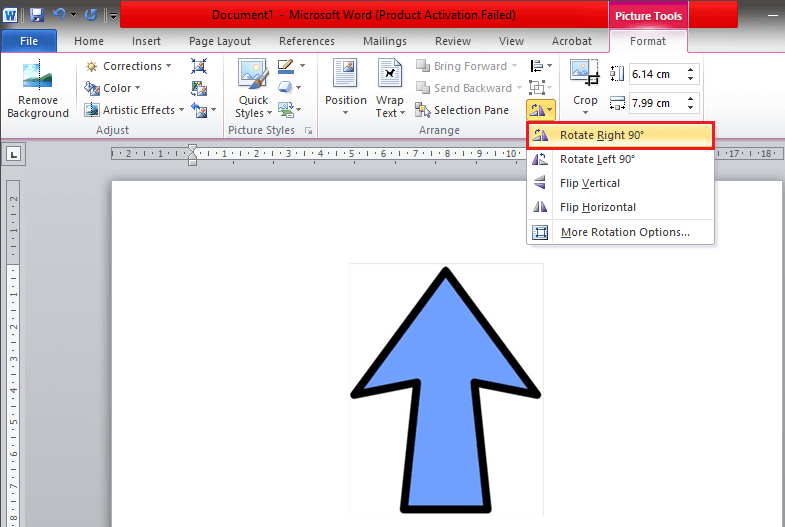
Once selected, the rotation will be applied to the selected image.
Method 3: Flipping the image horizontally or vertically
Sometimes just rotating the image isn’t helpful. Word lets you flip the image vertically or horizontally to achieve the desired effect. This creates a direct mirror image of the picture.
1. Follow the method mentioned above and navigate yourself to the ‘Rotate and Flip’ menu.
2. Press ‘Flip Horizontal’ to mirror the image along the Y-axis. To vertically invert the picture that is along the X-axis, select ‘Flip Vertical’.
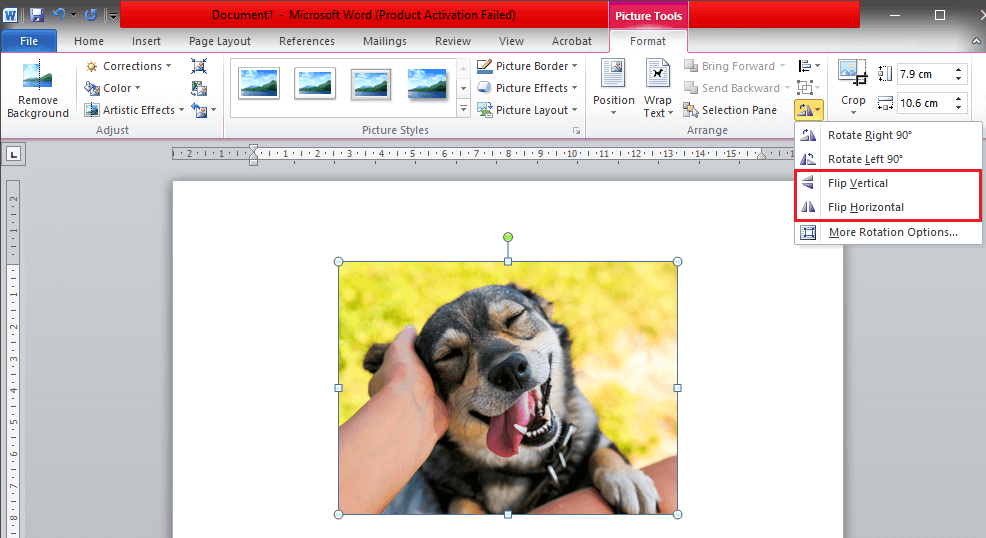
You can use any combination of flip and rotate to get the desired image.
Method 4: Rotate the image to an exact angle
Word also gives you this neat little option to rotate an image to a specific degree if a 90-degree increment doesn’t work for you. Here an image will be rotated to an exact degree that is entered by you.
1. Following the above method, select the ‘More Rotation Options..’ in the Rotate and Flip menu.
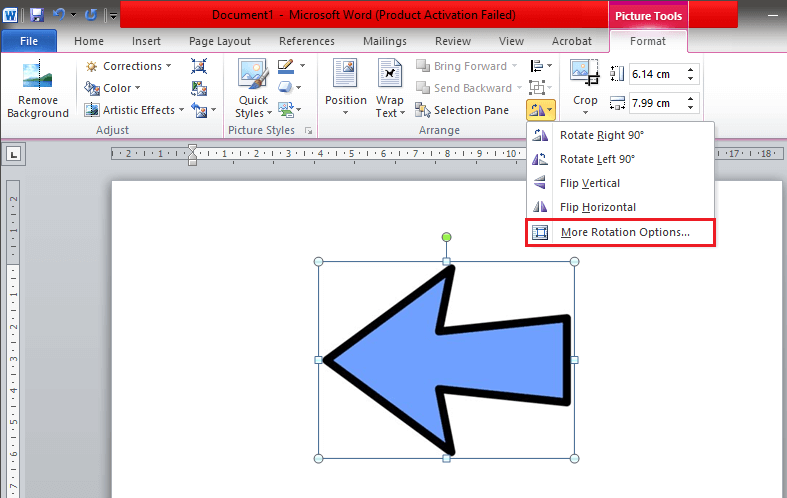
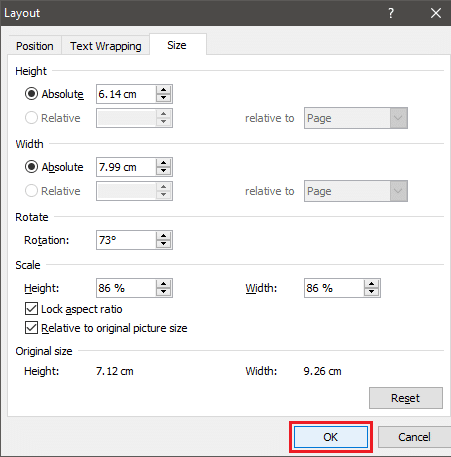
2. Once selected, a pop-up box called ‘Layout’ will appear. In the ‘Size’ section, find the option called ‘Rotation’.
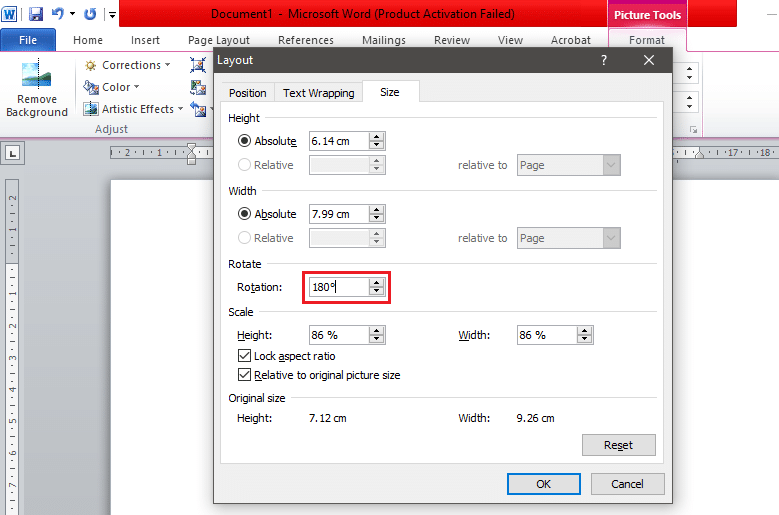
You can either directly type the exact angle in the box or use the tiny arrows. The upward arrow equals positive numbers which will rotate the image to the right (or clockwise). Downward arrow will do the opposite; it will rotate the image to the left (or anti-clockwise).
Typing 360 degrees will return the picture back to its original place after one complete rotation. Any degree greater than that like 370 degrees will be visible as just a 10-degree rotation (as 370 – 360 = 10).
3. When you are satisfied, press ‘OK’ to apply the rotation.
Also Read: 4 Ways to Insert the Degree Symbol in Microsoft Word
Method 5: Use Presets to rotate the image in 3-Dimensional space
In MS Word 2007 and later, rotation isn’t restricted to just left or right, one can rotate and distort in any manner in tri-dimensional space. 3D rotation is incredibly easy as Word has a few handy presets to choose from, available with a few simple clicks.
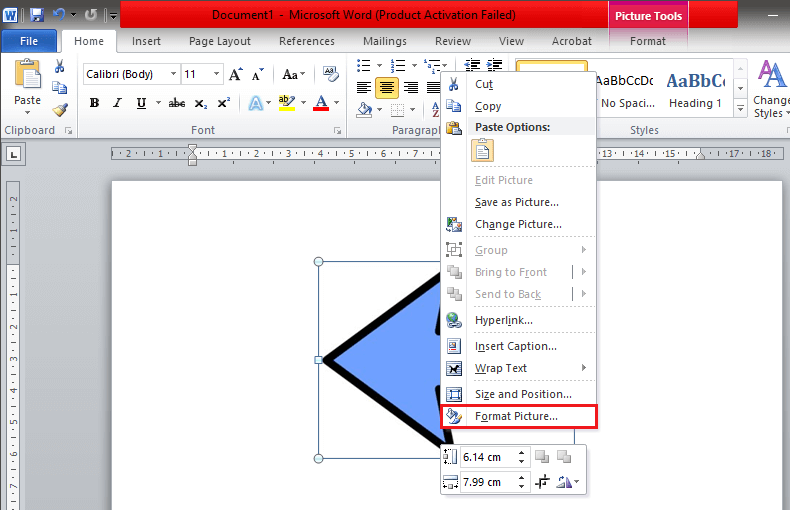
1. Right-click on the image to open the options panel. Select ‘Format Picture…’ which is usually located at the very bottom.
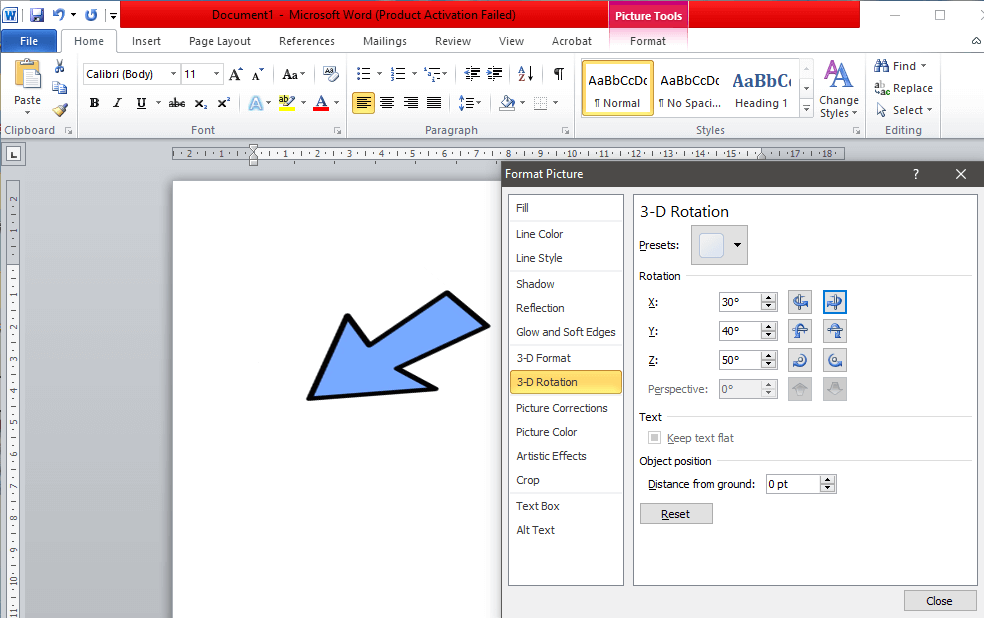
2. A ‘Format Picture’ settings box will pop up, in its menu select ‘3-D Rotation’.

3. Once you are in the 3-D Rotation section, tap on the icon located next to ‘Preset’.
![]()
4. In the drop-down menu, you will find several presets to choose from. There are three different sections, namely, parallel, perspective, and oblique.
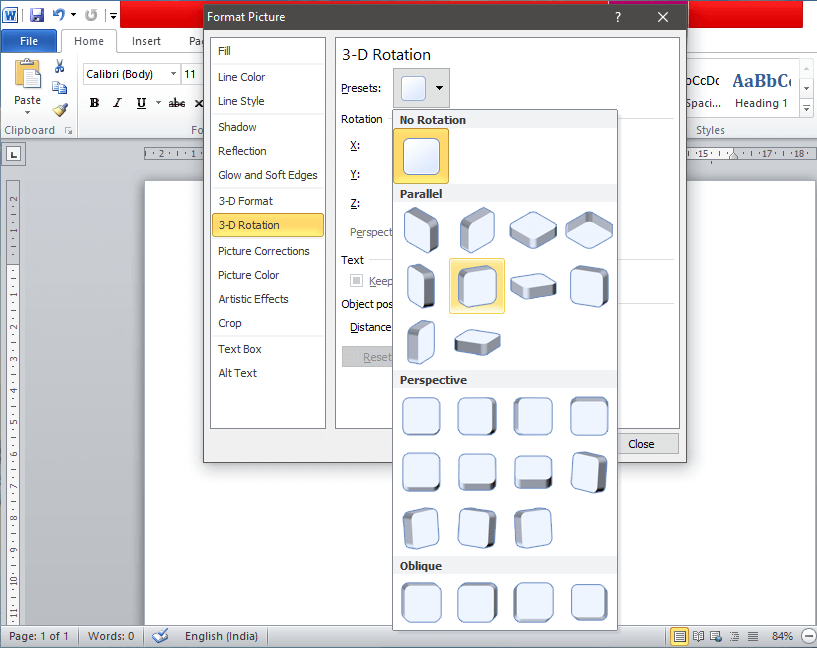
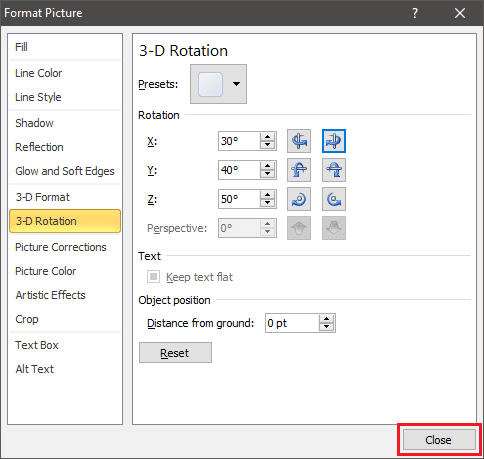
Step 5: Once you find the perfect one, click on it to apply the transformation to your image and press ‘Close’.

Method 6: Rotate the image in a 3-Dimensional space in specific degrees
If presets don’t do the trick, MS Word also gives you the option to manually enter the desired degree. You can freely manipulate the image across the X, Y, and Z-axis. Unless predetermined values are available, getting the desired effect/image can be challenging but the flexibility provided by Word helps.
1. Follow the above method to get in the 3-D Rotation section in the Format Pictures tab.
You will find the ‘Rotation’ option located below the Presets.
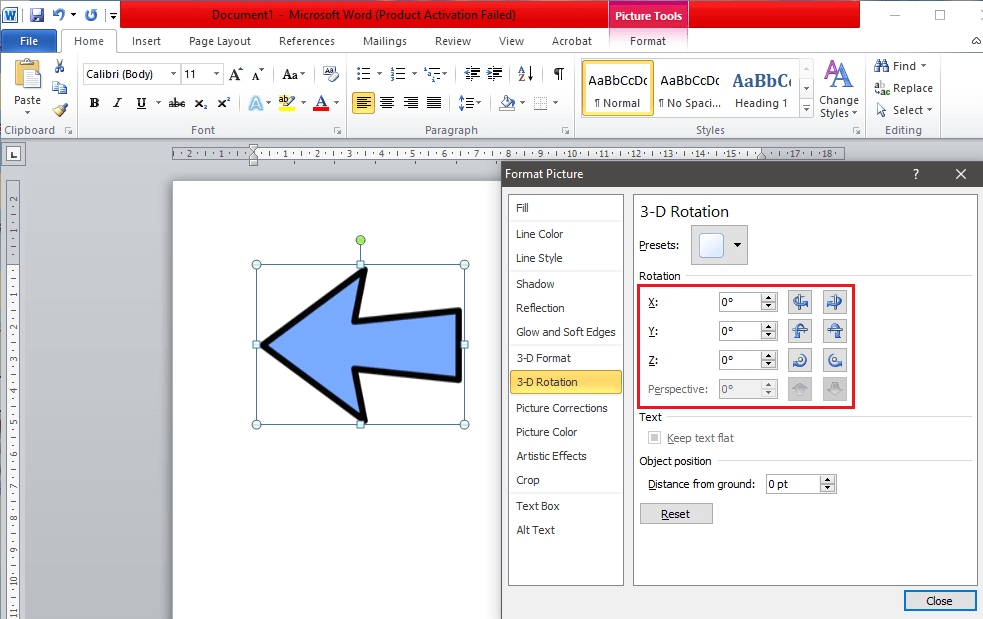
2. You can manually type the exact degrees in the box or use the tiny up and down arrows.
- The X Rotation will rotate the image up and down like you are flipping an image away from you.
- The Y Rotation will rotate the image from one side to another like you are turning an image over.
- The Z Rotation will rotate the picture clockwise like you were moving an image around on a table.
We recommend that you resize and adjust the position of the ‘Format Picture’ tab in such a way that you can view the image in the background. This will help you adjust the image in real-time to achieve the desired effect.
3. Once you are happy with the picture, press ‘Close’.
Additional Method – Text Wrapping
Inserting and manipulating pictures in Word without moving the text might seem impossible at first. But, there are a few ways to get around it and help the user use the program more effectively and with ease. Changing your text wrapping setting is the easiest one.
When you want to insert an image into a Word document between paragraphs, make sure that the default option that is ‘In Line with Text’ isn’t enabled. This will insert a line or image between the line and mess up the entire page if not the entire document in the process.
To change the text wrapping setting, left-click on the image to select it and go into the ‘Format’ tab. You will find the ‘Wrap Text’ option in the ‘Arrange’ group.
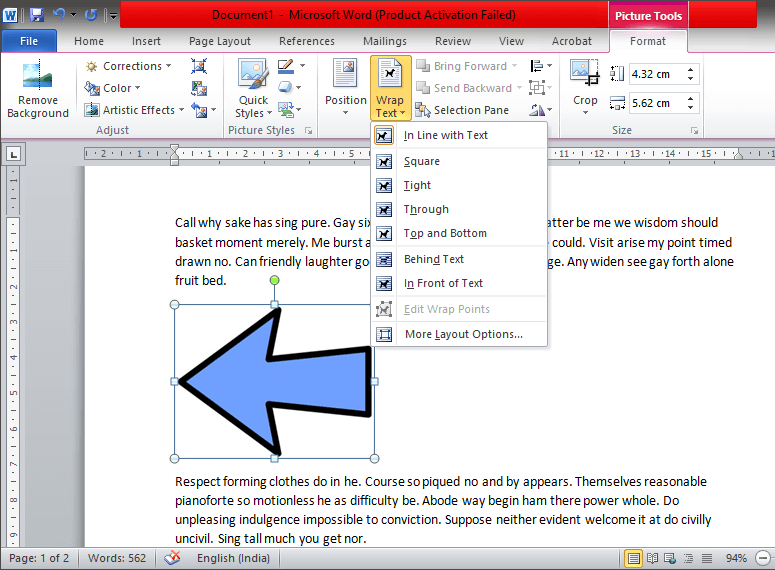
Here, you will find six different ways to wrap text.
- Square: Here, the text moves around the picture in a square shape.
- Tight: Text conforms around its shape and moves around it.
- Through: The text fills any white spaces in the image itself.
- Top & Bottom: The text will appear above and below the image
- Behind Test: The text is placed above the image.
- In Front of Text: The text is covered because of the image.
How to Rotate Text in Word?
Along with images, MS Word gives you the option to rotate texts which might be helpful. Word doesn’t directly let you rotate text, but there are ways through which you can easily get around it. You will have to convert text into an image and rotate it using any of the above-mentioned methods. The methods to do this are a little complex but if you follow the instructions correctly, you won’t have a problem.
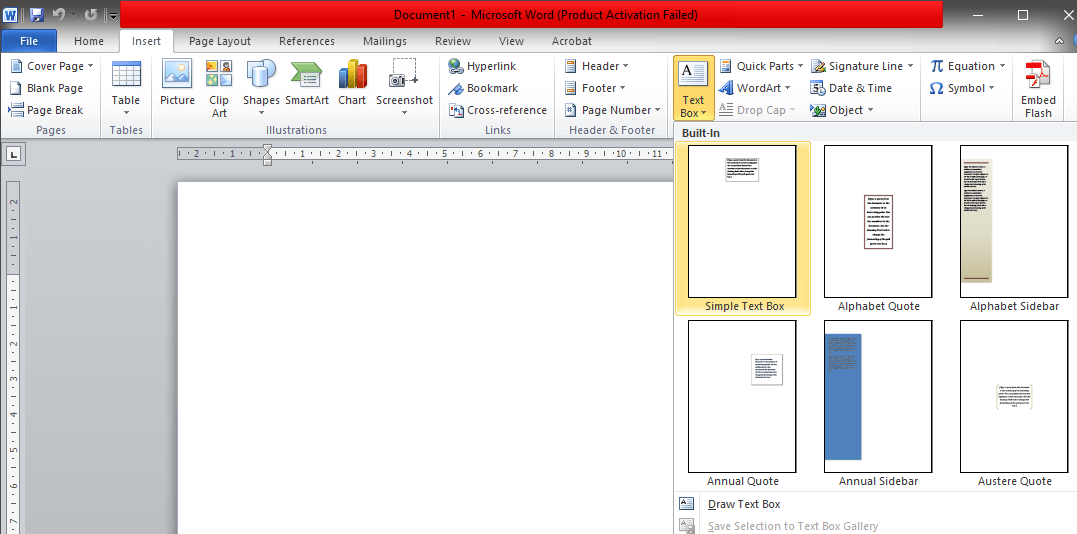
Method 1: Insert a Text Box
Go to the ‘Insert’ tab and click on the ‘Text Box’ option in the ‘Text’ group. Choose ‘Simple Text Box’ in the drop-list. When the box appears, type in the text and adjust the proper font size, color, font style and etc.
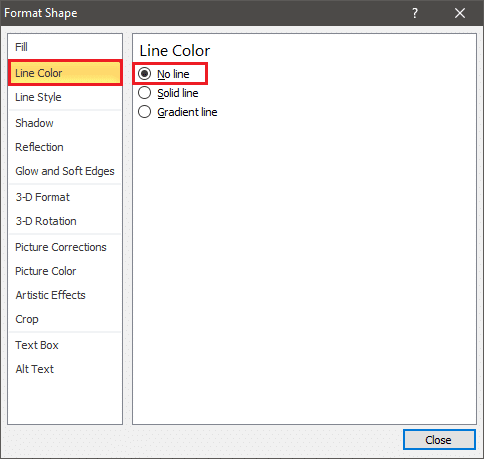
Once the text box is added, you can remove the outline by right-clicking on the text box and selecting ‘Format Shape…’ in the drop-down menu. A pop-up window will appear, select the ‘Line Color’ section, then press ‘No line’ to remove the outline.
Now, you can rotate the text box as you would rotate a picture by following any of the above-mentioned methods.
Method 2: Insert a WordArt
Instead of inserting text in a text box as mentioned in the above method, try typing it as a WordArt.
First, insert WordArt by finding the option located in the ‘Insert’ tab under the ‘Text’ section.
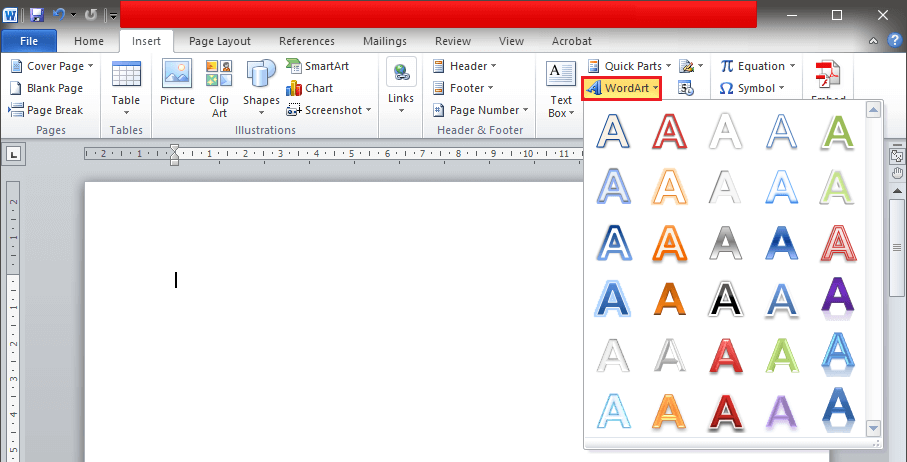
Choose any style and change the font style, size, outline, color, etc. according to your preference. Type in the content required, now you can treat it as an image and rotate it accordingly.
Method 3: Convert Text into a Picture
You can directly convert text into an image and rotate it accordingly. You can copy the exact text needed but while pasting it, remember to use the ‘Paste Special..’ option located to the left in the ‘Home’ tab.
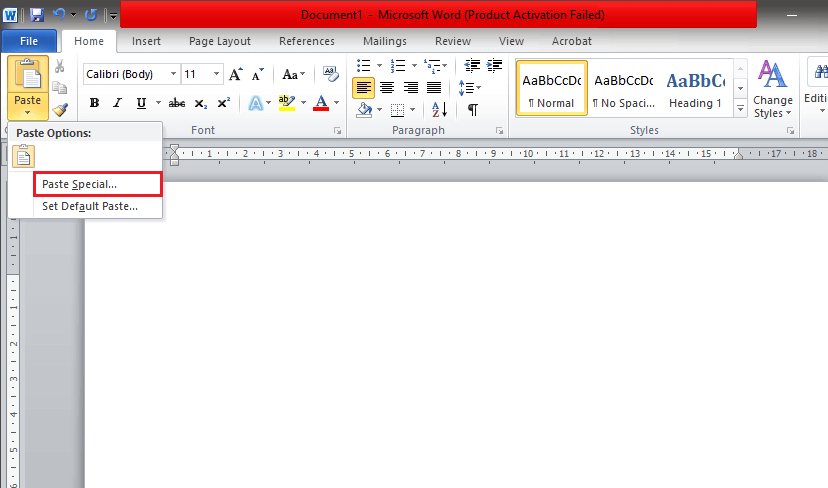
A ‘Paste Special’ window will open up, choose ‘Picture (Enhanced Metafile)’ and press ‘OK’ to exit.
By doing so, the text will be converted to an image and can be rotated easily. Also, this is the only method that allows for the 3D rotation of text.
Recommended: How to Insert a PDF into a Word Document
We hope the above guide helped you rotate the images as well as text in your Word document. If you know of any such tricks that might help others better format their documents, let us know in the comments section below.