As we have seen a lot of advancements in technology in the last few decades, people have also updated themselves according to technology. People have begun using devices like laptops, tablets, phones, etc for paying bills, shopping, entertainment, news, or any other activity. The Internet is the major reason behind such developments. The use of devices that run with the help of the internet has increased, as a result of which the service providers are bound to improve user experience with new updates.
This user experience improvement leads us to the development of DirectX which is an Application Programming Interface that has improved the user experience in the field of games, videos, etc.
What is the DirectX diagnostic tool?
DirectX is used for creating and working on the graphic images and other effects of multimedia in games or web pages or other similar applications that run on the Microsoft Windows operating system.
No external capability is required, to work on DirectX or run it, the capability comes integrated with different web browsers. In comparison to the earlier version of DirectX, the upgraded version has become an integral part of the Microsoft Windows operating system.
The DirectX Diagnostic Tool helps Windows users in identifying problems related to the audio, video, display and other related problems. It also works on the performance of various multimedia applications. This tool also helps in diagnosing and troubleshooting problems faced on the audio, video players connected to the device. If you are facing any issue related to the audio, video or sound quality of your system you can use the DirectX Diagnostic Tool. You can use the DirectX Diagnostic Tool by using the methods listed below:
How to use the DirectX Diagnostic Tool in Windows 10
Make sure to create a restore point just in case something goes wrong.
There are different ways of accessing any specific tool in Windows 10, similarly, DirectX can also be accessed in 2 ways. Both these ways are as given below:
Method 1: Launch DirectX Diagnostic tool using the Search feature
You can use the search feature in Microsoft’s operating system for launching the DirectX Diagnostic Tool.
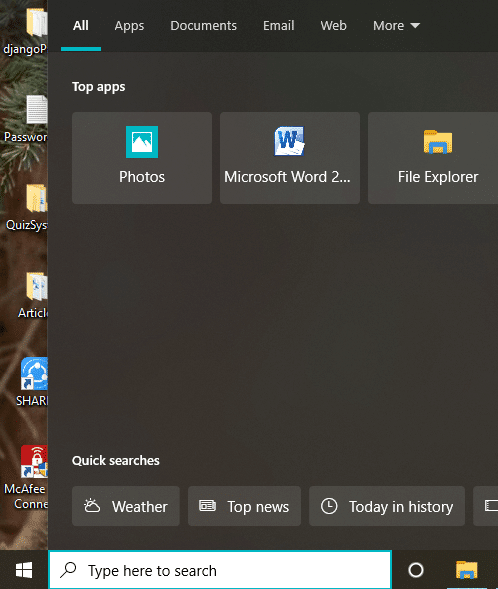
1.Press the Windows key + S button on the keyboard & type dxdiag in the search box.
2.Click to open the dxdiag option as shown below.
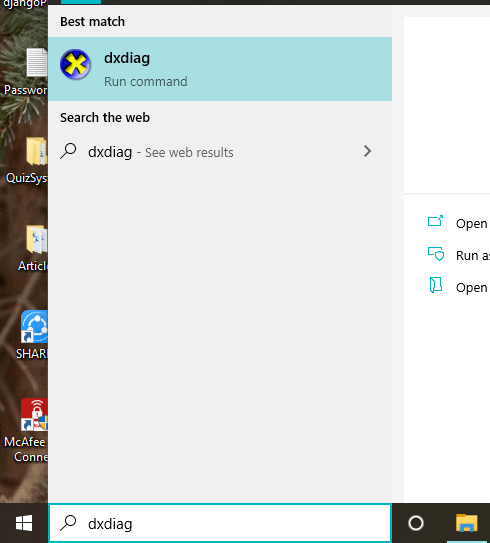
4.Once you click on dxdiag, the DirectX Diagnostic Tool will start running on your screen.
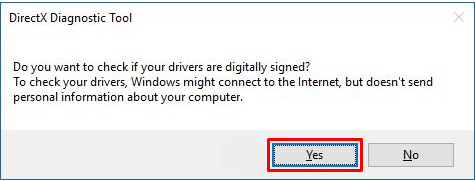
5.If you are using the tool for the first time, you will be prompted to check the digitally signed drivers. Click on Yes to continue.
6.Once the drivers check is completed, and the drivers are approved by Windows Hardware Quality Labs by Microsoft, the main window will open up.
7.The tool is now ready and you can check all the information or troubleshoot any particular issue.
Also Read: Fix Unable to Install DirectX on Windows 10
Method 2: Launch DirectX Diagnostic tool using Run Dialog Box
You need to follow the steps mentioned below to run the DirectX Diagnostic Tool using the Rundialog box:
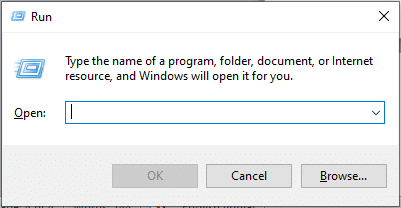
1.Open the Run dialog box using the Windows key + R keys shortcut on the keyboard.
2.Enter dxdiag.exe in the dialog box.
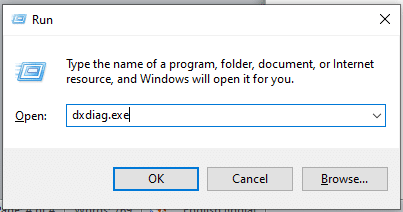
3.Click on the OK button, and the DirectX Diagnostic tool will launch.
4.If you are using the tool for the first time, you will be prompted to check the digitally signed drivers. Click on yes.
5.Once the drivers check is completed, and the drivers are approved by Windows Hardware Quality Labs by Microsoft, the main window will open up.
6.The tool is now ready to troubleshoot as per your requirements.
The DirectX Diagnostic tool show on the screen has four tabs. But many times more than one tab for elements such as Display or Sounds might be shown on the window. This is because you might have more than one device connected to your system.
Each of the four tabs has a significant function. The functions of these tabs are as listed under:
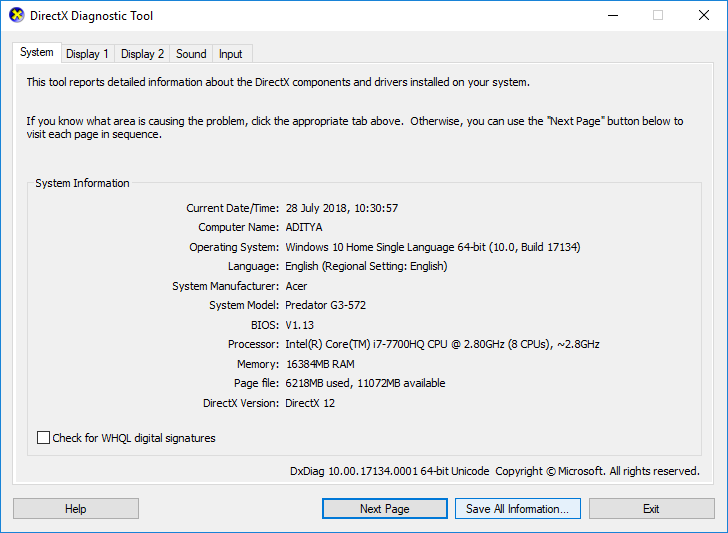
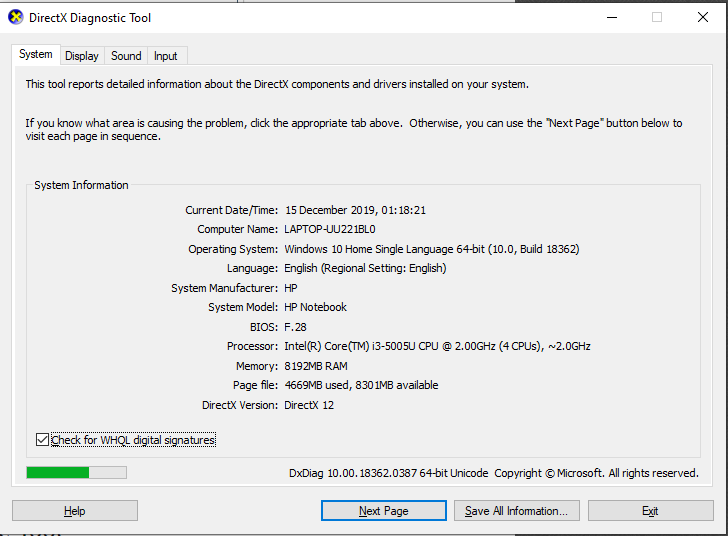
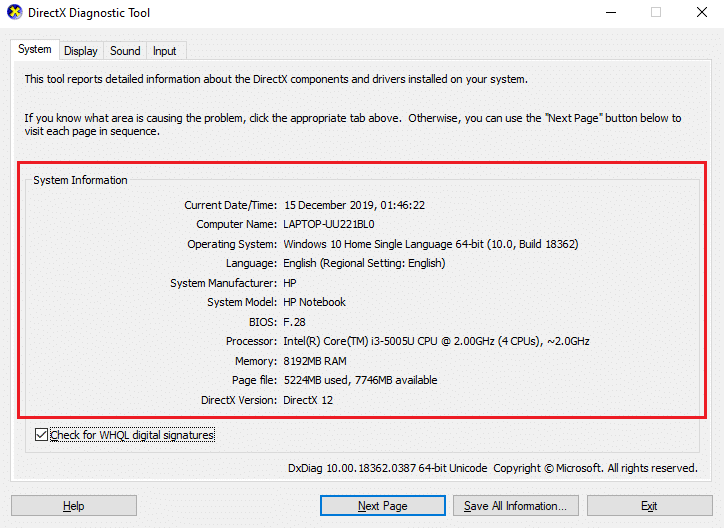
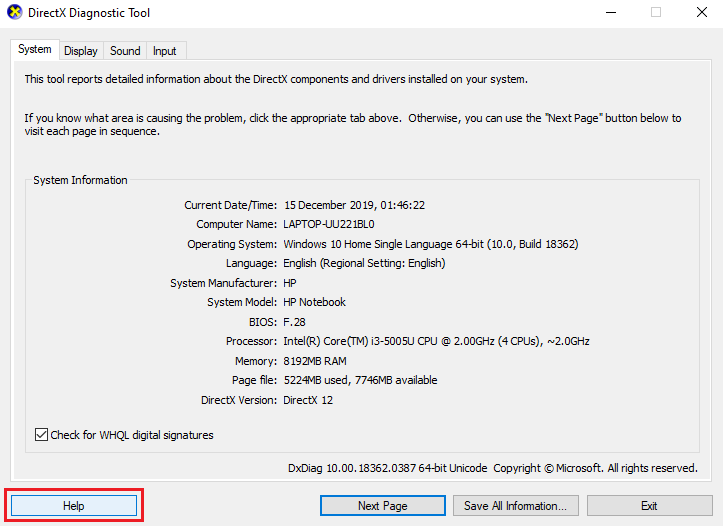
#Tab 1: System Tab
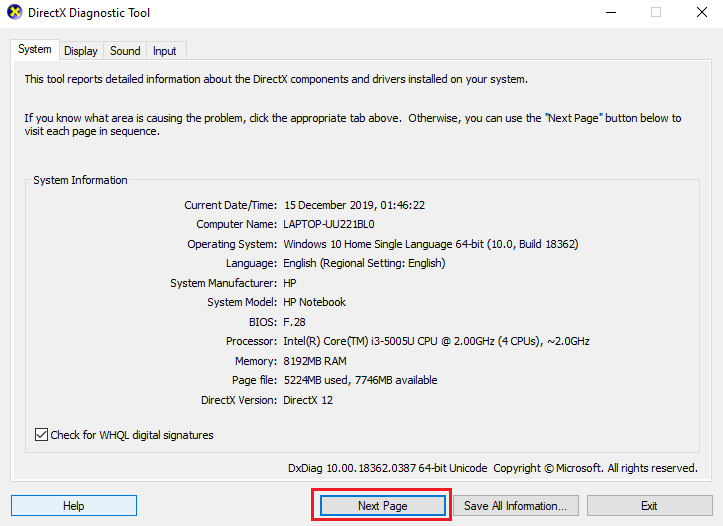
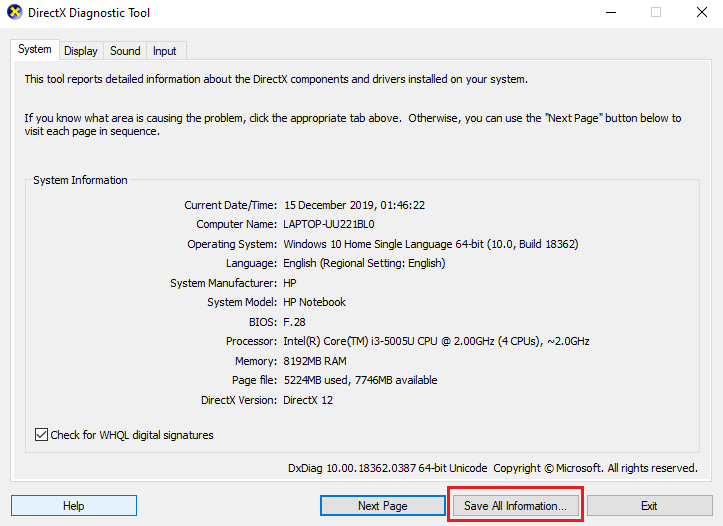
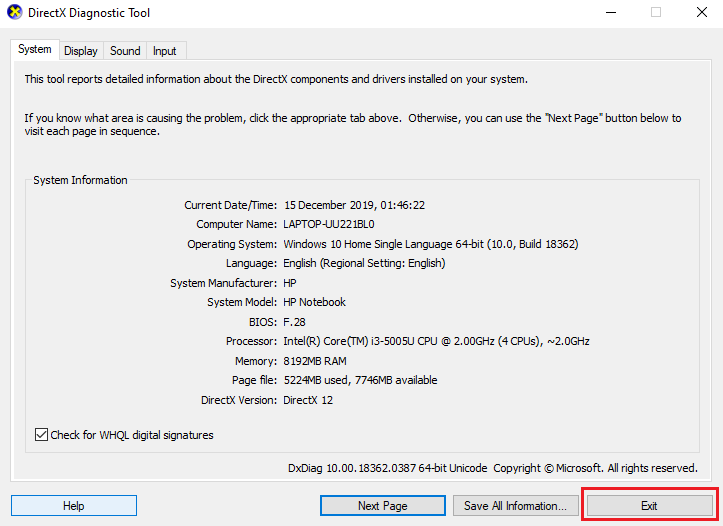
The first tab on the dialog box is the System tab, no matter what device you connect to your device the System tab will always be there. The reason behind this is that the System tab shows information about your device. When you click on the Systems tab, you’ll see information about your device. Information about the operating system, language, manufacturer’s information, and much more. The System tab also shows the version of DirectX installed on your device.
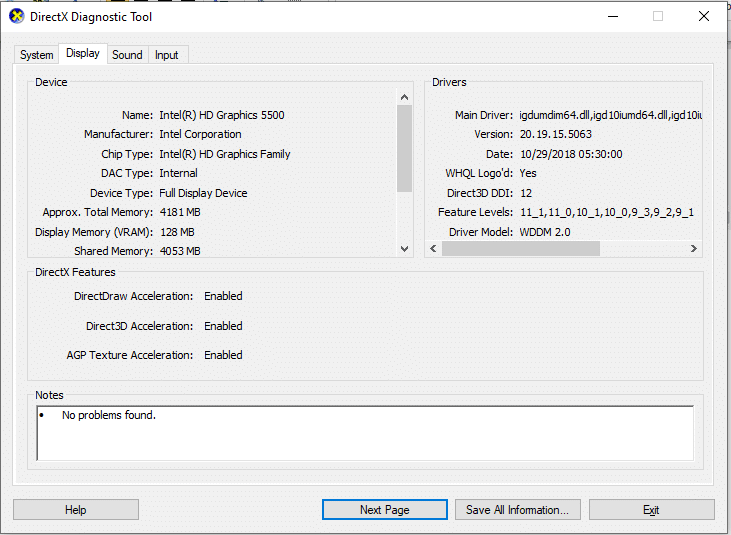
#Tab 2: Display Tab
The tab next to the Systems tab is the Display tab. The number of display devices varies according to the number of such devices connected to your machine. The Display tab shows information about the connected devices. Information such as the name of the card, the name of the manufacturer, the device type, and other similar information.
At the bottom of the window, you’ll see a Notes box. This box shows the problems detected in your connected display device. If there aren’t any issues with your device, it will show a No issue found text in the box.
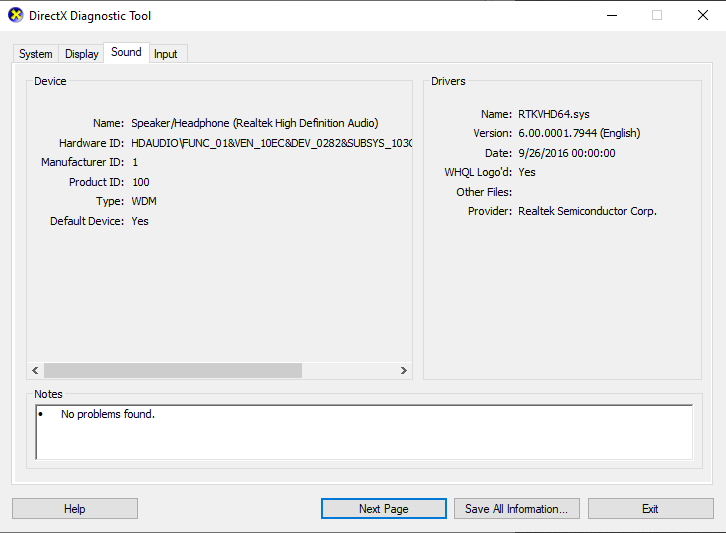
#Tab 3: Sound tab
Next to the Display tab, you’ll find the Sound tab. Clicking on the tab will show you information about the audio device connected to your system. Just like the Display tab, the number of Sound tab can increase based on the number of devices connected to your system. This tab shows information such as the manufacturer’s name, hardware information, etc. If you want to know, the problems your audio device is facing, you need to look in the Notes box, all the issues will be listed there. If there aren’t any issues you’ll see a No issue found message.
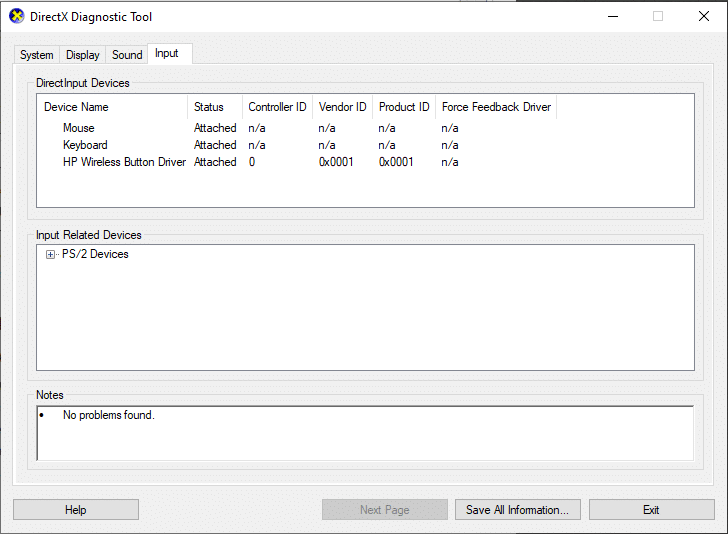
#Tab 4: Input Tab
The last tab of the DirectX Diagnostic Tool is the Input tab, which shows information about the input devices connected to your systems, such as a mouse, keyboard, or other similar devices. The information includes the status of the device, controller ID, vendor ID, etc. The notes box of the DirectX Diagnostic Tool will show the problems in the input devices connected to your system.
Once you are done checking for the errors in your connected device, you can use the buttons shown on the bottom of the window to navigate as per your choice. The functions of the buttons are as listed under:
1.Help
If you face any issue while operating the DirectX Diagnostic Tool, you can use the Help button in the tool to look for solutions to your problems. Once you click on the tab, it will take you to another window where you can get help regarding the devices connected to your system or the tabs of the Diagnostic Tool.
2.Next Page
This button on the bottom of the DirectX Diagnostic Tool, it helps you to navigate to the next tab on the window. This button only works for the System tab, Display tab, or the Sound tab, as the Input tab is the last in the window.
3.Save All Information
You can choose to save the information listed on any page of the DirectX Diagnostic Tool by clicking on the Save All Information button on the window. Once you click on the button, a window will appear on the screen, you can select the location where you want to save the text file.
4.Exit
Once you are done diagnosing issues of the connected devices and you have checked for all the errors. You can click on the Exit button and can exit from the DirectX Diagnostic Tool.
The DirectX Diagnostic Tool proves to be of great advantage when looking for the cause of errors. This tool can help you in fixing errors related to DirectX such as League of Legends DirectX error and devices connected to your machine.
Recommended:
I hope the above steps were helpful and now you will be able to use the DirectX Diagnostic Tool in Windows 10 without any issues. If you still have any queries regarding this tutorial then feel free to ask them in the comment section & we will definitely help you out.