The Microsoft .NET Framework helps developers build applications for Windows devices. The framework is also required to run many applications in Windows. The .NET Framework installation can get corrupted and cause some programs to crash.
.NET Framework errors can also prevent your computer from installing Windows updates and from getting newer .NET Framework versions. Microsoft has a dedicated troubleshooting tool that diagnoses and repairs the .NET Framework installation. We’ll show you how to use this tool on your computer.

Install the Microsoft .NET Framework Repair Tool
- Head to the official webpage for the Microsoft .NET Framework Repair Tool in your web browser.
- Scroll to the “Download information” section and select the Microsoft .NET Framework Repair Tool link to download the file.

- Double-click the netfxrepairtool.exe file, check the I have read and accept the license terms box and select Next.

Wait while the Microsoft .NET Framework Repair Tool scans your computer for installation issues.
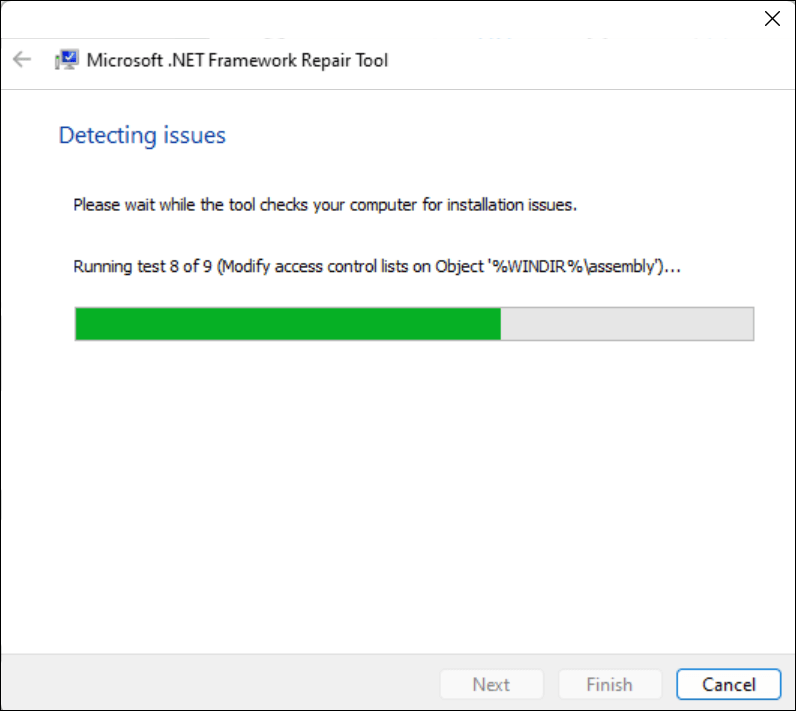
- If the tool detects any problems, it’ll recommend possible troubleshooting options. Select Next to apply the suggested changes.

Keep the dialog box open and rerun the affected application or system process.
- If the Microsoft .NET Framework Repair Tool fixed the problem, select Finish to close the tool. Otherwise, select Next to try to explore more troubleshooting fixes.

Reinstall the Microsoft .NET Framework
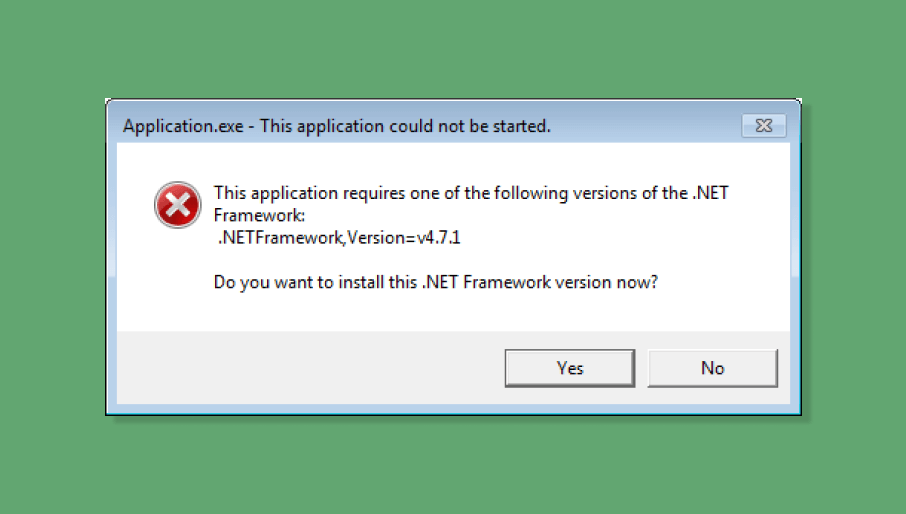
Although Microsoft pre-installs the .NET Framework in Windows, some applications won’t run if your computer doesn’t have a specific .NET Framework version.
If the Microsoft .NET Framework Repair Tool recommends reinstalling the .NET Framework, install the latest version compatible with your computer. But if a program fails to start due to a missing .NET Framework version, install the version needed by the app.
Uninstall Microsoft .NET Framework
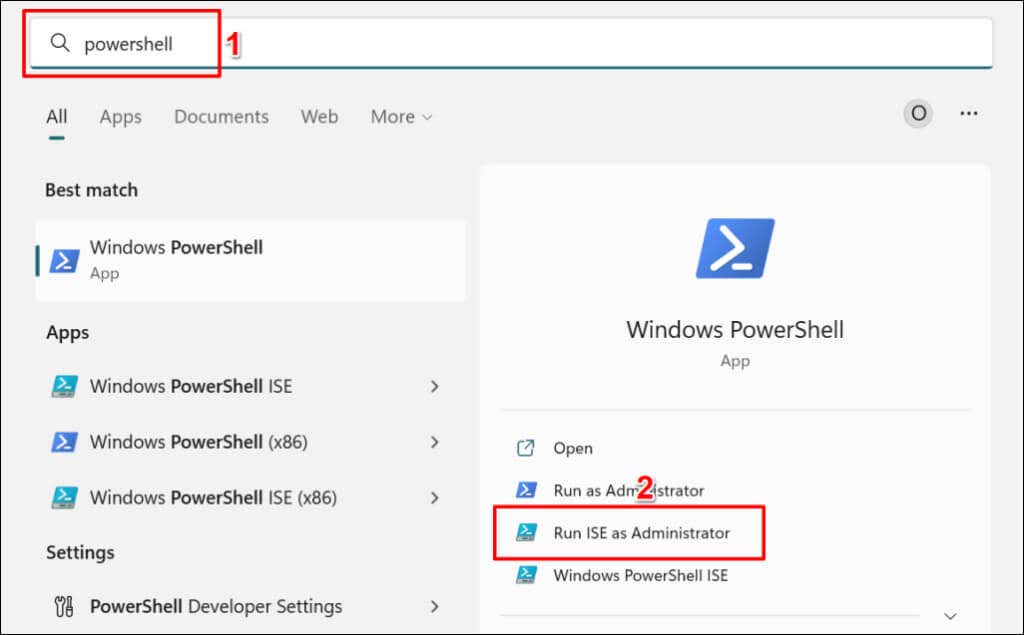
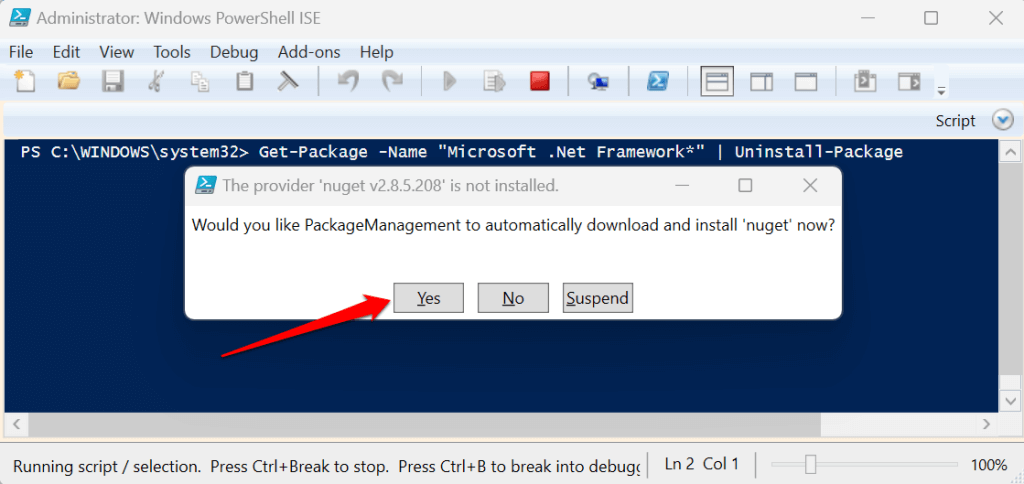
- Press the Windows key, type powershell in the search bar, and select Run ISE as Administrator.
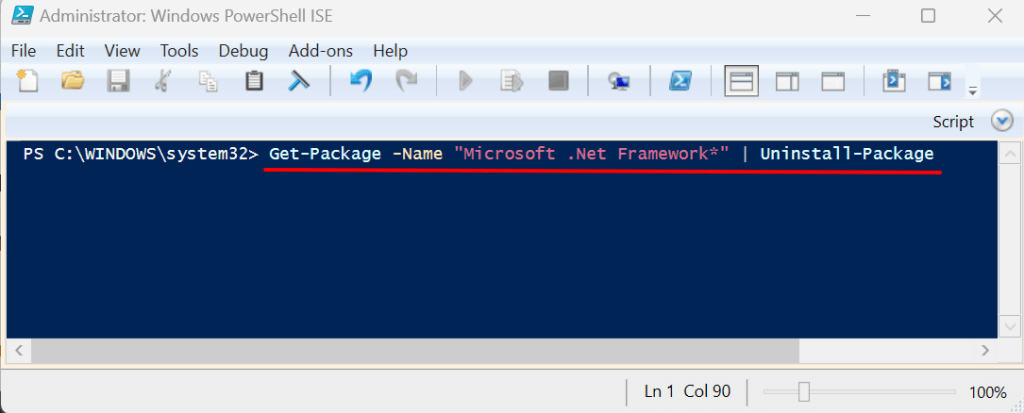
- Paste the command below in the Powershell console and press Enter.
Get-Package -Name “Microsoft .Net Framework*” | Uninstall-Package
- You may get a prompt to download and install a “nuget” package. Select Yes and follow the prompt.
Reinstall Microsoft .NET Framework
.NET Framework 4.8.1 is the latest framework version, and it’s pre-installed on Windows 11 devices. It (.NET Framework 4.8.1) supports the following Windows 10 versions:
- Windows 10 October 2018 Update (version 1809)
- Windows 10 April 2018 Update (version 1803)
- Windows 10 Fall Creators Update (version 1709)
- Windows 10 Creators Update (version 1703)
- Windows 10 Anniversary Update (version 1607)
- Windows Server 2019
- Windows Server, version 1809
- Windows Server, version 1803
- Windows Server 2016
The .NET Framework 4.8.1 doesn’t work in Windows 10 version 1507 and version 1511. Go to Settings > System > About to check what version of Windows 10 you have.
If your PC doesn’t support .NET Framework 4.8.1, update its operating system or install an older framework version.
- Visit the .NET Framework download page on the Microsoft website and expand the Supported versions drop-down section. Select the .NET Framework version you want to install on your computer.

- Scroll to the “Runtime” section and select Download .NET Framework Runtime to download the web installer.

Run the installer, follow the installation prompt, and reboot your computer. Re-enable the .NET Framework on your device if the problem persists.
Re-Enable .NET Framework Windows
You can manually fix .NET Framework errors by turning off the feature and turning it back on.
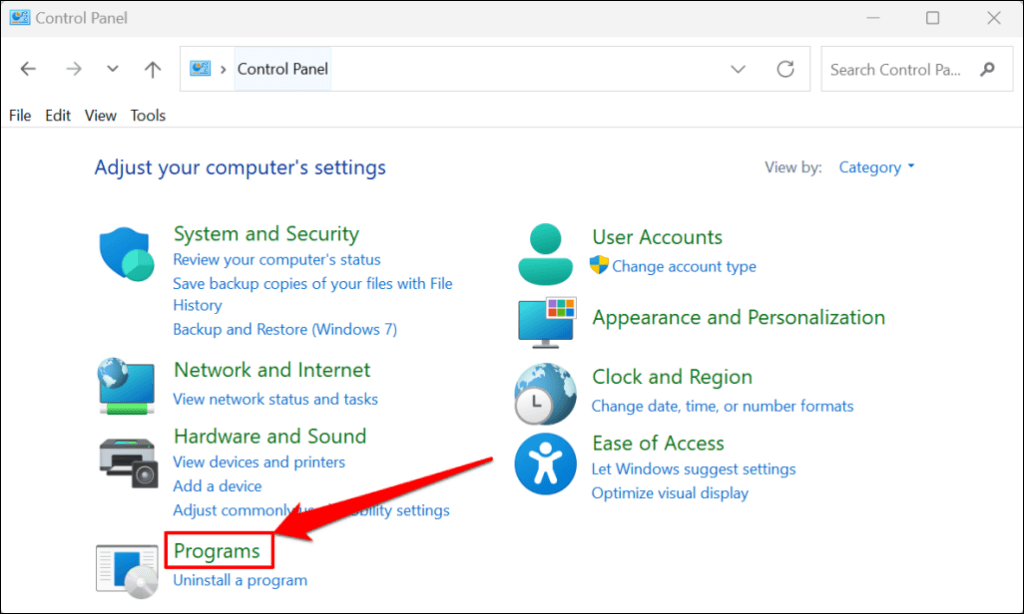
- Open the Control Panel and select Programs (or Programs and Features).
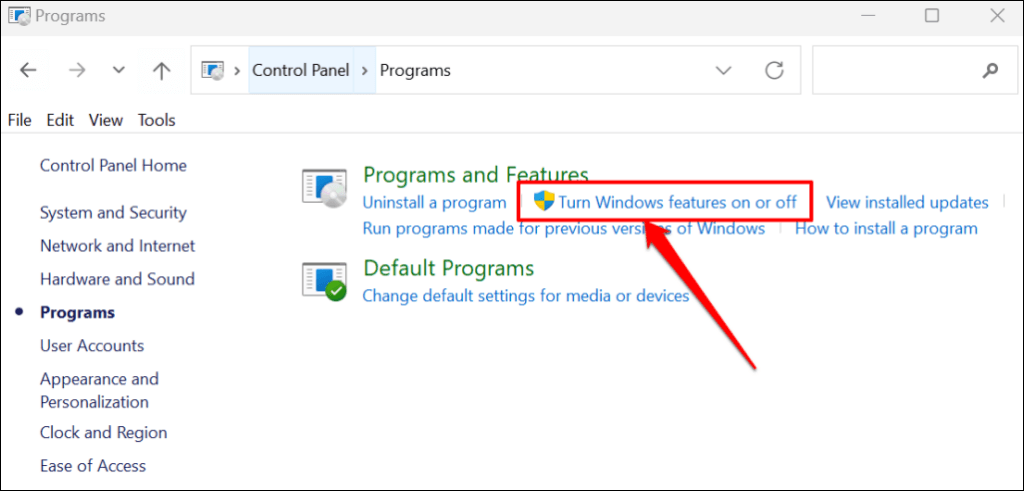
- Select Turn Windows features on or off.
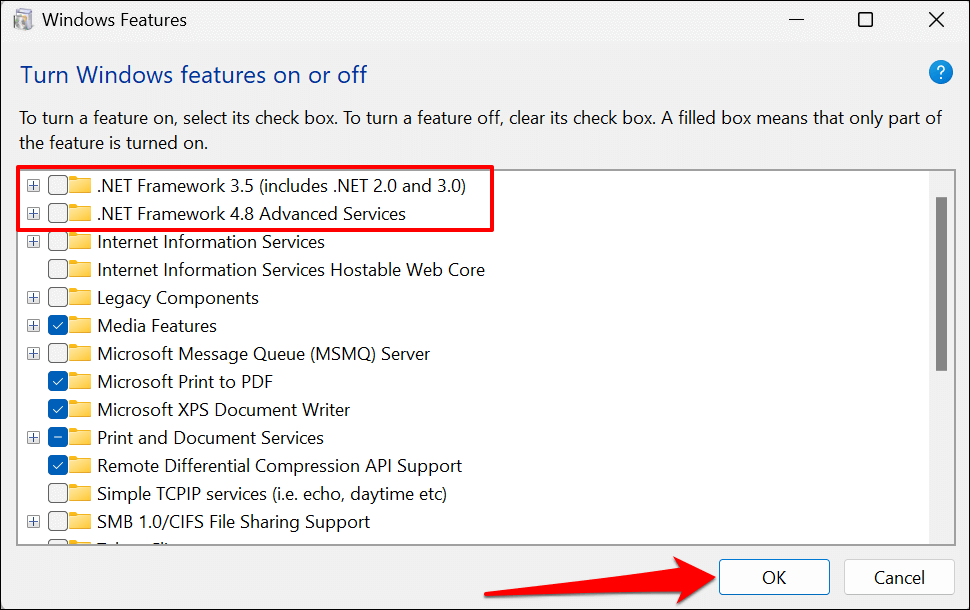
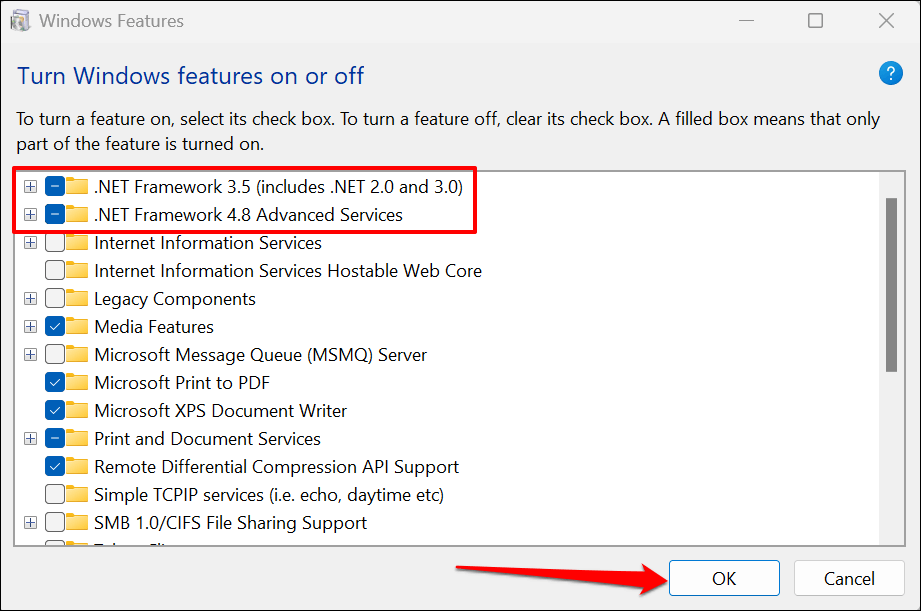
- Uncheck the boxes next to all .NET Framework versions on the list and select OK.
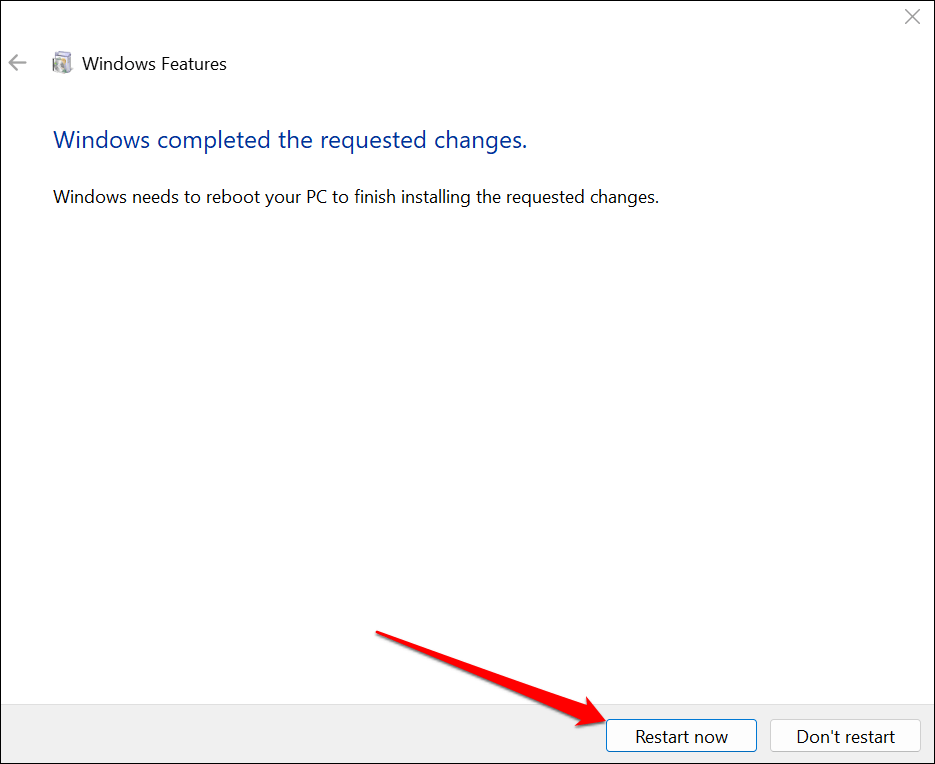
- Select Restart now to reboot your computer.
- Open the Control Panel and check the box next to the .NET Frameworks you turned off earlier. Select OK to proceed.
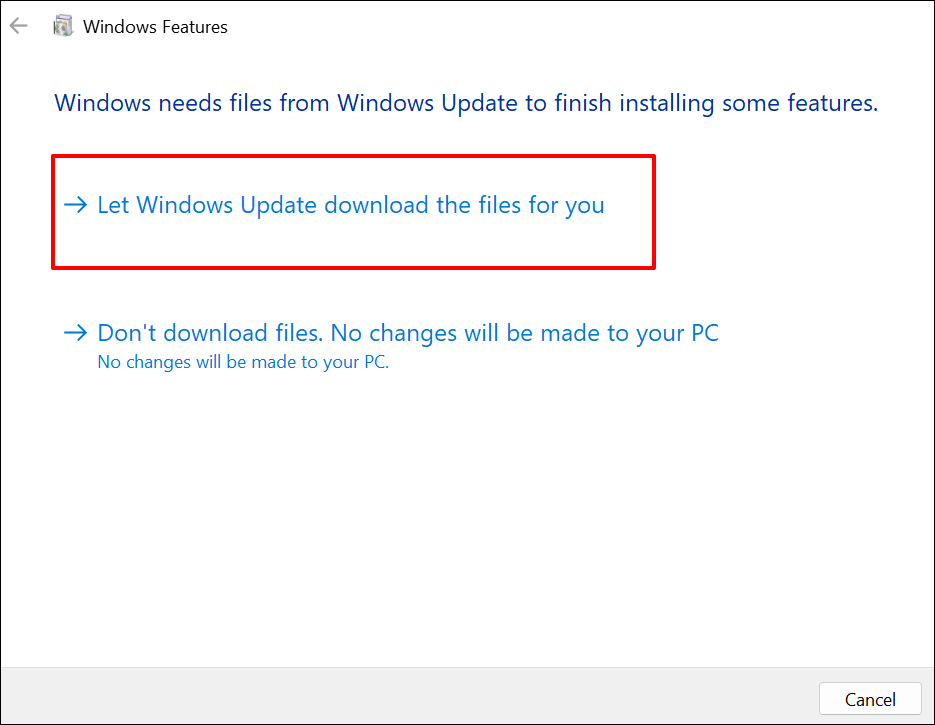
- You may get a prompt to download files from Windows Update to complete the .NET Framework setup. Connect your computer to the internet and select Let Windows Update download the files for you.
Control Panel will download the files required to set up the .NET Framework on your computer. The download process takes about 10-25 minutes, depending on your internet speed and .NET Framework version(s).
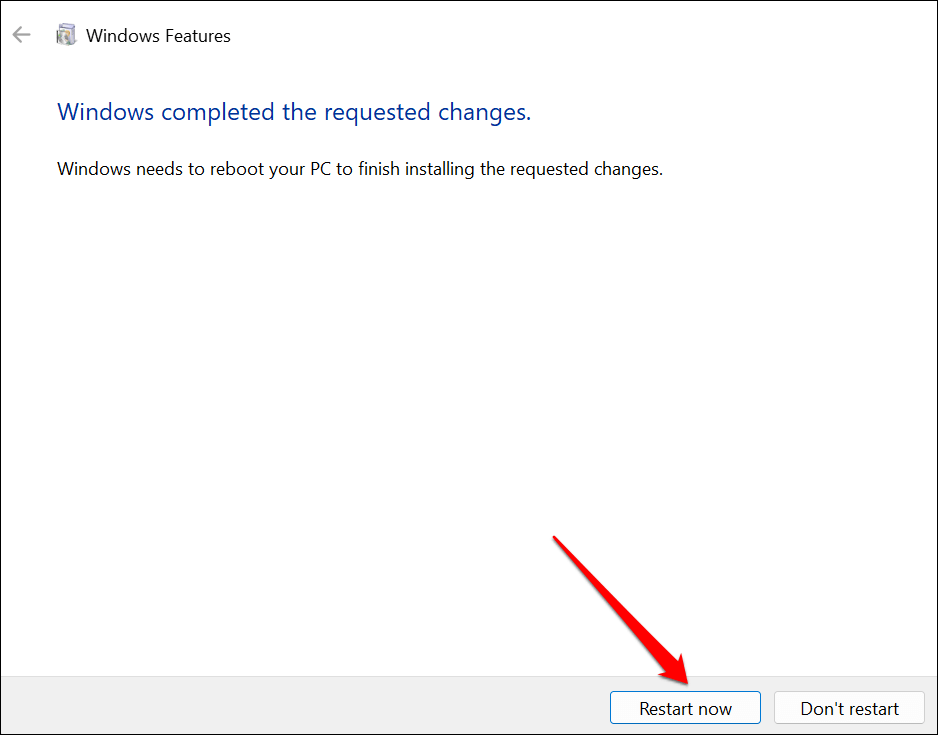
- Select Restart now to reboot your computer and complete the setup process.
Run the System File Checker
The System File Checker (SFC) utility might fix corrupt .NET Framework installation in Windows. Run an SFC scan if the Microsoft .NET Framework Repair Tool doesn’t find or fix any problem.
Connect your PC to a Wi-Fi or Ethernet network and follow the steps below.
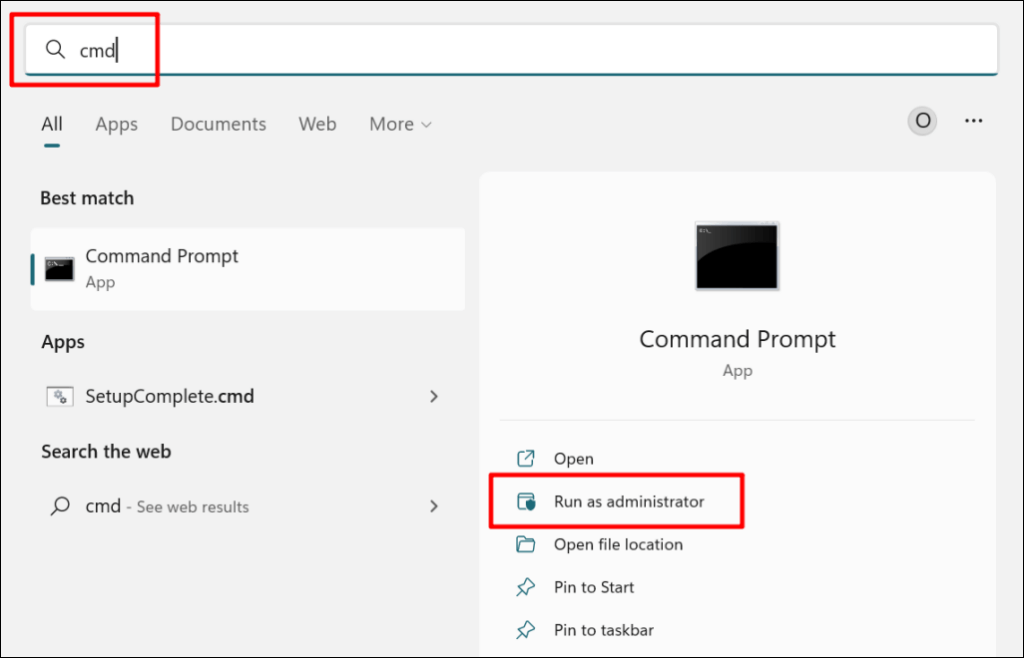
- Type cmd in the Windows search bar and run the Command Prompt app as an administrator.
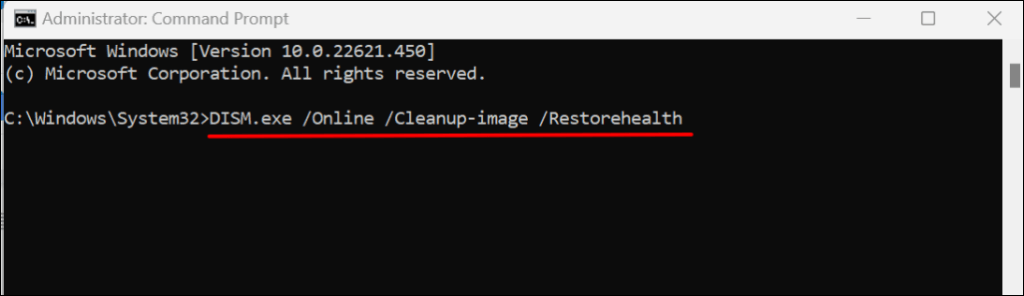
- Type or paste DISM.exe /Online /Cleanup-image /Restorehealth in the console and press Enter.
- Next, paste sfc /scannow in the console and press Enter.

Get .NET Framework Patched Up
The Check Disk (CHKDSK) Utility is another tool that diagnoses and fixes file corruption in Windows. Learn how to fix file system errors with Check Disk Utility.
If an app continues to crash after repairing the .NET Framework, contact Microsoft Support or report the problem to the app developer.