How to Clear Cache on Android Phone (And Why Is It Important)

You must have noticed that there is a certain section of your phone’s storage space that is occupied by cache files. Every app installed on your device contributes to the number of cache files. It might not seem a lot initially but as the number of apps keeps increasing on your device, these cache files begin to occupy a considerable amount of memory; the memory that could have been used to store personal files like photos and videos.
The good news is that you can reclaim this space if you want to. Clearing cache files to free up storage is not only an efficient idea but also becomes necessary if your phone is old and running out of storage space. In this article, we are going to explain what are cache files and whether or not you should get rid of them.
How to Clear Cache on Android Phone (And Why Is It Important)
What is Cache?
The cache is nothing but some temporary data files. As mentioned earlier, every app that you use generates some cache files. These files are used to save different kinds of information and data. This data could be in the form of images, text files, lines of code, and also other media files. The nature of data stored in these files differs from app to app. They are also app-specific which means that one app’s cache files are useless for the other. These files are automatically created and stored securely in reserved memory space.
See Also:
Top 10 Ways to Fix Android Screen Goes Black During Calls
What is SMS Signature on Android?
How to Hack Wi-Fi Password on Android
How to Recover Deleted Text Messages on Android
15 Best App to Restore Old Photos Android List
What is the function of Cache Files?
Apps generate cache files to reduce their loading/startup time. Some basic data is saved so that when opened, the app can display something quickly. For example, your browser saves its home page as a cache file to quickly load when opened. A game might save log-in data so that you don’t need to enter login credentials every time and thus save time.
A music player might save your playlists so that it does not have to refresh and reload the entire song database at the time of opening. This way cache files serve an important purpose to mitigate the waiting time for us to use an app. These cache files are dynamic and keep getting updated. Old files are replaced by new files. Data stored in these cache files changes with changes in the app or personal settings.
Why should you delete Cache Files?
Normally, there isn’t any need to manually delete cache files. As mentioned earlier, these cache files are dynamic and automatically get deleted after some time. New cache files are generated by the app which takes its place. However, on certain occasions, it becomes necessary to clear the cache files. Let us now take a look at these situations:
1. Cache files are saved by apps to accelerate their loading time. However, sometimes these cache files get corrupted and interfere with the normal functioning of the app. Corrupted cache files can cause the app to malfunction, lag or even crash. If some app is not working properly, then you should clear its cache files to fix the error.
2. These files also consume a considerable amount of space. Especially browsers and social media apps save a lot of data as cache files and this occupies a lot of memory. In order to free up space, it is necessary to clear old cache files from time to time. This is, however, a temporary solution as the app would generate new cache files the next time you open the app.
3. Some apps save private and sensitive information like your log in credentials or search history in cache files. This poses a security threat. If anyone else is able to get their hands on these cache files, then your privacy is compromised. They can even use your identity to commit malpractices and the blame would fall on you. Therefore, another reason to clear cache files on Android is to avoid security threats.
4. Finally, if you find your app (say Instagram or browser) stuck on the same feed and would not refresh and load fresh posts, then clearing the cache files will force the app to reload and display fresh content.
4 Ways to Clear Cache on Android Phone
There are multiple ways to clear the cache on Android devices. You can either clear cache files for individual apps or for all the apps in one go. If you don’t want to delete these files manually, then you can also opt for a third-party app to do your bidding. In this section, we will be discussing the various methods in detail and provide you with a step by step guide to clear cache files.
Method 1: Clear all Cache Files
Android system allows you to get rid of cache files for all the apps in one go. This not only saves time and effort but clears up a lot of space instantaneously. Despite being easy and convenient, this method is seldom used as it is counter-productive. If you delete all the cache files at one go, then you would have to log in to every app when you open them next time. In fact, the new Android versions, i.e. Android 8 (Oreo) and above have done away with the option to delete all cache files in one go. If you are using an older Android device and would like to clear all cache files, then follow the steps given below:
1. Open Settings on your phone.
2. Now tap on the Storage and memory option.

3. Here, you will find an analytical report of how much memory is being occupied by various kinds of files and apps.
4. Scroll down and tap on the Cached data option.
5. A pop-up message will now be displayed on your screen asking you whether or not you would like to clear cached data for all apps. Click on the yes button.
6. Doing so will clear all the cache files from your device.
Also Read: How to Force Move Apps to an SD Card on Android
Method 2: Delete Cache files for Individual Apps
This is the more common and usual method to clear cache files. If a particular app is crashing or not working properly, you need to delete the cache files for just that app. Apart from that, if the main objective is to free up space, then simply select the apps consuming more space (usually browsers and social media apps) and delete the cache files for them. Follow the steps given below to learn how to delete or clear cache files for an individual app on your Android phone:
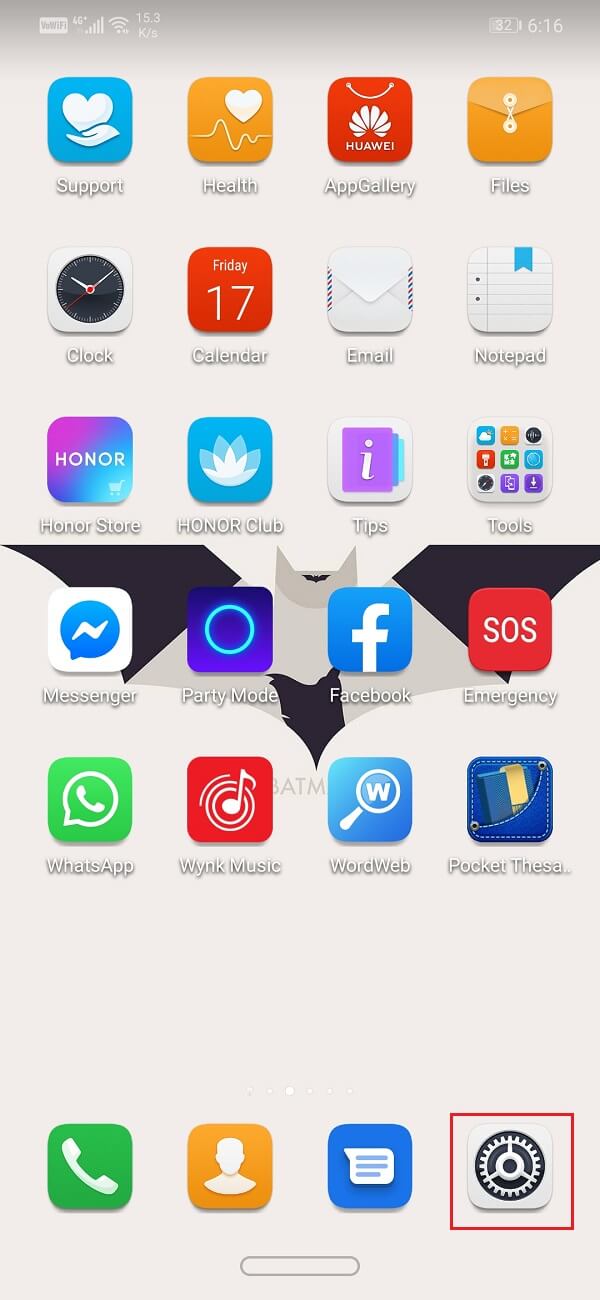
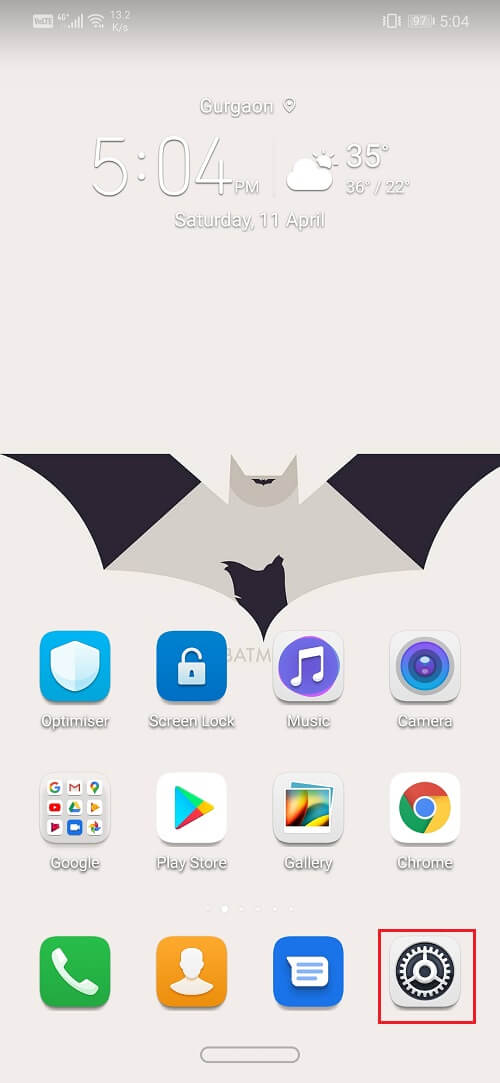
1. Go to the Settings on your phone.
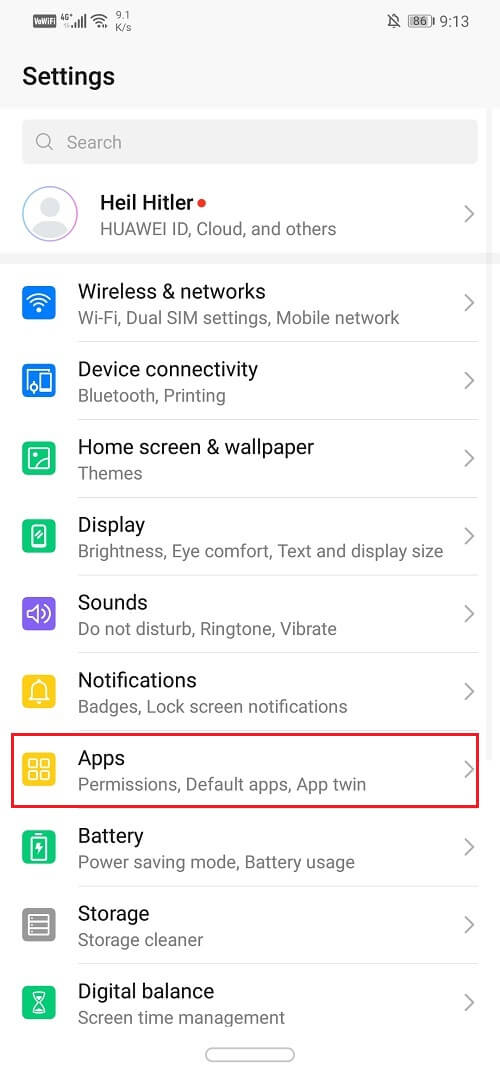
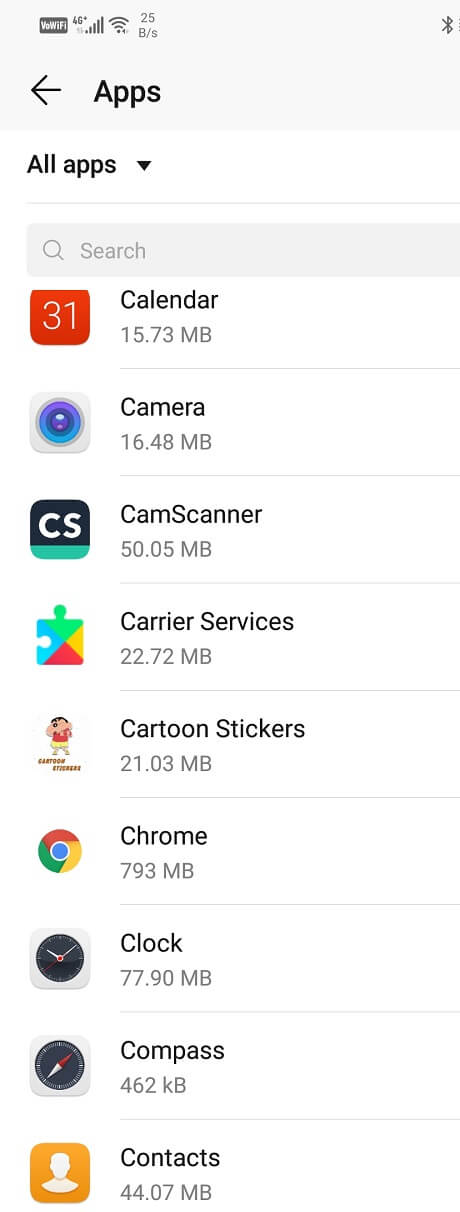
2. Click on the Apps option to view the list of installed apps on your device.
3. Now select the app whose cache files you would like to delete and tap on it.
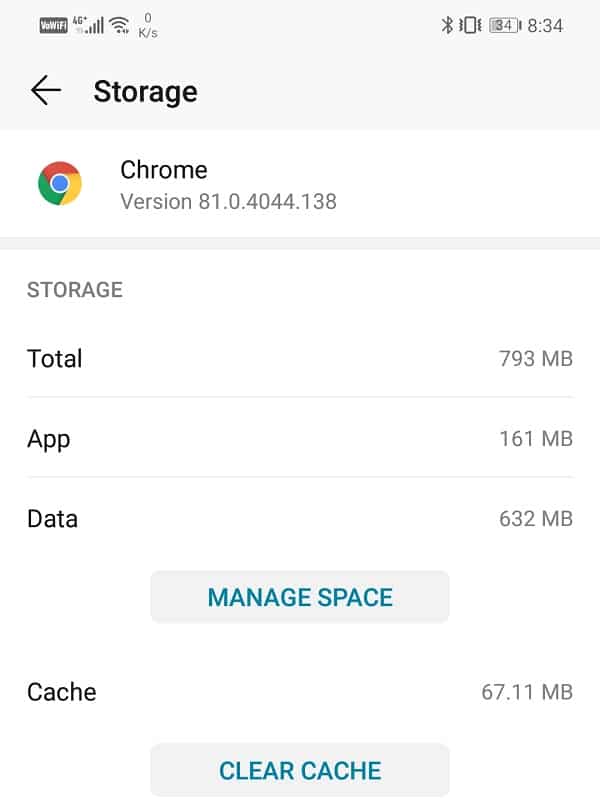
4. Click on the Storage option.

5. Here, you will find the option to Clear Cache and Clear Data. Click on the respective buttons and the cache files for that app will get deleted.
Method 3: Clear Cache using a Third-Party App
Another effective way to clear cache is by using a third-party app. There are a lot of cleaning apps available on the Play Store that will not only help you to clear cache files but other junk files as well. These are apps are a great means to free up memory and also boost your RAM. Some of the best apps available in the market are:
1. Clean Master: This is one of the most popular cleaner apps on Play Store and has over a billion downloads to its name. Clean Master allows you to clear cache files, system junk, unused app data, duplicate files, etc. It also clears background processes to free up RAM. Apart from that, Clean Master has a battery saver utility and also an antivirus system.
2. CC Cleaner: Another useful app that you can try is the CC Cleaner. Apart from Android, it is also available for Windows and MAC operating systems. With the help of this app, you can get rid of various types of junk files. It also helps improve the performance of the device. One of the most interesting features of the app is that it allows you to monitor the temperature of the device.
3. Files by Google: Files by Google is a file manager app with a simple interface and is very easy to use. It helps you to identify junk files that are consuming space like unused apps, media files, cache files, etc. It might not be a cleaner app by definition but gets the work done.
Method 4: Wipe Cache Partition
Another method to delete cache files which is a little complicated is by wiping the cache partition. In order to do this, you need to set the phone in recovery mode from the bootloader. There is a certain amount of risk associated with this method and it is not for an amateur. You might cause damage to your own and so we recommend you to proceed with this method only if you have some experience, especially in rooting an Android phone.
You can follow the steps given below to wipe cache partition but keep in mind that the exact procedure may differ from device to device. It would be a good idea to read about your device and how to wipe cache partition in it on the internet.
1. The first thing that you need to do is to switch off your mobile phone.
2. In order to enter the bootloader, you need to press a combination of keys. For some devices, it is the power button along with the volume down key while for others it is the power button along with both the volume keys.
3. Take note that the touchscreen does not work in the bootloader mode so when it starts using the volume keys to scroll through the list of options.
4. Traverse to the Recovery option and press the power button to select it.
5. Now traverse to the Wipe cache partition option and press the power button to select it.
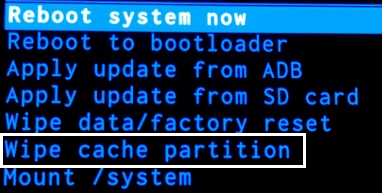
6. Once the cache files get deleted, reboot your device.
One thing that you need to keep in mind is that deleting cache files by any of the methods described above does not permanently free up space. New cache files will be automatically generated the next time you open the app.
Recommended:
I hope the above tutorial was helpful and you were able to clear cache on your Android phone. If you still have any questions regarding this tutorial then feel free to ask them in the comment section.