3 Ways to Check Your Graphics Card in Windows 10

3 Ways to Check Your Graphics Card in Windows 10: Millions of people uses Windows 10 but they don’t have any idea which graphics card their computer has, do they have dedicated graphics card or an integrated one. Most of the Windows users are a novice and they don’t care much about their PC specifications like which graphics card they have but sometimes when there is some issue with their system, they need to update the graphics card. This is where they need this information so they can download the latest available drivers from the manufacturer’s website.
If you too are facing the same issue then don’t worry as today in this guide we will cover 3 methods via which you can easily find out the type, model, manufacturer etc of your Graphics Card. Make sure you know that Graphics card is also called a video adapter, video card, or display adapter. Anyway, without wasting any time let’s see How to Check Your Graphics Card in Windows 10 with the help of the below-listed tutorial.
3 Ways to Check Your Graphics Card in Windows 10
Make sure to create a restore point just in case something goes wrong.
Method 1: Check Your Graphics Card in Windows 10 Settings
Note: This will only show the integrated graphics card, to see the dedicated graphics card follow the next method.
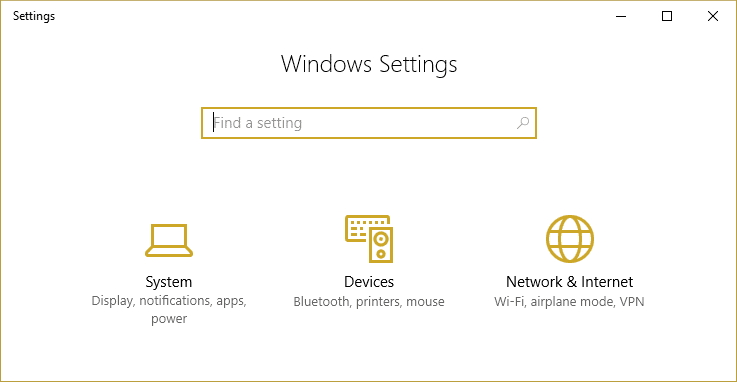
1.Press Windows Key + I to open Settings then click on System icon.
2.From the left hand menu make sure to select Display.
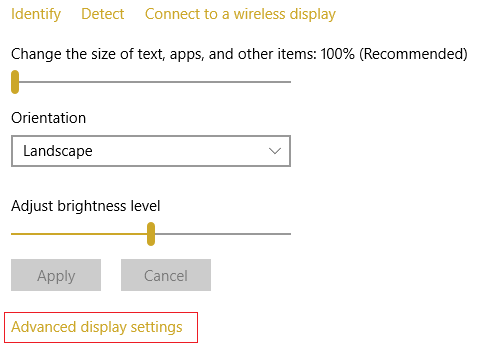
3.Scroll down then click on Advanced display settings.
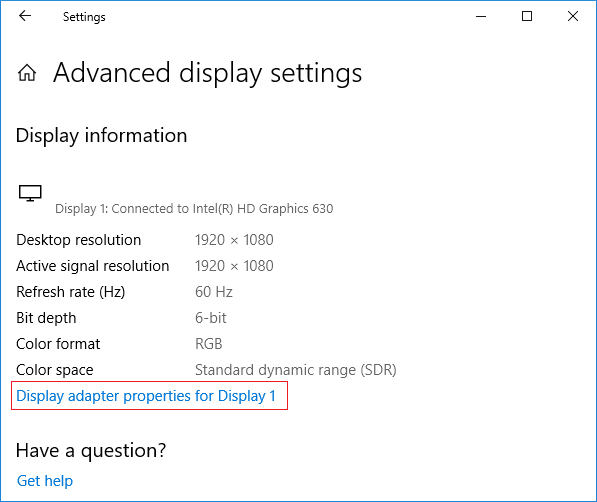
4.In the Advanced display settings, click on the link that says “Display adapter properties“.
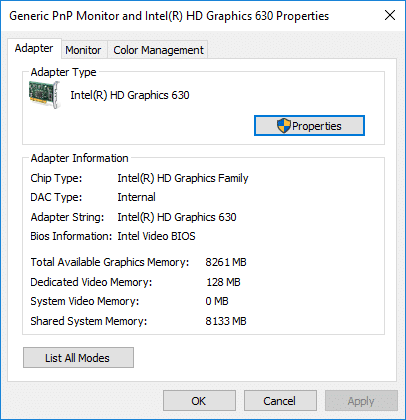
5.The graphics properties window will open and here you can see the type, mode, & manufacturer of your graphics card.
Method 2: Check Your Graphics Card in Windows 10 using DxDiag
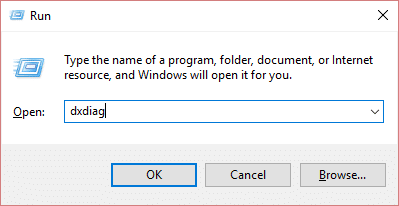
1.Press Windows Key + R then type dxdiag and hit Enter to open DirectX Diagnostic Tool.
Note: DxDiag (DirectX Diagnostic Tool) is used to view the system information such as the grahics card, sound card etc.
2.Wait for few seconds in order for the DxDiag window to load.
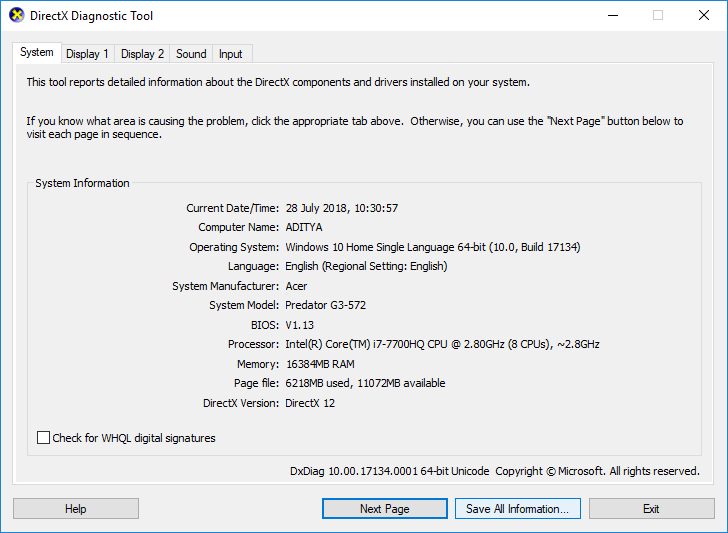
3.On the System tab (in DxDiag window) you will see the following information:
Computer Name
Operating System
Language
System Manufacturer
System Model
BIOS
Processor
Memory
Page file
Direct X Version
4.Now if you have a dedicated graphics card then you will have two Display tabs such as Display 1 and Display 2.
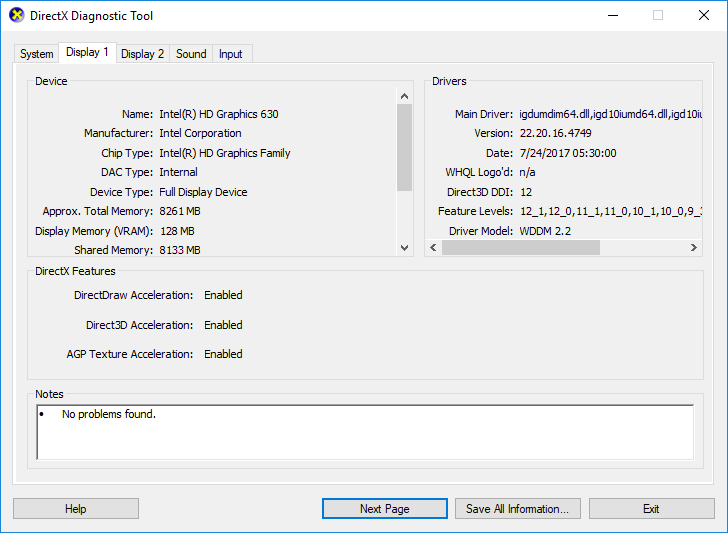
5.Switch to Display 1 and here you will find the Name, Manufacturer, Total Memory, Drivers information etc of the Graphics card.
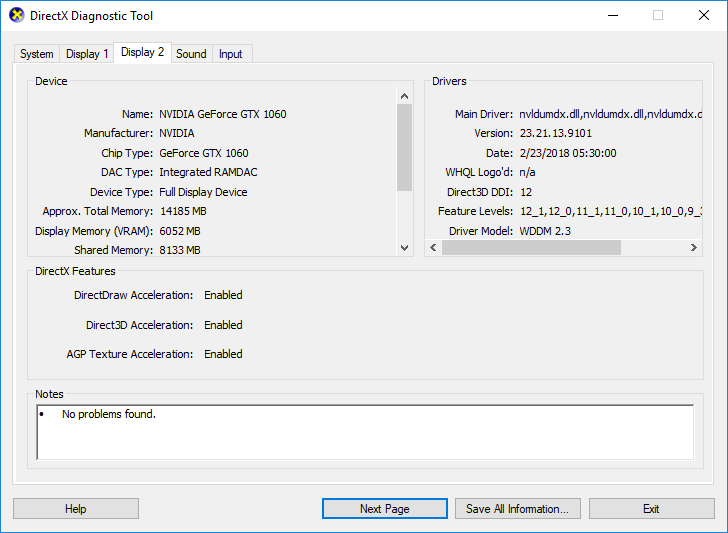
6.Similarly, switch to Display 2 (which will be your dedicated graphics card) and you will find the following information:
Name of the Graphics Card
Manufacturer
Chip Type
DAC Type
Device Type
Total Memory
Display Memory
Shared Memory
Drivers
DirectX Features
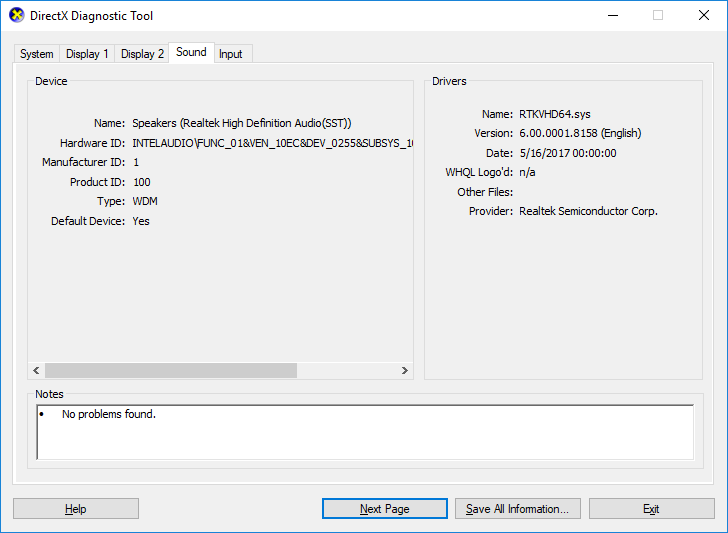
7.The last tab is of sound, where you can find sound card name, manufacturer, drivers etc.
8.Once finished, click Exit to close the DxDiag window.
Method 3: How to Check Your Graphics Card in Windows 10 using Device Manager
1.Press Windows Key + R then type devmgmt.msc and hit Enter.
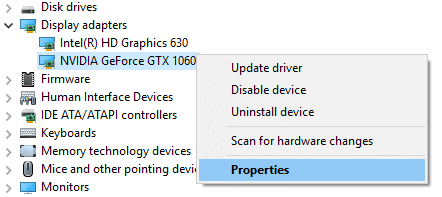
2.Expand Display adapters and then you will see your graphics card listed. If you have integrated as well as the dedicated graphics card, you will see both of them.
3.Right-click on any one of them and select Properties.
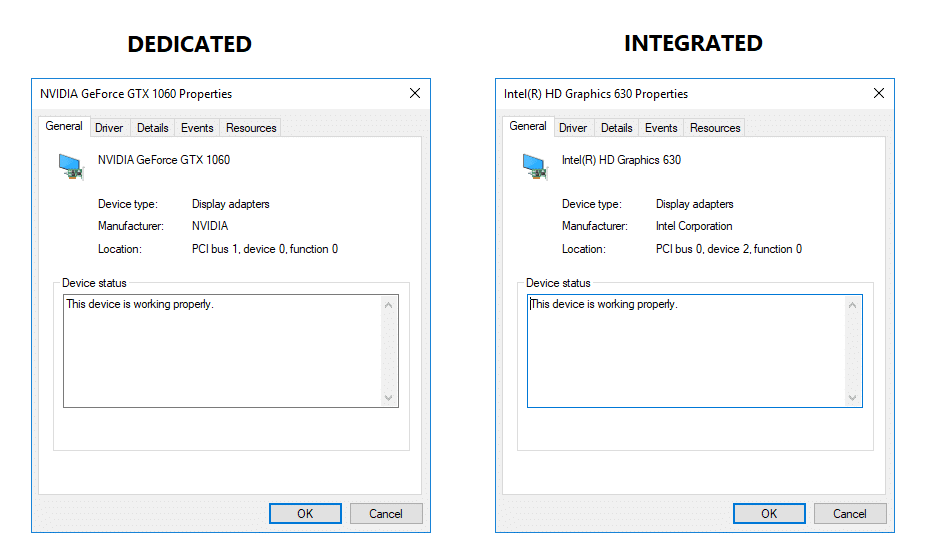
Note: You will need to open Properties window of each graphics card to know more about both of them.
4.In the Properties window, you will see the Graphics card name, manufacturer, device type, etc information.
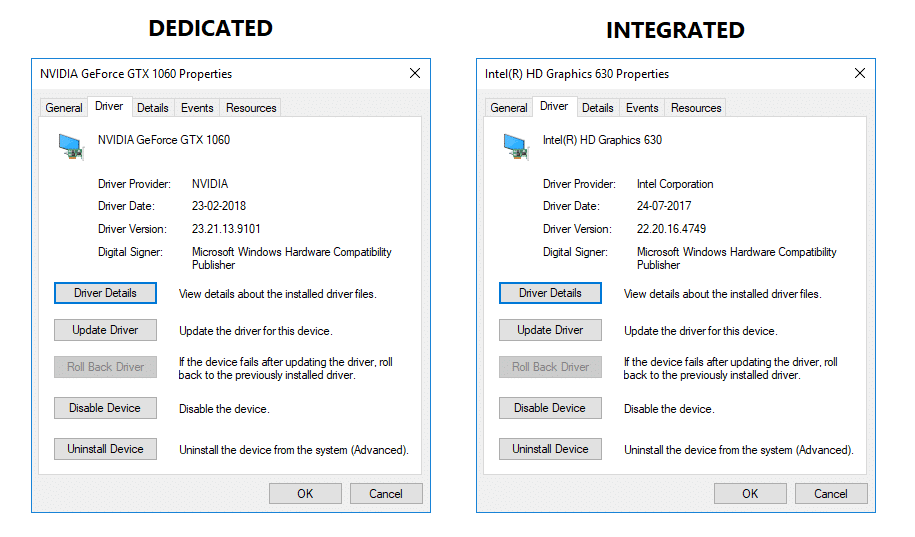
5.You can also switch to Driver, Details, Events, or Resources tab to know more about your Graphics Card.
6.Once finished, click ok to close the properties window.
Recommended:
That’s it you have successfully learned How to Check Your Graphics Card in Windows 10 but if you still have any questions regarding this post then feel free to ask them in the comment’s section.
