Fix Google Play Music Keeps Crashing

Google Play Music is a popular music player and a pretty great app for music streaming. It incorporates the best in class features of Google and its expansive database. This allows you to find any song or video pretty easily. You can browse top charts, most popular albums, latest releases, and create a custom playlist for yourself.
It keeps track of your listening activity and thus, learns your taste and preference in music to provide you with better suggestions. Also, since it is linked to your Google account, all your downloaded songs and playlists are synced across all your devices. These are some of the features that make Google Play Music one of the best music apps available in the market.
However, after the latest update, Google Play Music has hit a bit of a snag. A lot of Android users have complained that the app keeps crashing. Although it is pretty sure that Google would soon come up with a bug fix, but until then you can try different methods to try and fix the problem yourself. Based on the feedback from its users, it seems that there is a link between Bluetooth and the crashing of Google Play Music. If you are connected to a Bluetooth device and try opening Google Play Music, then it is possible that the app would crash. In this article, we are going to try various solutions that can prevent the app from crashing.
Fix Google Play Music Keeps Crashing
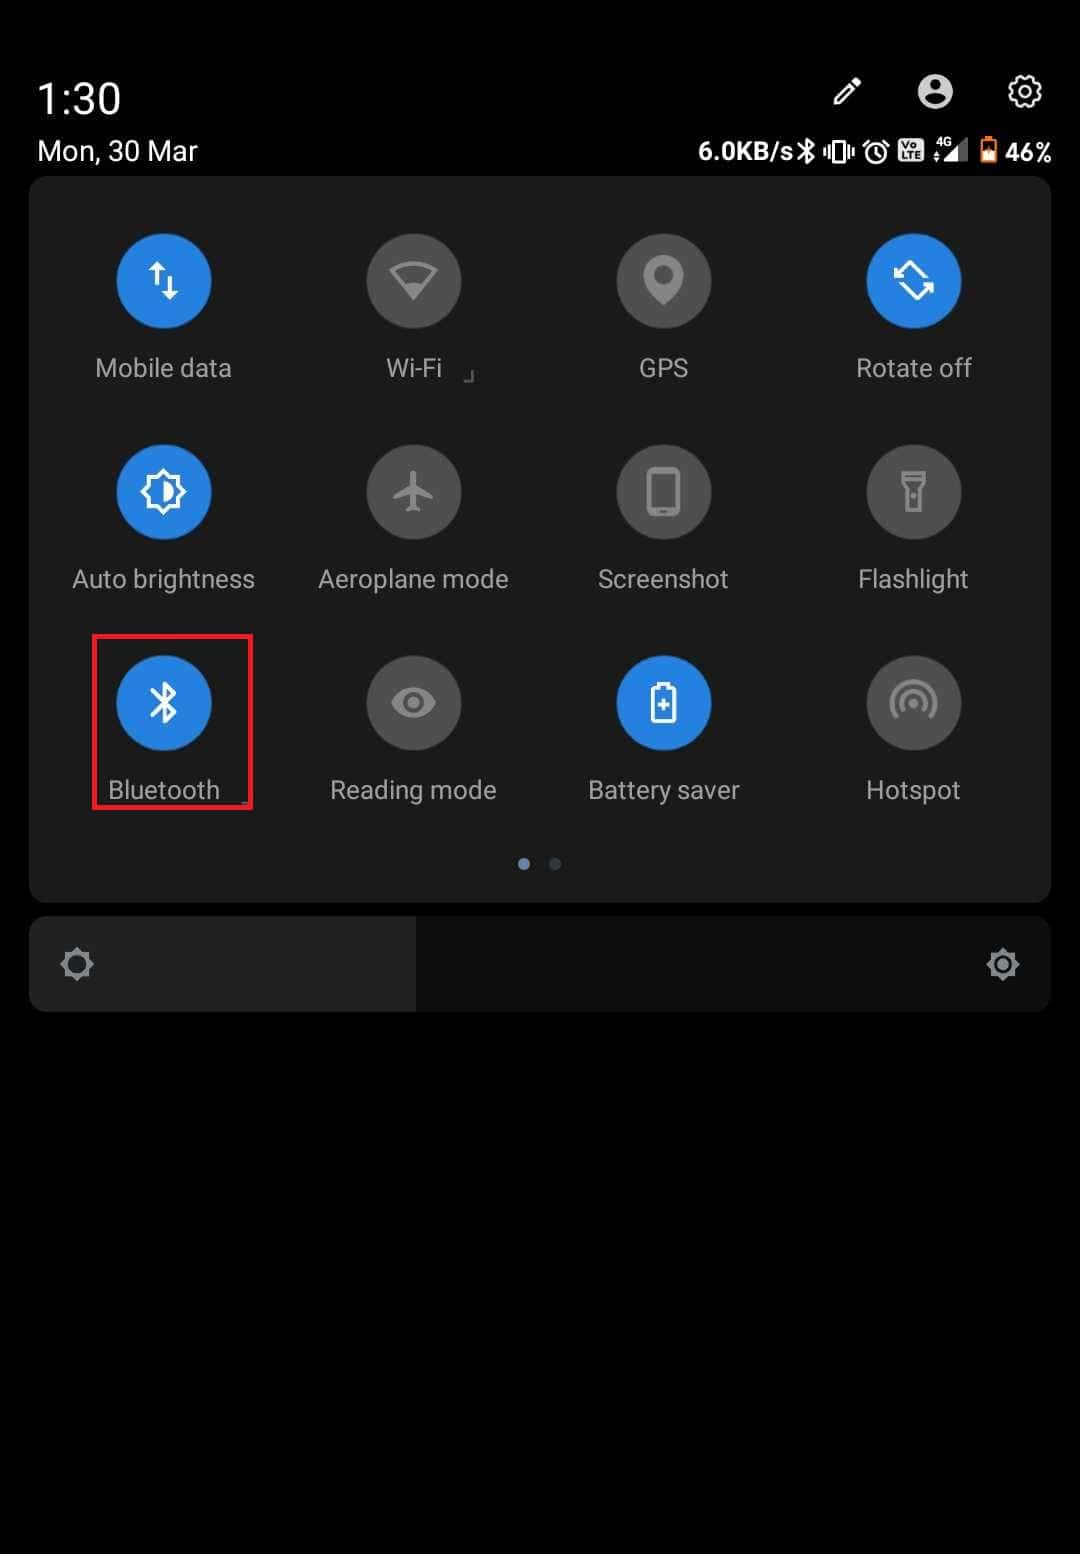
1. Turn Off your Bluetooth
As mentioned above, there seems to a strong link between Bluetooth and Google Play Music crashing again and again. The simplest solution would be to just switch off the Bluetooth. Simply drag down from the notification panel to access the quick access menu. Now, tap on the Bluetooth icon to disable it. Once the Bluetooth is turned off, try using Google Play Music again and check if it still crashes.
See Also:
Fix Amazon Music Not Downloading Error 200
How to Fix Comcast Email Not Working
Fix Google Play Store Error Code 403
Fix Google Chrome Status Invalid Image Hash Error
Fix Microsoft Edge Shortcut Keeps Appearing on Desktop
2. Refresh the Music Library and Restart your Device
Once you have turned off your Bluetooth, try refreshing your music library. Doing so might remove some playback bugs. If the app kept crashing while trying to play any song, then refreshing the library might solve the problem. When a file is corrupted in any way, refreshing your library allows you to re-download them and hence, solve the problem. Follow the steps given below to learn how:
1. Firstly, open Google Play Music on your device.
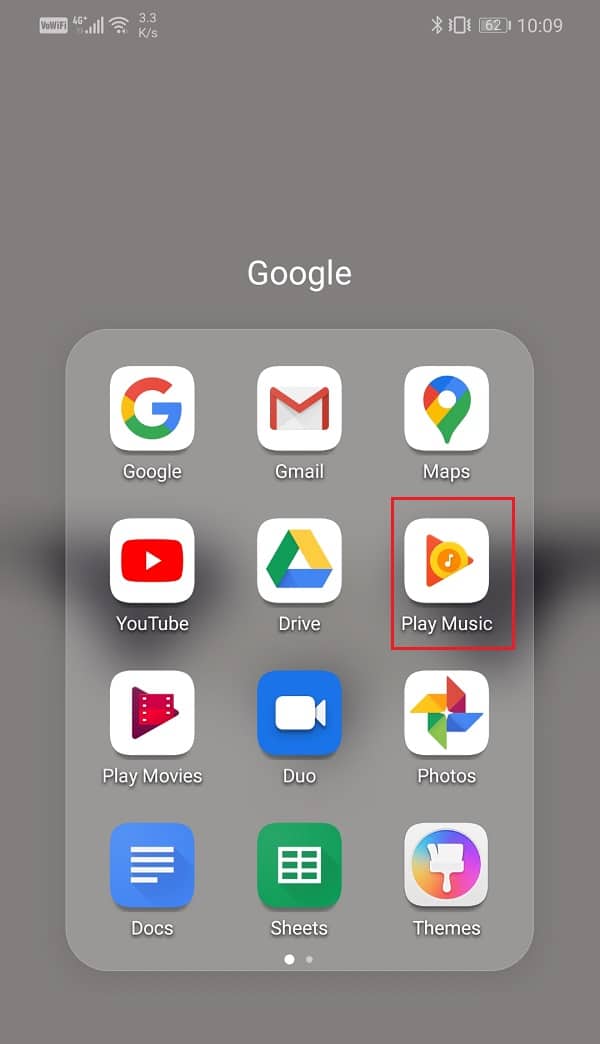
2. Now, tap on the menu button (three horizontal bars) on the top left-hand side of the screen.

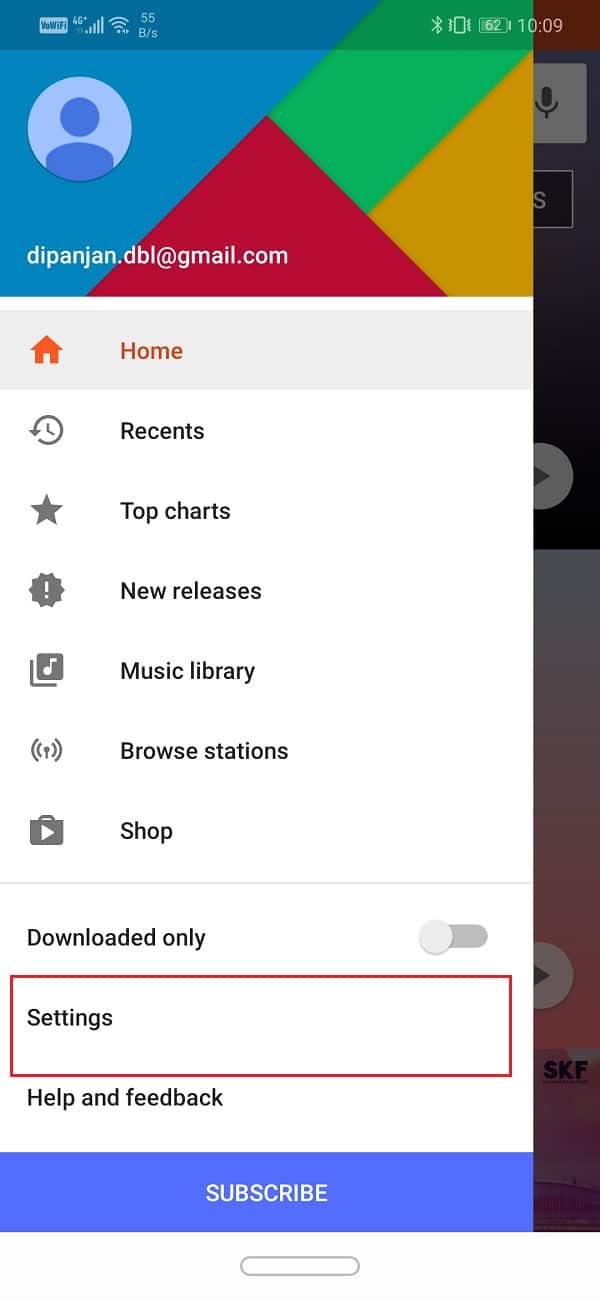
3. Click on the Settings option.
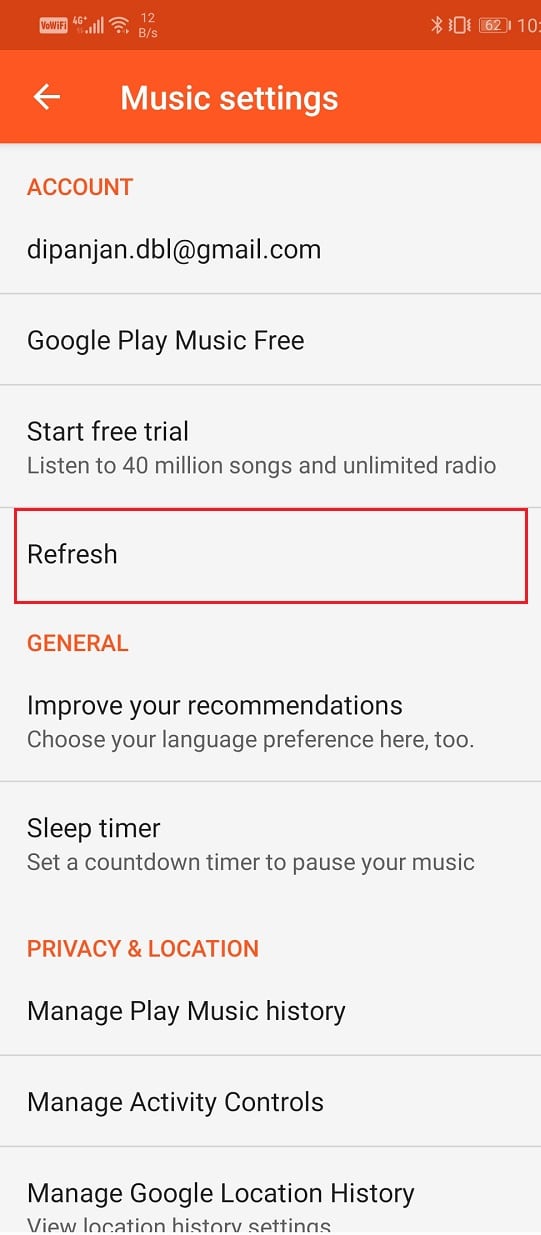
4. Now, tap on the Refresh button.
5. Once the library gets refreshed, reboot your device.
6. Now, try using Google Play Music by establishing a secure connection and see if the app still crashes or not.
3. Clear Cache and Data for Google Play Music
Every app saves some data in the form of cache files. If Google Play Music keeps crashing, then it might be due to these residual cache files getting corrupted. In order to fix this problem, you can always try clearing the cache and data for the app. Follow these steps to clear the cache and data files for Google Play Music.
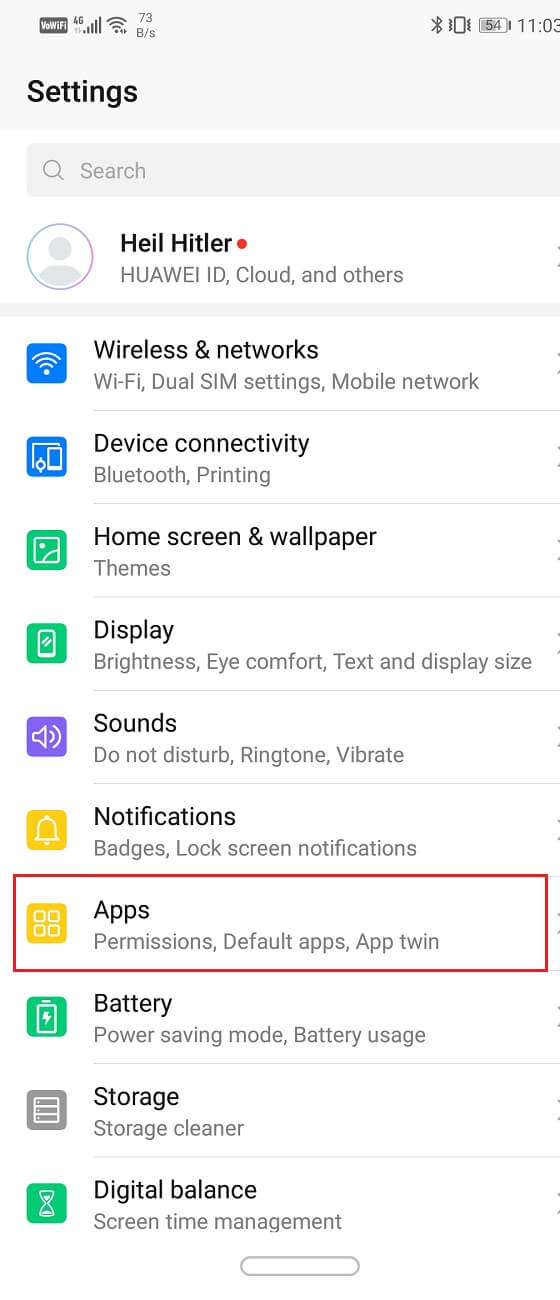
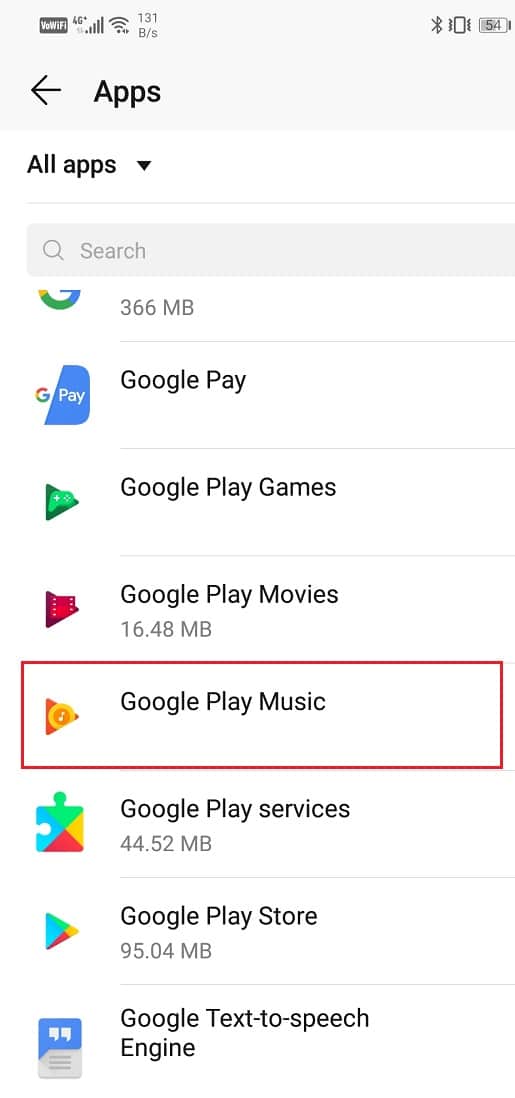
1. Go to the Settings of your phone.
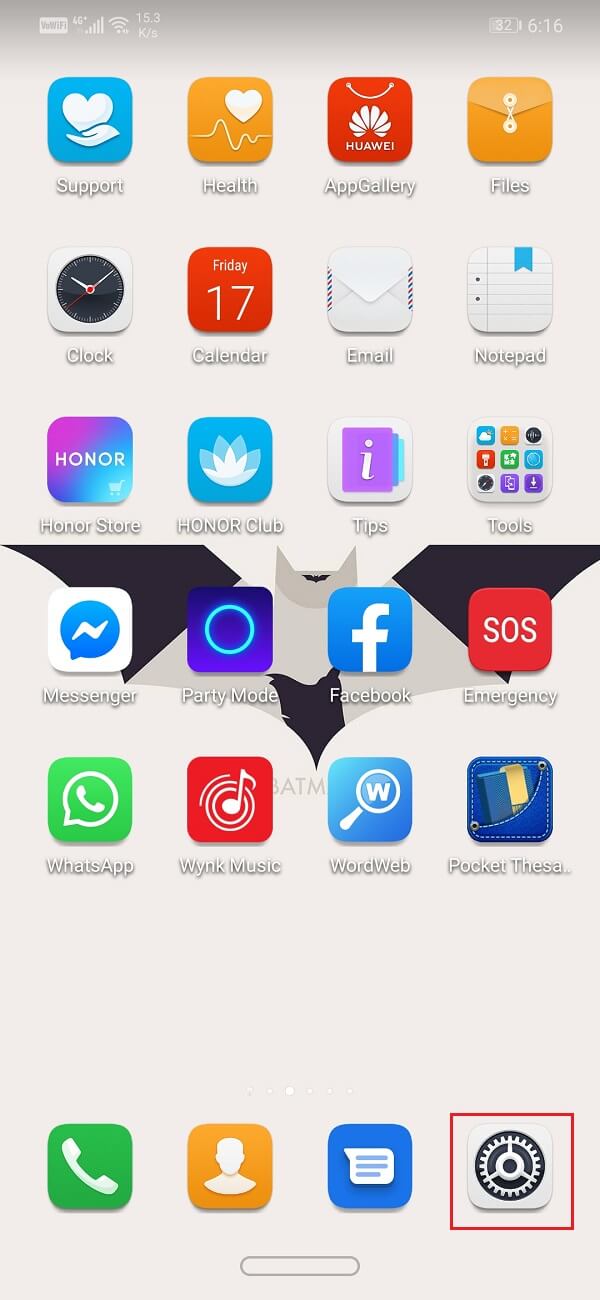
2. Tap on the Apps option.
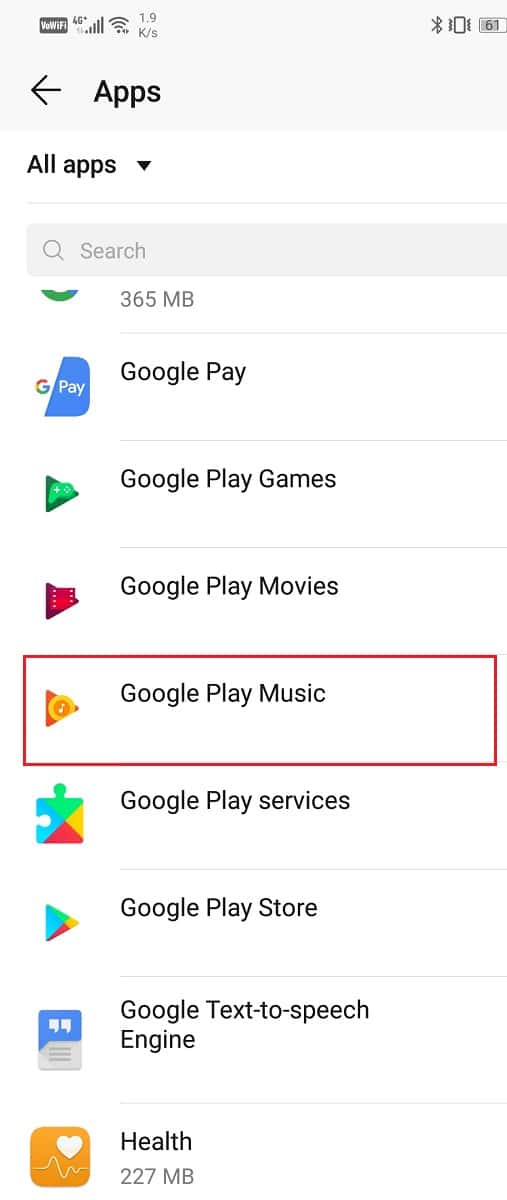
3. Now, select Google Play Music from the list of apps.
4. Now, click on the Storage option.
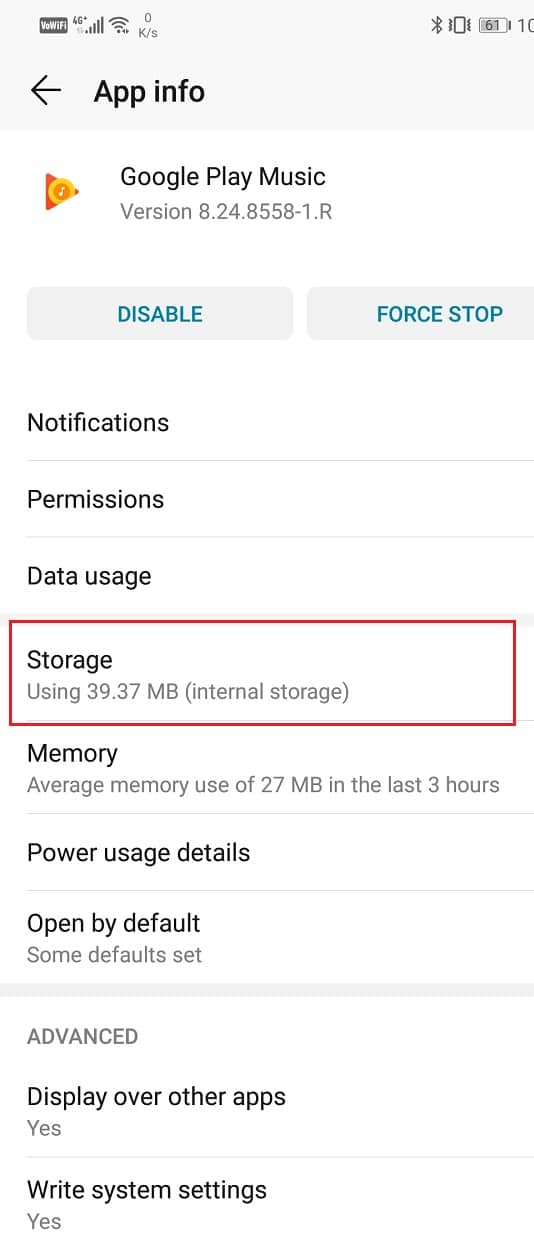
5. You will now see the options to clear data and clear cache. Tap on the respective buttons and the said files will be deleted.
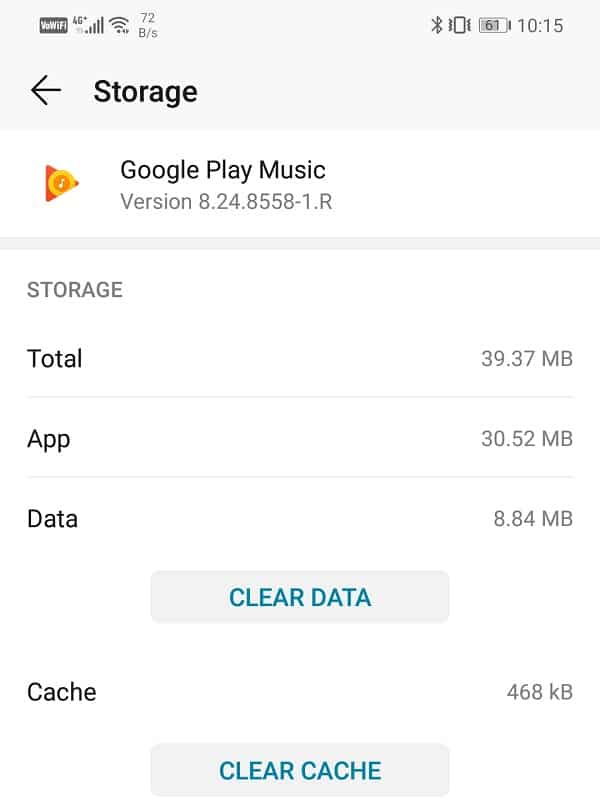
6. Now, exit settings and try using Google Play Music again and see if the problem still persists.
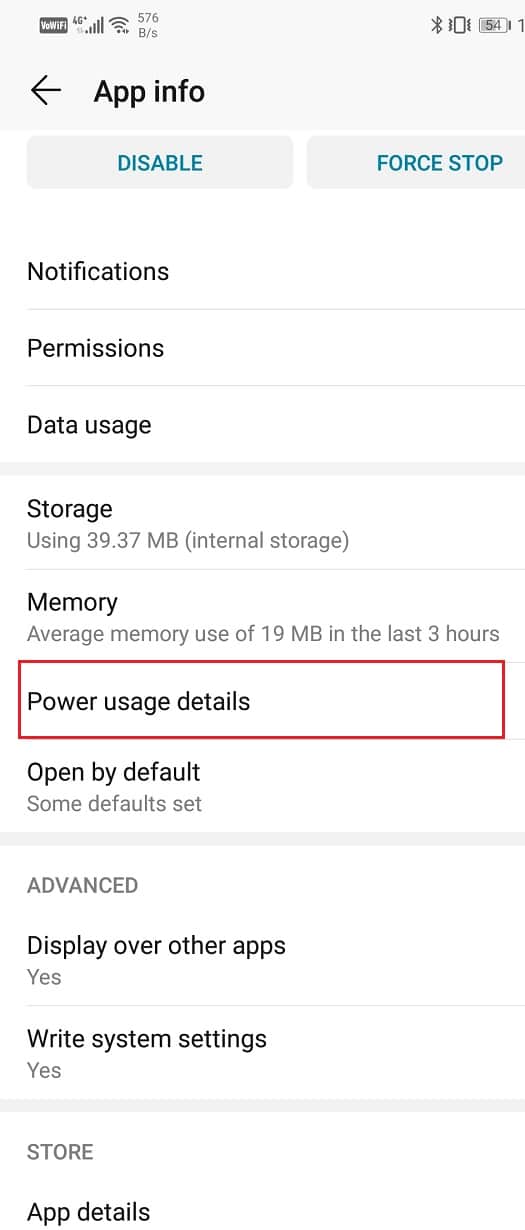
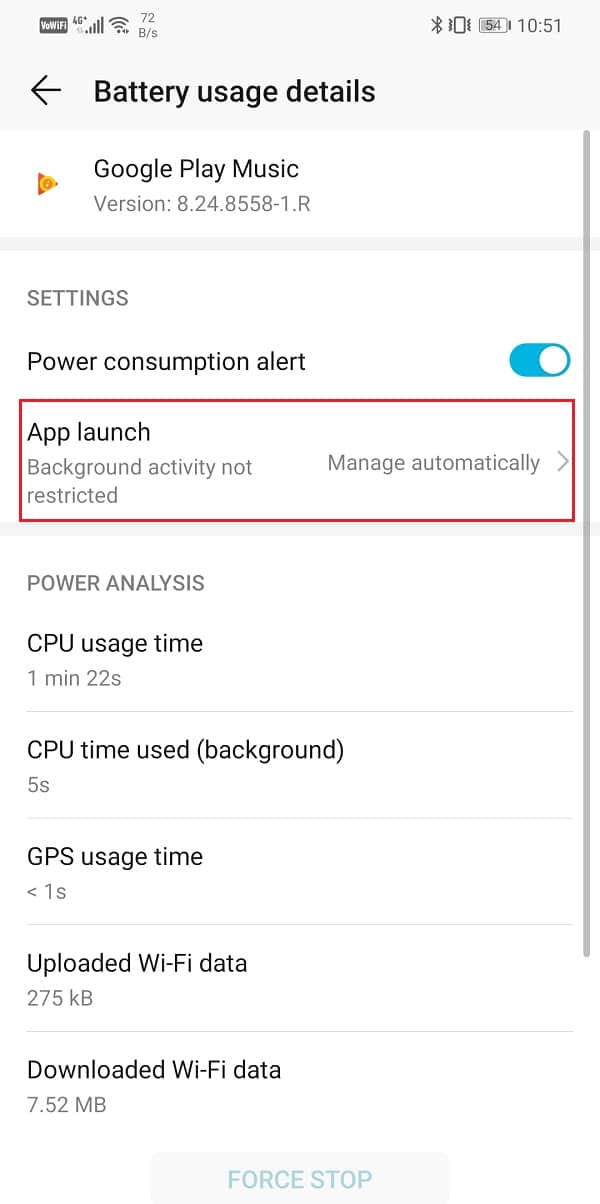
4. Disable Battery Saver for Google Play Music
The battery saver on your device is meant to reduce the power consumption by closing background processes, automatic app launches, background data consumption, etc. It also monitors power consumption for various apps and keeps in check any app that is draining the battery. It is possible that the battery saver is responsible for crashing the Google Play Music app. In an attempt to save power, the battery saver might be preventing Google Play Music from working properly. It is automatically closing some background processes that are important for the app to function. Follow the steps given below to prevent battery saver from interfering with the functioning of Google Play Music.
1. Open Settings on your phone.
2. Now, tap on the Apps option.
3. Search for Google Play Music and click on it.
4. Click on the Power Usage/Battery option.
5. Now, tap on the App launch option and select the No restrictions option.
5. Update Google Play Music
The next thing that you can do is to update your app. Irrespective of whatever kind of problem you are facing, updating it from the Play store can solve it. A simple app update often solves the problem as the update might come with bug fixes to resolve the issue.
1. Go to the Play Store.
2. On the top left-hand side, you will find three horizontal lines. Click on them.
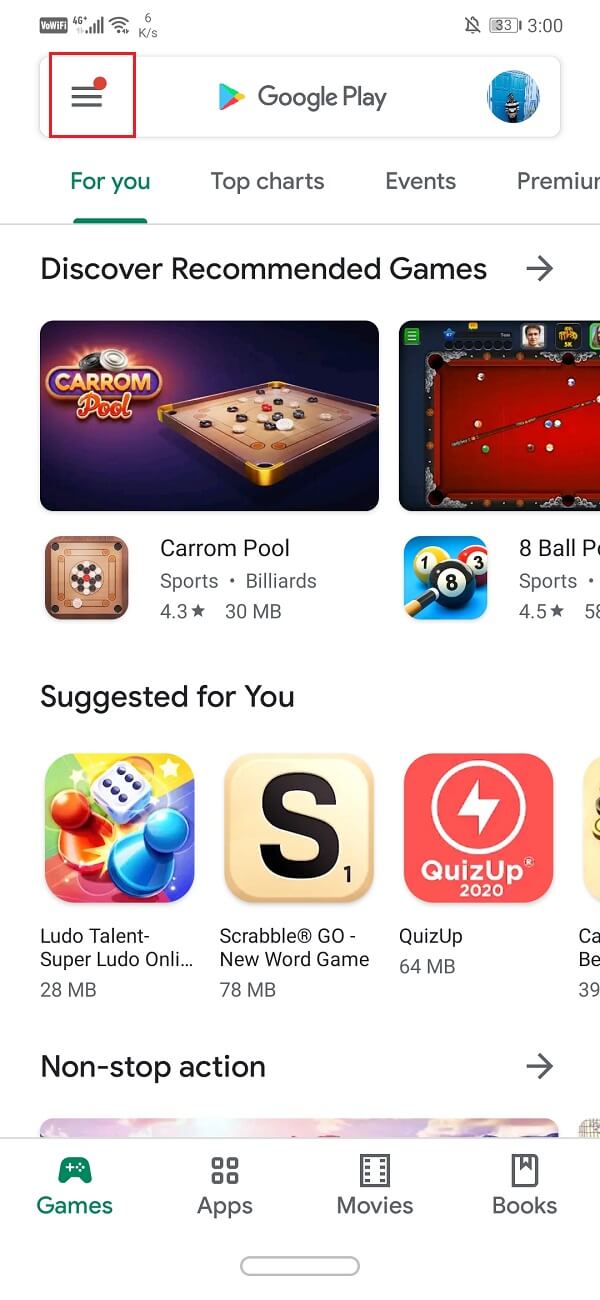
3. Now, click on the “My Apps and Games” option.
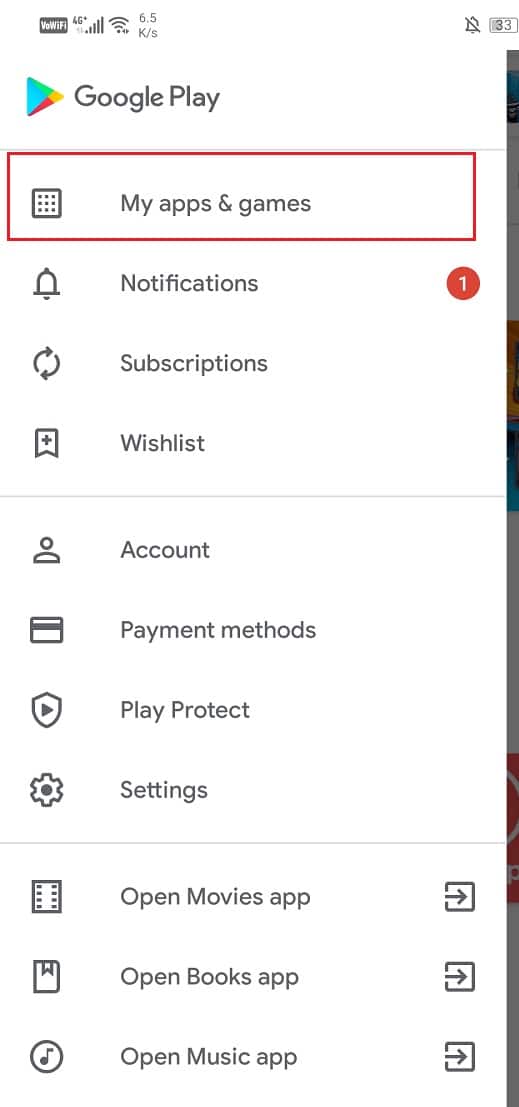
4. Search for Google Play Music and check if there are any pending updates.
5. If yes, then click on the update button.
6. Once the app gets updated, try using it again and check if it works properly or not.
Also Read: 10 Best Free Music Apps to listen to music without WiFi
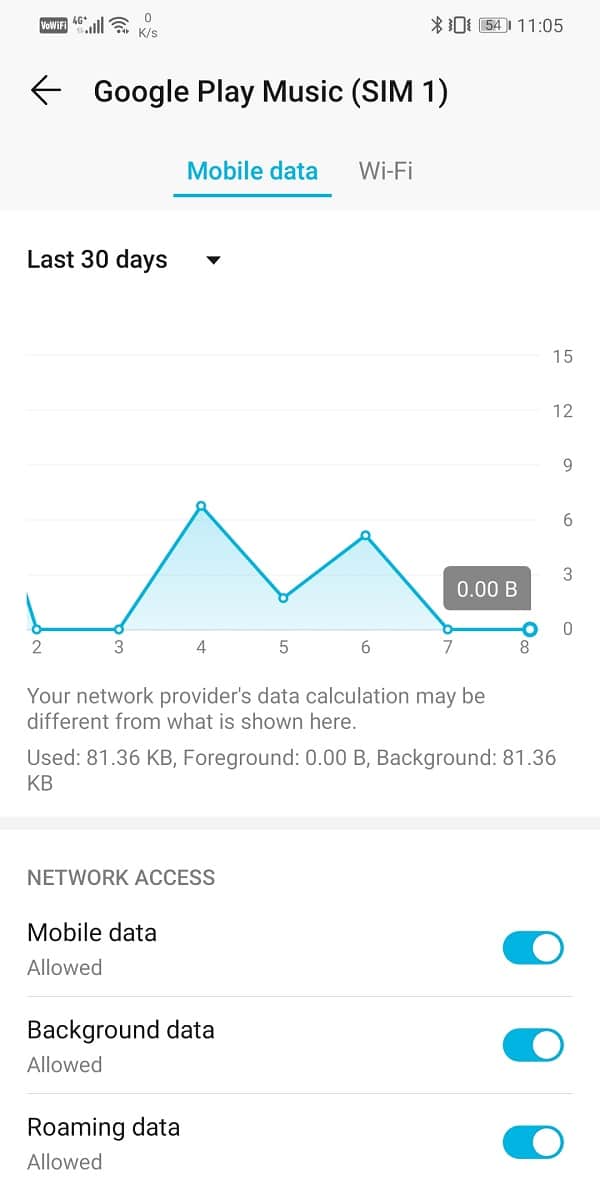
6. Review Data Usage Permissions for Google Play Music
Google Play Music requires an active internet connection to work properly. If it does not have permission to access the mobile or Wi-Fi network, then it is likely to crash. You need to make sure that it has the necessary permission to work on both mobile data and Wi-Fi. Follow the steps given below to review the data usage permissions for Google Play Store.
1. Go to the Settings of your phone.
2. Now tap on the Apps option.
3. Search for Google Play Music and click on it.
4. Now tap on the Data usage option.
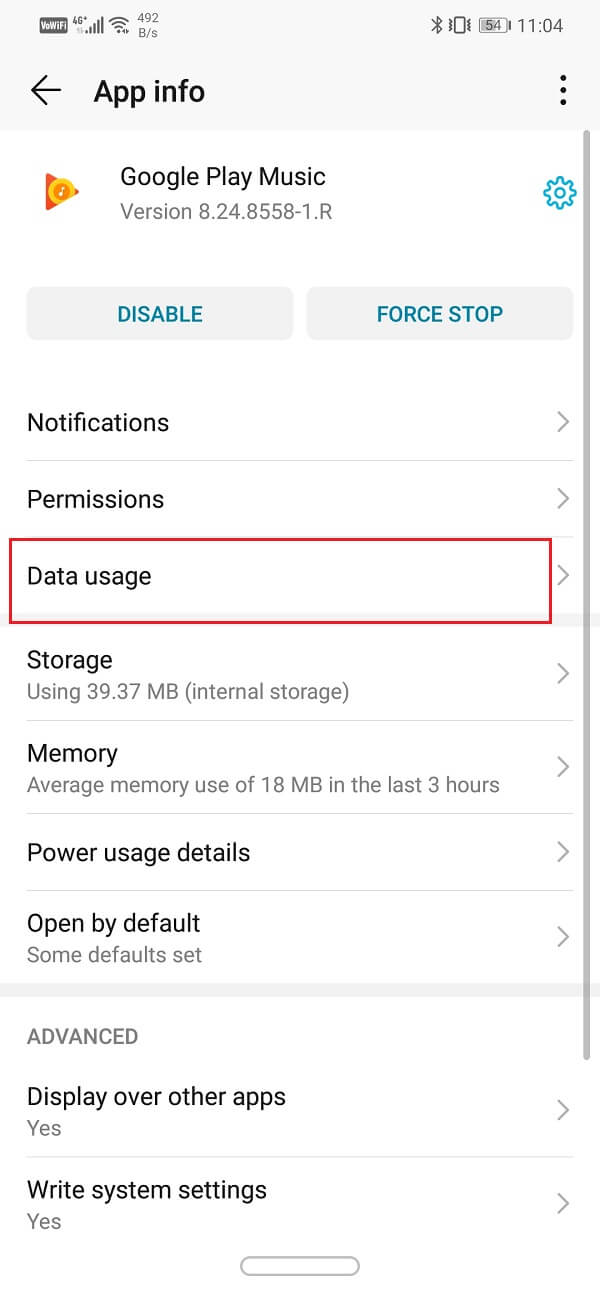
5. In here, make sure that you have granted access to the app for mobile data, background data, and roaming data.
7. Delete Google Play Music and Re-install again
Now, if the app still does not work, you can try to uninstall Google Play Music and then install it again. However, for most Android devices, Google Play Music is an in-built app and thus, you can’t technically uninstall the app completely. The only thing that you can do is to uninstall the updates. Follow the steps given below to learn how.
1. Go to the Settings of your phone.
2. Now, tap on the Apps option.
3. Search for Google Play Music and click on it.
4. Now, tap on the menu option (three vertical dots) on the top right-hand side of the screen.
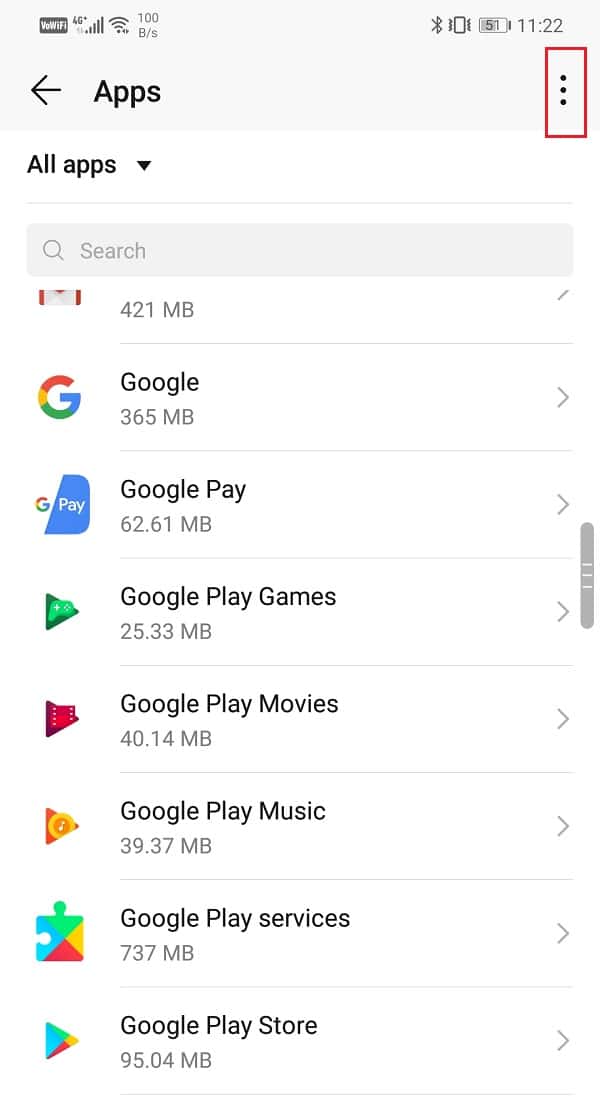
5. Click on the Uninstall updates option.

6. After that, simply go to Play Store and update the app again.
8. Make Google Play Music your default Music app
The next thing on the list of solutions is that you set Google Play Music as your default music player. Based on the feedback from some users, doing this has solved the problem of the app crashing.
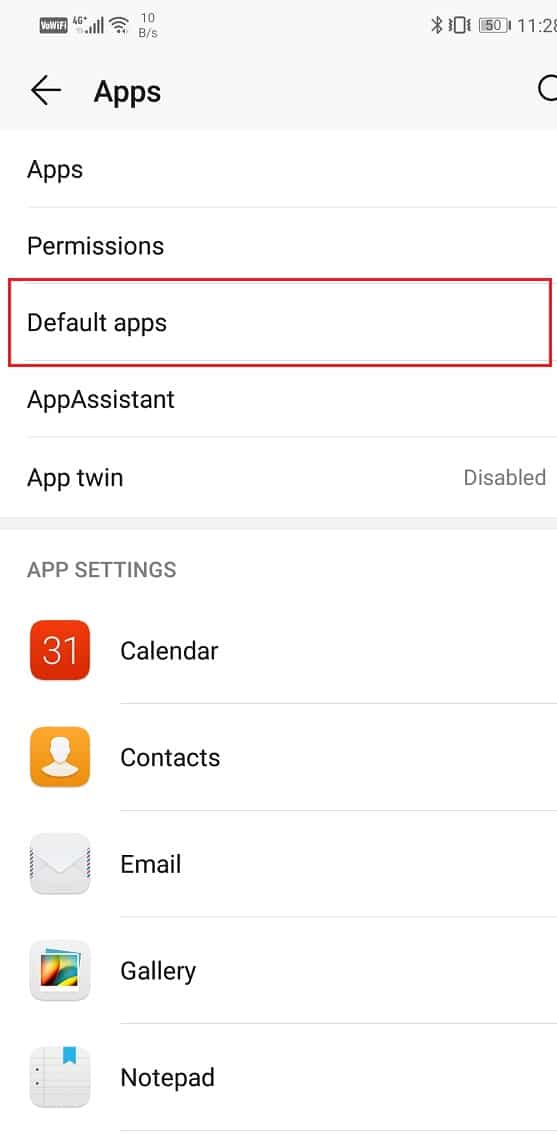
1. Open Settings on your phone.
2. Select the Apps option.
3. Now, click on the Default apps option.
4. Scroll down and tap on the Music option.
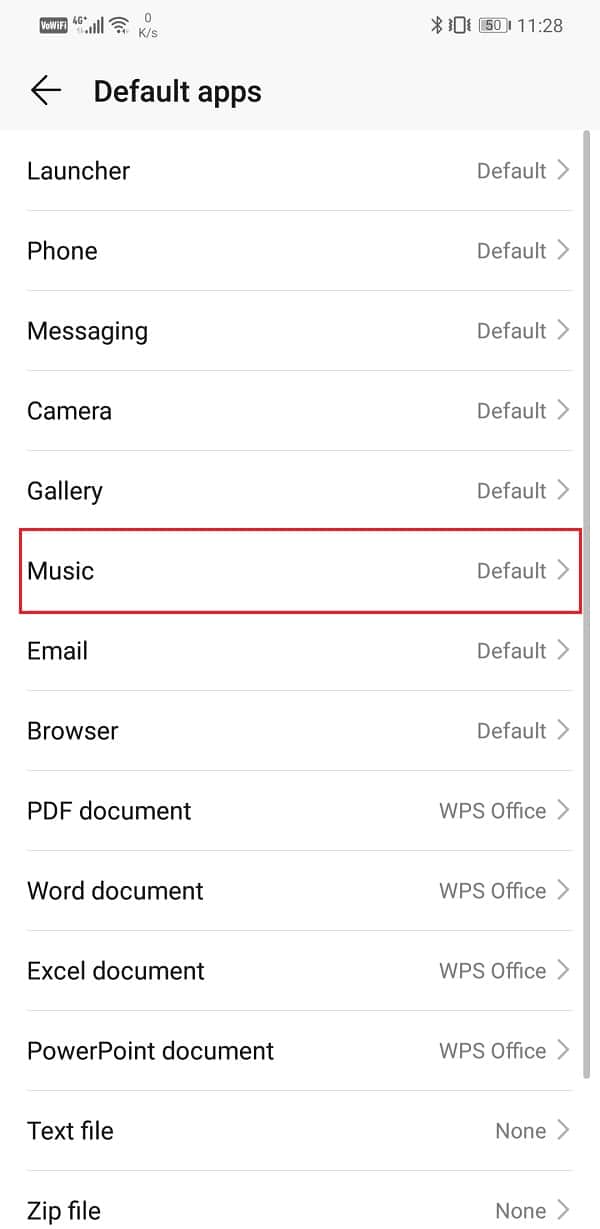
5. From the given list of apps, choose Google Play Music.

6. This will set Google Play Music as your default music player.
9. Switch to a Different App
If all these methods do not work then it is probably time for you to switch to a different music player. You can always come back to Google Play Music later if a new update fixes the problem and makes it stable. One of the best alternatives to Google Play Music is YouTube Music.
In fact, Google itself is slowly trying to encourage its users to make the switch to YouTube music. The best thing about YouTube music is its library that is the most extensive of all. Its simple interface is another reason why you should give it a try. If you don’t like it you can always come back to using Google Play Music in a matter of time.
Recommended:
I hope the above article was helpful and you were able to fix Google Play Music Keeps Crashing issue. If you still have any questions regarding this tutorial then feel free to ask them in the comment section.