When you first get started with Adobe InDesign, the desktop publishing app, one of the first things you’ll want to learn is how to flow text around an image. Using all the various options for flowing (also called wrapping) text around an image in InDesign will take your designs to the next level.
We’ll walk you through a couple different ways to flow text around an image. First we’ll wrap text around a regular, rectangular image. Then, we’ll dive deeper and show you the steps for making your text flow around the contour of an irregularly shaped graphic.
How to Flow Text Around an Image or Graphic
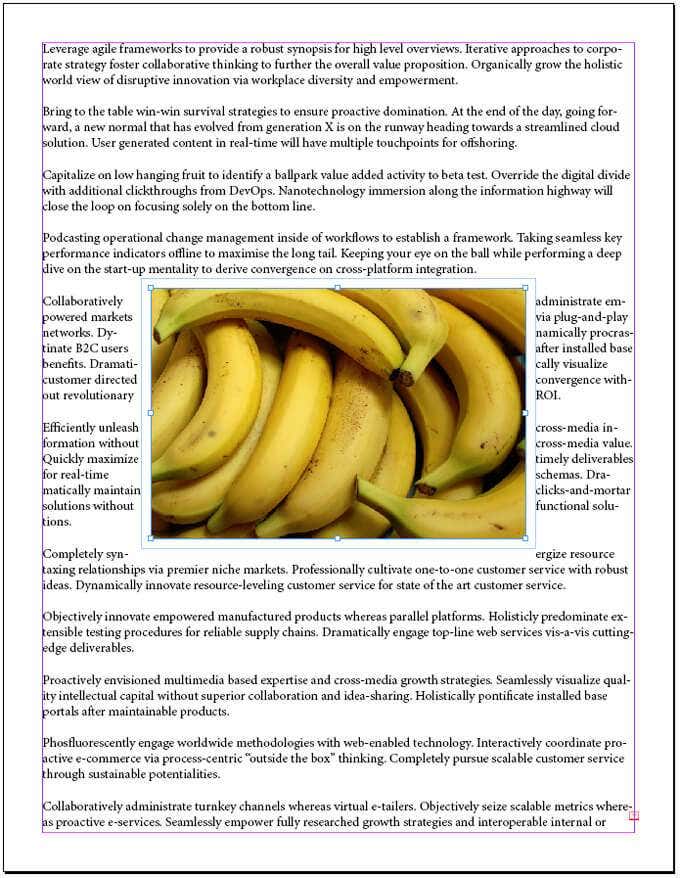
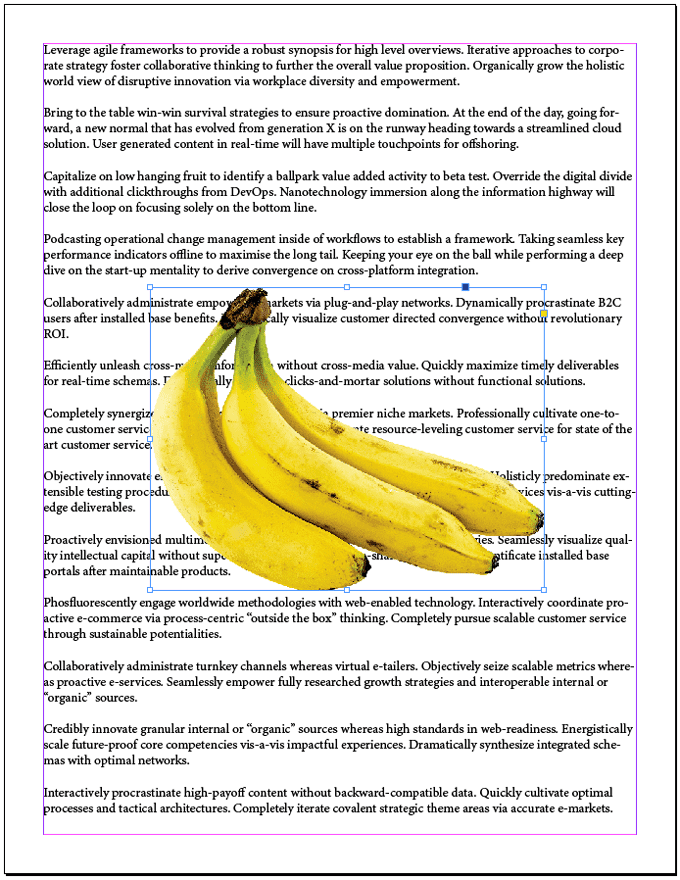
Of all the ways to flow text around something in InDesign, wrapping text around an object’s bounding box or frame is the easiest. Imagine you have a full page of text, and you want it to flow around a single rectangular image in the middle of the page.
- Using the Rectangular Frame Tool, place the frame on top of the text frame.
- Make sure the rectangular frame is selected, and use the Place command (File > Place or Ctrl + D), to place your image in the frame.

- Display the Text Wrap palette by selecting Window > Text Wrap or press Alt + Ctrl + W to toggle the palette on.
- With the image frame selected, select the second icon in the top row of the palette, Wrap around bounding box. That will cause the text to flow around the bounding box of your image.
- Try dragging the image around to see how that affects the text flow.
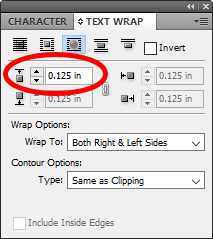
- In the screencap above, notice how the text is right up against the right side of the image. Let’s give it some room to breathe. The second section of the Text Wrap palette is where you can enter the offset, which is how you control the space between the object and the text wrap.

- If you want the offsets on all sides of your image to be the same, make sure the link icon in the middle of the offset options is selected. Next, try adjusting the offsets, and see how that affects the space between the image and the text flowing around it.
- In the Text Wrap palette, you’ll also see Wrap Options. This is where you can specify which sides the wrap should affect. Options include: Right Side, Left Side, Both Right & Left Sides, Side Towards Spine, Side Away from Spine, and Largest Area. More often than not, you’ll want Both Right & Left Sides. The screencap below shows what our example looks like with an offset of 0.125 inches applied to Both Right & Left Sides.
Ahh, now the image on the page has some room around it, making the text easier to read than when the text was flush against the image’s bounding box.
How to Wrap Text Around an Irregularly Shaped Image With a Clipping Path
If your image is an irregularly shaped cutout, the process for flowing text to follow the edge of the shape is slightly different.
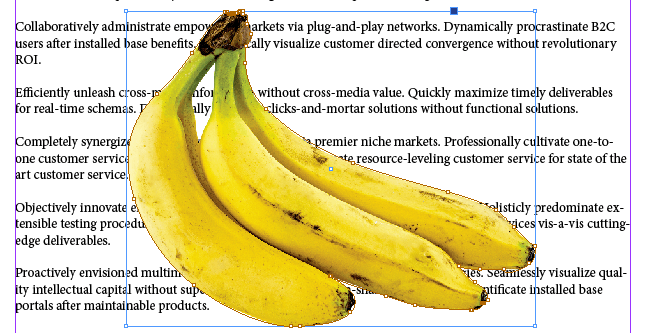
- We’ll start the same way as before, placing an image inside a rectangular frame on top of a text frame.
- With the image frame selected, select Object > Clipping Path > Options or press Ctrl + Alt + Shift + K. That will launch the Clipping Path dialog box.
- In the Type dropdown, select Photoshop Path or Alpha Channel. In our example, we’ll choose Alpha Channel.
- If you want text to appear in empty spaces inside the edges of your image, check the box marked Include Inside Edges.
- Press OK.
- Through the steps above, we’ve created a path around the shape of the image. Now let’s wrap the text around that shape. First, display the Text Wrap palette (Window > Text Wrap or Alt + Ctrl + W).
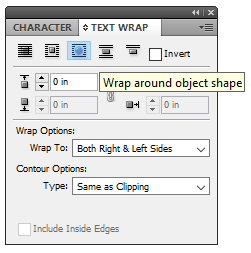
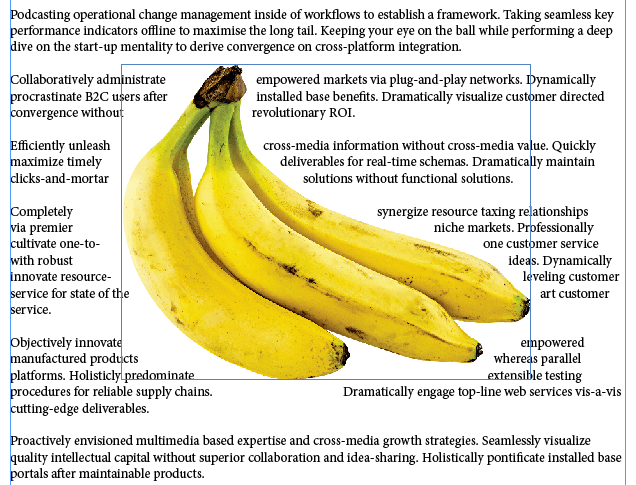
- With the image frame selected, select the Wrap around object shape button in the Text Wrap palette.
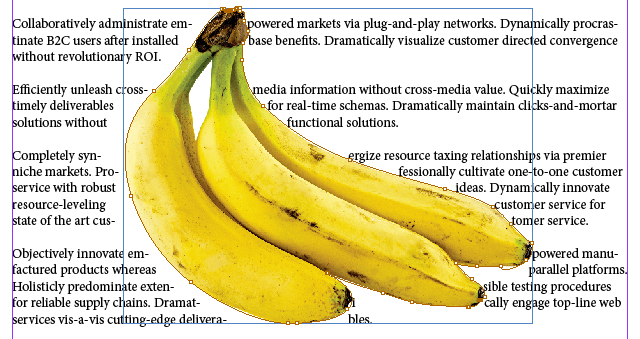
- The text is now flowing around the shape of the object, but it’s still too close to the edges of the object, so let’s adjust the offset.
- Make sure the image frame is selected and look at the Text Wrap palette. Note that only one of the offset parameters is available for you to adjust. This is because your image no longer has a right, left, top, or bottom side. It’s an irregular shape.
Try adjusting the Top Offset. It will affect the offset on all sides of your image. Below, we’ve used an offset of 0.125 inches. Much better!
Tip for Flowing Text Around an Image Spanning Two Columns
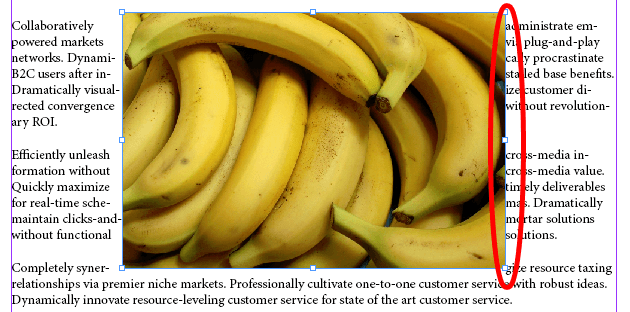
Imagine you’re working with a document that has two columns of text, and you want to wrap text around an image that’s in between the columns. Depending on how the text is justified, you might discover that you need to adjust the offset more on one side of the image than on the other.
In the screencap below, the text is set to wrap around the central image, and the offset is the same for all sides of the image. Do you see how the text looks like it’s closer to the right side of the image than the left?

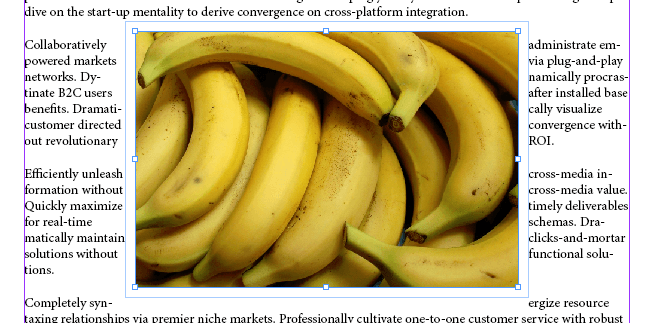
To fix this, follow these steps:
- Select the image frame and refer to the Text Wrap palette.
- Deselect the offset link button.
- Now you can adjust the right offset parameter. Increase the right offset until it looks the way you want.
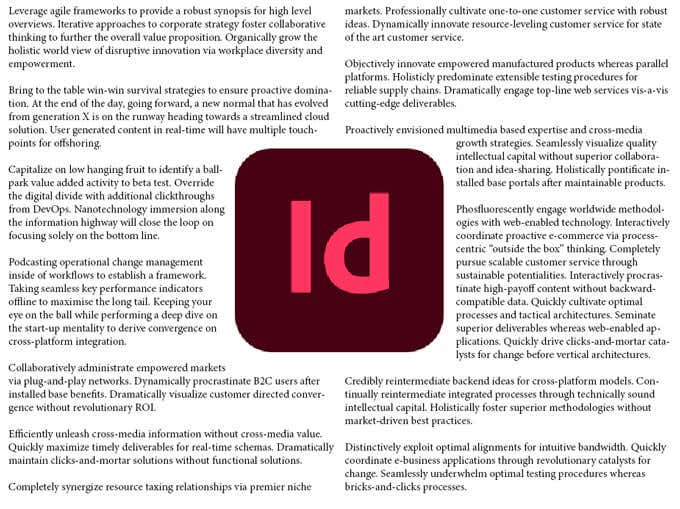
The key lesson here is that when you’re working with columns, you might have to play around with the text wrap offset values to get your document looking good.
Learn More About Adobe InDesign
Now you know a couple different ways to flow text around an image in InDesign. While you’re at it, check out our articles on how to link text boxes or use master pages in InDesign.