Add a Printer in Windows 10: You have bought a new printer, but now you need to add that printer to your system or Laptop. But, you don’t have any idea what you must do to attach the printer. Then, you are at the right place, as in this article we are going to learn how to attach a local and wireless printer to the laptop and how to make that printer shared across the homegroup.
How to Add a Printer in Windows 10 [GUIDE]
Make sure to create a restore point just in case something goes wrong.
Let’s start then, we will cover all scenarios one by one:
Method 1: Add a Local Printer in Windows 10
1.First, connect your printer with PC and turn it on.
2.Now, go to start and click on the setting app.
![]()
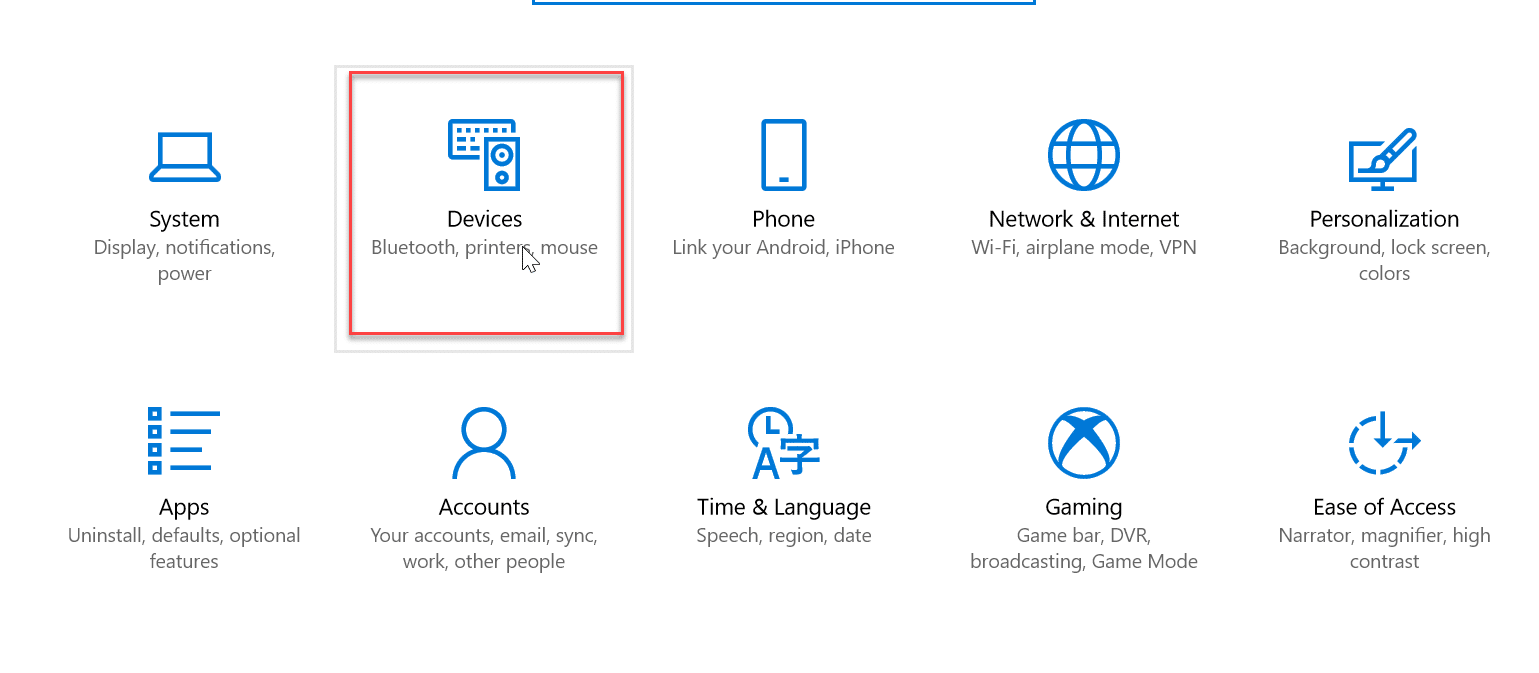
3.Once, the setting screen appears, go to the “Device” option.
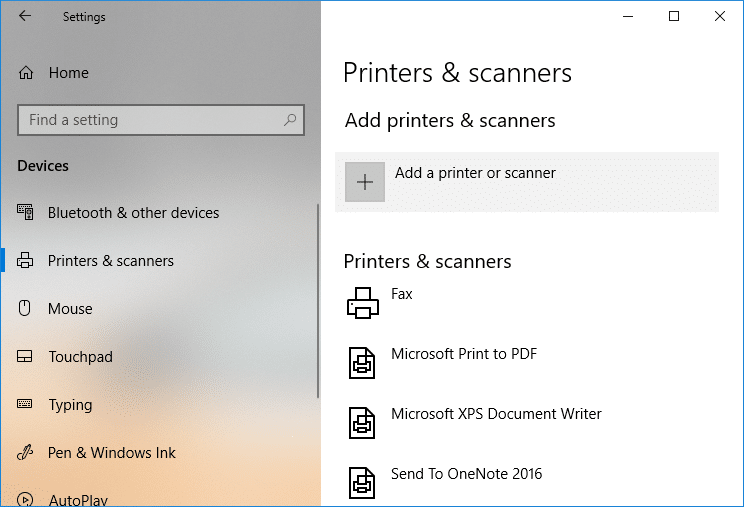
4.In the device screen, there will be multiple options on the left side of the screen, select “Printers & Scanners”.
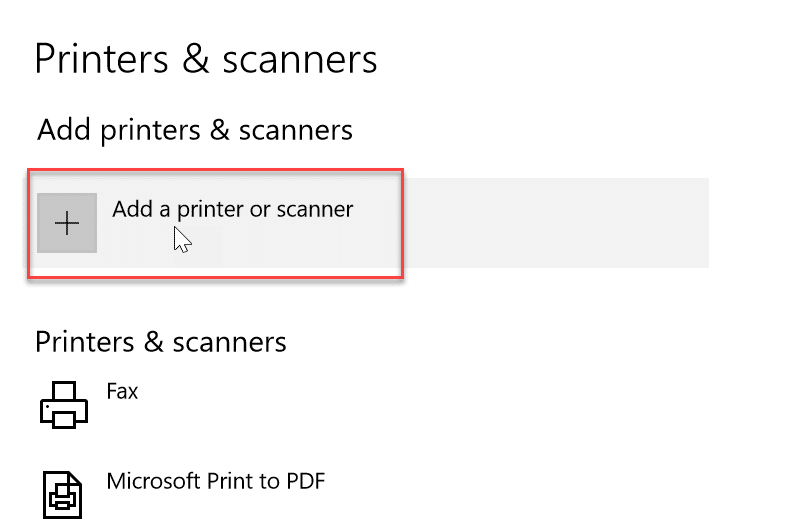
5.After this there will be “Add a printer or scanner” option, this will show you all the printers which are already added. Now, choose the printer which you want to add to your desktop.
6.If the printer you want to add is not listed. Then, choose the link “The printer that I want isn’t listed” from the options present below.
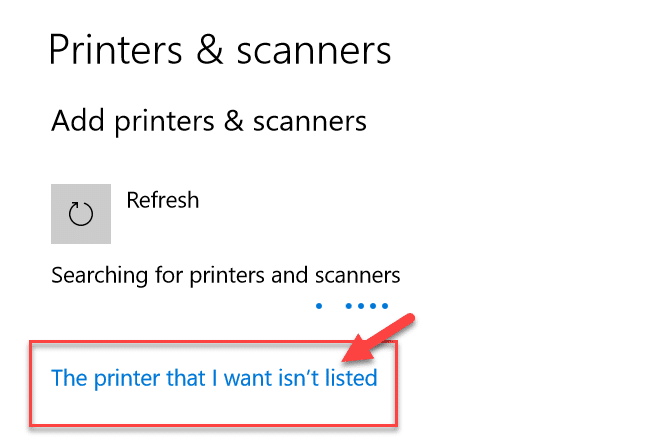
It will open a troubleshooting guide that will show you all the available printer which you can add, find your printer in the list and add it to the desktop.

Method 2: Add a Wireless Printer in Windows 10
The different wireless printer has different methods for installation, it solely depends on the manufacturer of the printer. However, new age wireless printer has inbuilt functionality of installation, it gets automatically added to your system if both system and printer are in the same network.
- Firstly, do the initial wireless setting in the setup option from the LCD panel of the printer.
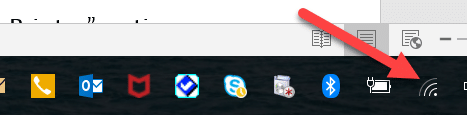
- Now, select your own Wi-Fi Network SSID, you can find this network at the Wi-Fi icon, which is on the bottom of your screen’s taskbar.
- Now, just enter your network password and it will connect your printer with the PC or laptop.
Sometimes, there is a case that you must connect your printer with the USB cable to install software. Otherwise, you can find your printer in the Setting->Device section. I have already explained the method to find the device in “Add a Local Printer” option.
You need a Homegroup to share the printer with other computers. Here, we will learn to connect the printer with the help of homegroup. Firstly, we will create a homegroup and then add the printer to homegroup, so that it will get shared between all the computers connected in the same homegroup.
Steps to setup Homegroup
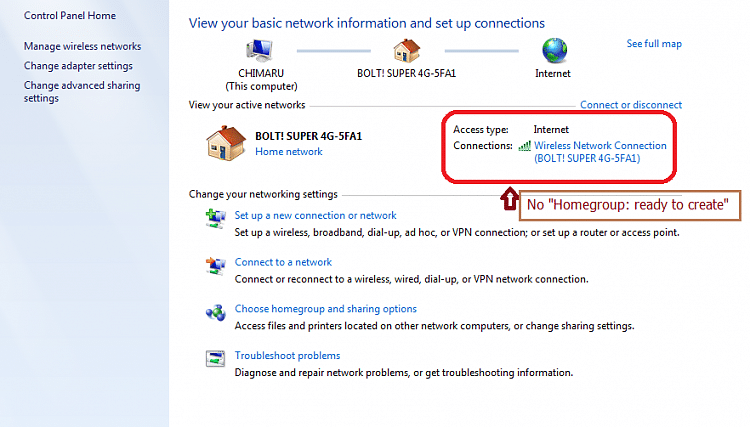
1.First, go to the taskbar and go to Wi-Fi, now right click on it and popup appears, pick option “Open Network and Sharing Center” in the pop-up.

2.Now, there will be homegroup option, if it is showing “Joined” it means homegroup already exists for the system else “Ready to Create” will be there, just click on that option.
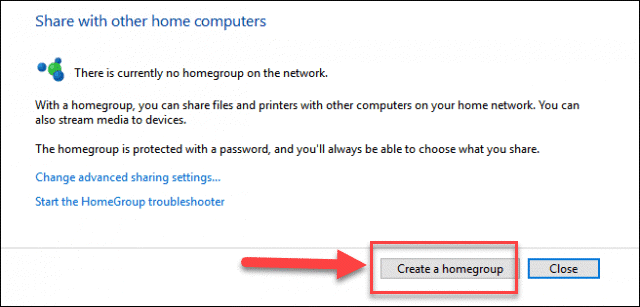
3.Now, it will open homegroup Screen, just click on the “Create a Homegroup” option.
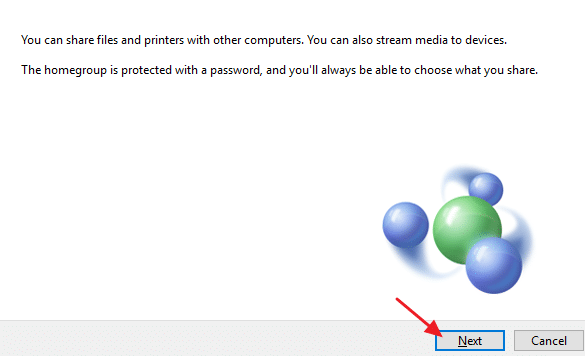
4.Click Next and a screen will appear, where you can choose what you want to share in the homegroup. Set “Printer and device” as shared, if it is not shared.

5.The window will create “Homegroup Password”, you will need this password if you want to join your computer to Homegroup.
6.After this click Finish, now your system connected to the homegroup.
Steps to Connect to a Shared Printer in Desktop
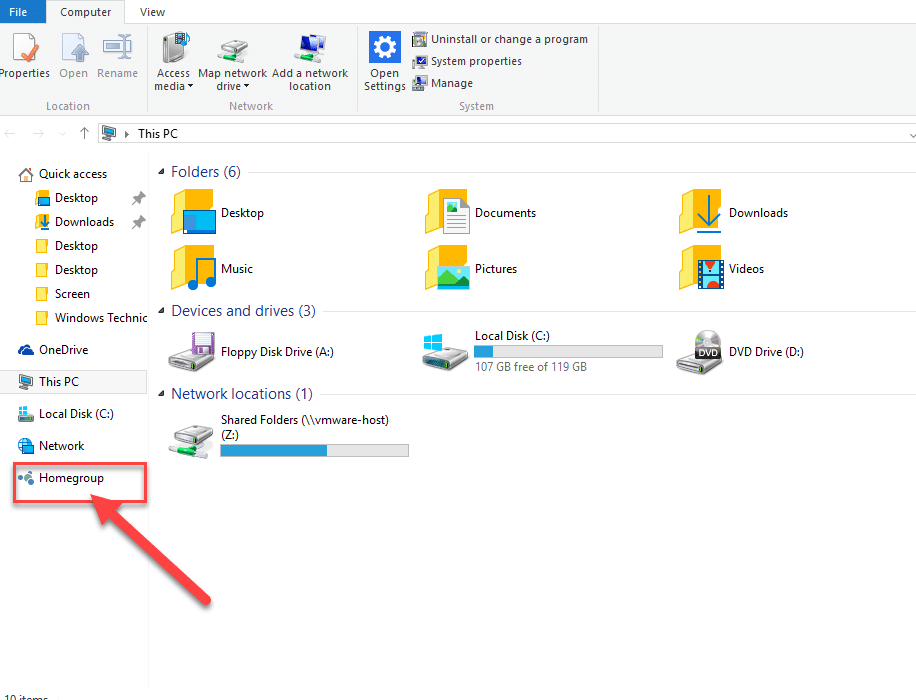
1.Go to the file explorer and click on the homegroup and then press “Join Now” button.
2.A screen will appear, click “Next”.
3.In the next screen, choose all the libraries and folder you want to share, choose “Printer and Devices” as shared and click Next.
4.Now, give the password in the next screen, which is generated by the window in the earlier step.
5.At last, just click Finish.
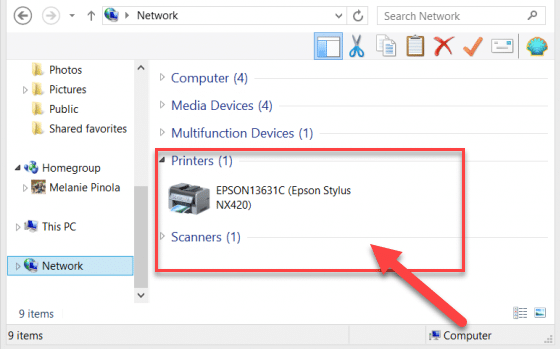
6.Now, in file explorer, go to network and you will your printer connected, and the name of the printer will appear on printer option.
These are a different method to attach the printer to your system. Hope this article proved helpful.
Recommended:
Hopefully, one of the above-mentioned methods will surely help you to Add a Printer in Windows 10 but if you still have any questions regarding this guide then feel free to ask them in the comment’s section.