Compress Video Files Without Losing Quality [2022]

With the growth of technology, high-resolution cameras have been in many trends lately, which let you shoot high definition videos that might size up to tens of GBs. The only problem with these high-quality videos is their size. They take up a lot of disk space, and if you are really into watching movies and series, you could run out of space really fast. Also, uploading or downloading such heavy videos is another issue to be taken care of.
To counter this problem, you can compress your videos into a smaller size so that you can easily store them. Compressing videos also make it easier to share and download them. There are many videos compressing software available that allow you to compress as well as for trim and change file type of your videos, without compromising the quality of the video. You can download these compressors very easily and for free. Some of them are discussed below.
Compress Video Files Without Losing Quality [2022]
Note: Make sure to create a restore point just in case something goes wrong.
Compress Videos files using Handbrake
To install handbrake,
1. Download Handbrake from this link.
2. Go to your Downloads folder and run the .exe file.
3. Allow the program to make changes to your computer if the prompt appears.
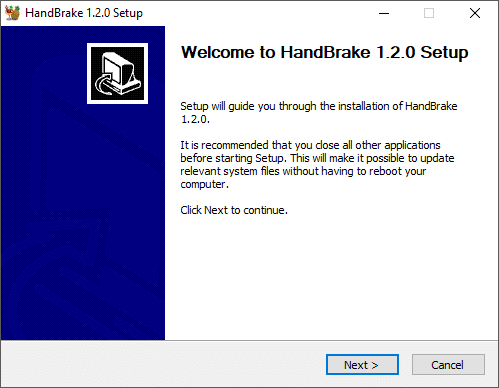
4. Handbrake installation setup will open up.
5. Click on ‘Next’ and then ‘I Agree’.
6. Select the folder where you want the program to be installed and click on install.
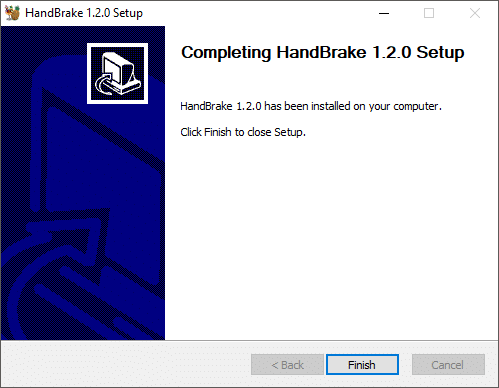
7. Click on ‘Finish’ to exit and complete the installation of Handbrake.
How to use Handbrake to compress large video files without losing quality:
1. Double-click on Handbrake icon on the desktop. This will open the Handbrake window.
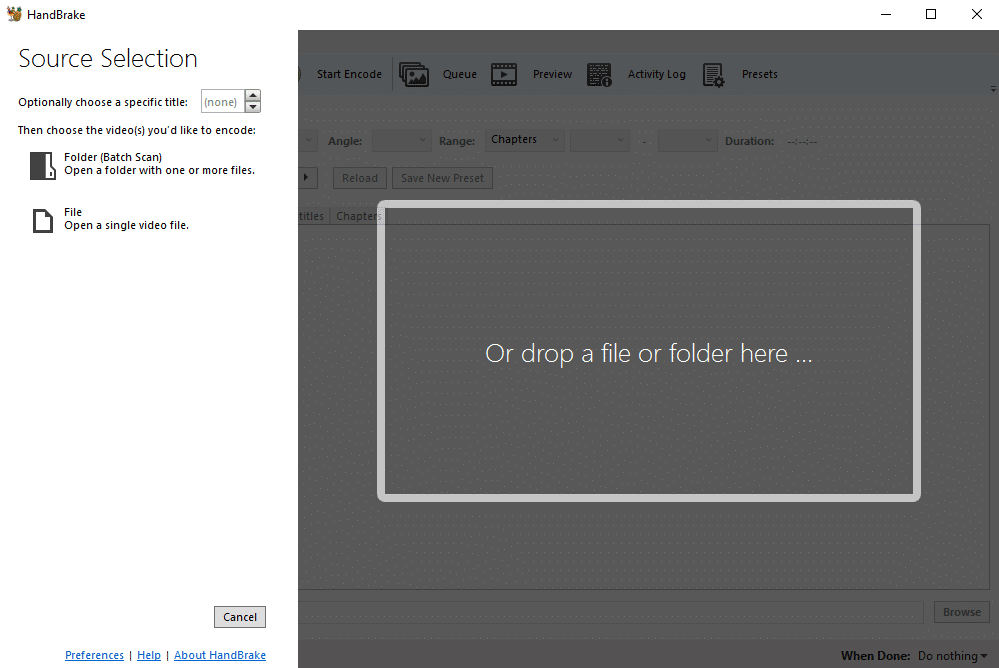
2. You can choose to compress a folder or a single video and accordingly, select the required option.
3. Browse the file you want to compress and click on ‘Open’.
4. You can also drag and drop your file to open it.
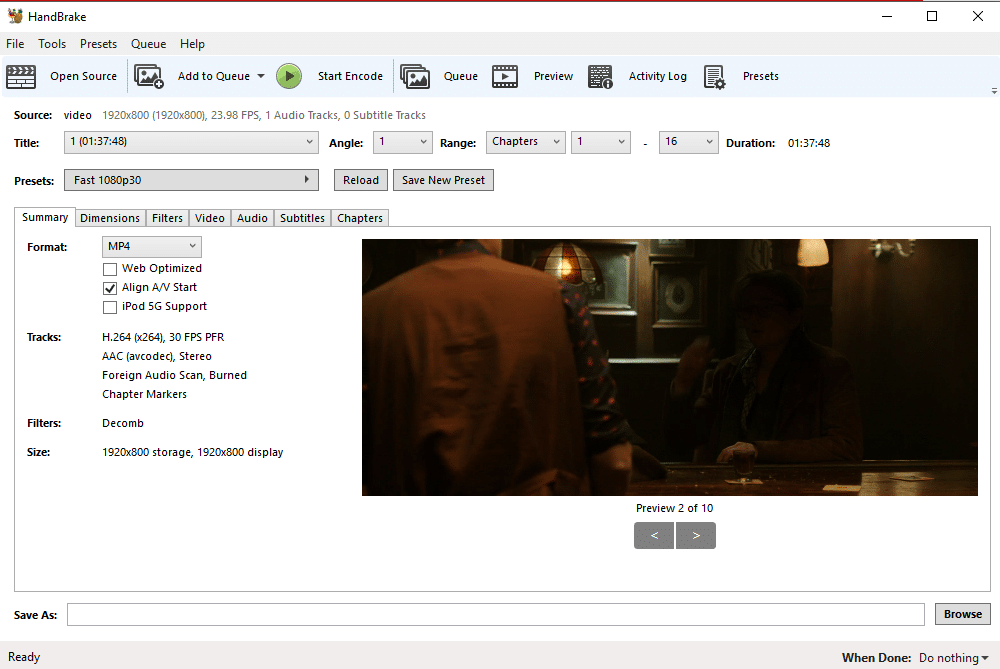
5. Select the required format, for example, MP4.
6. Type the name with which you want to save the compressed file and click on browse to select the destination folder where you want to save the file.
7. Click on ‘Start Encode’ to start compressing your video.
Once the video is compressed, the stop button will convert back to the start button. You can also view the status of your video at the bottom of the window.
Use Video Compressor to Compress Video Files Without Losing Quality
1. Download the program from these links.
2. Go to your Downloads folder and run the .exe file.
3. Allow the program to make changes to your computer if the prompt appears.
4. Install the software by agreeing to the terms and conditions, and then launch it.
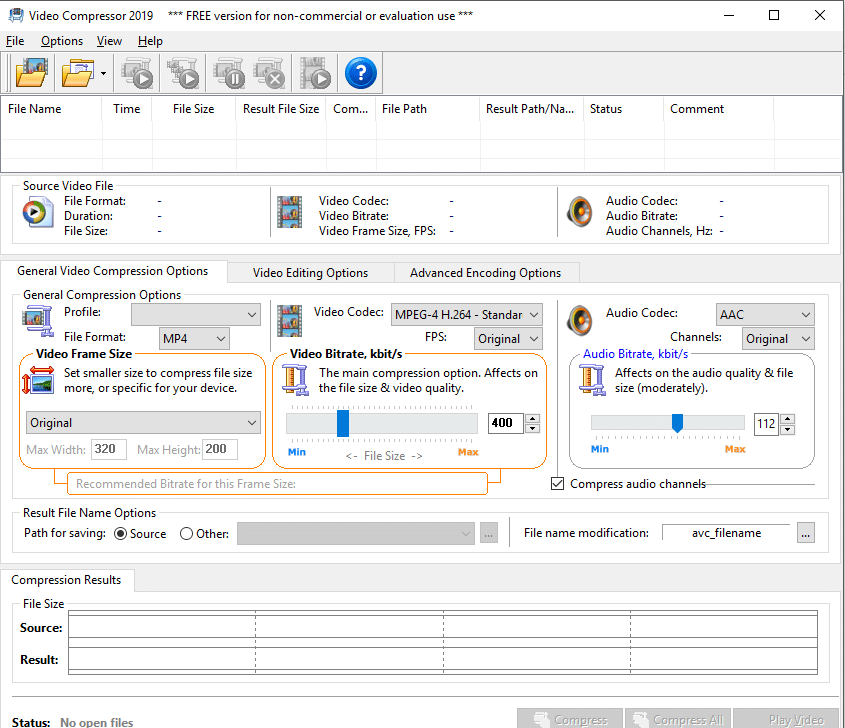
5. Click on the first button on the toolbar to browse the file you want to compress.
6. Select the file format in which you want to compress the video.
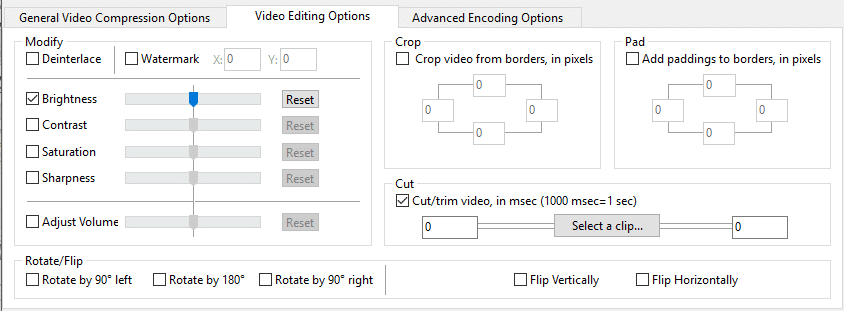
7. Switch to ‘Video Editing Options’ to edit your video. You can adjust brightness, contrast, volume etc. and you can also crop/trim the video as required.
8. Play your video to review the editing by clicking on ‘Play Video’ at the bottom right corner of the window.
9. You can see the estimated size of the file after compression at the bottom of the window. As you can see, the file size is drastically reduced, allowing you a lot of free space on your disk.
10. Click on ‘Compress’ to start compressing the file.
11. If you have selected multiple files, you can compress all of them together by clicking on the ‘Compress All’ button.
12. Check the status of your video at the bottom of the window.
13. You have successfully compress large video files without losing quality using Video Converter.
Compress Videos files without losing quality using VideoDub
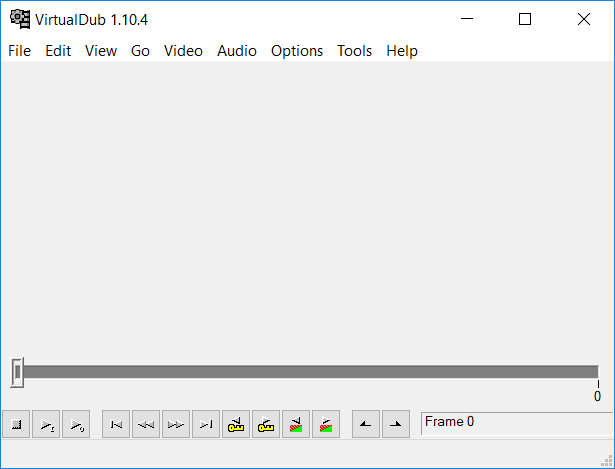
VideoDub is another similar product to edit and compress video files. Download it from here and extract the zipped files and install the program. Use the ‘file’ menu to add your file and compress it.
Compress Video Files using Movavi
This is another very advanced video player that allows you to crop, convert, add subtitles to any video along with the video compression option. To use it,
1. Download the program and install it by following the instructions.
2. Launch the program. The Movavi window will open.
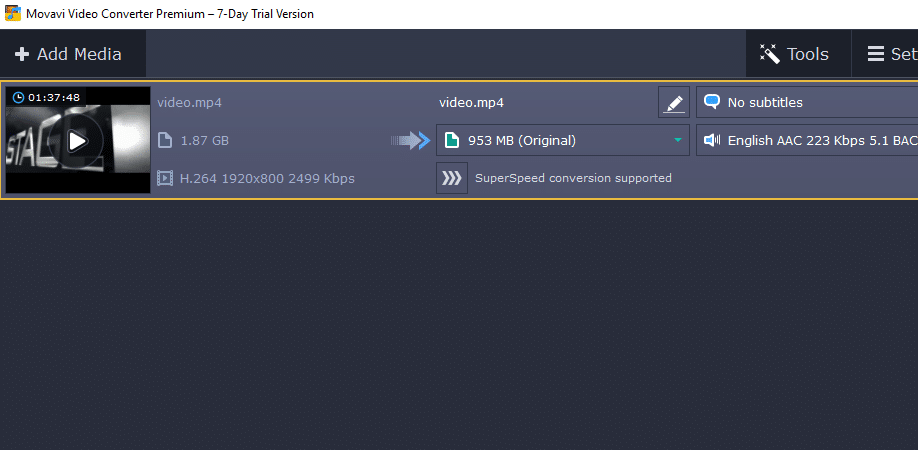
3. Click on ‘Add Media’ to add any video, music or image file or an entire folder.
4. Alternatively, add your files by dragging and dropping it into the given area.
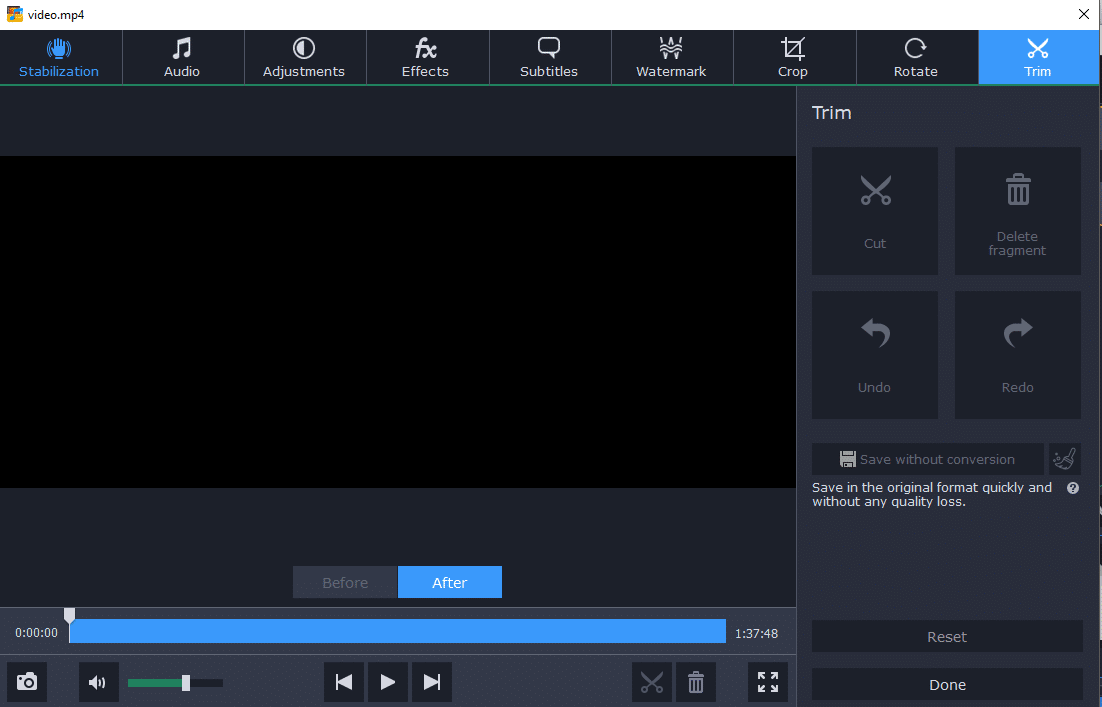
5.Click on edit to crop, rotate, add effects or watermark or to make any other required adjustments and edits. Proceed by clicking on done.
6. You can check out and compare the video before and after the changes by switching between the Before and After options.
7. Another great feature that Movavi has to offer is to add subtitles. Click on ‘No Subtitles’ to open the drop-down menu and click on add. Browse the subtitles file and click on open.
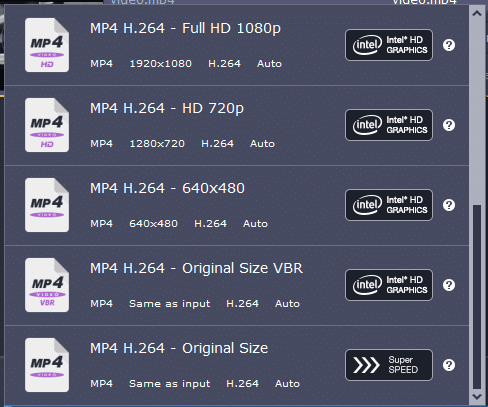
8. After doing the changes, select the desired output format. Movavi allows you to decide the resolution of the compressed file.
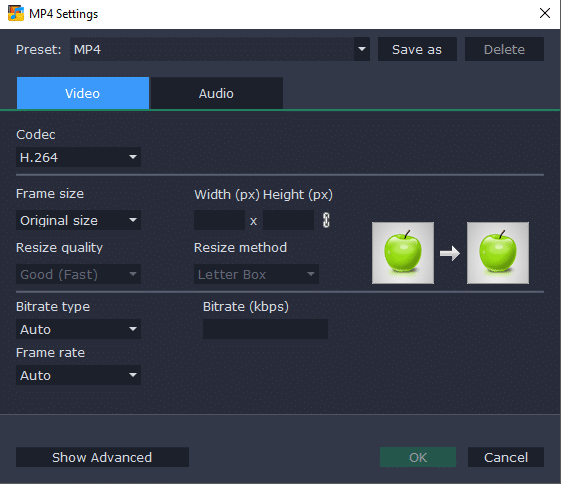
9. You can also adjust settings like codec, frame size, frame rate etc. by clicking on settings.
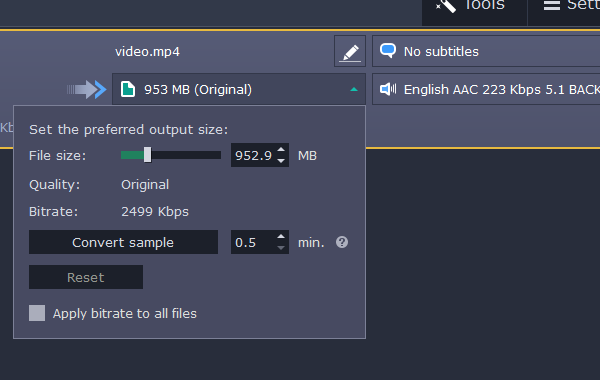
10. Decide the output file size.
11. Browse the destination folder for the compressed file and click on ‘Convert’.
12. Note that in the 7 days trial version, you can only convert half of each file.
13. With these programs, you can easily compress video files without losing quality and save your disk space.
Recommended:
I hope the above steps were helpful and now you can easily Compress Video Files Without Losing Quality, but if you still have any questions regarding this tutorial then feel free to ask them in the comment’s section.

