Enable or Disable ClearType in Windows 10: ClearType is a font smoothing technology that makes the text on your screen display sharper and clearer which enable users to read the font easily. ClearType is based on the implementation of subpixel rendering technology in rendering text in a font system. ClearType was built for LCD monitors which means if you’re still using old LCD monitor then ClearType settings can help your text look more sharper and easily readable.

Also, if your text is looking blurry then ClearType Settings can definitely help. ClearType uses multiple color shading on the text to make it look sharper and clearer. So without wasting any time let’s see How to Enable or Disable ClearType in Windows 10 with the help of the below-listed tutorial.
Enable or Disable ClearType in Windows 10
Make sure to create a restore point just in case something goes wrong.
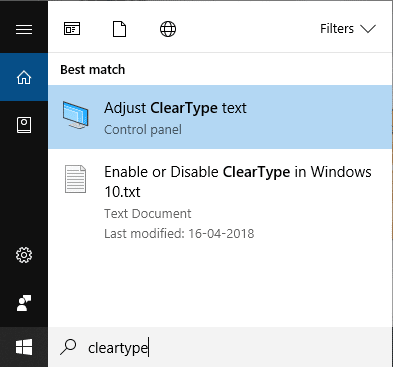
1.Type cleartype in Windows Search then click on “Adjust ClearType text” from the search result.
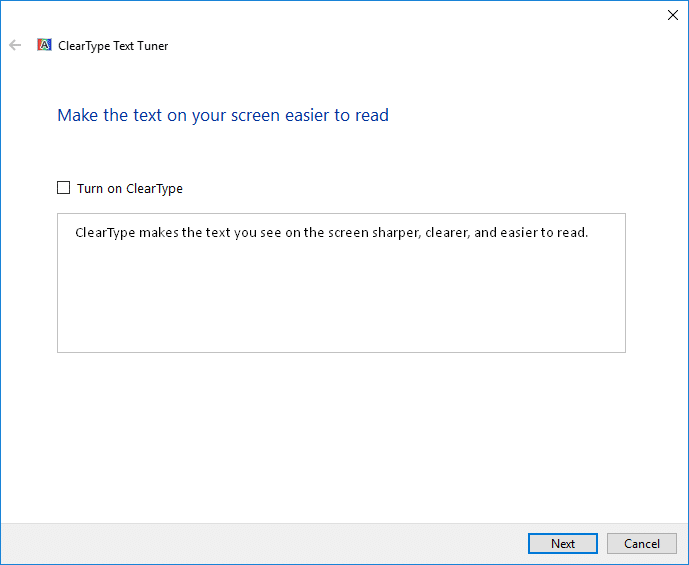
2.If you want to enable ClearType then checkmark “Turn on ClearType” or else uncheck “Turn on ClearType” to disable ClearType and click Next.
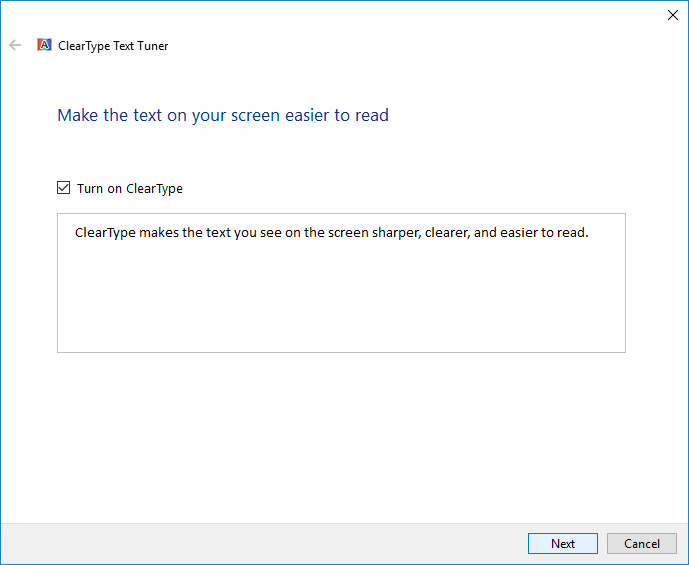
Note: You can easily check or uncheck “Turn on ClearType” and you would see a small preview of how your text would look like with and without ClearType.
3.If you have multiple monitors attached to your system then you will be asked to select either you want to tune all monitors now or only tune your current monitor then click Next.
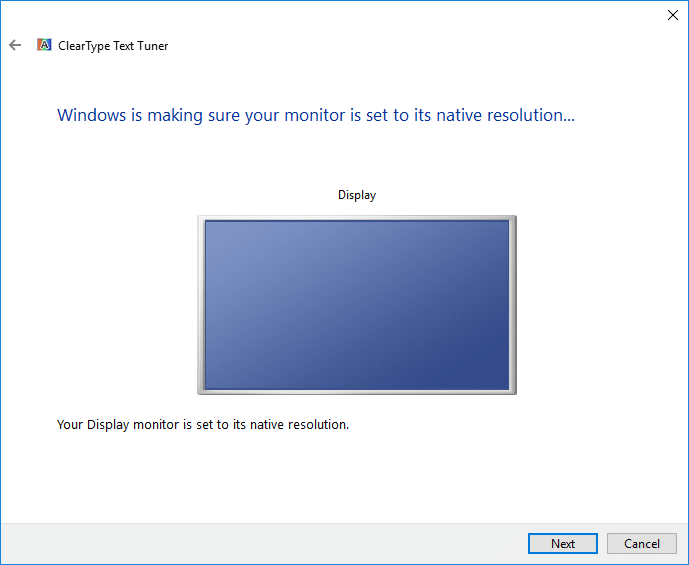
4.Next, if your display is not set to native screen resolution then you will be asked to either set your display to its native resolution or keep it at the current resolution then click Next.
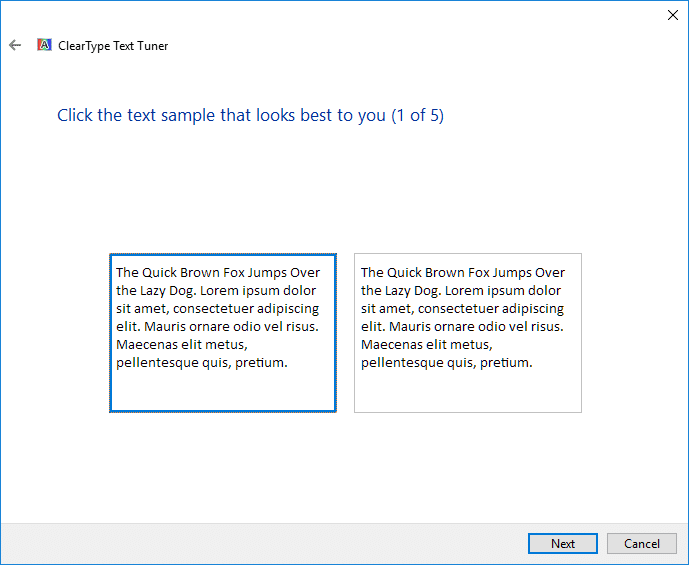
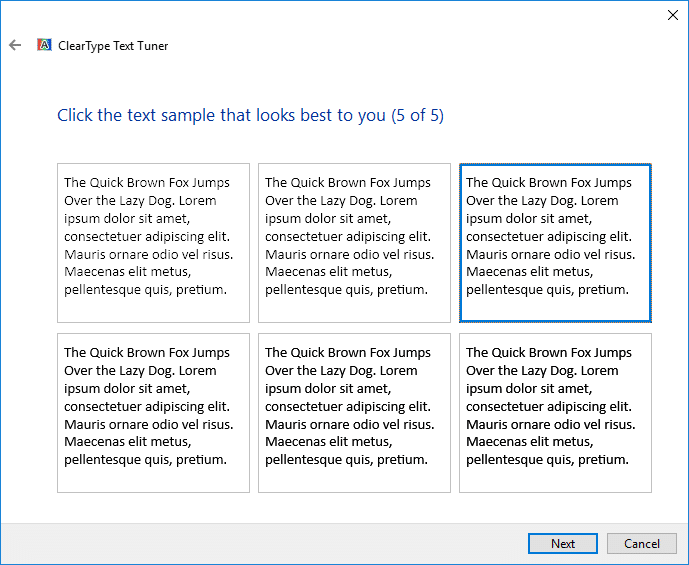
5.Now on the ClearType Text Tuner window select the text which looks best to you and then click Next.
Note: ClearType Text Tuner will ask you to repeat the above steps with different text blocks, so make sure you follow that.
6.If you enabled the ClearType text for all the monitors attached to your system then click Next and repeat the above steps for all other displays.
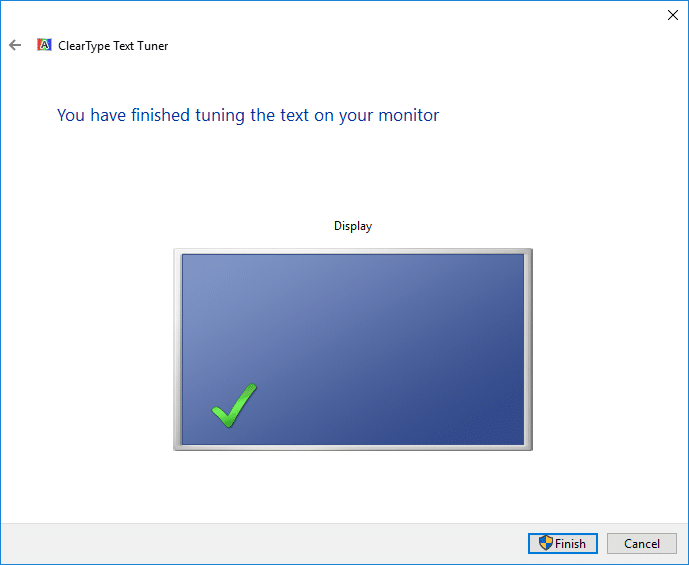
7.Once done, simply click on Finish button.
8.Reboot your PC to save changes.
Recommended:
That’s it, you successfully learned How to Enable or Disable ClearType in Windows 10 but if you still have any questions regarding this tutorial then feel free to ask them in the comment’s section.