A second monitor is most widely used for a better multitasking experience, to work with a large number of applications so as to enhance productivity and also to enhance the gaming experience. Adding a second monitor to your system is usually very easy but sometimes there may be some problems that might arise. It is not always the connection problem between the computer and the external display, there might be a problem more than that. So, there are multiple steps that can be taken to troubleshoot and fix the second monitor problem when the system is not detecting it automatically.

Fix Second Monitor Not Detected in Windows 10
Make sure to create a restore point just in case something goes wrong.
Method 1: Fix Second Monitor Not Detected issue using Windows Settings
If all the connections and cables are fine and there are no connection issues and the external monitor is still not being detected by the Windows, then you can try to manually detect the monitor with the help of the Windows Settings app.
To detect the display via the Settings application, follow these steps:
1. Press Windows key + I to open Settings.
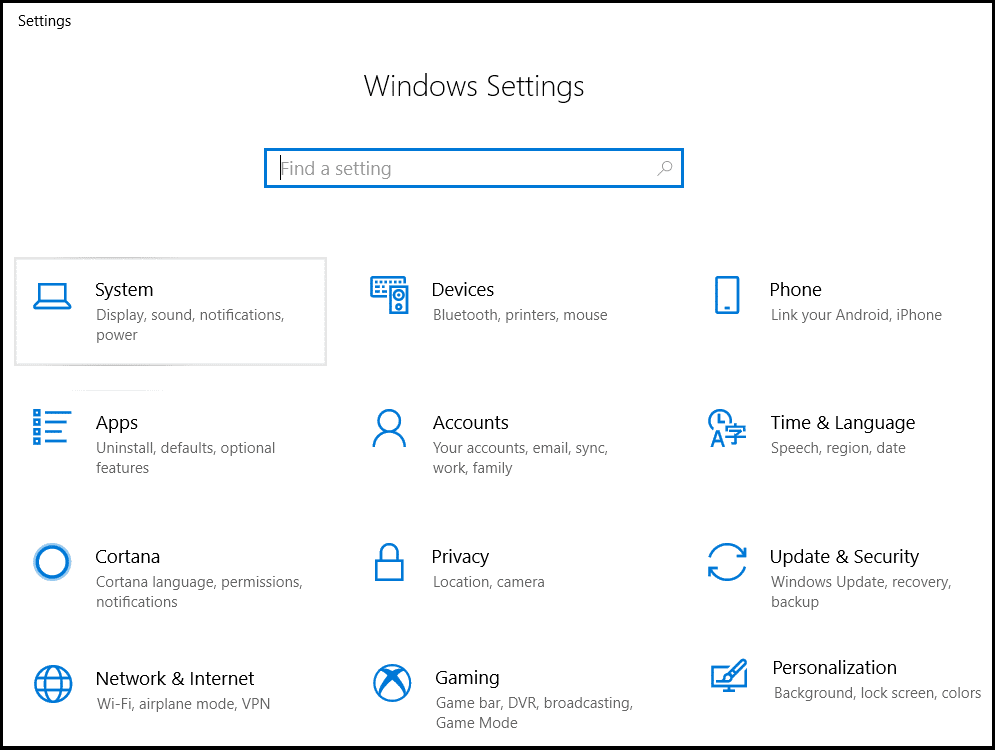
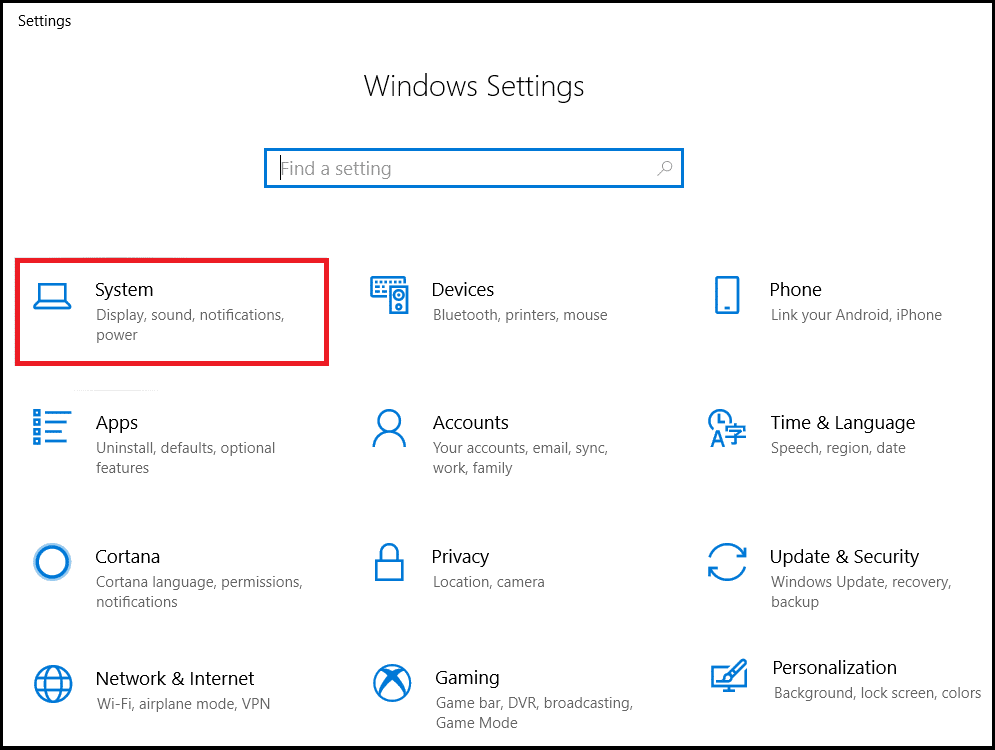
2. In settings menu select System.
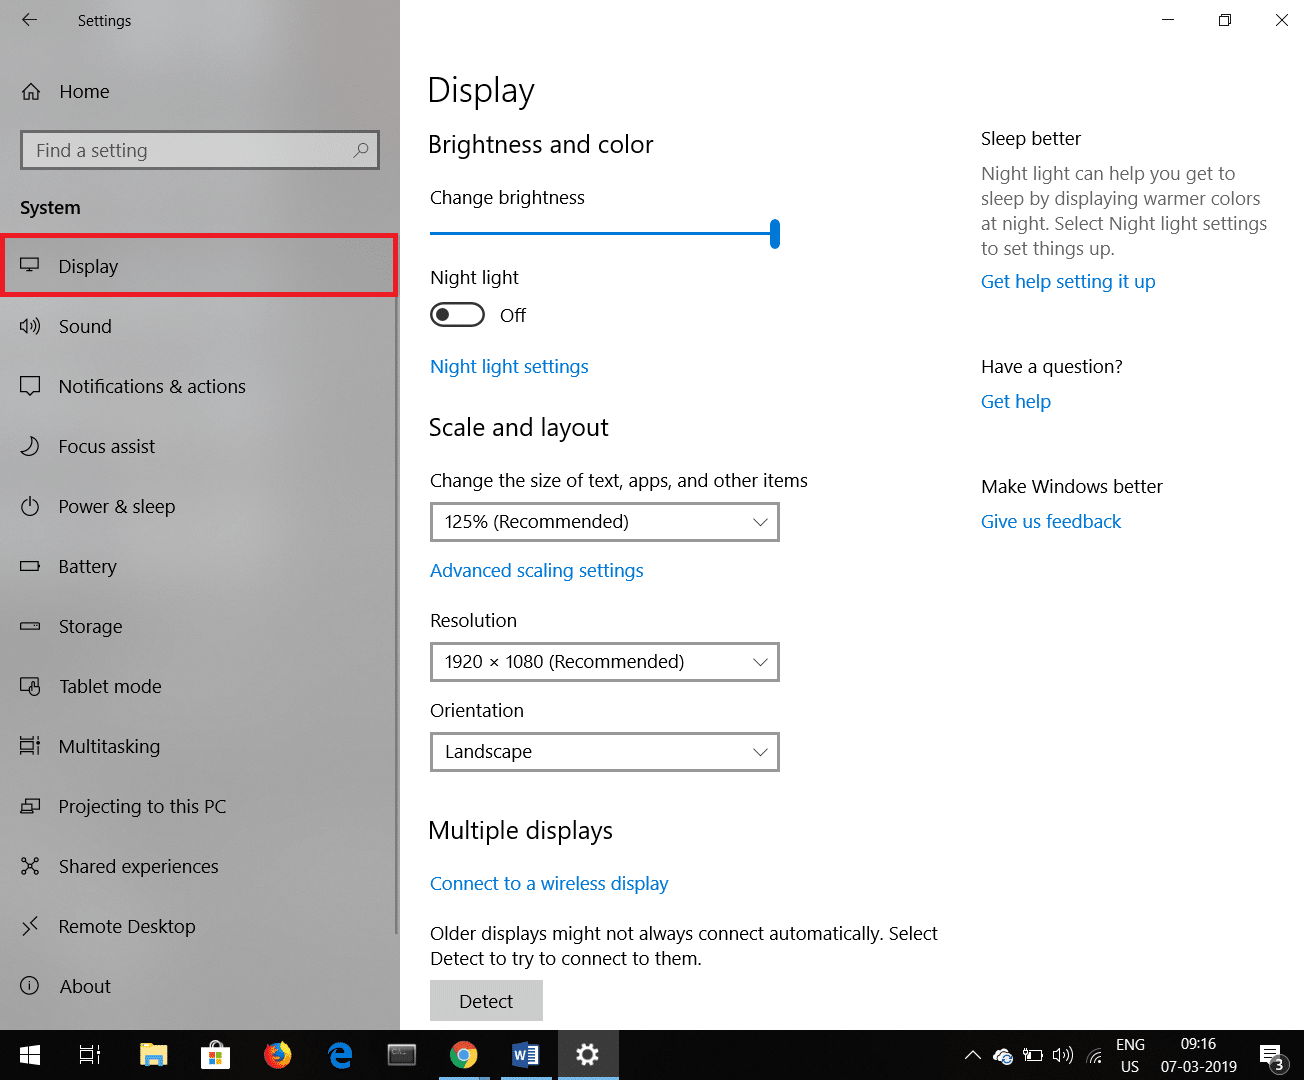
3. Now select Display Tab.
4. Scroll down and look for Multiple displays option then click on Detect.
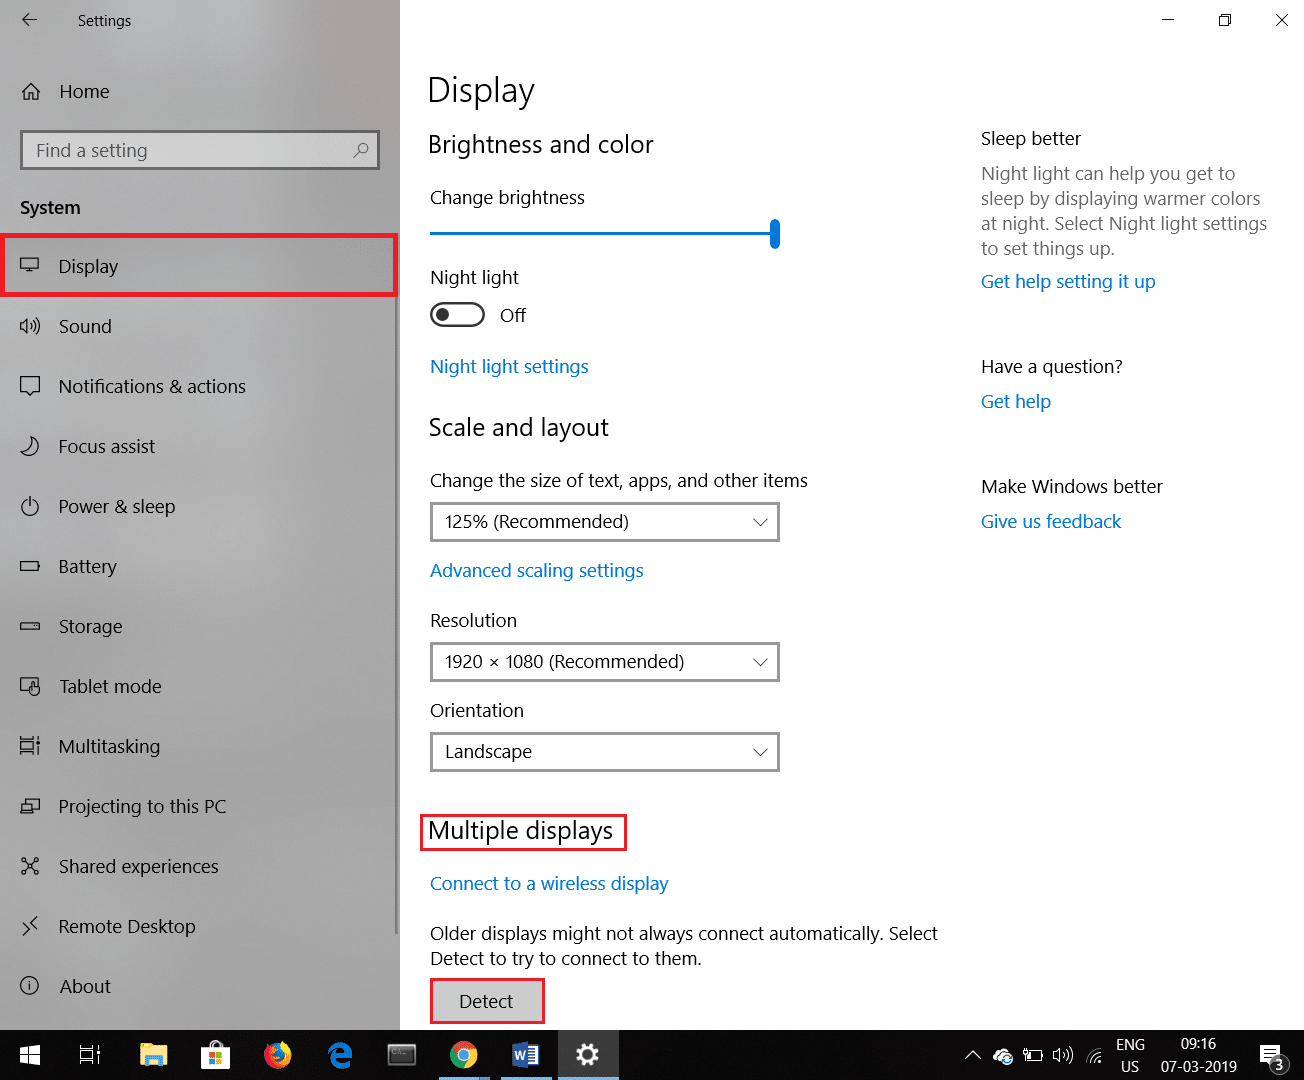
These steps will get you through the problem by detecting the monitor manually.
If there is a Wireless Display Monitor that is not been able to be detected then follow these steps.
1. Press Windows Key + I to open Settings.
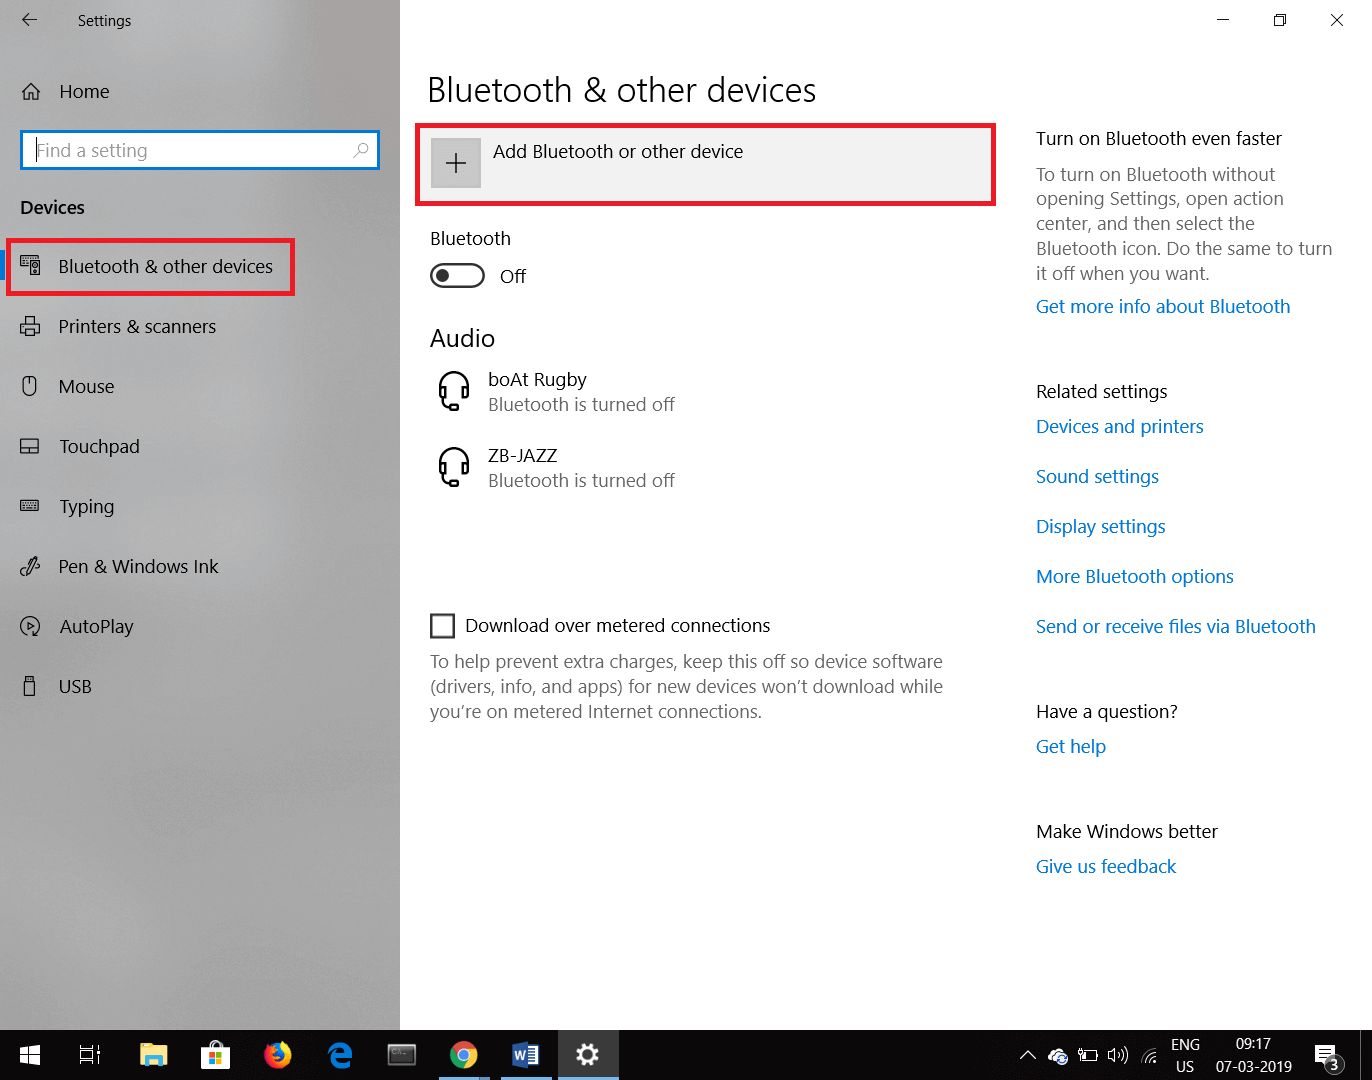
2. Click on Devices Tab.

3. Look for Add Bluetooth or other device under Bluetooth & other devices and click on it.
4. Under Add a device, click on Wireless display or dock.
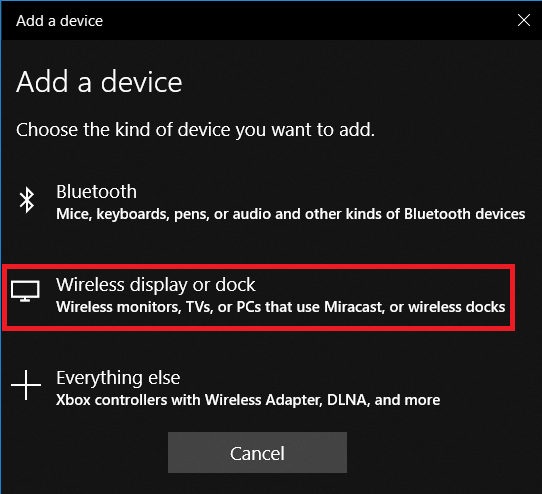
5. Make sure your Wireless Display is discoverable.
6. Select the desired external display from the list.
7. Proceed forward with the instructions provided on the screen.
Method 2: Fix Second Monitor Not Detected issue by Updating Graphics Driver
Sometimes, the problem may arise due to an old graphic driver which is currently not compatible with Windows. To solve this issue it is best to update the graphics drivers. To update the graphics drivers follow these steps.
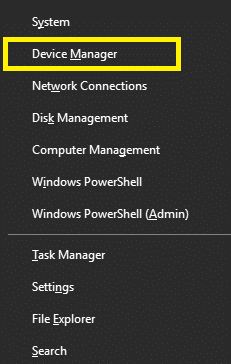
1. Right-click on the Start Menu then tap on Device Manager Option.
2. Another way to open the device manager is by pressing the Windows key + R which will open the Run dialog box then type devmgmt.msc and press Enter.
3. A device manager window will pop up.
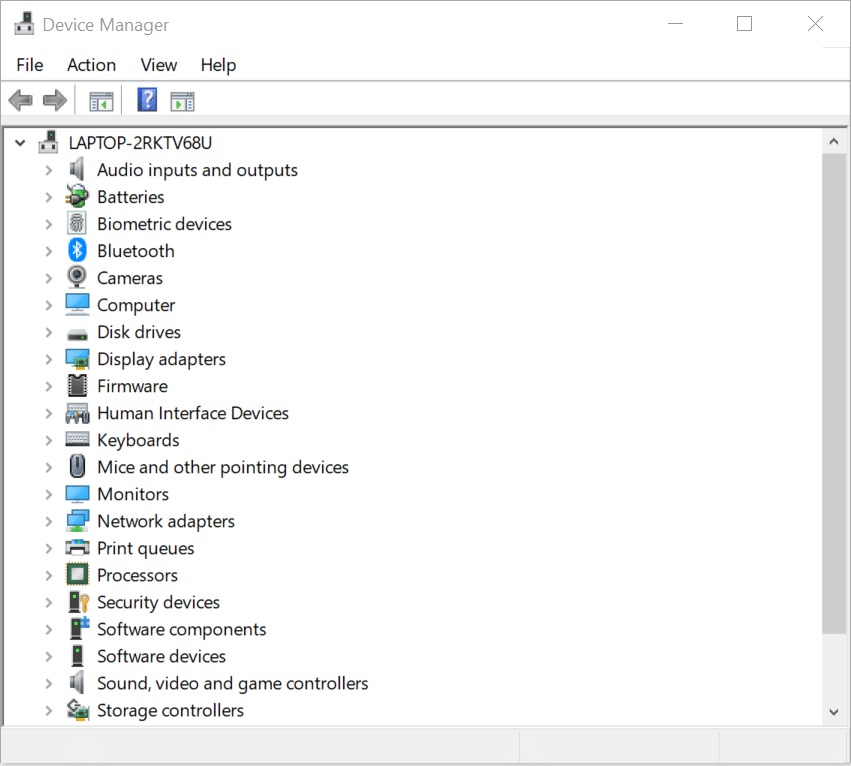
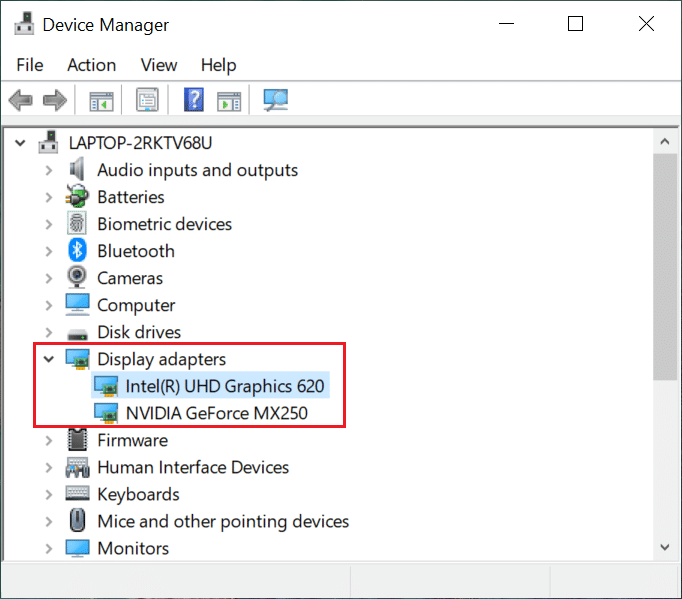
4. Double-click on Display Adapters, list of drivers will pop up.
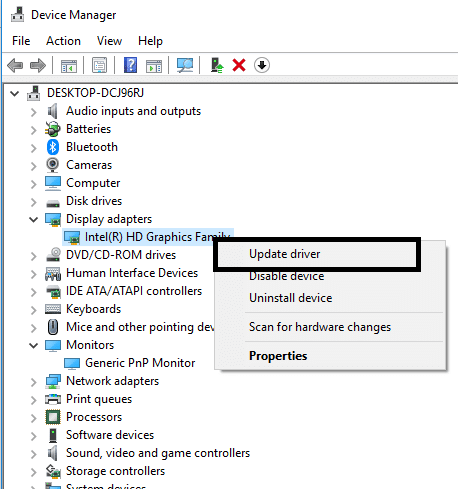
5. Right-click on the display adapter and select Update Driver.
6. Click on Search Automatically for Updated Driver Software.

7. Windows will try to automatically update the device drivers.
This is how you can update your drivers which will help in the detection of the second monitor.
Also Read: Fix Monitor Screen Flickering on Windows 10
In case a corrupted driver is present in your system and driver update is not helpful you can roll back the driver to the previous state. To roll back the driver follow these steps.
1. Open Display Adapters as stated above.
2. Select the driver from the driver list that you want to roll back.
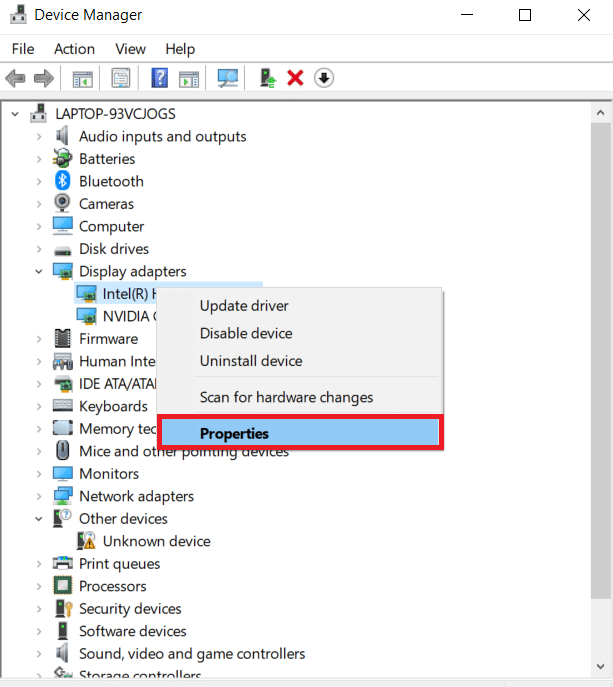
3. Open the Driver’s properties by right-clicking on it and selecting Properties from the context menu.
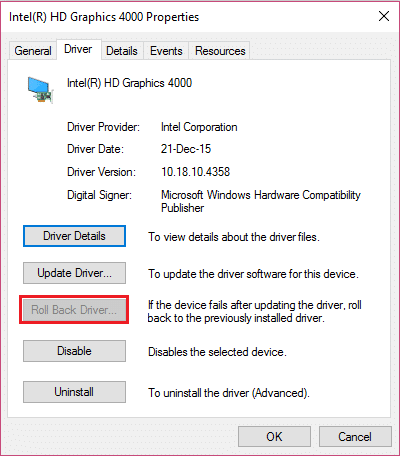
4. Below Update driver you will get the option of Rollback, click on it and your driver will be rollbacked.
5. However, sometimes it might be the case that the option of rollback is not available for selecting it and you cannot use that option. In that case, visit the website of your video card and download the older version of the driver. In the update driver section, select this newly downloaded driver from your system. This is how you can roll back to the older version of the driver.
Method 3: Set the Monitor Refresh Rates to the same Value
The refresh rate is simply the number of times a screen refreshes the images on it in a second. Some graphics cards don’t support two monitors with different refresh rates. To tackle this situation it is advised that the refresh rates of both the monitors should be kept the same. Follow these steps to set the refresh rates of both the monitors to be the same.
1. Press Windows key + I to open Settings.
2. In settings menu select System.
3. Now select Display Tab.
4. Scroll down and you will find Advanced display settings. Click on it.
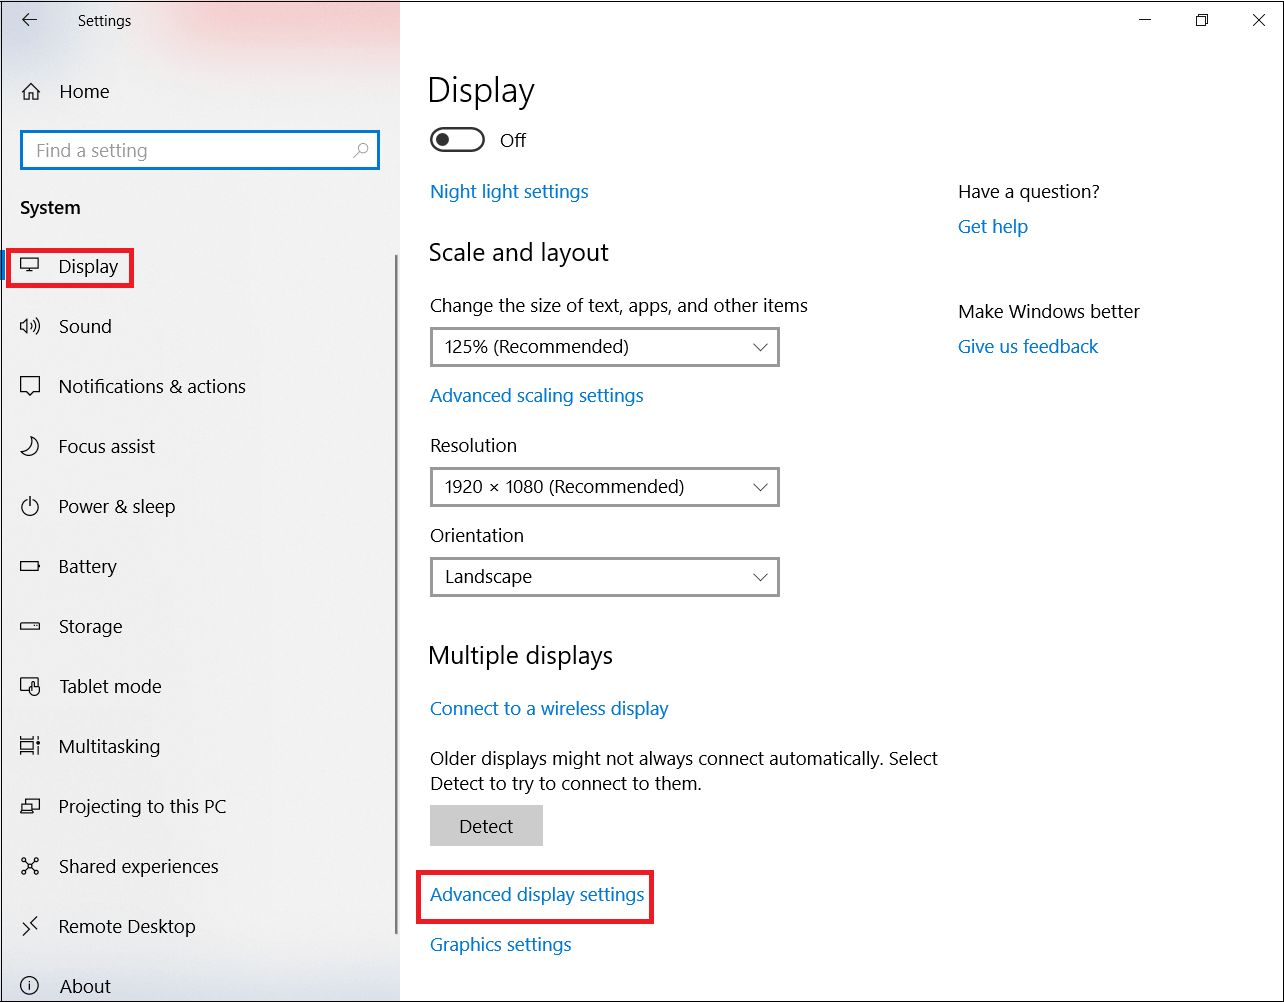
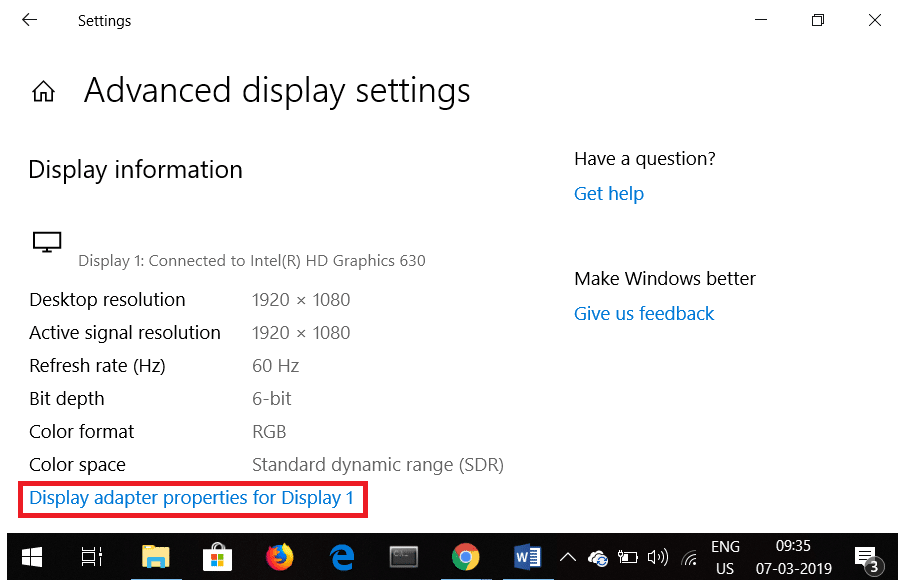
5. Click on Display adapter properties for Display 1 and Display 2.
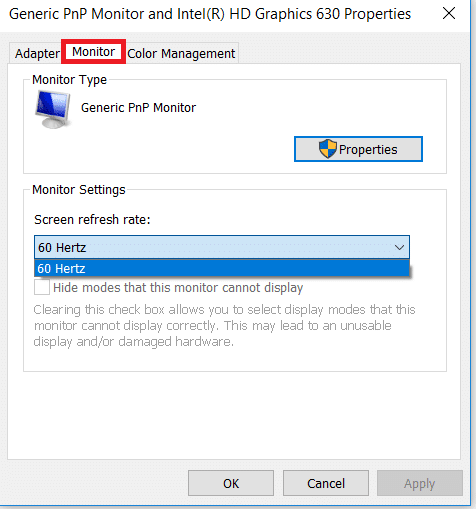
6. Under the properties window, click on the Monitor tab where you will find the screen refresh rate. Set the same value for both the monitors.
This is how you can set the same refresh rate value for both the monitors.
Method 4: Fix Second Monitor Not Detected issue by changing the Project mode
Sometimes, the wrong project mode can be the issue of the second monitor not being able to be detected automatically. Project mode is basically the view you want on your second monitor. To change the project mode follow these simple steps.
Also Read: How to Use Performance Monitor on Windows 10 (Detailed GUIDE)
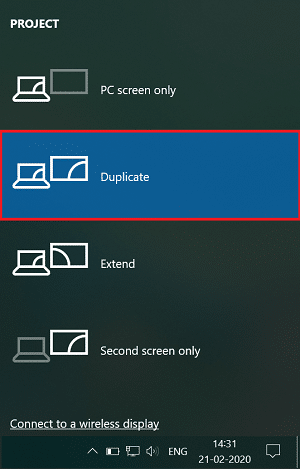
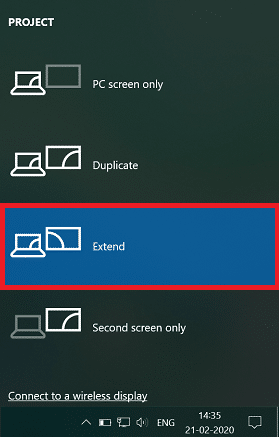
1. Press Windows Key + P. A small column will pop out featuring different types of project mode.
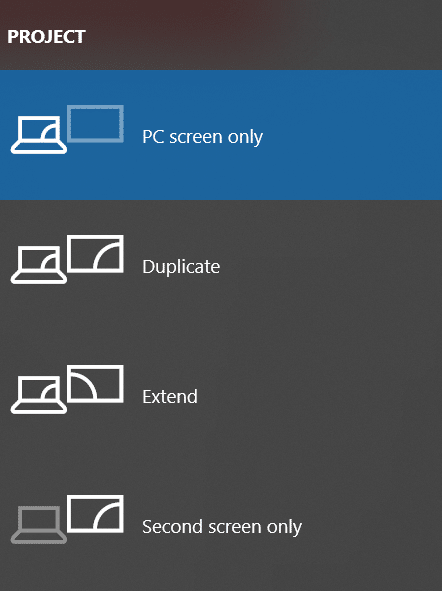
2. Select duplicate if you want the same content to be displayed on both of the monitors.
3. Select extend if you want to extend the workplace.
Recommended:
Certainly, one of these methods will be able to fix second Monitor not detected in Windows 10 issue. Also, physical connections should be checked every time there is a problem. The cable might be faulty, so check the cable properly. There might be wrong port selection to which the cable is attached. All these small things should be kept in mind when dealing with a problem of dual monitors.