Steam is a fantastic platform that allows you to download & play online games while connecting you with other gamers & users. Another amazing feature of Steam is that you can download a game on one computer and stream it on a different computer. Moreover, it is user-friendly and free to download & use. Steam provides various options to chat with others by sharing text & voice messages. Additionally, you can share images with your friends. But, sometimes you may face problems like Steam image failed to upload. Implement the methods listed in this guide if you cannot upload or send images in Steam.
How to Fix Steam Image Failed to Upload
You can enjoy voice/text chat features like in Skype, or Discord along with an enhanced gaming experience using Steam. However, you cannot upload your profile picture sometimes, which can be very frustrating. You may face this issue due to:
- Wrong configuration files
- Corrupt Steam files
- Outdated Steam Client
- Poor network connection
- Denied permission of Windows firewall
- Third-party antivirus Interference
- Lack of required administrative permission
Method 1: Basic Troubleshooting
Sometimes these basic troubleshooting steps give you an easy fix to the issue. So, try these before moving on to other methods:
1. Try to upload the image 3 -4 times to rule out connectivity issues.
2. Try to upload another image and check if you can do it without any flaws. If so, then there is a problem with the previous image.
3. Try to upload image after some time as there may be server issues.
4. Troubleshoot internet connections issue: Restart/Reset internet router, Use Ethernet cable & Run Network troubleshooter.
5. Rename the file and keep the name simple. Avoid any special characters, coded fonts, or any fancy names in the file name.
6. Try to paste image file in a different directory and rename your file. Then, upload it again.
7. Remove embedded link if you have downloaded the said image from a website online. Then, try again.
Method 2: Resize & Resave Image
You may face Steam image failed to upload issue if the size of the image is not compatible with the Steam server. Hence, do as follows:
1. Right-click on the Image file. Choose Open with > Paint, as depicted below.
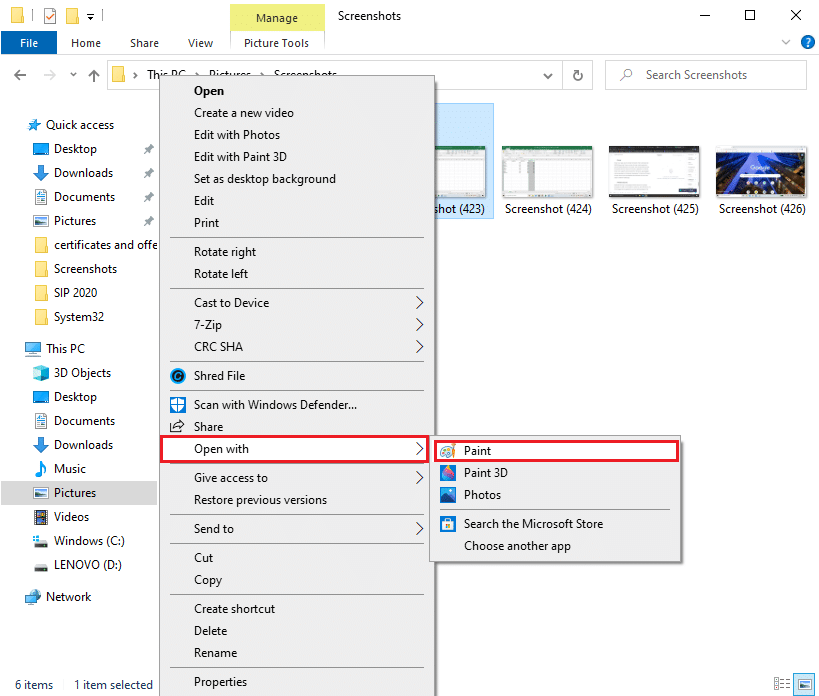
Note: Alternately, copy and paste the image in Paint.
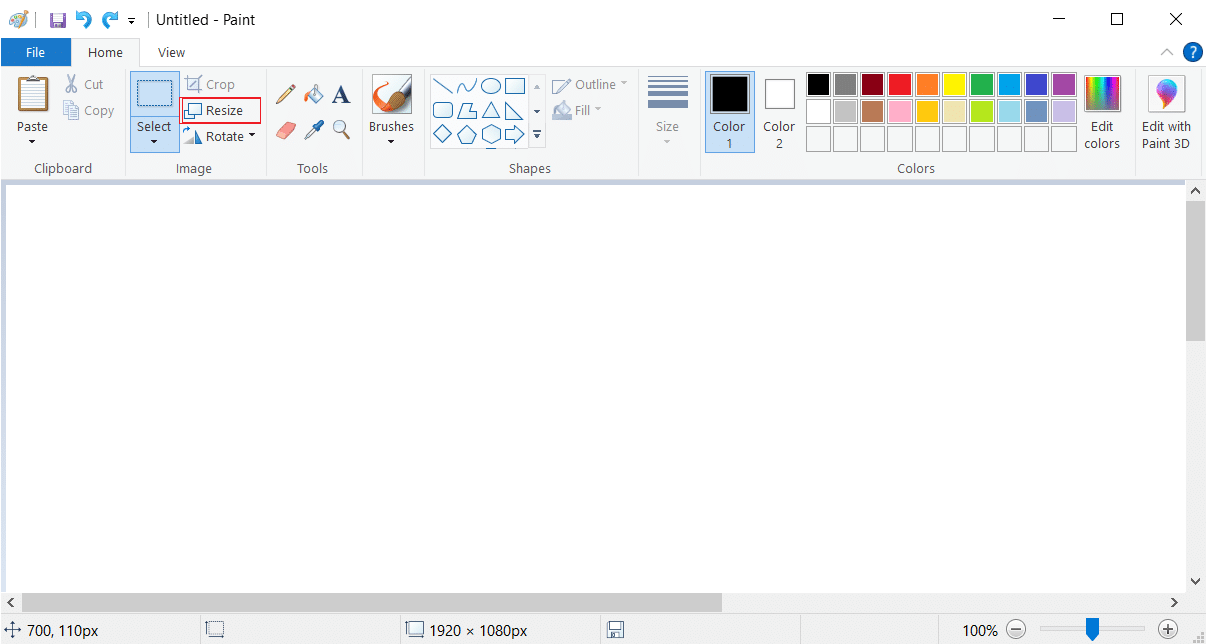
2. Click on Resize option, as shown.
3. Now, adjust the Resize values and uncheck the box marked Maintain aspect ratio.
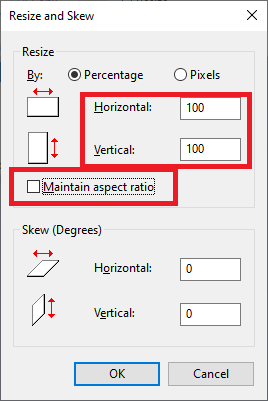
4. Finally, click on OK to save these changes.
5. Save the file as .jpeg and upload or send the image.
Additional Tip: If you still face the problem, save the file in another format like .png or .jpg.
Method 3: Run Steam As Administrator
If you do not have the required permissions to upload your image in Steam, then you will not be able to do it. Enable the required permissions, as follows:
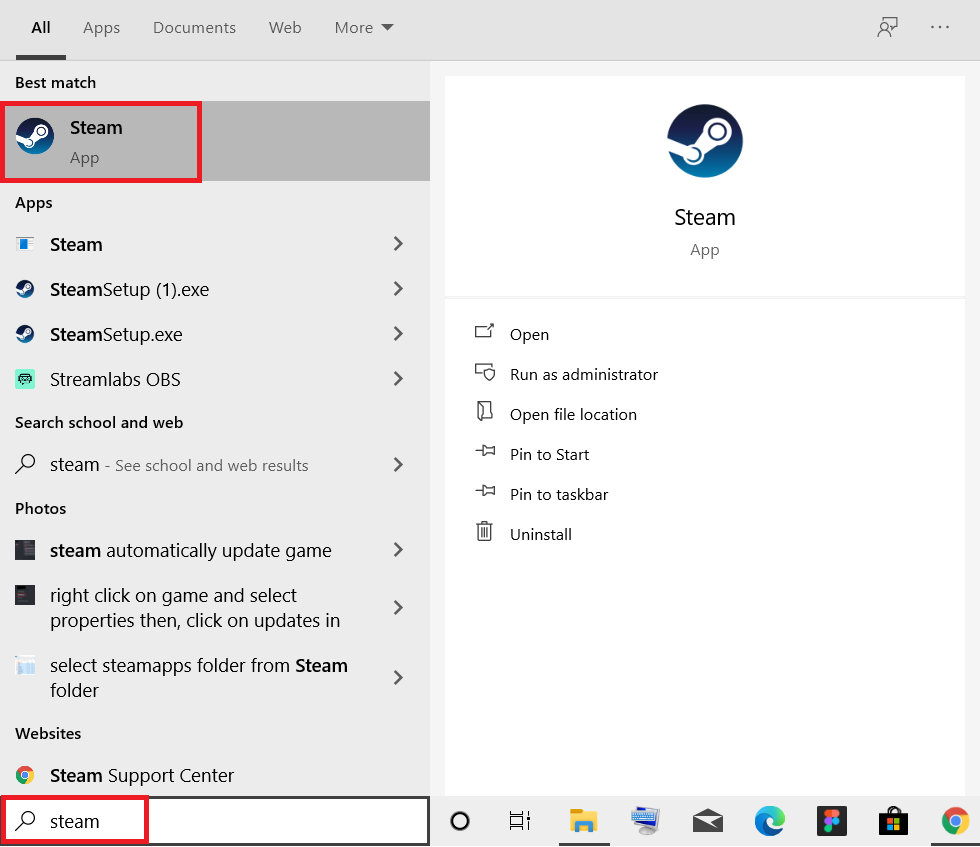
1. Hit the Windows key and type Steam in the Search Bar.
2. Now, click on Run as administrator, as shown.
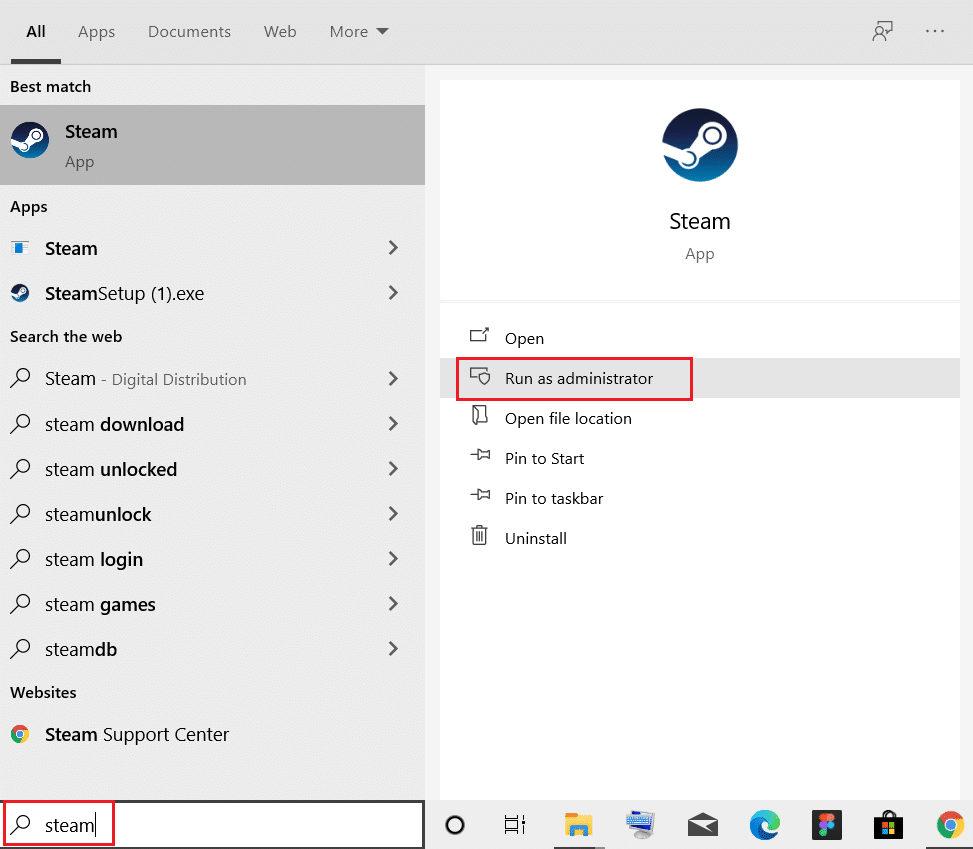
3. Upload/Send image now. Check if Steam cannot upload or send images issue is fixed now.
Also Read: How to Open Steam Games in Windowed Mode
Method 4: Re-login to Steam
All temporary glitches associated with Steam app can be fixed by Logging out from the Steam client and logging in again.
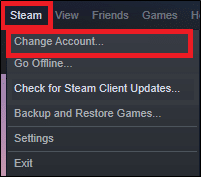
1. Launch Steam and navigate to the Menu bar.
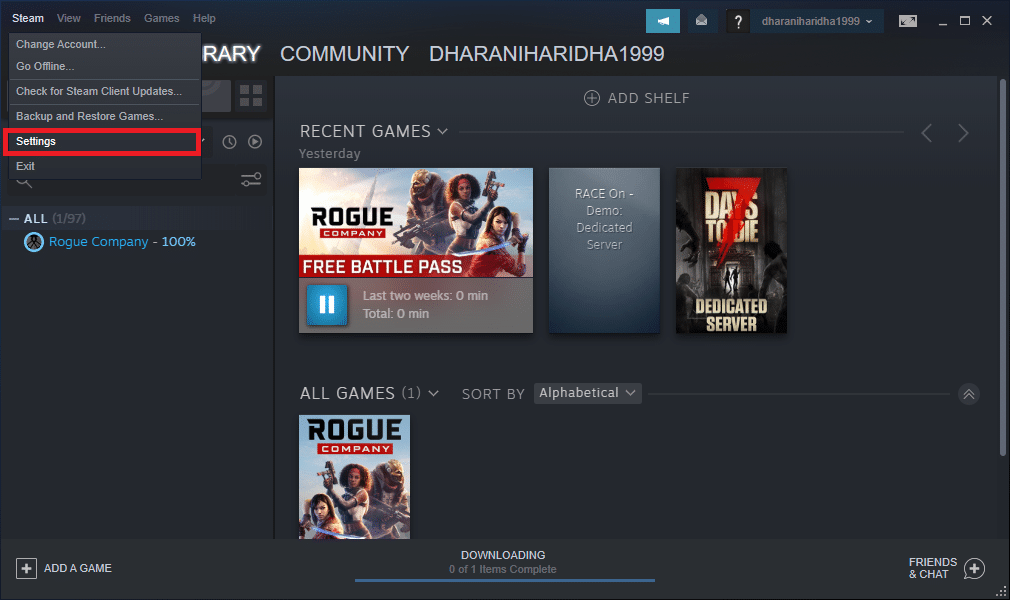
2. Now, click on Steam followed by Change Account… as highlighted below.
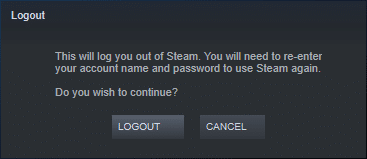
3. Confirm the prompt by clicking on LOGOUT.
4. Now, close the Steam client.
5. Launch Task Manager by pressing Ctrl + Shift + Esc keys together.
6. In the Processes tab, click Steam tasks that are running in the background. e.g. Steam (32 bit).
7. Then, click on End task button, as depicted below.

8. Now, launch the Steam client again and log in to your account.
Method 5: Use Steam Web Client
Sometimes, you may also face this issue when there is a problem with your desktop client. In this case, you can try sending the images using the Steam web client instead.
1. Navigate to your browser (e.g. Google Chrome) and open a Tab.
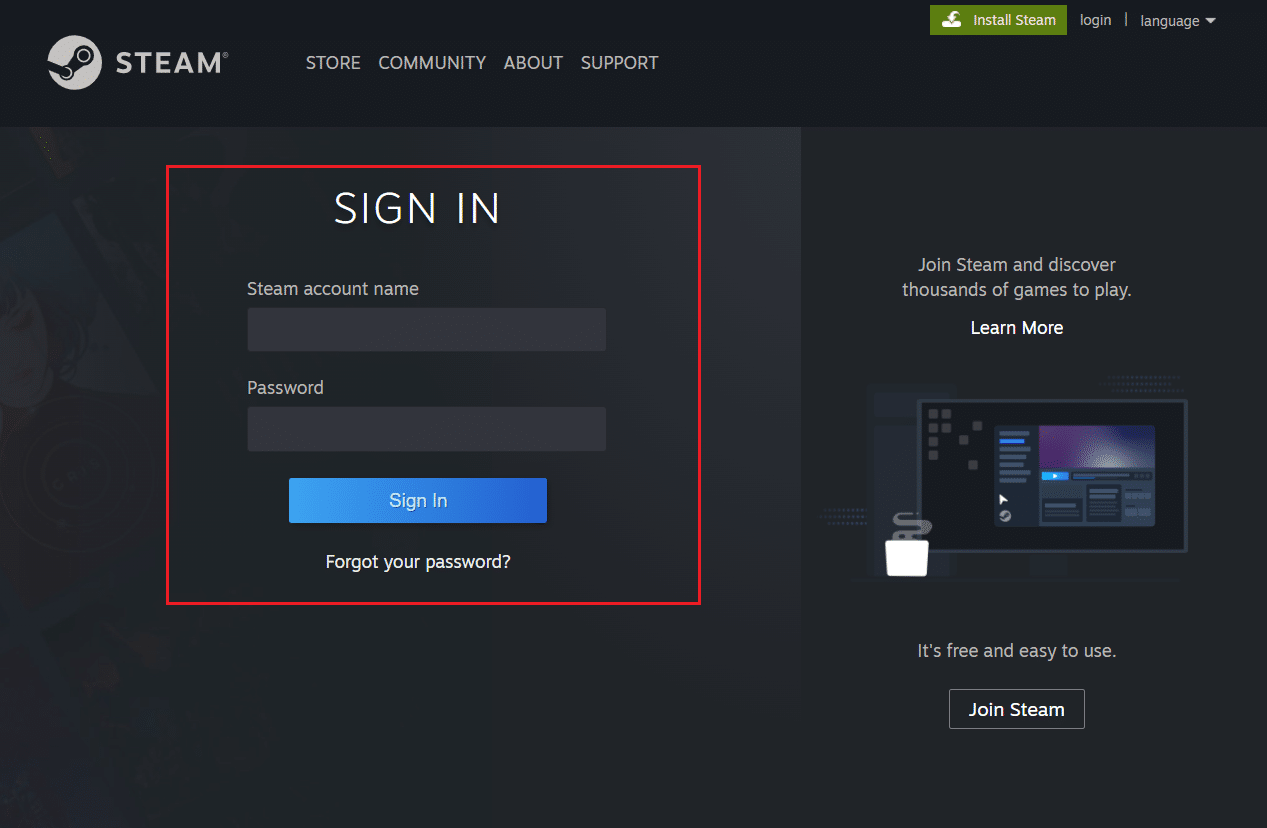
2. Follow the link attached here and navigate to the Steam website.
3. Log in to your account using your Steam account name & Password.
4. Enter the Passcode in enter your code here box received on your registered email.
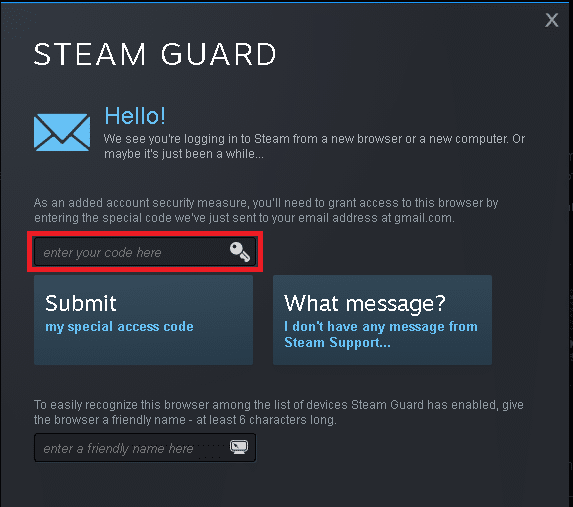
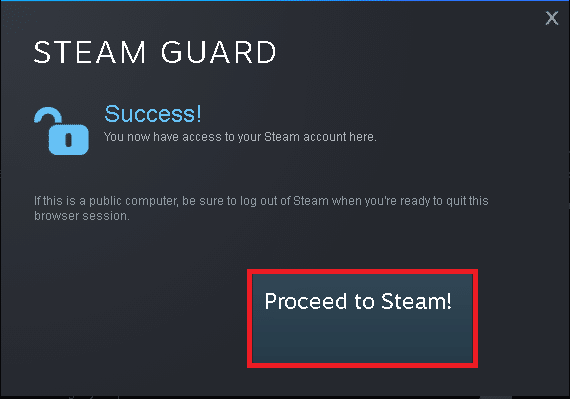
5. Click on Proceed to Steam! as shown.
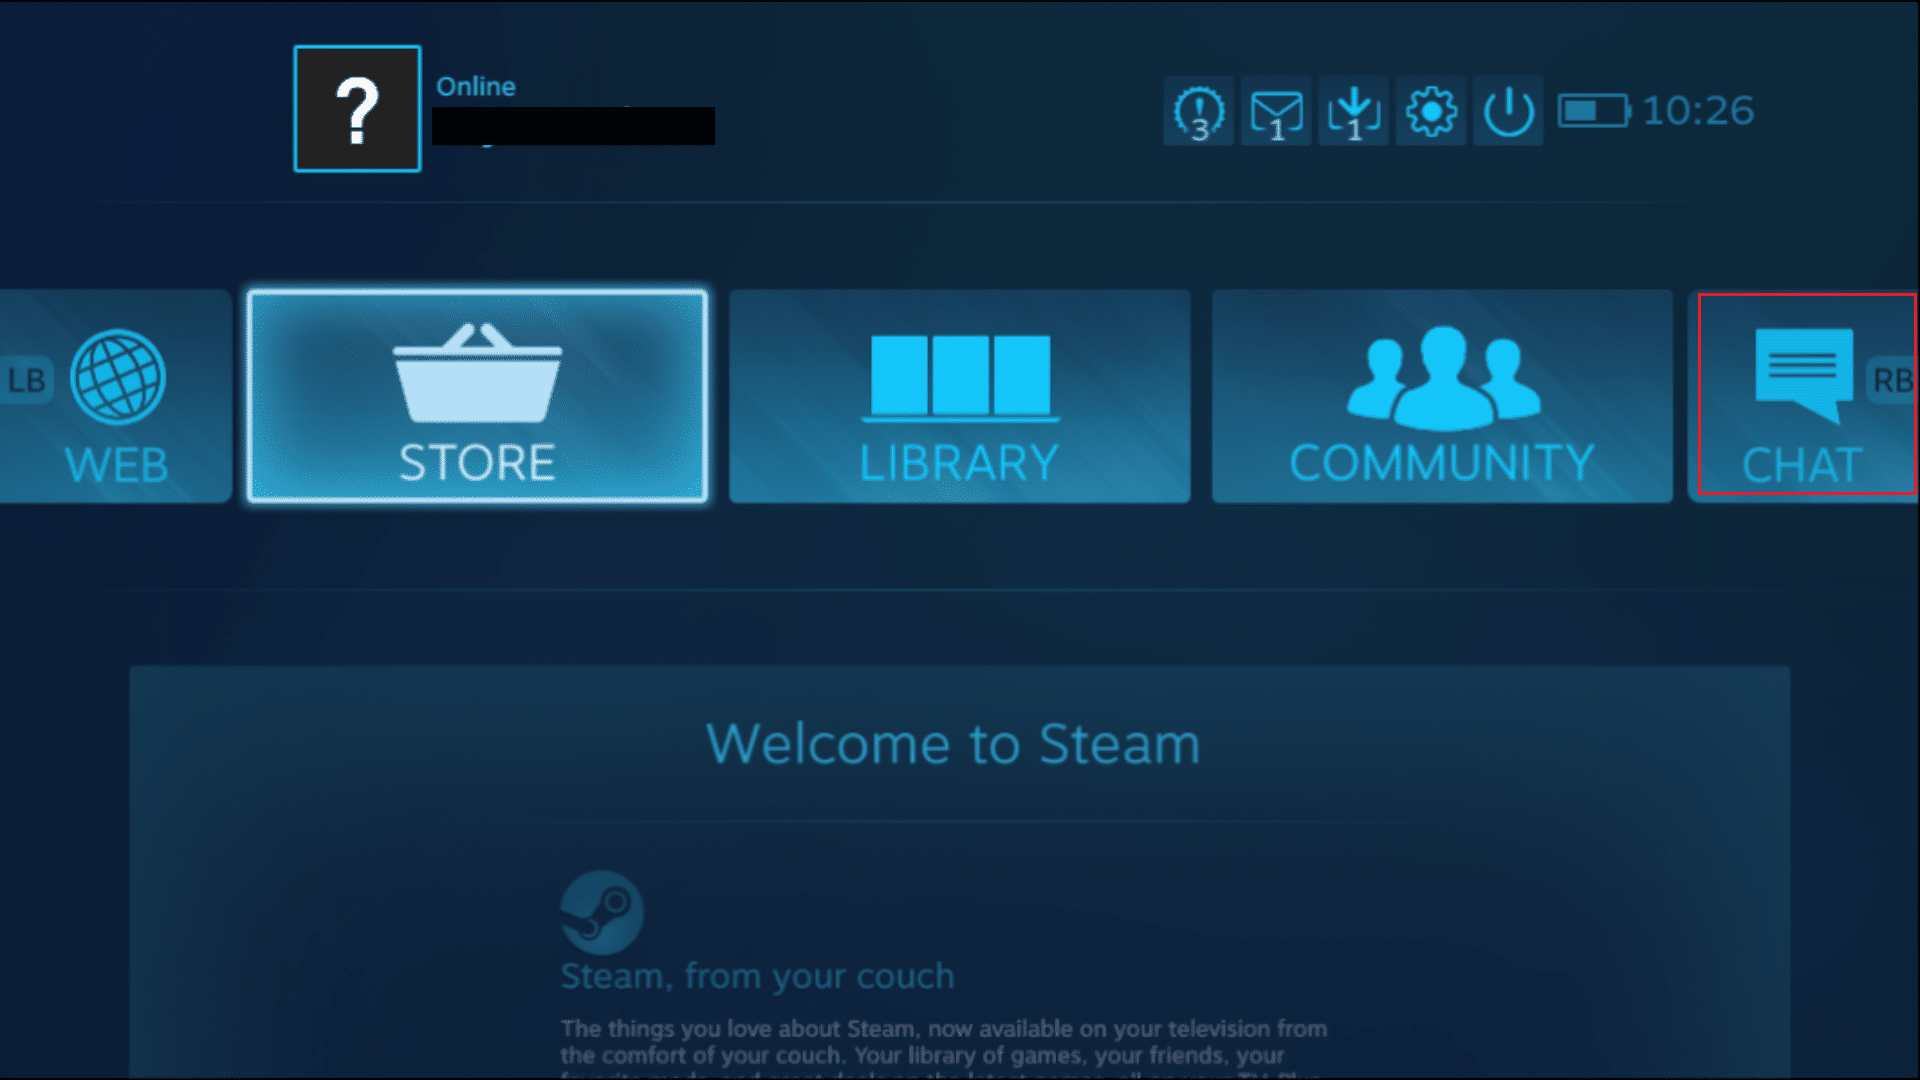
6. Now, select Chat to navigate to the Steam Chat window.
7. Finally, send the desired Image to your friend. Or, upload it to your profile.
Also Read: How to Fix Steam Too Many Login Failures from Network Error
Method 6: Use Big Picture Mode
To resolve the said issue, use the big picture mode in your Steam client, as follows:
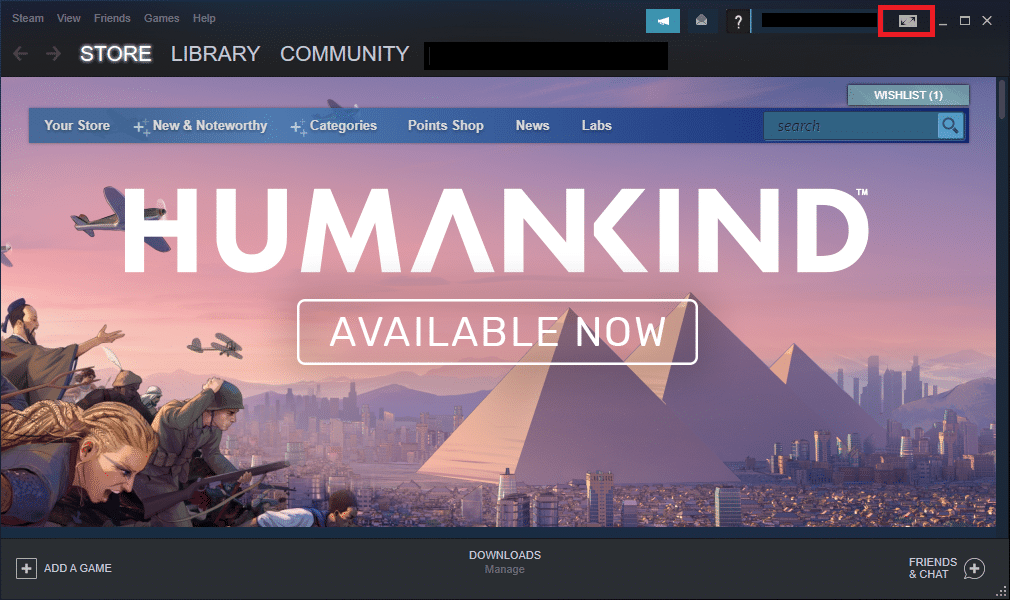
1. Launch the Steam client and click on the Big Picture Mode icon shown highlighted below.
2. Now, open Steam chat and check if you can upload images now.
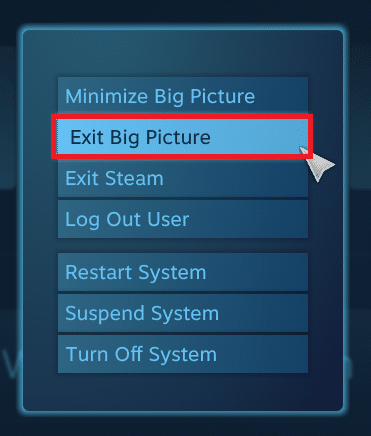
Note: To exit Big Picture Mode, click the Power icon and select Exit Big Picture option, as shown.
Method 7: Change Steam Status to Online
If your status is set to offline, you will face the said issue on your PC. To resolve this, simply change your Steam status to online by following the below-mentioned instructions:
1. Press the Windows key and type steam. Then, hit Enter to launch Steam App.
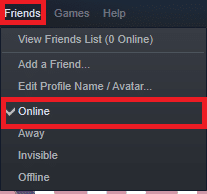
2. Navigate to the Friends tab in the Menu bar.
3. Now, select the Online option as highlighted below.
Check if this fixed the Failed to start upload: Image failed to upload issue in your Windows 10 PC.
Also Read: Fix Steam Keeps Crashing
Method 8: Disable Compact Friends List & Chat View
A feature in Steam named Compact Friends List & Chat View will provide a better gaming experience. This feature is disabled by default. However, if it is accidentally enabled, you may face Steam cannot upload or send images issue. Here’s how to disable the said feature:
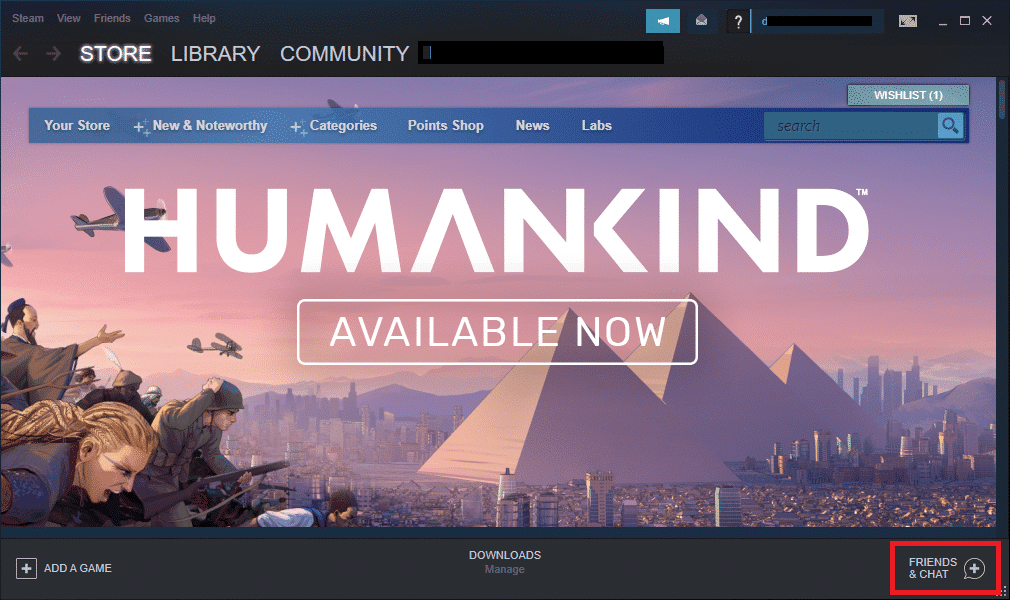
1. Launch Steam and navigate to the FRIENDS & CHAT option from the bottom right corner.
2. Now, click on the gear icon shown highlighted to open Settings.
![]()
3. Now, switch to the SIZE & SCALING tab in the left pane.
4. Switch OFF the toggle for Compact friends list & chat view option, as shown.

Method 9: Clear Download Cache in Steam
Every time you download a game in Steam, some additional cache files get stored in your system. They serve no purpose, but their presence significantly slows down the Steam image downloading process. Here’s how to rectify Steam image failed to upload error by clearing download cache:
1. Launch Steam as earlier.
2. Next, click on Steam > Settings, as depicted.
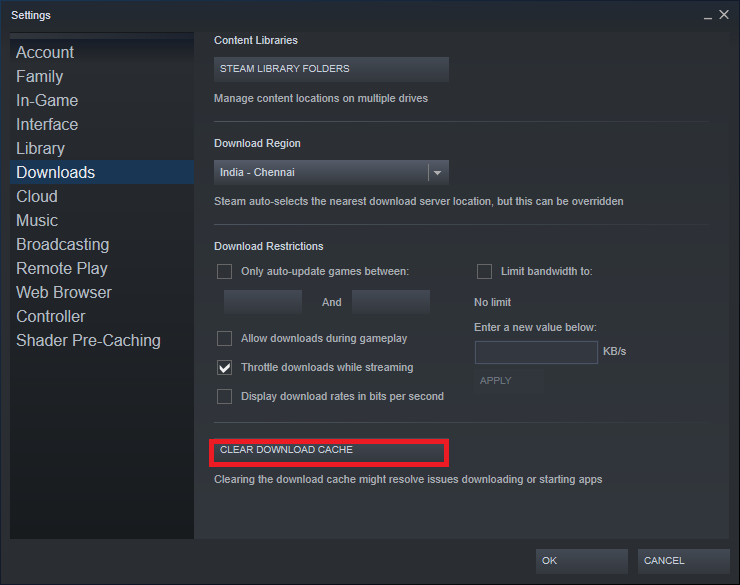
3. In the Settings window, navigate to the Downloads menu.
4. Here, click on CLEAR DOWNLOAD CACHE as shown.
Also Read: How to Fix Steam Not Downloading Games
Method 10: Disable Family View
Sometimes, the feature of the Family view of the Steam Client might disturb the streaming of games and uploading of images. Follow the below-mentioned steps to disable the Family view:
1. Launch Steam and navigate to Steam > Settings as shown in the previous method.
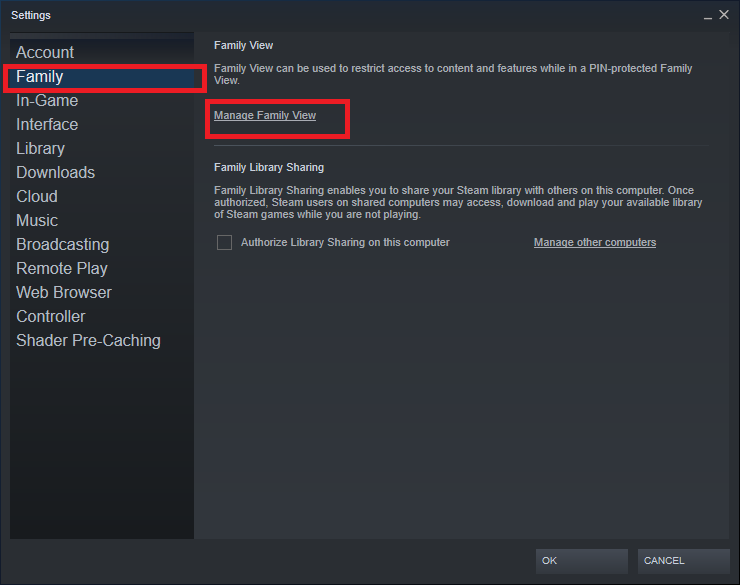
2. Now, click on Family in the left pane and Manage Family View option in the right pane.
3. Here, click on Disable Family View button, as highlighted below.
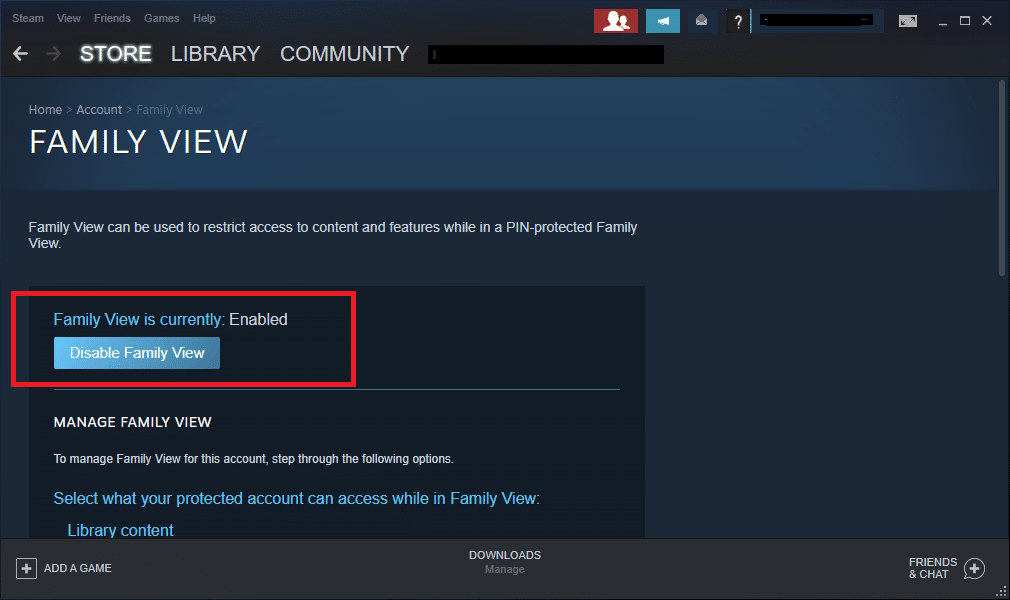
4. Now, relaunch the Steam client and check if the issue is resolved.
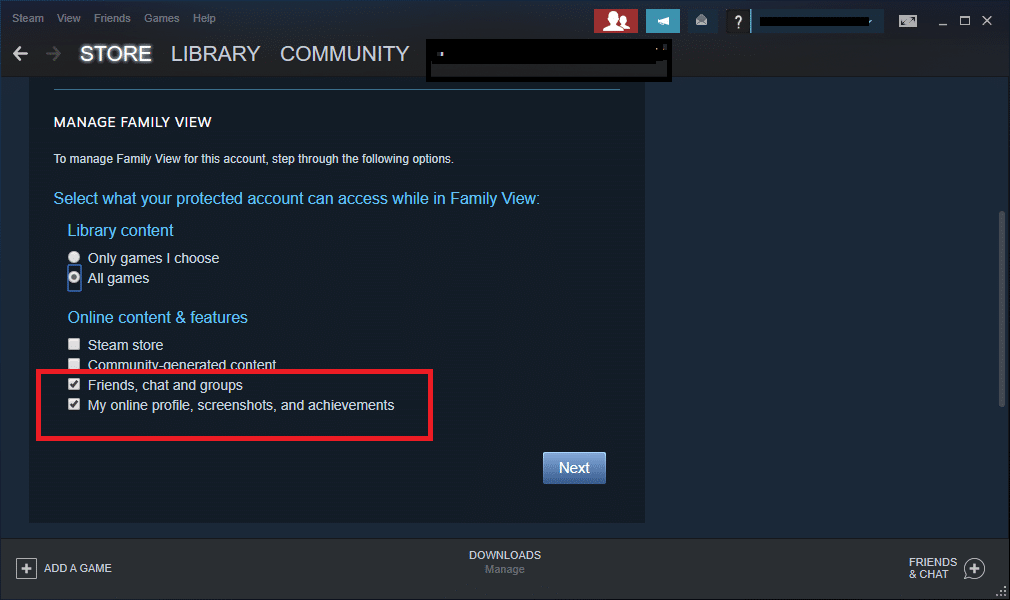
Pro Tip: Alternately, in the Family View section, enable the following options under Online content & features:
- Friends, chat and groups
- My online profile, screenshots, and achievements
Method 11: Join Beta Program
If you face the said issue even after updating your Steam client, there might be a bug in the program. You could fix this by joining the Beta program of the Steam client.
1. Launch Steam and go to Settings as earlier.
2. Now, switch to the Account tab and select the CHANGE… option as shown.

3. Now, choose Steam Beta Update under Beta participation drop-down menu.
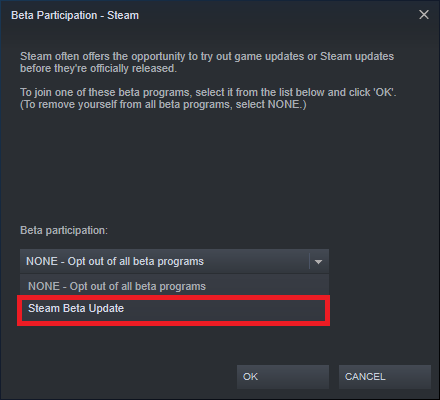
4. Click on OK to save the changes.
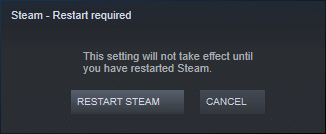
5. Click on RESTART STEAM to confirm the changes made.
6. Launch the Steam again and check if the issue still exists.
Note: If you still face the issue, then repeat Steps 1 to 3 and select NONE – Opt out of all beta programs.
Also Read: Where Are Steam Games Installed?
Method 12: Update Steam Client
If the server installation files are outdated, you will face incompatibility issues between the server and the client, leading to Steam cannot upload or send images issues.
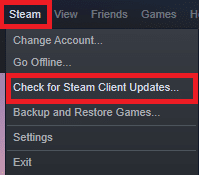
1. Launch Steam and navigate to the menu bar.
2. Now, click on Steam followed by Check for Steam Client Updates…
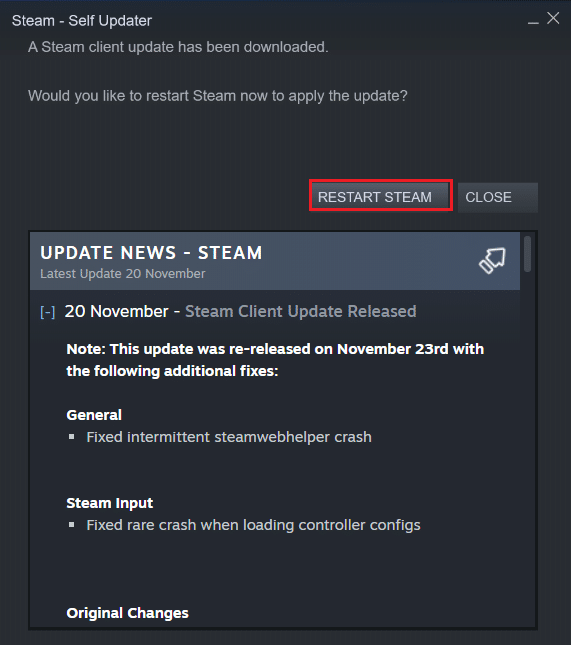
3A. Steam – Self Updater will download updates automatically, if available. Click RESTART STEAM to apply the update.
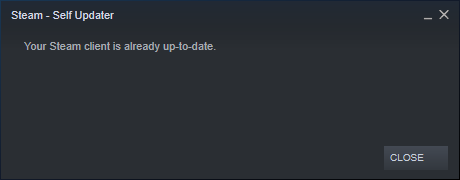
3B. If you have no updates, Your Steam client is already up-to-date message will be displayed.
Method 13: Disable Windows Defender Firewall (Not Recommended)
Windows Defender Firewall asks you for permission to allow programs to function. But, if you click on Deny, you won’t be able to utilize all its features. Some users reported the said issue disappeared when Windows Defender Firewall was turned OFF. Read our guide on How to Disable Windows 10 Firewall here.
Method 14: Resolve Third-Party Antivirus Interference (If Applicable)
Third-party antivirus prevents potentially harmful programs from being opened in your system. However, in this case, it may cause Steam image failed to upload issue when establishing a connection gateway. Hence, disable it temporarily to fix the issue.
Also Read: How to Delete Discord
Method 15: Change Proxy Settings
If your network connection blocks you from accessing Steam client, you can try using another connection. Alternately, enable or disable VPN/proxy network.
1. Exit from Steam and close all the applications related to Steam from Task Manager as instructed in Method 4.
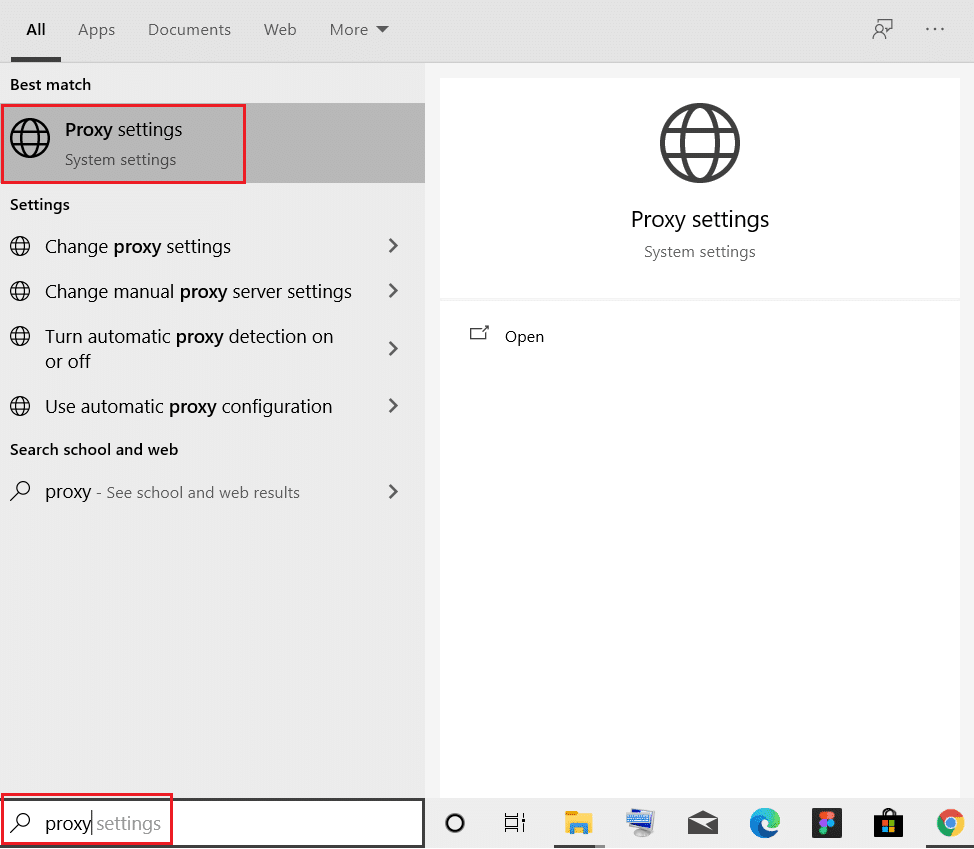
2. Now, hit the Windows key and type proxy. Then, click on Proxy settings from the search results.
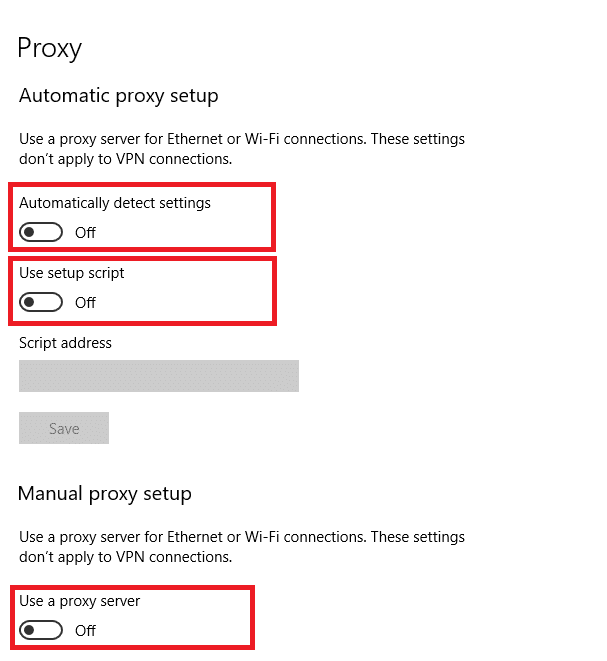
3. Here, switch Off the toggle for the following settings.
- Automatically detect settings
- Use setup script
- Use a proxy server
4. Now, launch Steam client and try if you can upload images.
Note: If not, use a VPN client or try connecting your system to another network like Wi-Fi or a mobile hotspot. Check if the issue is resolved.
Method 16: Reinstall Steam
Any common glitches associated with a software program can be resolved when you uninstall the application entirely from your system and reinstall it again. Here is how to implement the same to fix image failed to start upload issue.
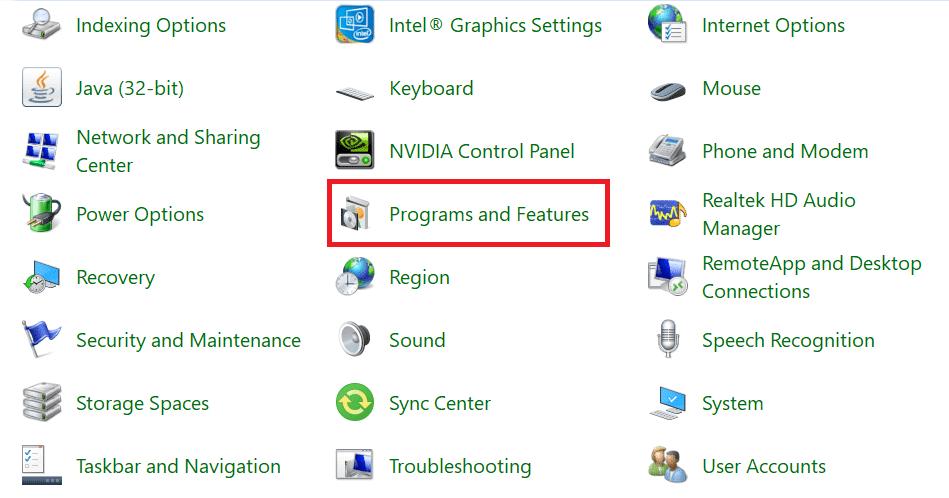
1. Launch Control Panel as instructed in Method 13.
2. Select View by > Small icons and click on Programs and Features.
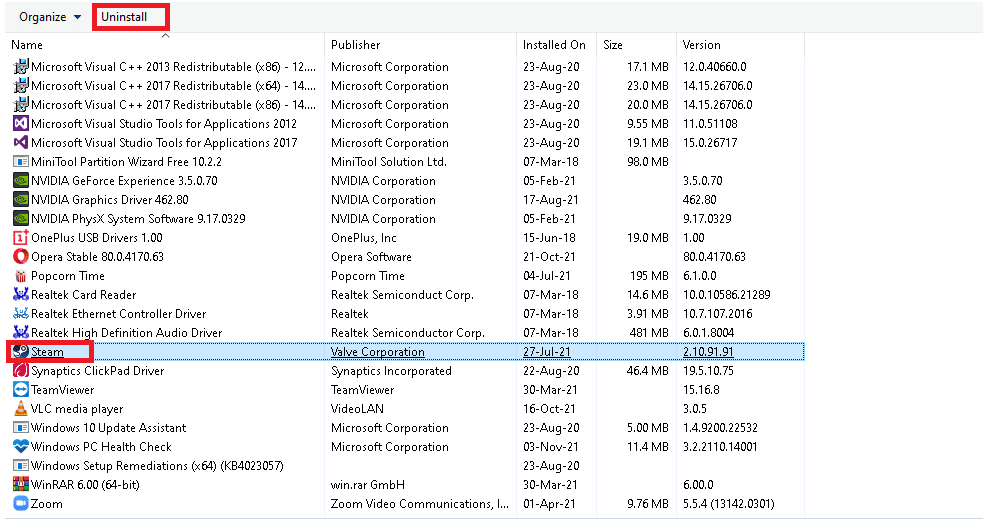
3. Click on Steam and select Uninstall option as depicted in the below picture.
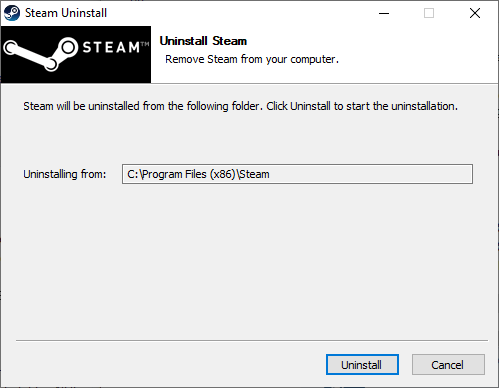
4. In the Steam Uninstall window, click on Uninstall to remove Steam.
5. Restart the computer once you completed uninstalling Steam.
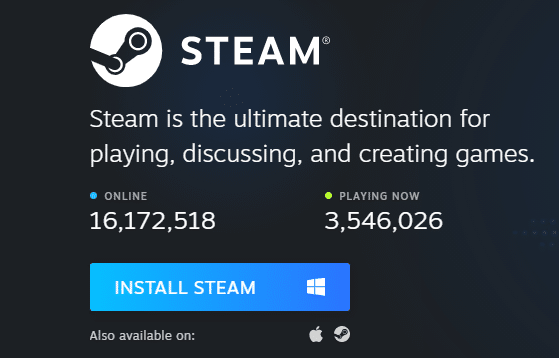
6. Now, go to the link attached here and click on INSTALL STEAM, as shown. SteamSetup file will be downloaded in your system.
7. Navigate to the Downloads folder and open the Steam Setup file.
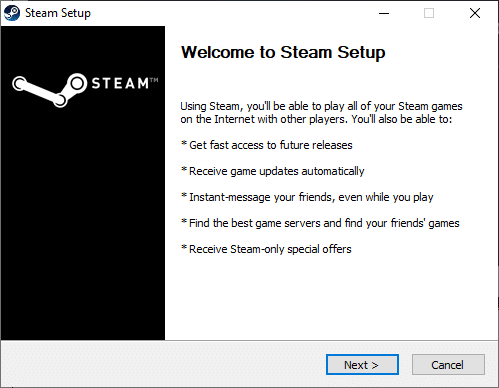
8. In the Steam Setup wizard, click on the Next button.
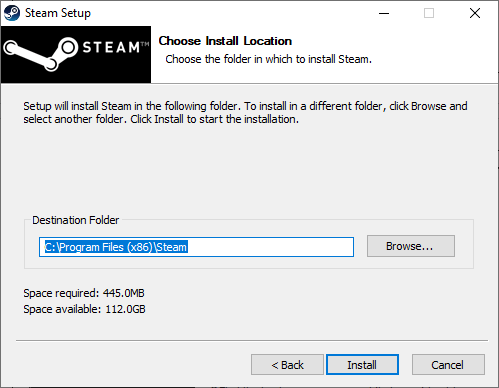
9. Choose the Destination folder by using the Browse… option and click on Install.
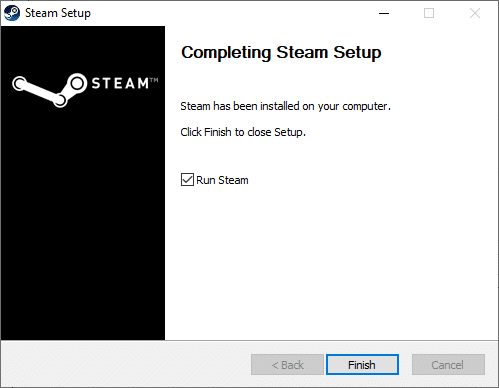
10. Wait for the installation to be completed and click on Finish, as shown.
Recommended:
We hope that this guide helped you fix Steam image failed to upload or send issue in your system. Let us know which method worked for you the best. Also, if you have any queries/suggestions regarding this article, then feel free to drop them in the comments section.