You may encounter a wide range of software and hardware-related issues after upgrading to Windows 10. One such problem that you may face is the Wi-Fi adapter not working issue in Windows 10 PCs. We know that a good network is essential since a lot of work is dependent on a reliable internet connection. Being disconnected from the internet for longer durations may put a stop to your productivity. Network adapter not working Windows 10 problem might have a variety of reasons, all of which can easily be fixed as explained in this article.
Fix Windows 10 Wi-Fi Adapter Not Working Issue
When you first log in to Windows 10 following a few major modifications, you may see that the device shows or detects no Wi-Fi network. Thus, you will have to connect to a wired network or use an external Wi-Fi adapter. Here are a few common causes for this issue:
- Malfunctioning drivers: Drivers that are not working correctly might cause problems, especially after an OS upgrade.
- Improper settings: It is possible that some of the adapter settings have changed unexpectedly, causing it to stop working.
- Damaged adapter: Although unlikely, if the problem develops after your laptop has been dropped, this component may have been destroyed.
Method 1: Resolve Wi-Fi Signal Disruptions
- The Wi-Fi signal may be hampered by appliances and devices that give out wave signals like microwave ovens. Therefore, be sure there are no appliances in close proximity to your router that might interfere with the signal.
- Changing router Wi-Fi frequency will drastically reduce traffic and connection concerns.
- Disabling Bluetooth & turning off Bluetooth devices might also help.
Also Read: What is the Difference Between a Router and a Modem?
Method 2: Update Router Firmware
It is possible that updating the firmware on your router would solve Wi-Fi adapter not working Windows 10 problem. This is not a simple procedure. Also, if you do not upgrade the router correctly, it might be permanently damaged. Proceed at your own risk.
- Hence, it is best to follow router user manual for further information on how to upgrade it.
- If you cannot find the printed or online manual, contact the manufacturer for assistance.
Note: Since Routers do not have the same settings option, and they vary from manufacturer to manufacturer, hence ensure the correct settings before changing any. The following methods are from PROLINK ADSL Router.
1. Firstly, download the firmware update from the official website (e.g. prolink)
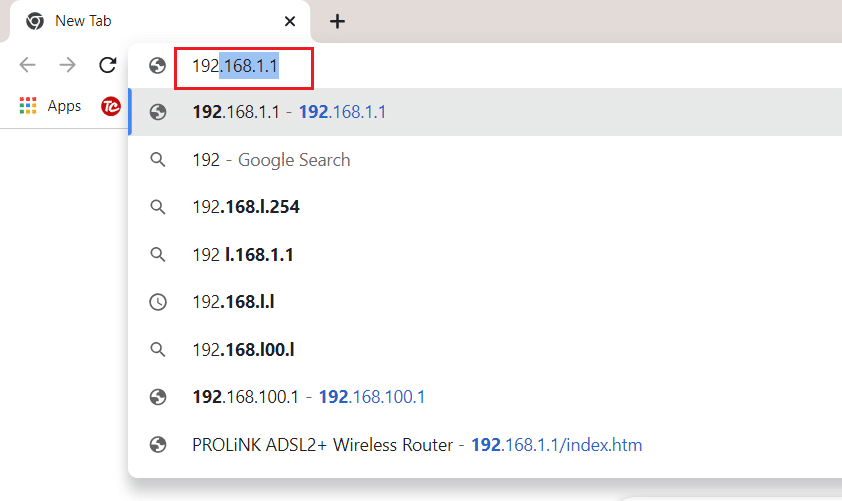
2. Go to your router gateway address (e.g. 192.168.1.1)
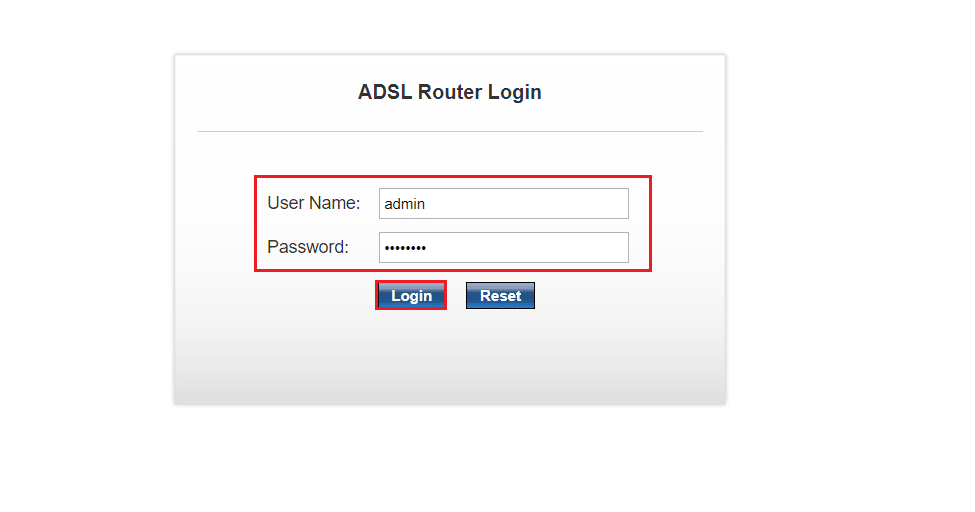
3. Login with your credentials.
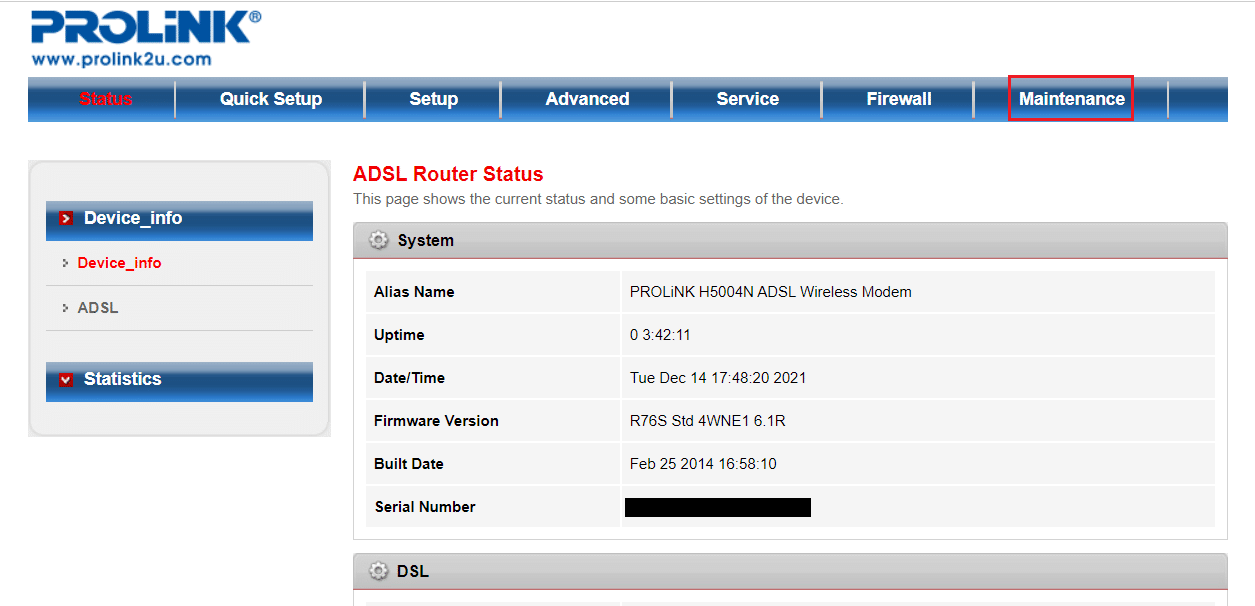
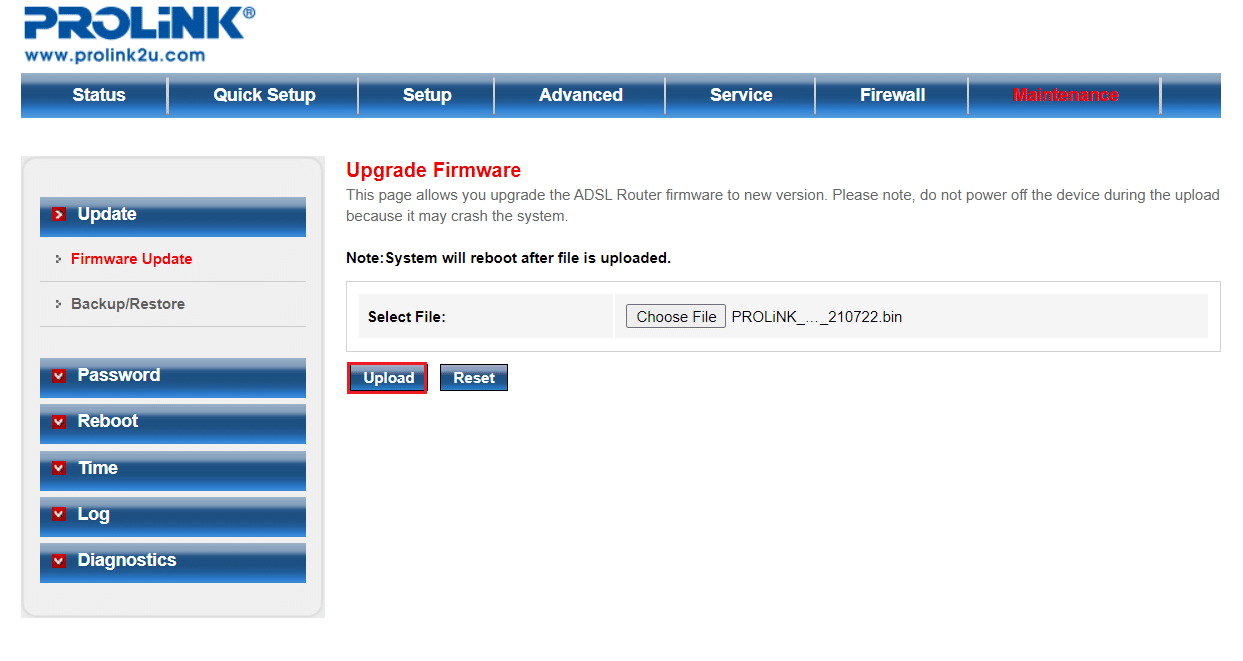
4. Then, click on Maintenance tab from the top.
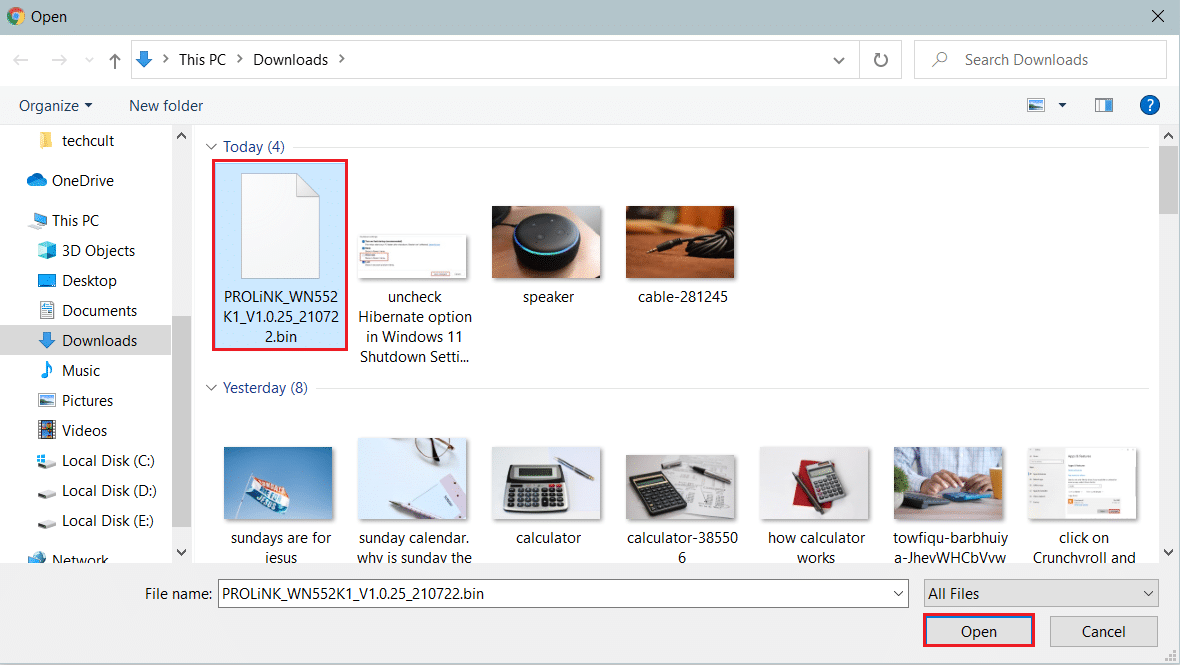
5. Click on Choose File button to browse the File Explorer.

6. Select your downloaded firmware update (e.g. PROLINK_WN552K1_V1.0.25_210722.bin) and click on Open, as depicted below.
7. Now, click on the Upload button to update your router firmware.
Method 3: Reset Router
Resetting the router might help you fix Wi-Fi adapter not working Windows 10 issue. But, you must reconfigure your router once it has been reset. Hence, take notes of its setup info, including password, before resetting it.
1. Look for the Reset button on the side or back of the router.
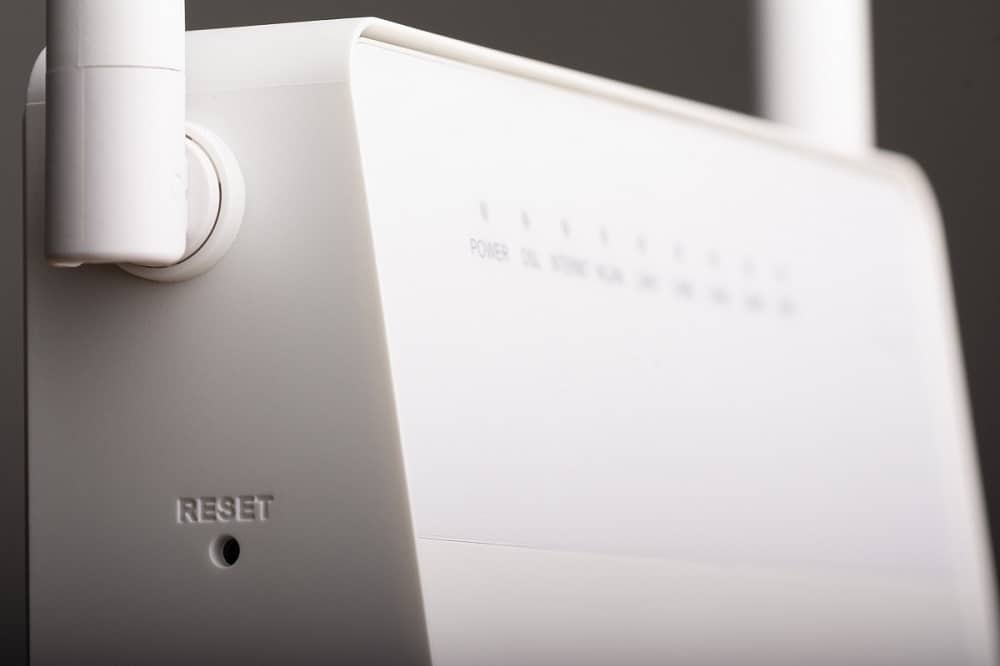
2. Press and hold the button for more than 10 seconds, or until the SYS led begins to flash rapidly, and then release it.
Note: You will need a pin or a sharp object to press the button.
Also Read: How to Enable DNS over HTTPS in Chrome
Method 4: Run Internet Troubleshooter
Windows may declare that you are connected to the internet and that the connection is safe, but you still might be unable to access the internet. Hence, it is advised to run Windows troubleshooter to fix network adapter not working Windows 10 problem.
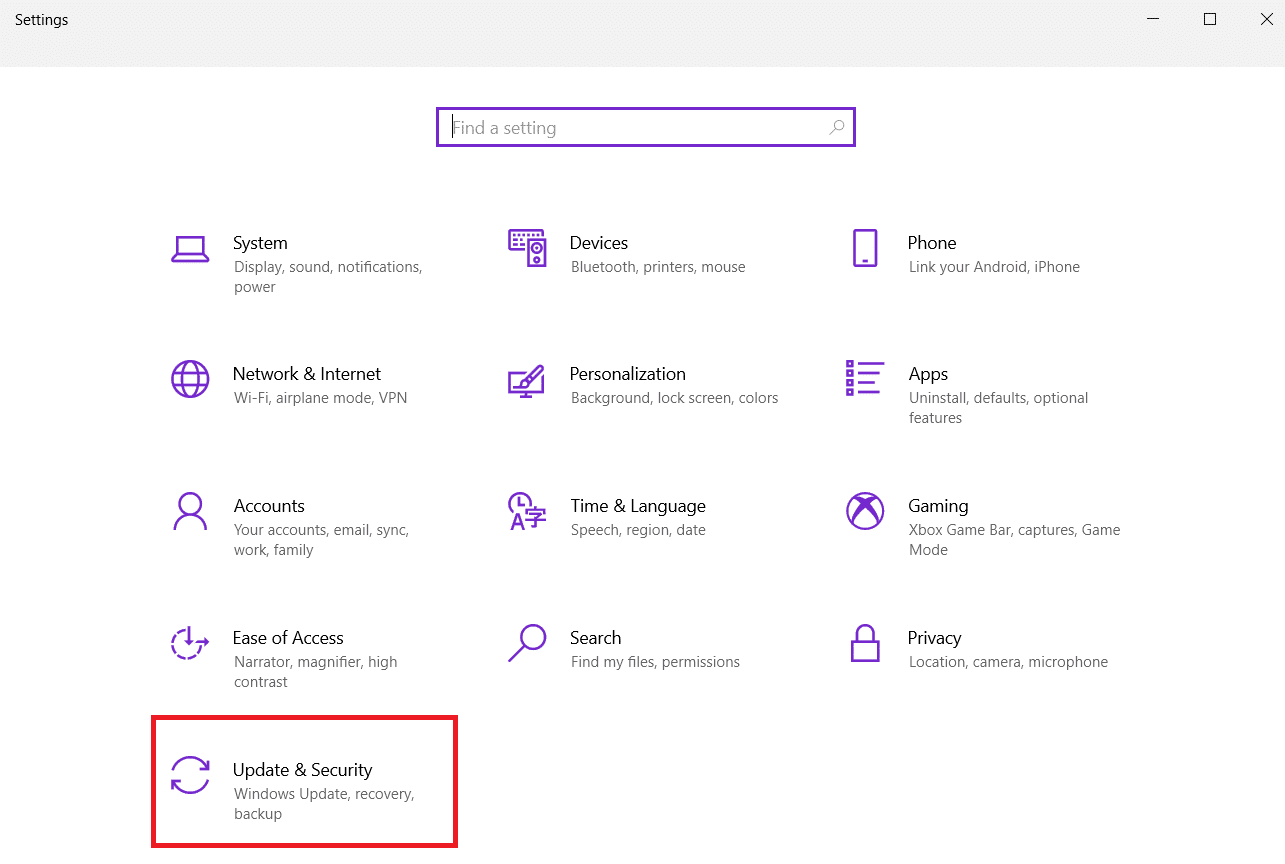
1. Press Windows + I keys together to open Settings.
2. Go to the Updates & Security section.
3. From the left pane, choose Troubleshoot.
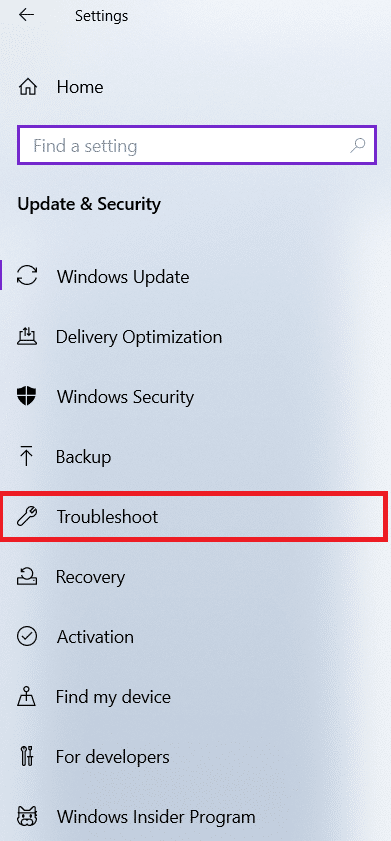
4. Click on Additional troubleshooters, as shown.

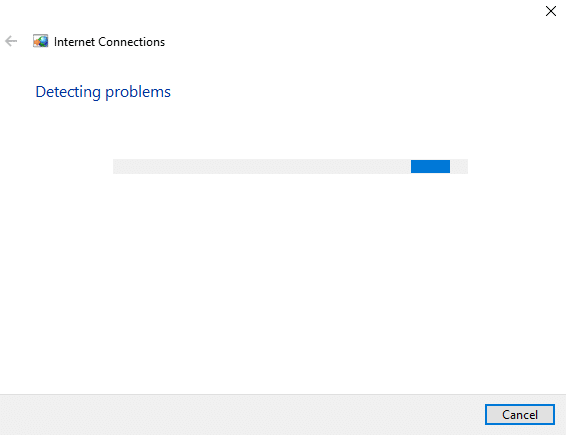
5. Select Internet Connections and click on Run the troubleshooter, as depicted below.

6. Wait for the procedure to complete and follow the on-screen instructions.
7. Restart your computer.
Method 5: Switch to Maximum Performance Mode
Sometimes, the settings of your PC may lead to Wi-Fi adapter not working Windows 10 issue. So, follow the below steps to switch to maximum performance:
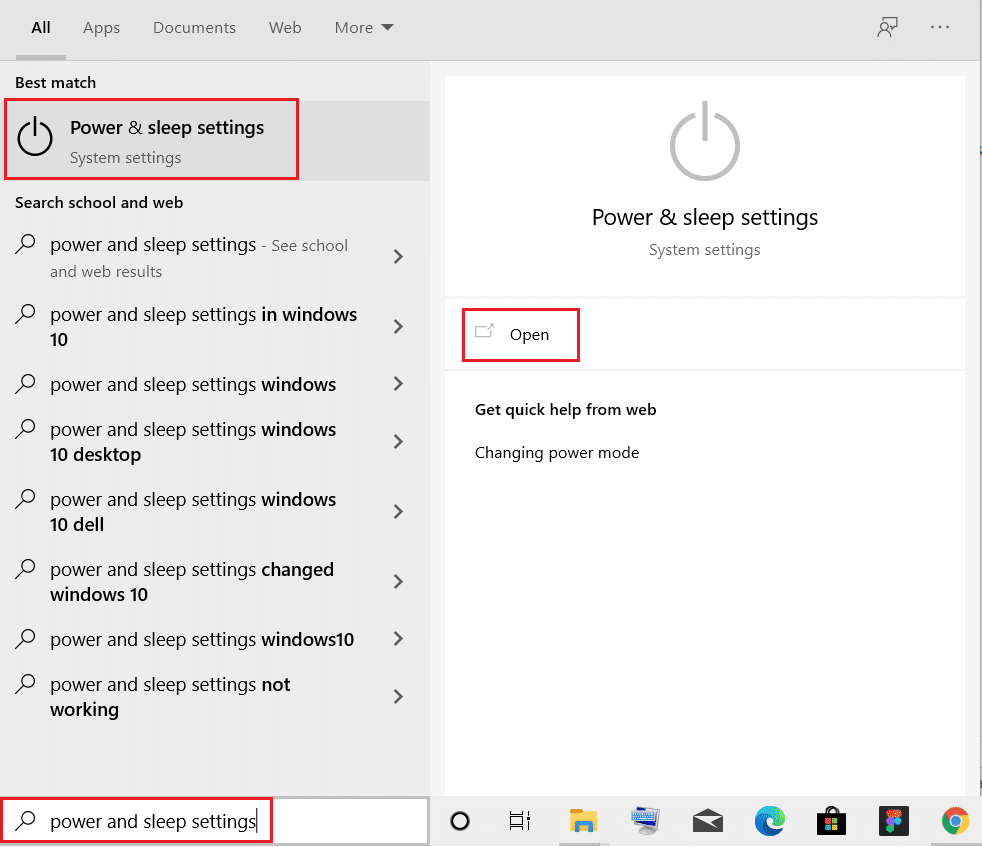
1. Click on Start, type power and sleep settings, and click Open.
2. Select Additional power settings under Related settings.

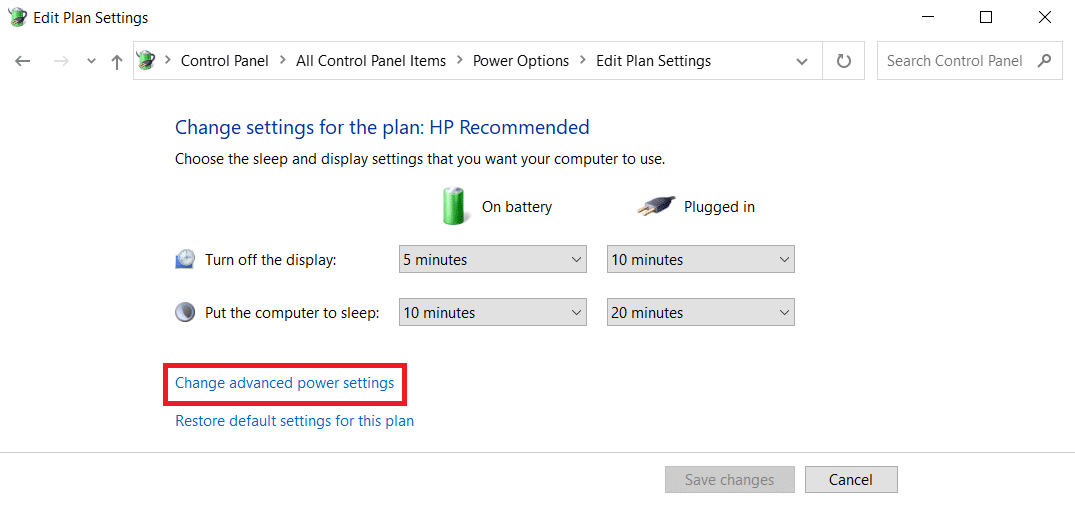
3. Locate your current plan in the Power Options and click Change plan settings.

4. Go to Change advanced power settings.
5. Set the Power Saving Mode to Maximum Performance under Wireless Adapter Settings for both these options:
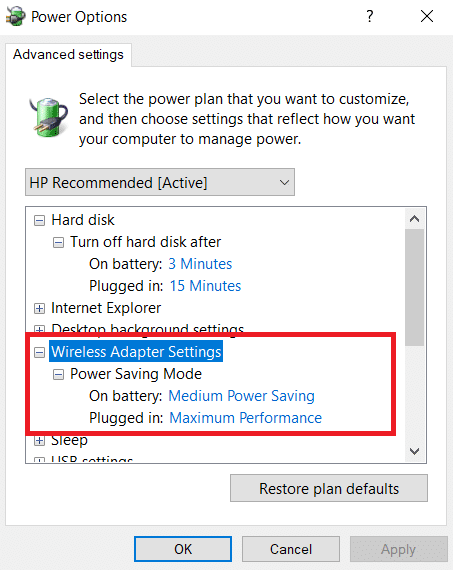
6. To save the changes, click Apply and OK.
Note: Maximum Performance option will place additional demand on your computer, resulting in your laptop battery life being shortened.
Also Read: How to Enable Hibernate Mode in Windows 11
Method 6: Change Adapter Settings
The most typical reasons for network adapter not working Windows 10 issue include a failing TCP/IP stack, IP address, or DNS client resolver cache. Thus, change adapter settings to solve the issue, as follows:
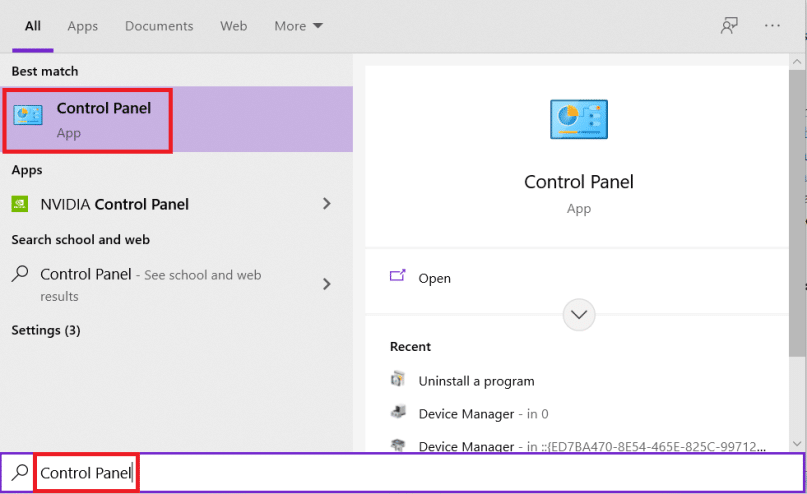
1. Launch Control Panel through the Windows Search Bar, as shown.
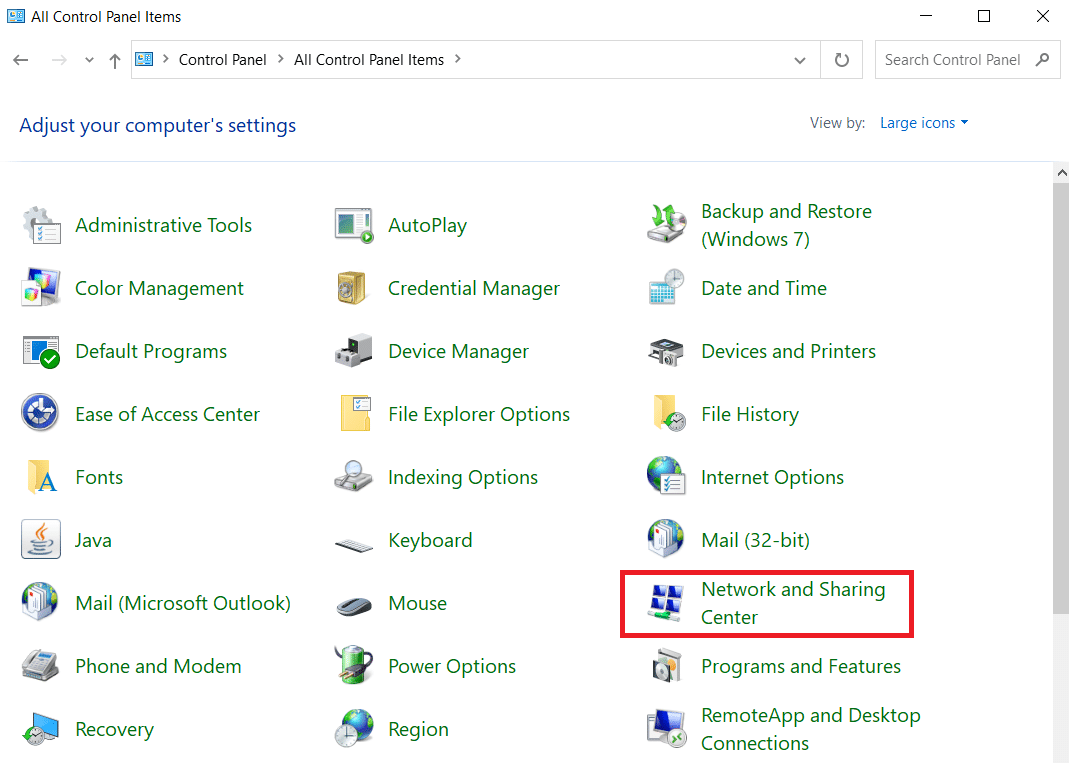
2. Set View by > Large icons and click on Network and Sharing Center.
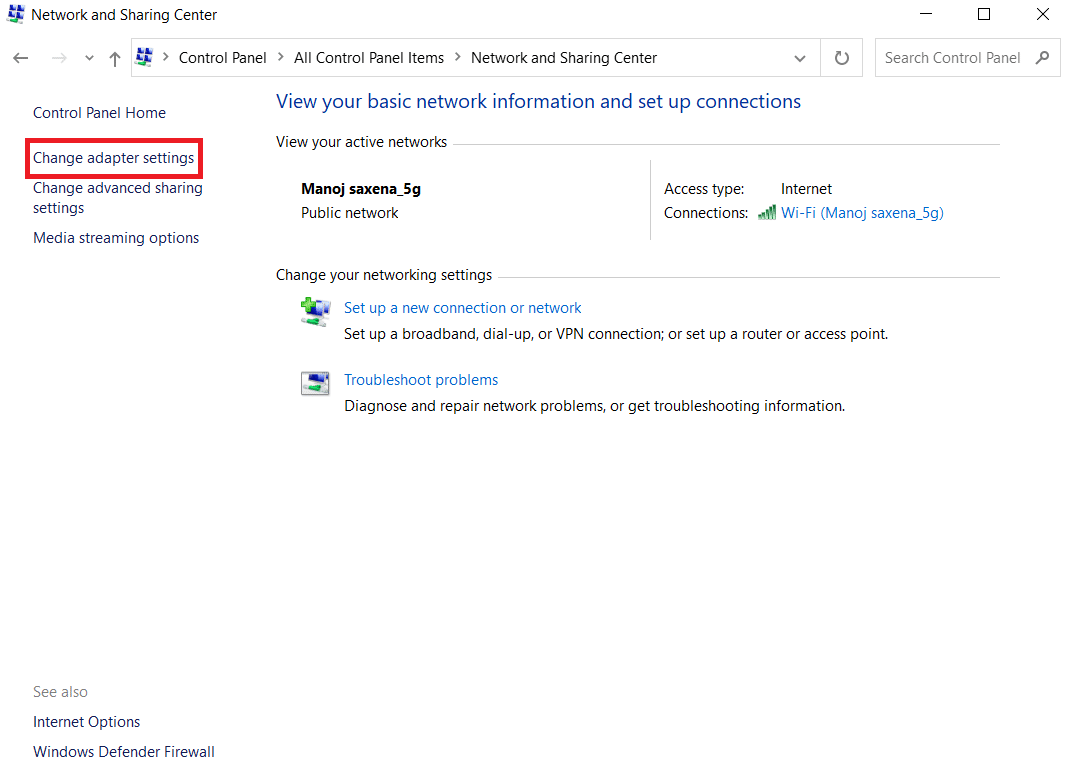
3. Click on Change adapter settings, as shown.
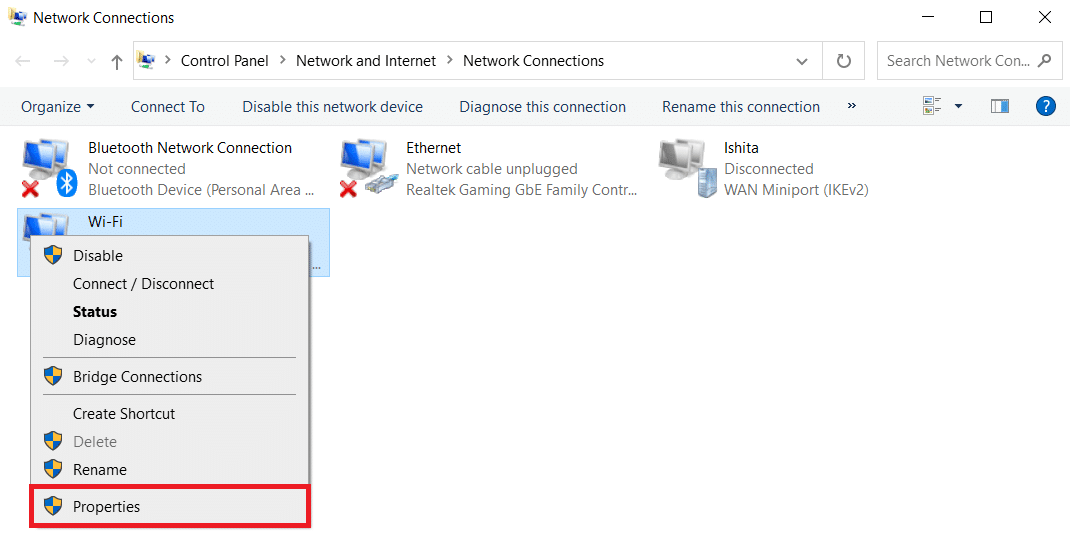
4. Select Properties from the Wi-Fi wireless adapter context menu by right-clicking on it.
5. Look for Internet Protocol Version 4 (TCP/IPv4) in the list of options that appears and uncheck it to disable it.
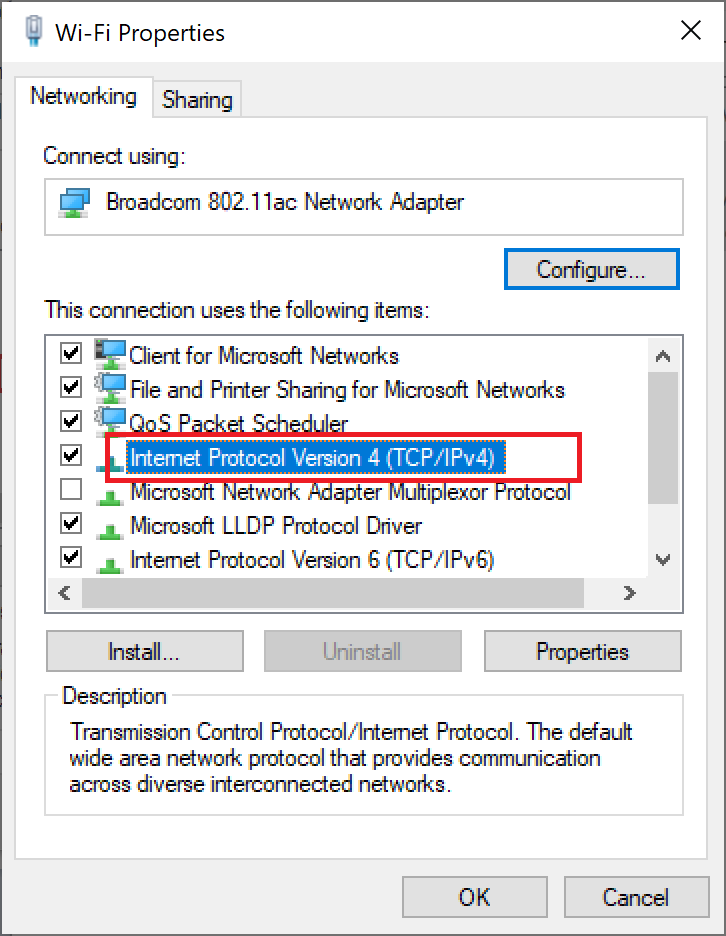
6. To make the changes stay, click OK and restart your PC.
Method 7: Tweak Network Settings in Command Prompt
In order to fix the said issue, you can tweak settings in the registry and CMD as explained below:
1. Click on Start and type Command Prompt. Then, click on Run as administrator.

2. Press Enter key after typing netcfg –s n command.
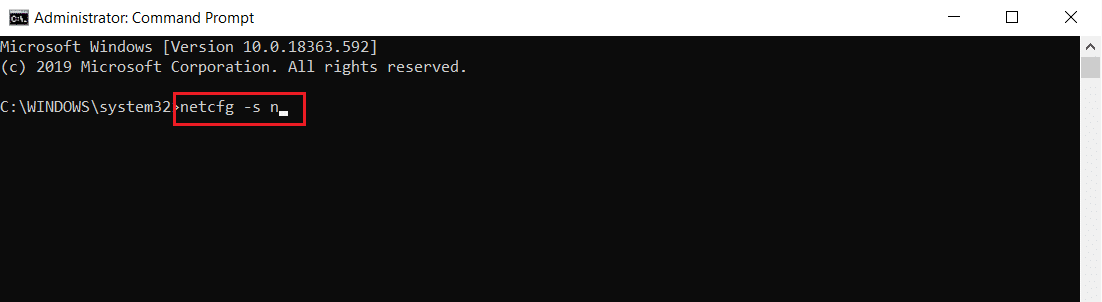
3. This command will display a list of network protocols, drivers, and services. Check to see whether DNI_DNE is listed.
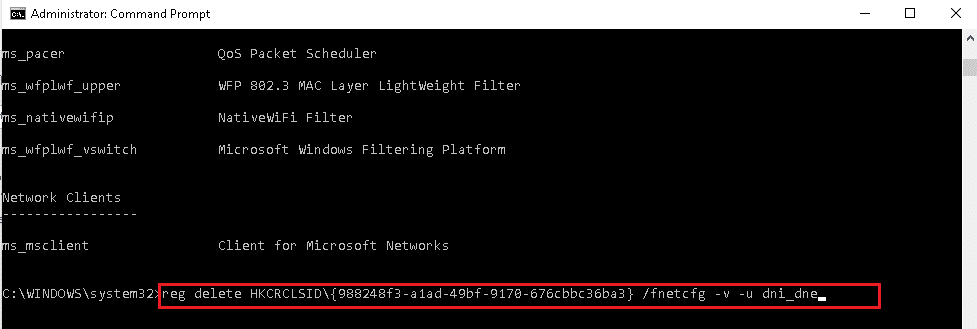
3A. If DNI_DNE is mentioned, type the following command and press Enter key.
reg delete HKCRCLSID{988248f3-a1ad-49bf-9170-676cbbc36ba3} /fnetcfg -v -u dni_dne
3B. If you do not see DNI_DNE listed then, run netcfg -v -u dni_dne instead.
Note: If you get the error code 0x80004002 after executing this command, you will need to delete this value in registry by following steps 4-8.
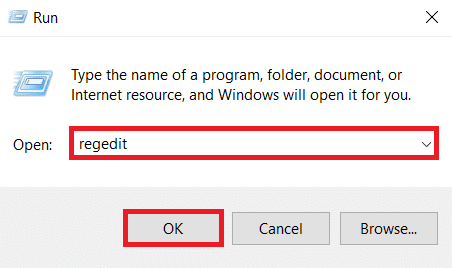
4. Press Windows + R keys simultaneously to open Run dialog box.
5. Type regedit and click OK to open Registry Editor.
6. Click on Yes in the User Account Control dialog box, if prompted.
7. Go to HKEY_CLASSES_ROOT/CLSID/{988248f3-a1ad-49bf-9170-676cbbc36ba3}
8. If DNI_DNE key is present, Delete it.
Also Read: How to Increase Internet Speed in Windows 11
Method 8: Update or Rollback Network Drivers
You may either update the network driver or go back to a previous version to fix Wi-Fi adapter not working issue in Windows 10 desktop/laptop.
Option 1: Update Network Driver
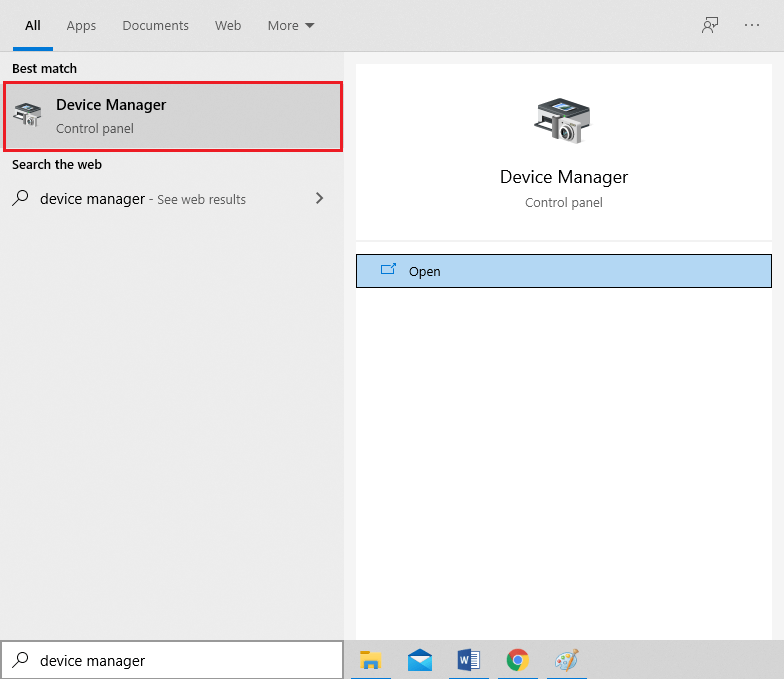
1. Press the Windows key, type device manager, and hit Enter key.
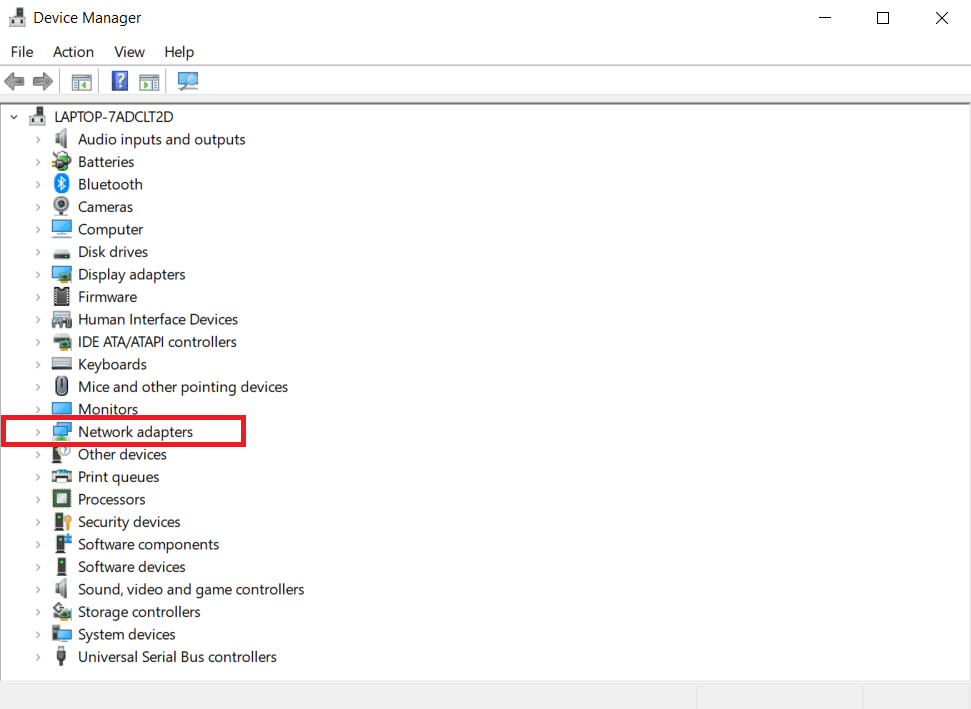
2. Double-click on the Network adapters in Device Manager window.
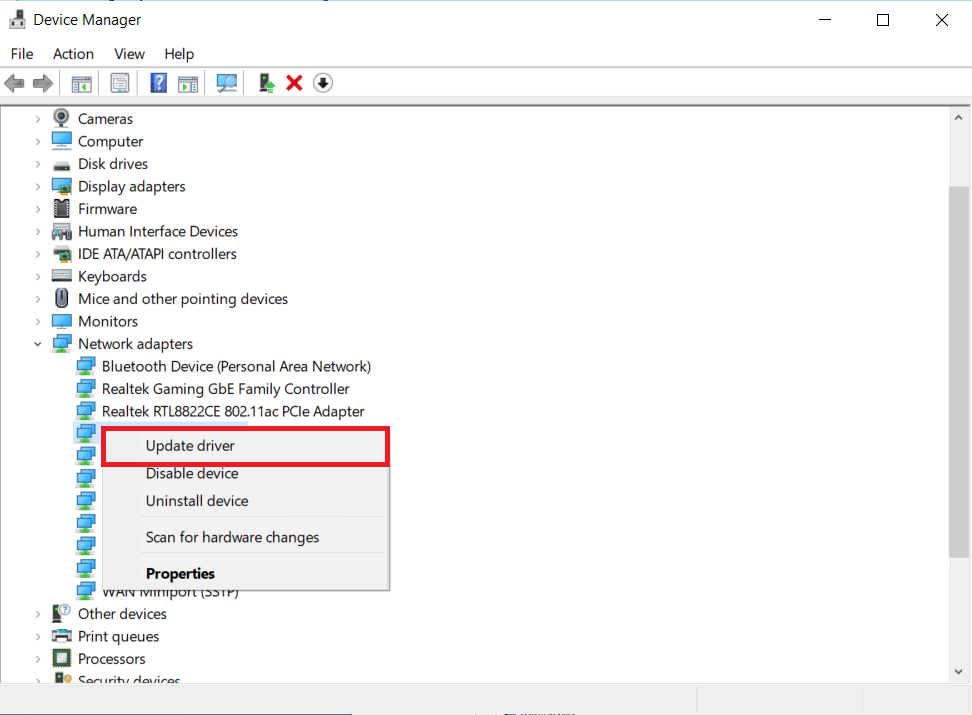
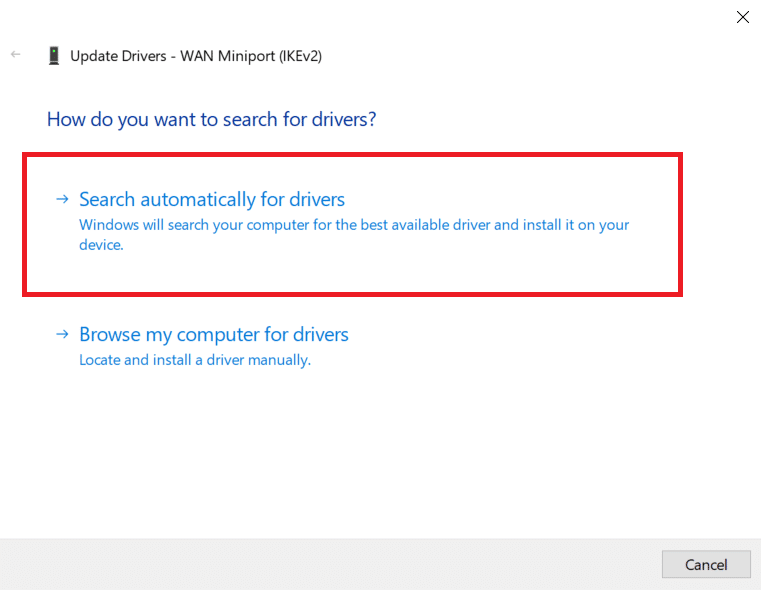
3. Right-click on your Wi-Fi driver (e.g. WAN Miniport (IKEv2)) and click on Update driver.
4. Select Search automatically for drivers option as shown.
5A. If a new driver is found, the system will automatically install it and prompt you to restart your PC. Do so.
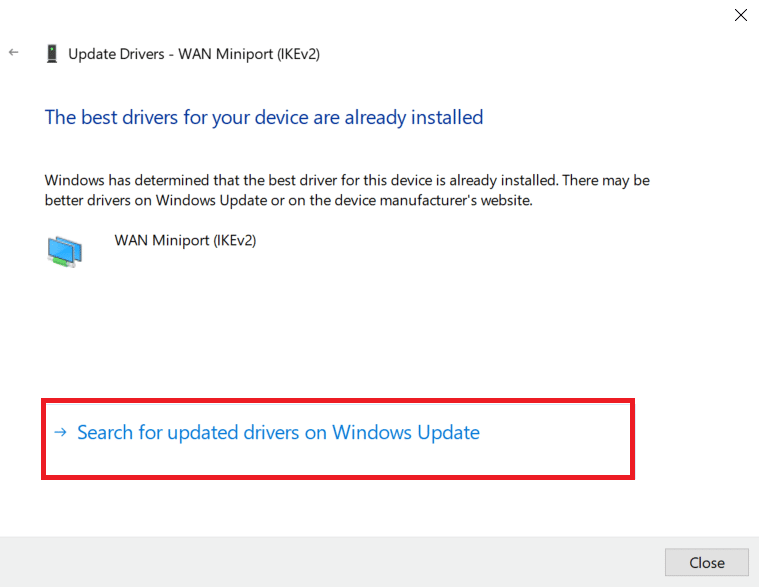
5B. Or you may see a notification The best drivers for your device are already installed, in which case you may click on Search for updated drivers on Windows Update.
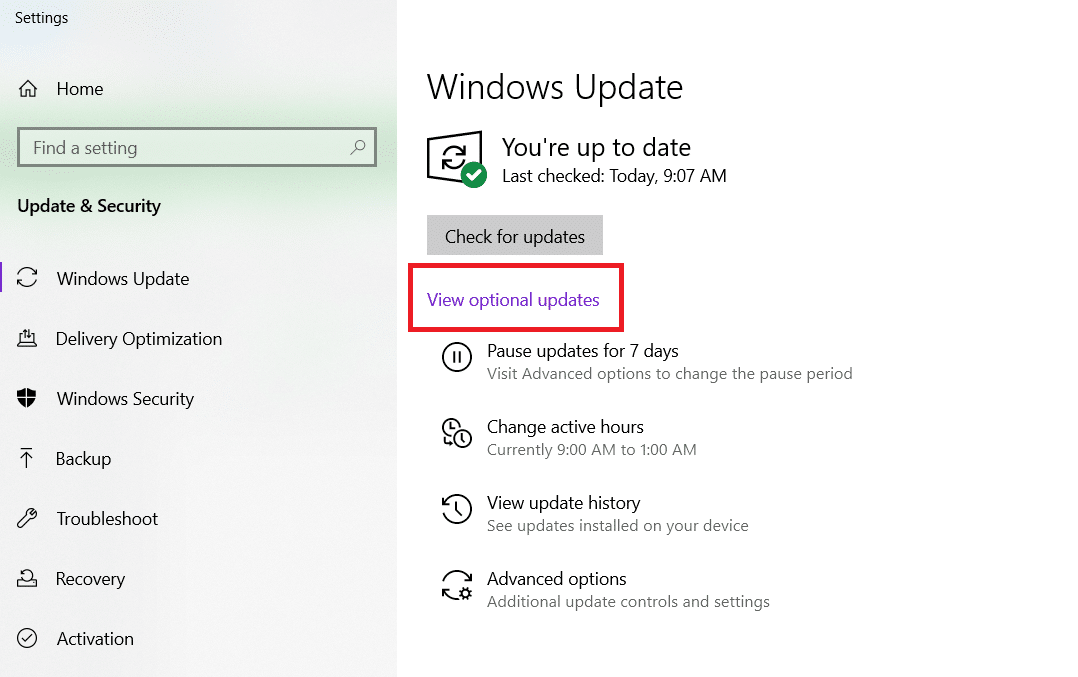
6. Select View optional updates in the Windows Update window that appears.
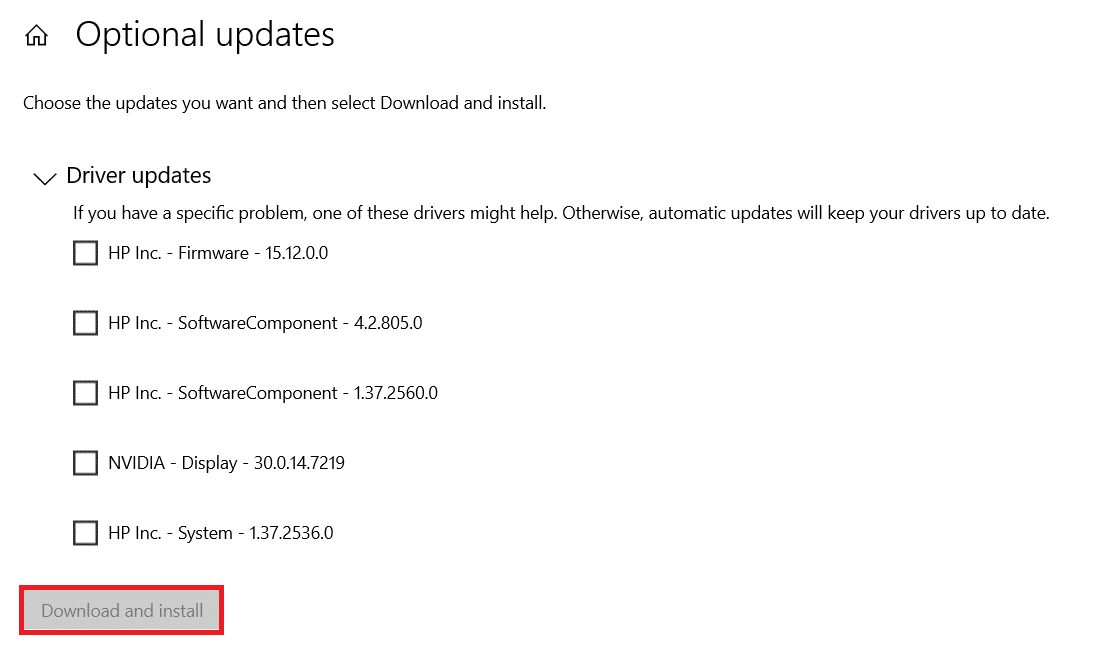
7. Select the drivers you want to install by checking the boxes next to them, then click the Download and install button.
Note: This option will only function if you have an Ethernet cable attached, in addition to your Wi-Fi connection.
Option 2: Roll Back Network Driver Updates
If your device had been working correctly and began to malfunction after an update, rolling back the network drivers might help. The rollback of the driver will delete the current driver installed in the system and replace it with its previous version. This process should eliminate any bugs in the drivers and potentially fix the said problem.
1. Go to Device Manager > Network adapters as earlier.
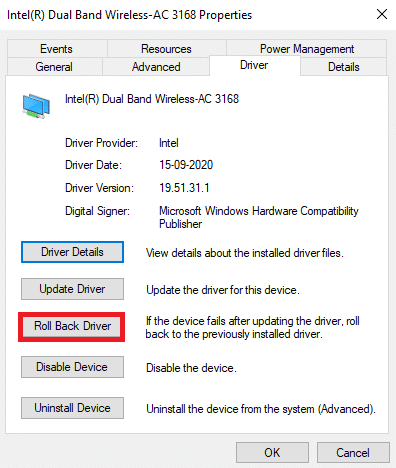
2. Right-click on the Wi-Fi driver (e.g. Intel(R) Dual Band Wireless-AC 3168) and select Properties, as depicted.

3. Switch to the Driver tab and select Roll Back Driver, as highlighted.
Note: If the option to Roll Back Driver is greyed out, it indicates that your computer does not have the pre-installed driver files or it has never been updated.
4. Provide your reason for Why are you rolling back? in Driver Package rollback. Then, click on Yes, as illustrated below.
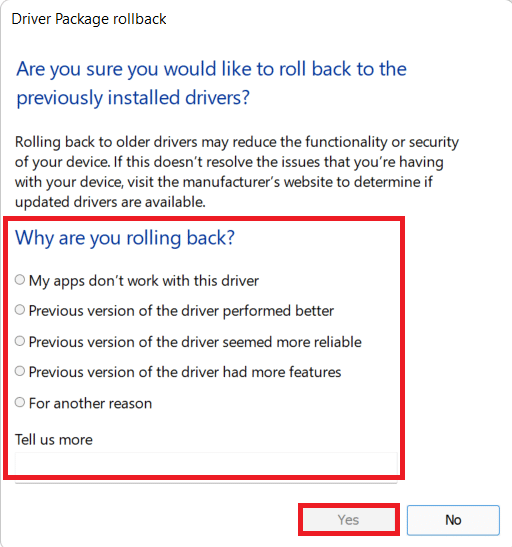
5. Then, click on OK to apply this change. Finally, restart your PC.
Method 9: Reinstall Network Driver
When you try to connect to the internet and receive a message stating Windows 10 cannot connect to this network, your network adapter is most likely broken. The best option is to uninstall the network adapter driver and let Windows automatically reinstall it.
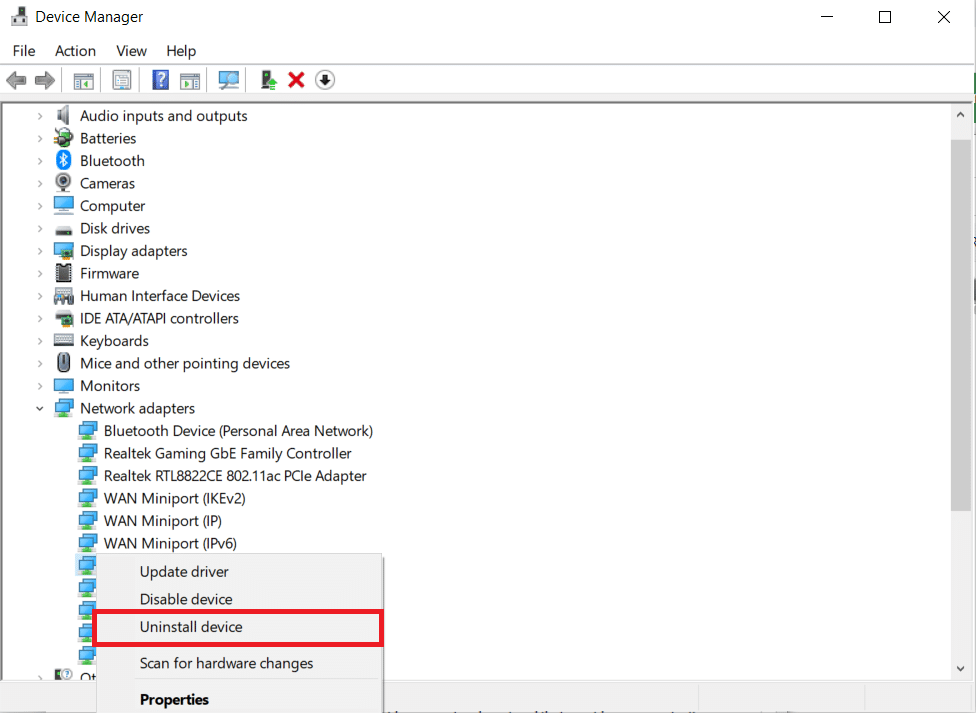
1. Navigate to Device Manager > Network adapters as instructed in Method 8.
2. Right-click on the Wi-Fi driver and select Uninstall device, as shown.
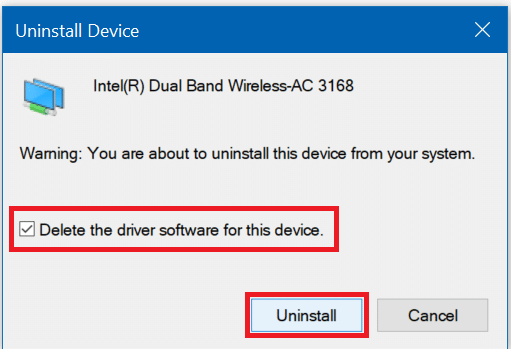
3. Click on Uninstall to confirm the prompt and Restart your computer.
Note: Uncheck the box titled Delete the driver software for this device.
4. Launch Device Manager once again.
5. Click on Scan for hardware changes icon shown highlighted.
![]()
Windows will detect the missing driver for your wireless network adapter and reinstall it automatically. Now, check if the driver is installed in the Network adapters section.
Also Read: How to Increase WiFi Internet Speed on Windows 10
Method 10: Reset Network Sockets
While resetting the network adapter may be helpful to fix network adapter not working Windows 10 issue, it will also remove any saved Wi-Fi passwords and Bluetooth connections. Make a note of the passwords and settings before proceeding with the steps listed below.
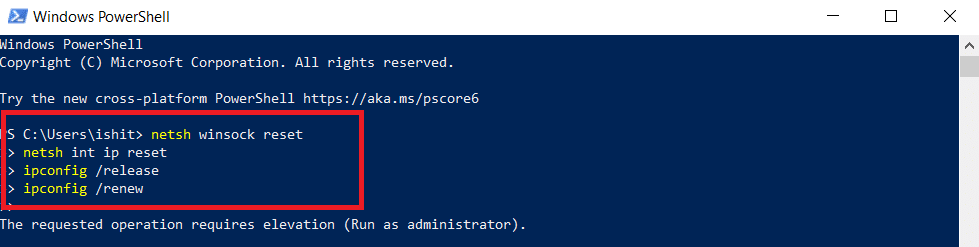
1. Press the Windows key, type window powershell, and click on Run as Administrator, as shown.

2. Here, type the following commands and hit Enter key after each command.
netsh winsock reset
netsh int ip reset
ipconfig /release
ipconfig /renew
3. Restart your Windows 10 PC and check to see whether you can now connect to Wi-Fi now.
Pro Tip: Resolve Other Wi-Fi Adapter Related Issues
Other problems that can be handled using the above-mentioned methods include:
- Windows 10 no Wi-Fi option: On some occasions, the Wi-Fi button may be missing from the Taskbar.
- Windows 10 Wi-Fi adapter missing: If your computer does not detect the adapter, you would not be able to see it in Device Manager.
- Windows 10 Wi-Fi disconnects frequently: If the network connection is unstable, you will face the following error.
- Windows 10 no Wi-Fi option in settings: On the Settings page, the Wi-Fi choices may vanish, just as the icon did on the taskbar.
- Windows 10 Wi-Fi connected but no Internet: The worst-case situation is when everything looks to be in order but you still cannot go online.
Recommended:
We hope you found this article useful and were able to resolve Wi-Fi adapter not working issue in Windows 10. Please let us know which technique worked best for you. Please feel free to leave any questions or recommendations in the comments area.