The Error Code 0x80072efd generally occurs when there is some problem with an Internet connection. Loss of internet connectivity or limited access network problem can occur due to any number of reasons. But when the user tries to access Windows 10 Store or Windows Update, this error 0x80072efd will state that the Windows Store or Windows Update is not accessible. Few common reasons for limited internet connection are incorrect proxy configuration, firewall, antivirus etc. So without wasting any time let’s see how to actually fix Windows 10 Store Error 0x80072f05 & error Code 0x80072efd with the help of the below-listed guide.

Fix Windows 10 Store Error Code 0x80072efd
Make sure to create a restore point, just in case something goes wrong.
Method 1: Uncheck Proxy
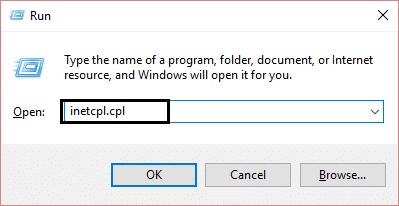
1. Press Windows Key + R then type “inetcpl.cpl” and hit enter to open Internet Properties.
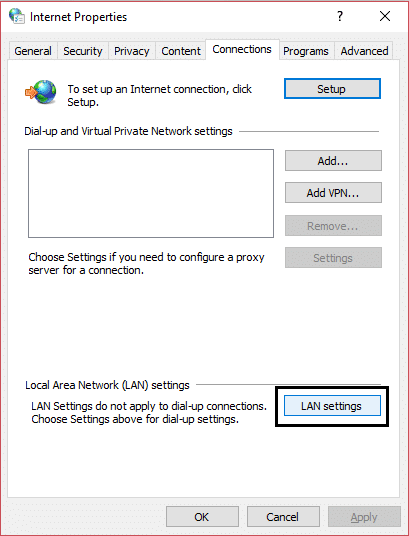
2. Next, Go to Connections tab and then click on LAN settings.
3. Uncheck Use a Proxy Server for your LAN and make sure “Automatically detect settings” is checked.
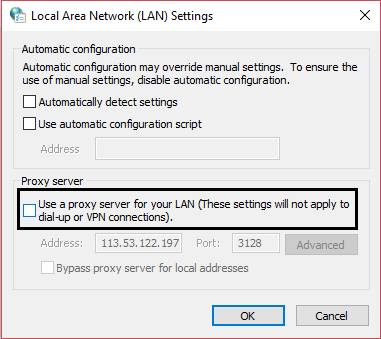
4. Click OK then Apply and reboot your PC.
Method 2: Clear Windows Store Cache
1. Press Windows Key + R then type “wsreset.exe” and hit enter.
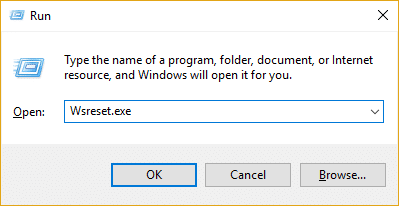
2. Let the above command run which will reset your Windows Store cache.
3. When this is done restart your PC to save changes. See if you’re able to Fix Windows 10 Store Error Code 0x80072efd.
Method 3: Temporarily Disable Antivirus and Firewall
Sometimes the Antivirus program can cause Aw Snap error on Chrome and to verify this is not the case here, you need to disable your antivirus for a limited time so that you can check if the error still appears when the antivirus is off.
1. Right-click on the Antivirus Program icon from the system tray and select Disable.

2. Next, select the time frame for which the Antivirus will remain disabled.

Note: Choose the smallest amount of time possible, for example, 15 minutes or 30 minutes.
3. Once done, again try to connect to open Google Chrome and check if the error resolves or not.
4. Search for the control panel from the Start Menu search bar and click on it to open the Control Panel.

5. Next, click on System and Security then click on Windows Firewall.

6. Now from the left window pane click on Turn Windows Firewall on or off.
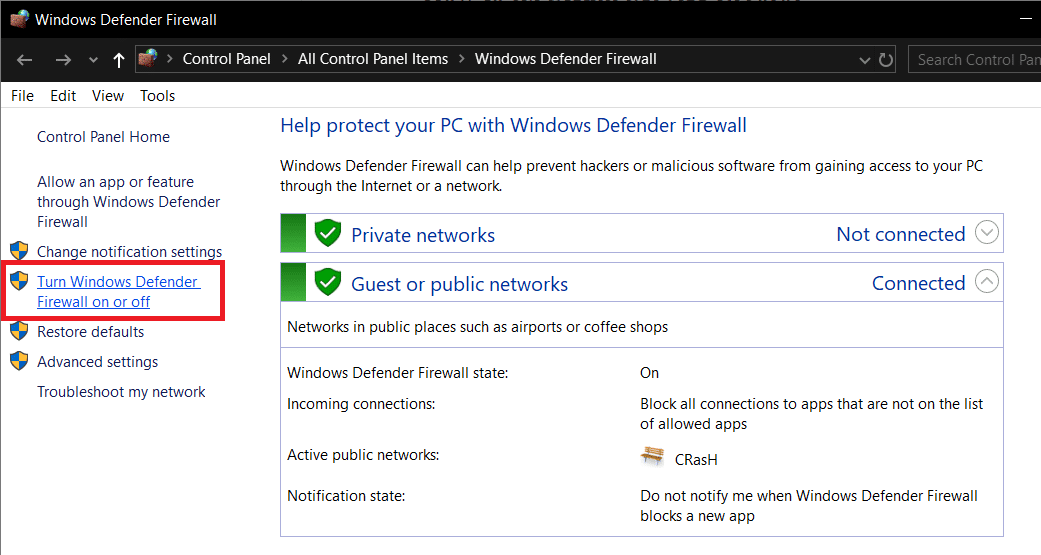
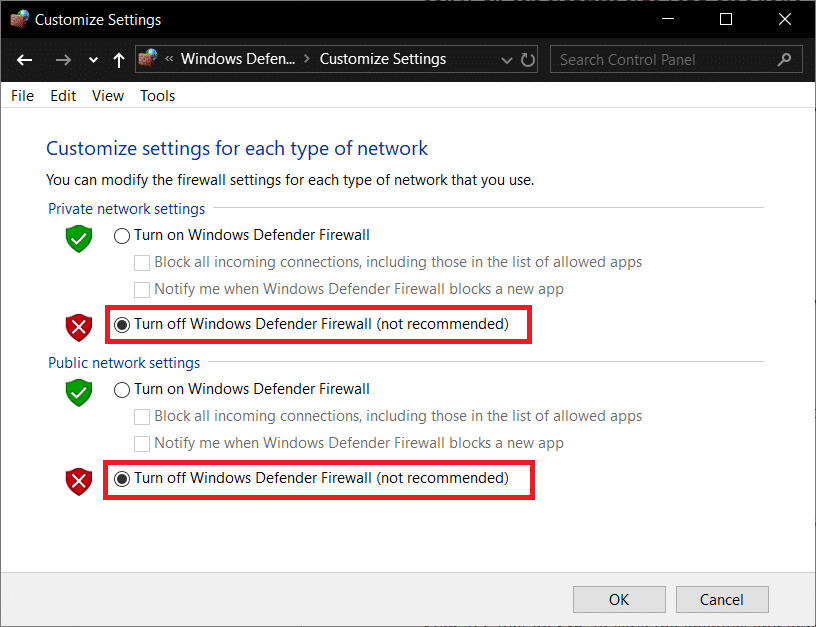
7. Select Turn off Windows Firewall and restart your PC.
Again try to open Google Chrome and visit the web page, which was earlier showing the Aw Snap error. If the above method doesn’t work, please follow the same steps to turn on your Firewall again.
Method 4: Flush DNS and Reset TCP/IP
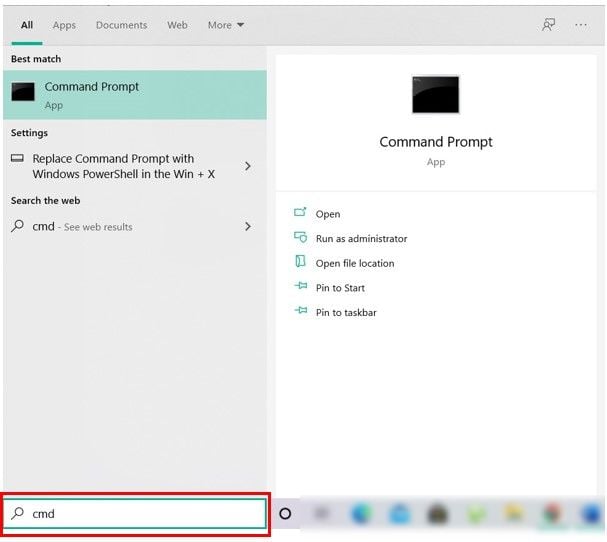
1. Open Command Prompt. The user can perform this step by searching for ‘cmd’ and then press Enter.
2. Now type the following command and press Enter after each one:
ipconfig /release
ipconfig /flushdns
ipconfig /renew

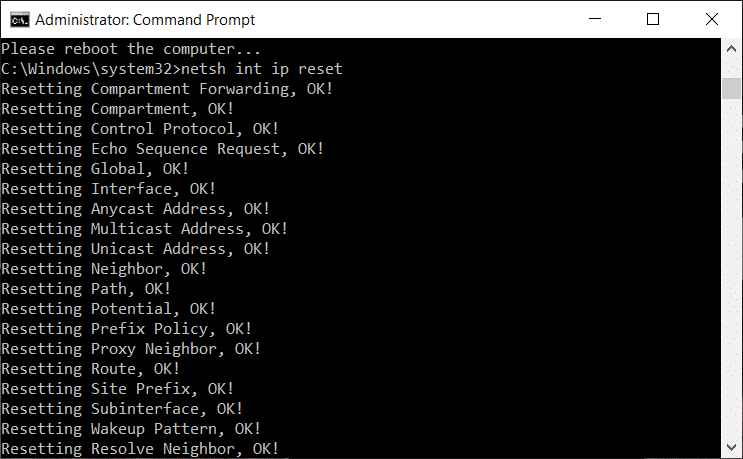
3. Again, open Admin Command Prompt and type the following and hit enter after each one:
ipconfig /flushdns
nbtstat –r
netsh int ip reset
netsh winsock reset
4. Reboot to apply changes. Flushing DNS seems to Fix Windows 10 Store Error Code 0x80072efd.
Method 5: Rename SoftwareDistribution Folder
1. Open Command Prompt. The user can perform this step by searching for ‘cmd’ and then press Enter.
2. Now type the following commands to stop Windows Update Services and then hit Enter after each one:
net stop wuauserv
net stop cryptSvc
net stop bits
net stop msiserver

3. Next, type the following command to rename SoftwareDistribution Folder and then hit Enter:
ren C:WindowsSoftwareDistribution SoftwareDistribution.old
ren C:WindowsSystem32catroot2 catroot2.old

4. Finally, type the following command to start Windows Update Services and hit Enter after each one:
net start wuauserv
net start cryptSvc
net start bits
net start msiserver

5. Reboot your PC to save changes and check if you can Fix Windows 10 Store Error Code 0x80072efd.
Method 6: Run Windows Store Troubleshooter
1. Go to this link and download Windows Store Apps Troubleshooter.
2. Double-click the download file to run the Troubleshooter.
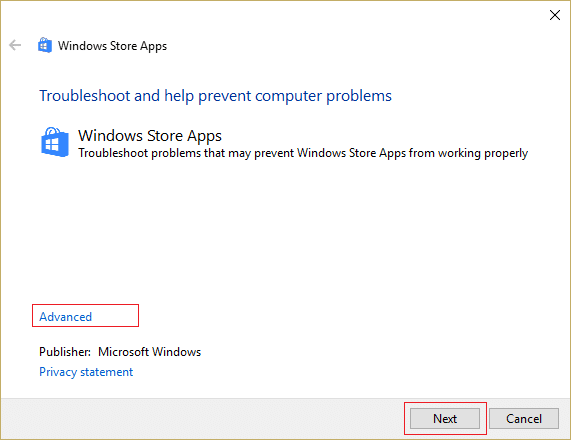
3. Make sure to click on Advanced and checkmark “Apply repair automatically.”
4. Let the Troubleshooter run and Fix Windows 10 Store Error Code 0x80072efd.
5. Open control panel and search Troubleshooting in the Search Bar on the top right side and click on Troubleshooting.

6. Next, from the left window, pane select View all.
7. Then, from the Troubleshoot computer problems list select Windows Store Apps.
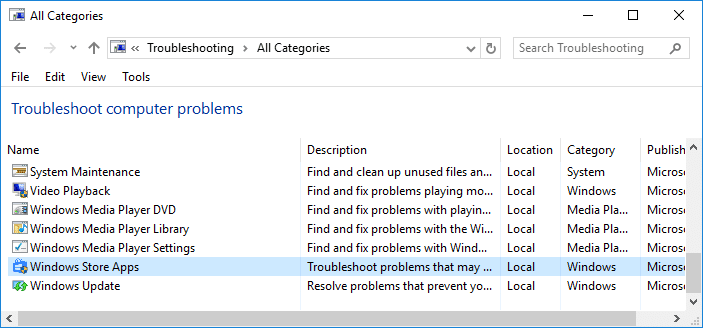
8. Follow on-screen instruction and let the Windows Update Troubleshoot run.
9. Restart your PC to save changes.
Method 7: Reset Windows Update Component
1. Open Command Prompt. The user can perform this step by searching for ‘cmd’ and then press Enter.
2. Type the following command into cmd and hit Enter after each one:
net stop bits
net stop wuauserv
net stop appidsvc
net stop cryptsvc
3. Delete the qmgr*.dat files, to do this again open cmd and type:
Del “%ALLUSERSPROFILE%Application DataMicrosoftNetworkDownloaderqmgr*.dat”
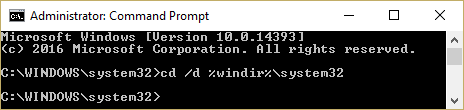
4. Type the following into cmd and hit Enter:
cd /d %windir%system32
5. Reregister the BITS files and the Windows Update files. Type each of the following commands individually in cmd and hit Enter after each one:
regsvr32.exe atl.dll
regsvr32.exe urlmon.dll
regsvr32.exe mshtml.dll
regsvr32.exe shdocvw.dll
regsvr32.exe browseui.dll
regsvr32.exe jscript.dll
regsvr32.exe vbscript.dll
regsvr32.exe scrrun.dll
regsvr32.exe msxml.dll
regsvr32.exe msxml3.dll
regsvr32.exe msxml6.dll
regsvr32.exe actxprxy.dll
regsvr32.exe softpub.dll
regsvr32.exe wintrust.dll
regsvr32.exe dssenh.dll
regsvr32.exe rsaenh.dll
regsvr32.exe gpkcsp.dll
regsvr32.exe sccbase.dll
regsvr32.exe slbcsp.dll
regsvr32.exe cryptdlg.dll
regsvr32.exe oleaut32.dll
regsvr32.exe ole32.dll
regsvr32.exe shell32.dll
regsvr32.exe initpki.dll
regsvr32.exe wuapi.dll
regsvr32.exe wuaueng.dll
regsvr32.exe wuaueng1.dll
regsvr32.exe wucltui.dll
regsvr32.exe wups.dll
regsvr32.exe wups2.dll
regsvr32.exe wuweb.dll
regsvr32.exe qmgr.dll
regsvr32.exe qmgrprxy.dll
regsvr32.exe wucltux.dll
regsvr32.exe muweb.dll
regsvr32.exe wuwebv.dll
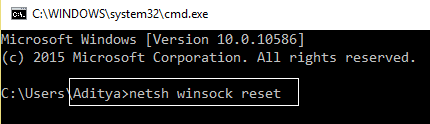
6. To reset Winsock:
netsh winsock reset
7. Reset the BITS service and the Windows Update service to the default security descriptor:
sc.exe sdset bits D:(A;;CCLCSWRPWPDTLOCRRC;;;SY)(A;;CCDCLCSWRPWPDTLOCRSDRCWDWO;;;BA)(A;;CCLCSWLOCRRC;;;AU)(A;;CCLCSWRPWPDTLOCRRC;;;PU)
sc.exe sdset wuauserv D:(A;;CCLCSWRPWPDTLOCRRC;;;SY)(A;;CCDCLCSWRPWPDTLOCRSDRCWDWO;;;BA)(A;;CCLCSWLOCRRC;;;AU)(A;;CCLCSWRPWPDTLOCRRC;;;PU)
8. Again start the Windows update services:
net start bits
net start wuauserv
net start appidsvc
net start cryptsvc
9. Install the latest Windows Update Agent.
10. Reboot your PC to save changes.
Recommended:
That’s it, you have successfully Fix Windows 10 Store Error Code 0x80072efd but if you still have any questions regarding this post then feel free to ask them in the comment’s section.