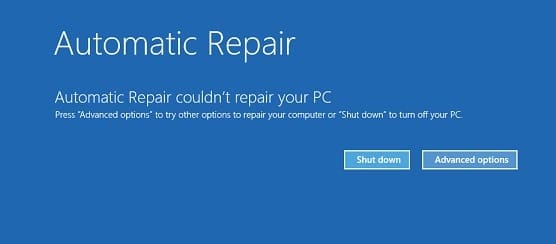
If you face the error code 0x8007042c while trying to update Windows 10, you are the right place as today we will discuss how to fix Windows 10 error 0x8007042c. As Windows updates are essential for the proper functioning of the Windows but with this error code, you won’t be able to update your PC which will make it vulnerable to virus and other security attacks. Anyway, without wasting any time let’s see how to actually Fix Windows 10 Update Error 0x8007042c with the below-listed guide.
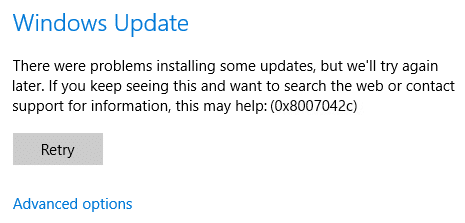
Fix Windows 10 Update Error 0x8007042c
Make sure to create a restore point just in case something goes wrong.
Method 1: Make sure Windows Services are running
1. Press Windows Key + R then type services.msc and hit Enter.

2. Locate the following services:
Background Intelligent Transfer Service (BITS)
Cryptographic Service
Windows Update
MSI Installer
3. Right-click on each of them and then select Properties. Make sure their Startup type is set to Automatic.
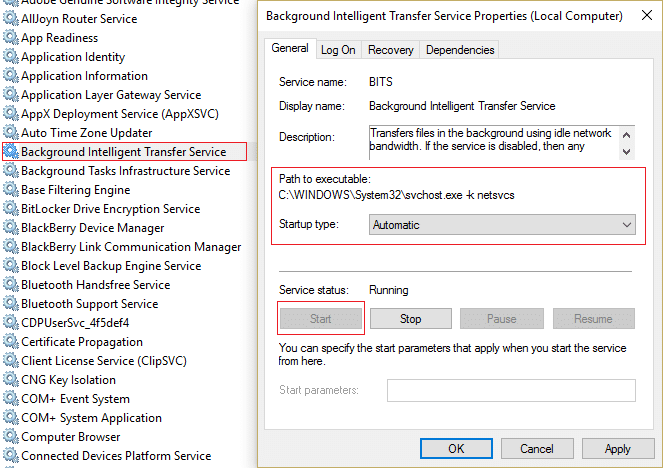
4. Now if any of the above services are stopped, make sure to click on Start under Service Status.
5. Next, right-click on Windows Update service and select Restart.
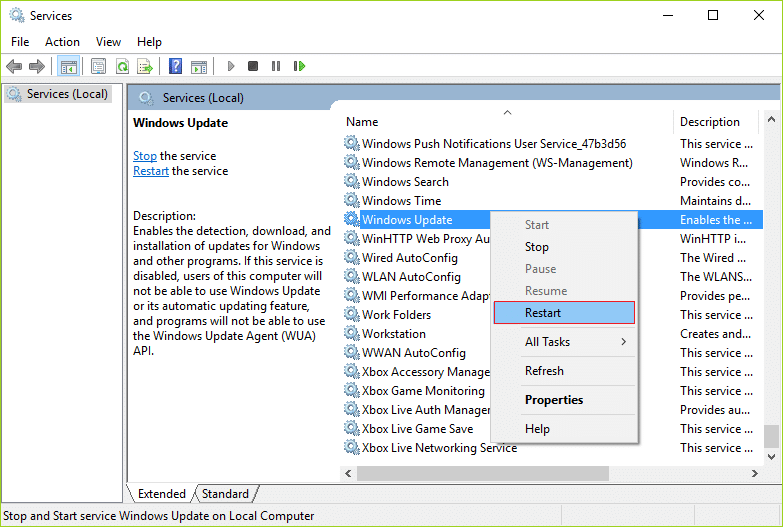
6. Click Apply, followed by OK and then reboot your PC to save changes.
See if you can Fix Windows 10 Update Error 0x8007042c, if not then continue with the next method.
Method 2: Rename SoftwareDistribution Folder
1. Open Command Prompt. The user can perform this step by searching for ‘cmd’ and then press Enter.
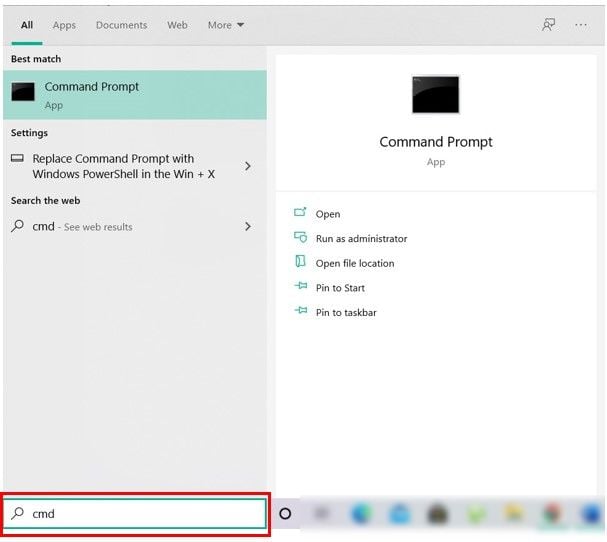
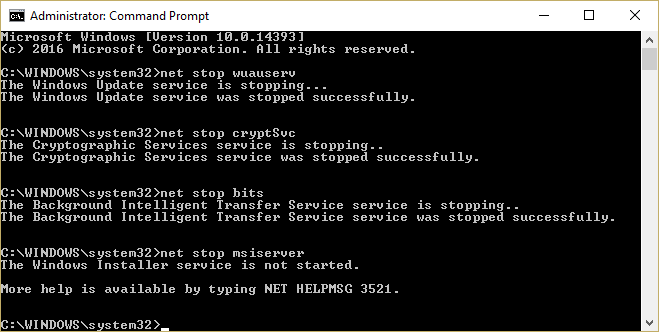
2. Now type the following commands to stop Windows Update Services and then hit Enter after each one:
net stop wuauserv
net stop cryptSvc
net stop bits
net stop msiserver
3. Next, type the following command to rename SoftwareDistribution Folder and then hit Enter:
ren C:WindowsSoftwareDistribution SoftwareDistribution.old
ren C:WindowsSystem32catroot2 catroot2.old

4.Finally, type the following command to start Windows Update Services and hit Enter after each one:
net start wuauserv
net start cryptSvc
net start bits
net start msiserver
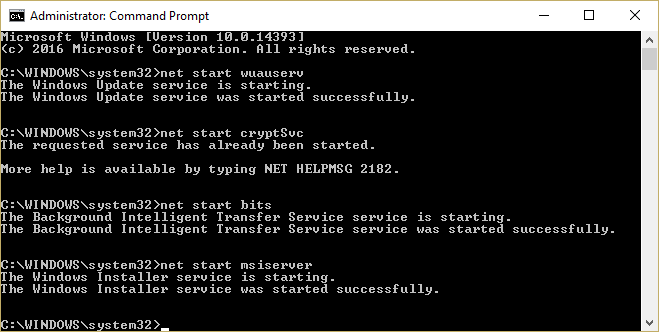
5.Reboot your PC to save changes.
Method 3: Temporarily Disable Antivirus and Firewall
Sometimes the Antivirus program can cause an error, and to verify this is not the case here; you need to disable your antivirus for a limited time so that you can check if the error still appears when the antivirus is off.
1. Right-click on the Antivirus Program icon from the system tray and select Disable.
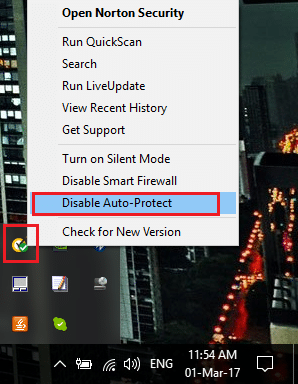
2. Next, select the time frame for which the Antivirus will remain disabled.
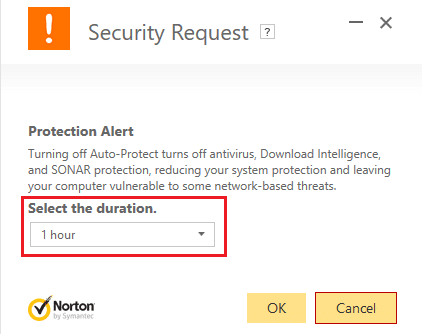
Note: Choose the smallest amount of time possible, for example, 15 minutes or 30 minutes.
3. Once done, again try to connect to open Google Chrome and check if the error resolves or not.
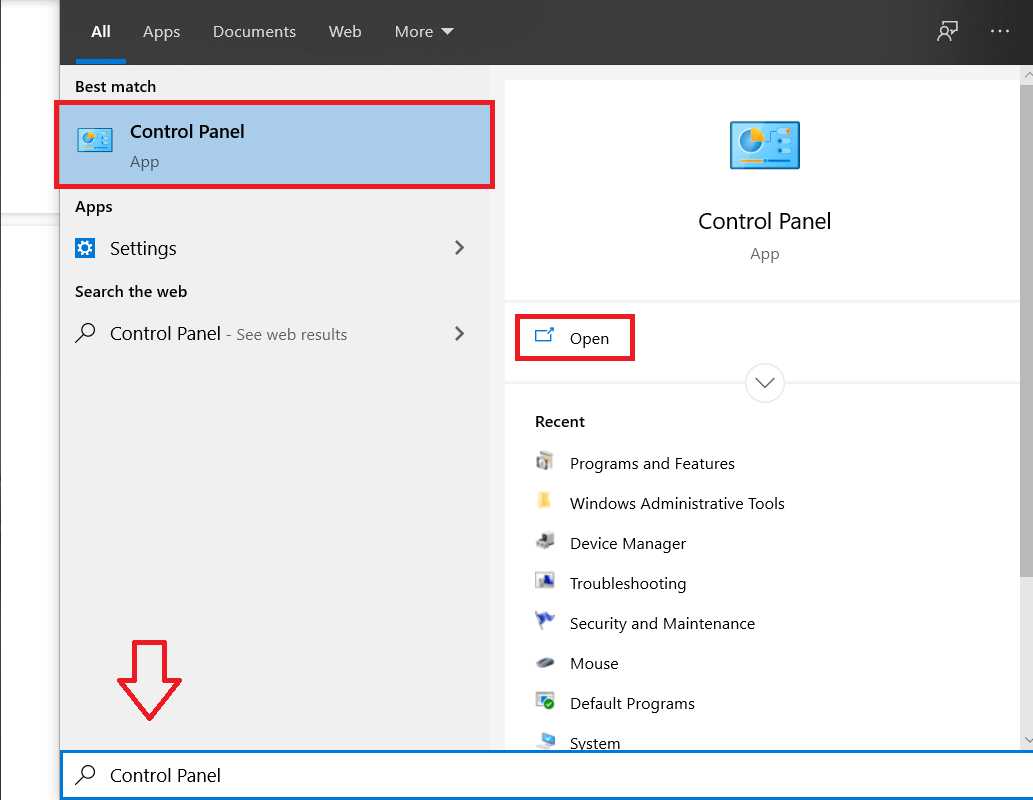
4. Search for the control panel from the Start Menu search bar and click on it to open the Control Panel.
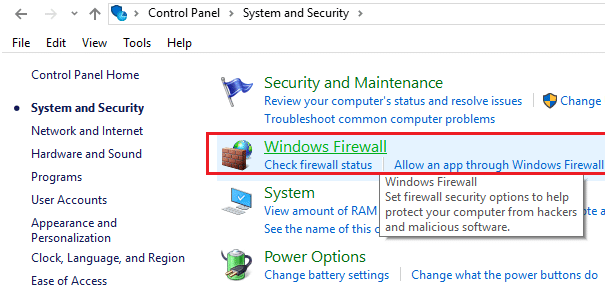
5. Next, click on System and Security then click on Windows Firewall.
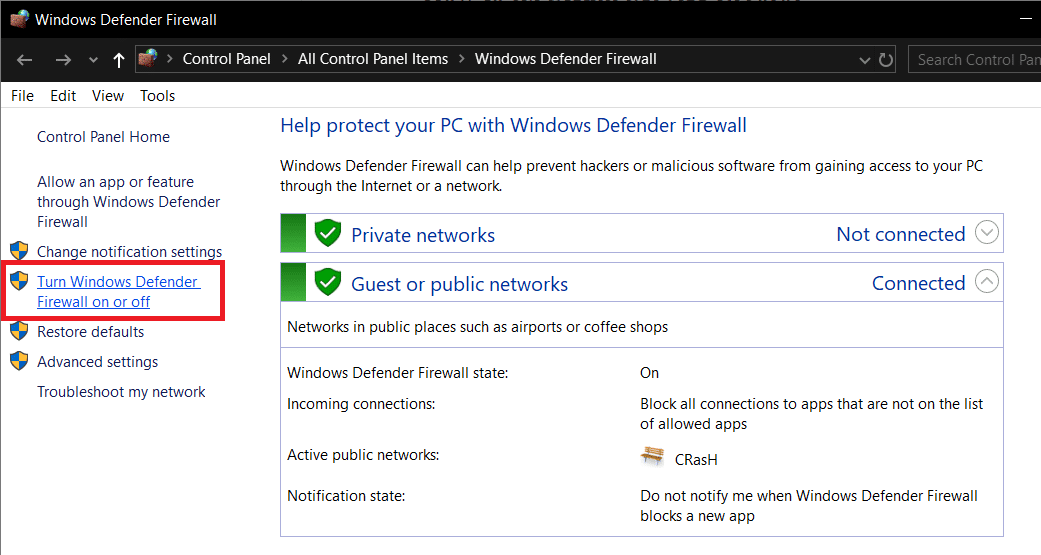
6. Now from the left window pane click on Turn Windows Firewall on or off.
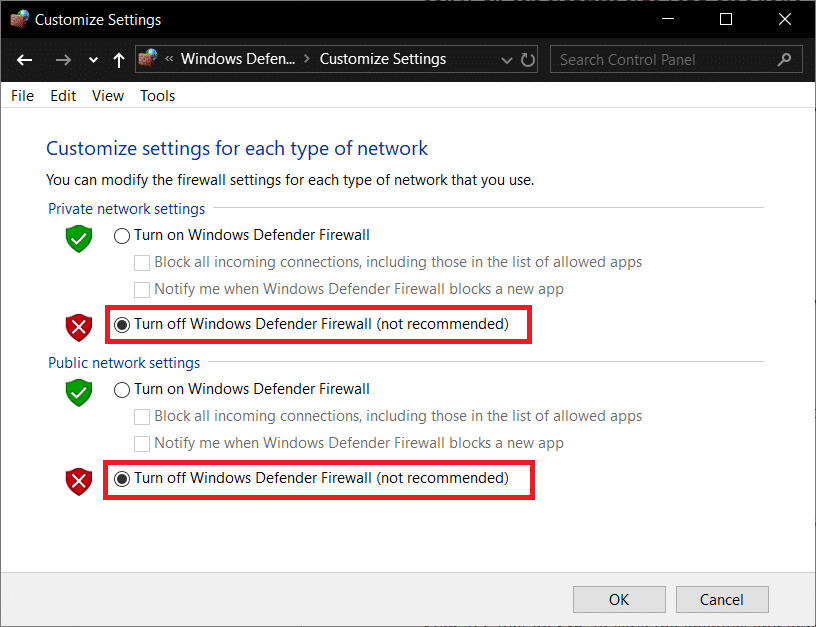
7. Select Turn off Windows Firewall and restart your PC.
Again try to open Google Chrome and visit the web page, which was earlier showing the error. If the above method doesn’t work, please follow the same steps to turn on your Firewall again.
Recommended:
That’s it you have successfully Fix Windows 10 Update Error 0x8007042c but if you still have any questions regarding this article then feel free to ask them in comment’s section.
