With over 1.5 billion overall users and more than 1 billion of these using the latest version of Windows, you might think updating Windows would be a seamless process. To the dismay of windows 10 users, the process isn’t completely flawless and throws a tantrum or two every now and then. The tantrums/errors come in various forms such as windows failing to download updates, install them or getting stuck during the process, etc. Any of these errors can stop you from installing the latest updates which often bring along bug fixes and new features.
In this article, we go over the reasons for the said error and proceed to fix it by using one of the many methods available to us.
Why do Windows 10 updates fail to install/download?
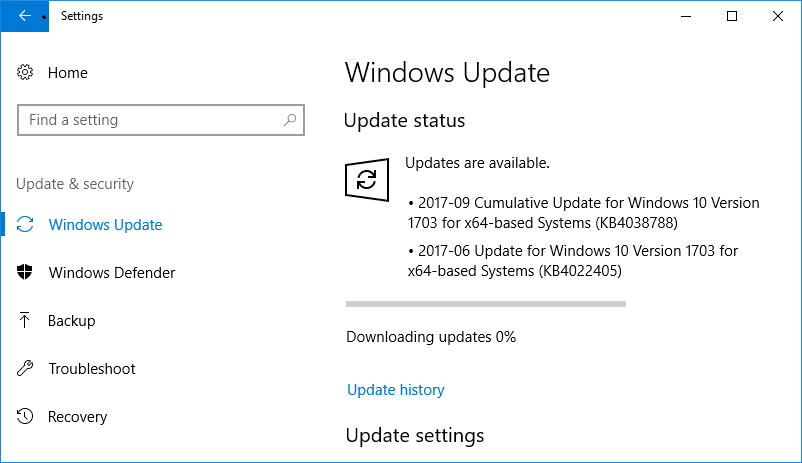
All updates that are rolled to Windows 10 users are carried through by Windows Update. Its functions include automatically downloading new updates and installing them on your system. However, users often complain about having a long list of pending updates but not being able to download or install them for reasons unknown. Sometimes these updates are marked as ‘Waiting to be downloaded’ or ‘Waiting to be installed’ but nothing seems to happen even after waiting for a long period. Some of the reasons and instances when Windows Update may not function properly include:
- After Creators update
- Windows Update service may be corrupt or not running
- Due to the lack of disk space
- Due to proxy settings
- Because of BIOS
Fix Windows 10 Updates Won’t Install Error
Make sure to create a restore point just in case something goes wrong. There are several methods to fix Windows updates won’t install or download 0x800f0984 2H1 error..
Fortunately, for every problem, there is a solution. Well, more than one if you ask tech gurus. Similarly, there are quite a few workarounds to the Windows 10 update error code 0x80070017 . Some of them are really simple like running the builtin troubleshooter or a few commands in the command prompt among other things.
However, we advise you to perform a PC restart and then check if the error persists. If not, move on to try the first method.
Method 1: Use Windows troubleshooter
Windows 10 has an inbuilt troubleshooter for every function/feature that could go wrong and remains the number one choice for every tech user out there. However, it seldom gets the job done. While this method doesn’t entirely guarantee a solution to your update woes, it is the easiest one in the list and doesn’t require any expertise. So, here we go
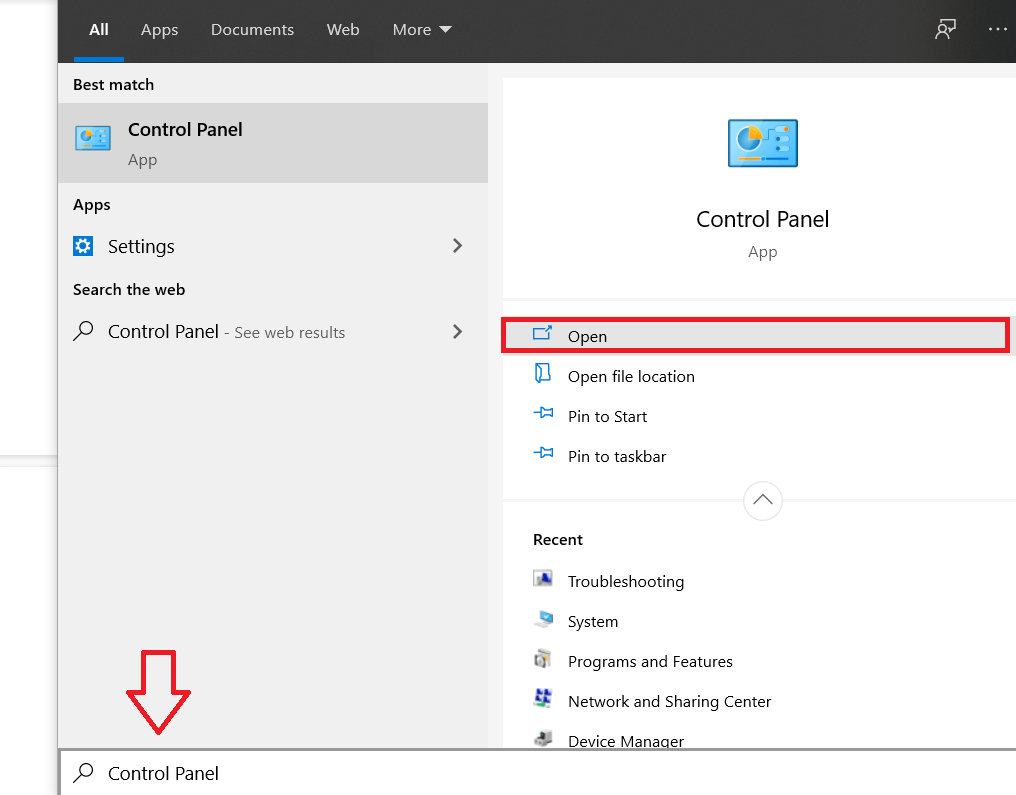
1. Click on the start button at the bottom left of the taskbar (or press Windows key + S), search for Control Panel and click on Open.
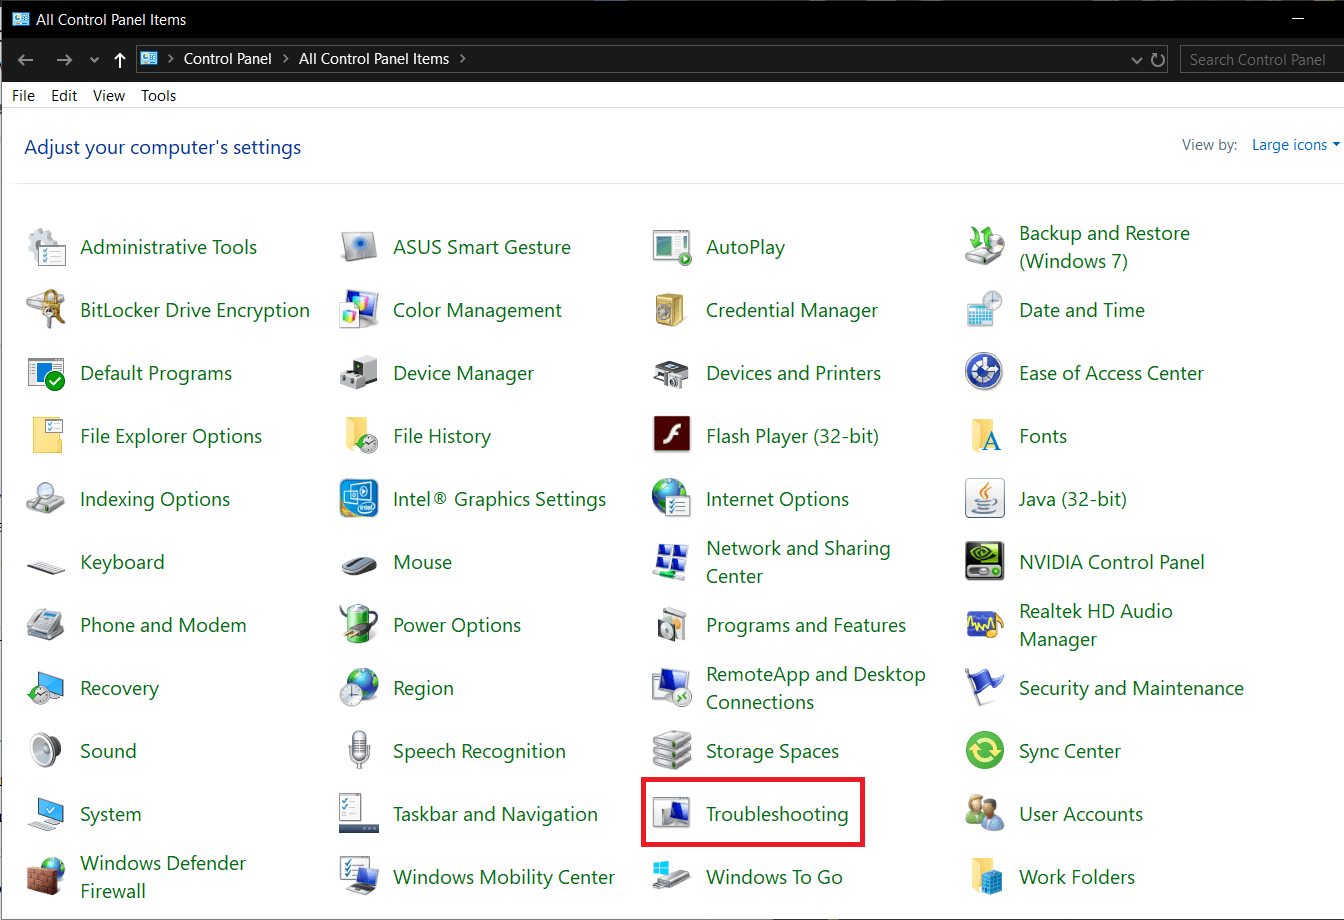
2. Here, scan the list of items and find ‘Troubleshooting’. To make looking for the same easier, you can switch to small icons by clicking on the arrow next to “View by:“. Once found, click on the troubleshooting label to open.
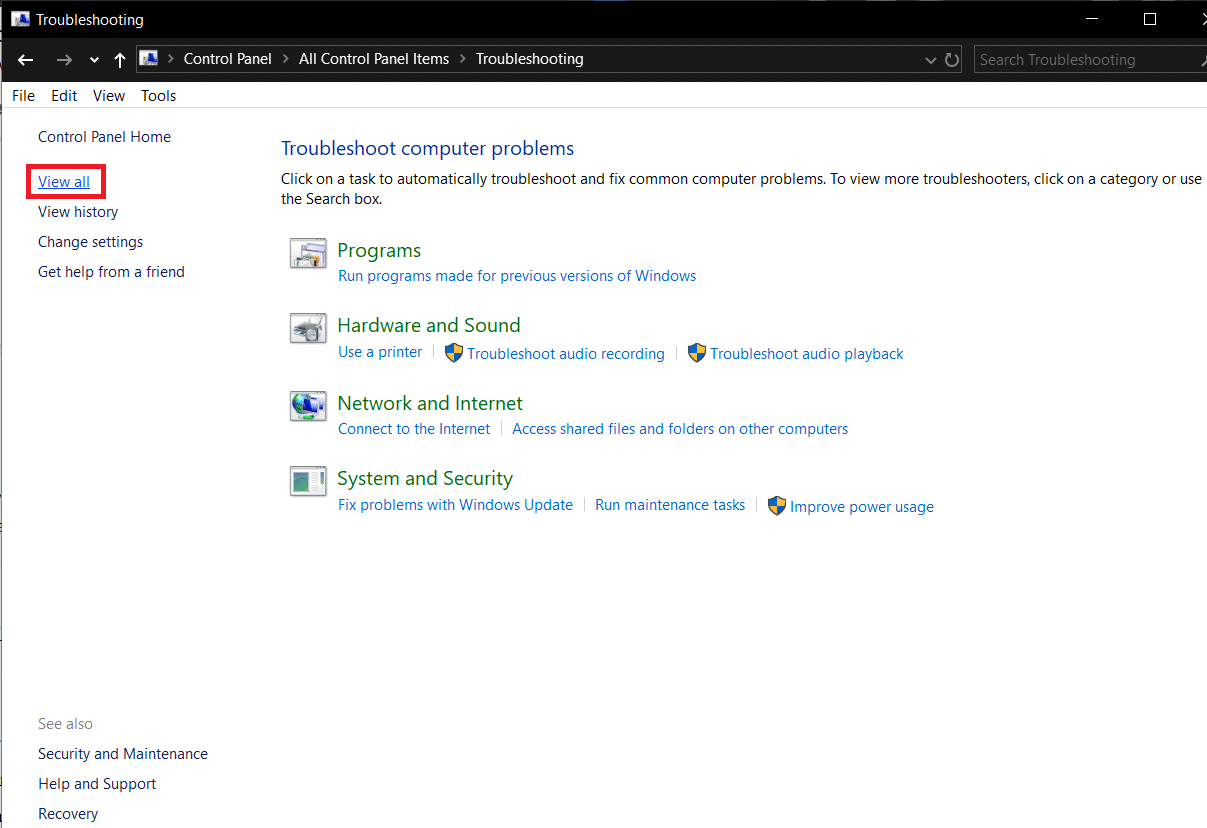
3. The Updates Troubleshooter isn’t available on the home screen of troubleshooting but can be found by clicking on the ‘View all’ from the top left corner.
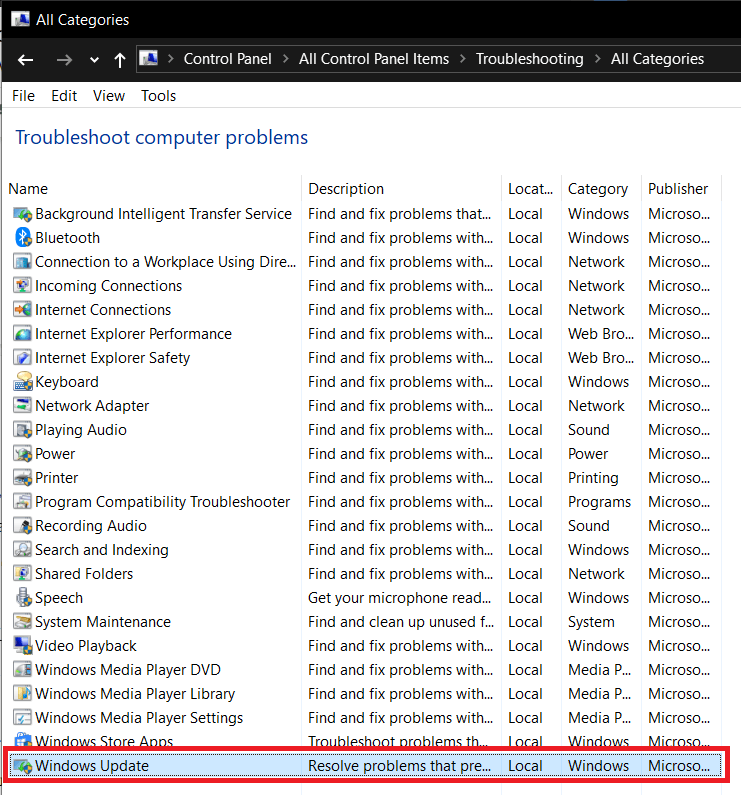
4. After looking for all the available troubleshooting options, you will be presented with a list of problems that you can run the troubleshooter for. At the bottom of the list of items will be Windows Update with the description ‘Resolve problems that prevent you from updating Windows’.
5. Click on it to launch Windows Update troubleshooter.
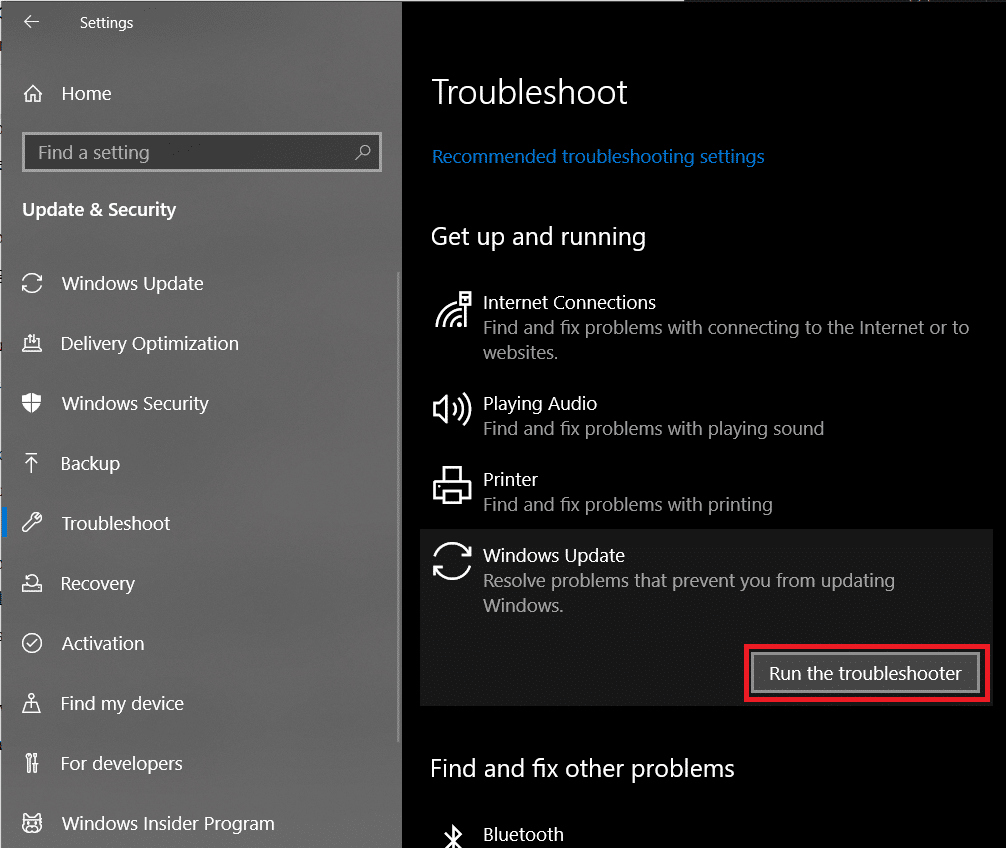
6. The updates troubleshooter can also be accessed via Settings. To do so, open Windows Settings (Windows key + I), click on Update & security followed by Troubleshoot in the left panel and finally expand Windows Update & click on Run the troubleshooter.
Also, for reasons unknown, the updates troubleshooter is not available on Windows 7 and 8, but you can run Windows update troubleshooter on Windows 10 & 11., but you can run Windows update troubleshooter on Windows 10 & 11.. However, you can download it from the following site Windows Update Troubleshooter and install it.
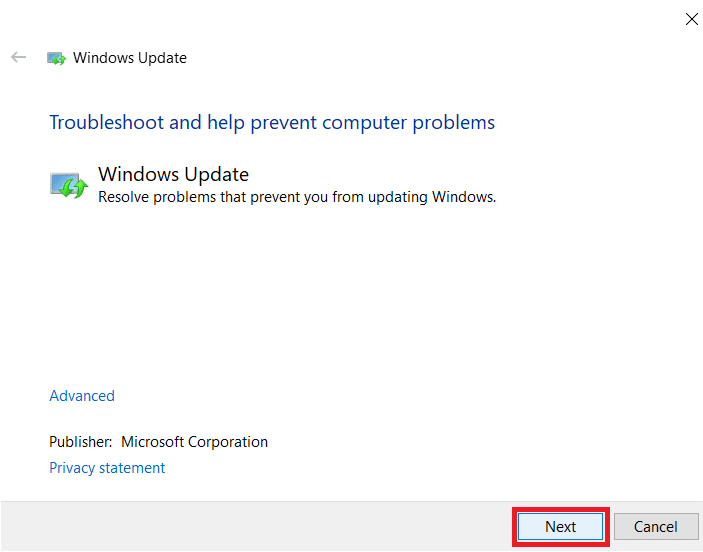
7. In the following dialogue box, click on Next to proceed with troubleshooting.
8. The troubleshooter will now get to work and try to detect any & all problems that might be causing errors while updating. Let it run its course and follow all the on-screen prompts to resolve the issue.
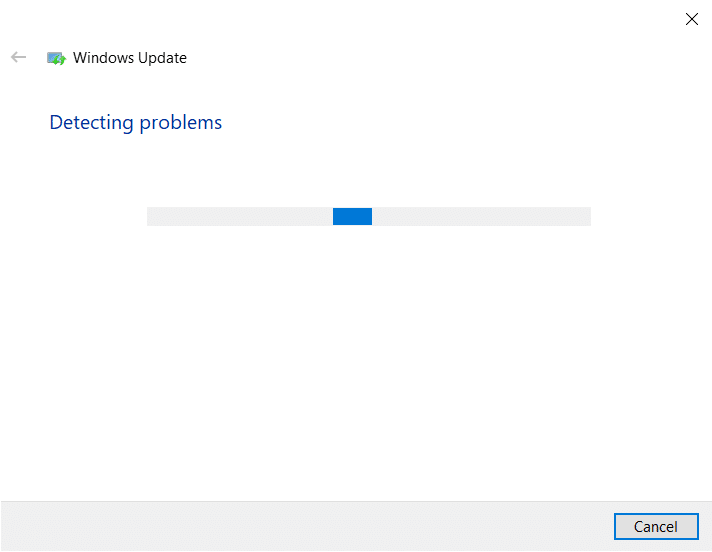
9. Once the troubleshooter is done detecting and resolving all the problems, restart your PC and on return try downloading & updating windows again.
While it is possible that the troubleshooter alone diagnosed all the problems and solved them for you, there are equal chances that it didn’t. If that’s the case then you may proceed to trying method 2.
Method 2: Automise Windows Update service
As mentioned earlier, all things related to updating windows is handled by the Windows Update service. The list of tasks includes automatically downloading any new OS updates, installing software updates sent OTA for applications such as Windows Defender, Microsoft Security Essentials, etc.
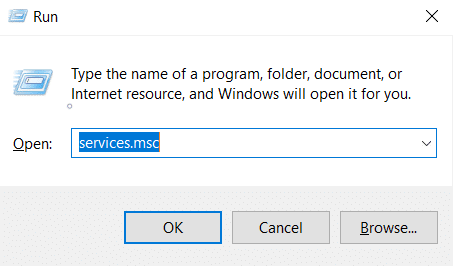
1. Launch Run command by pressing Windows key + R on your computer or right-clicking on the start button and selecting Run from the power user menu.
2. In the run command, type services.msc and click on the OK button.
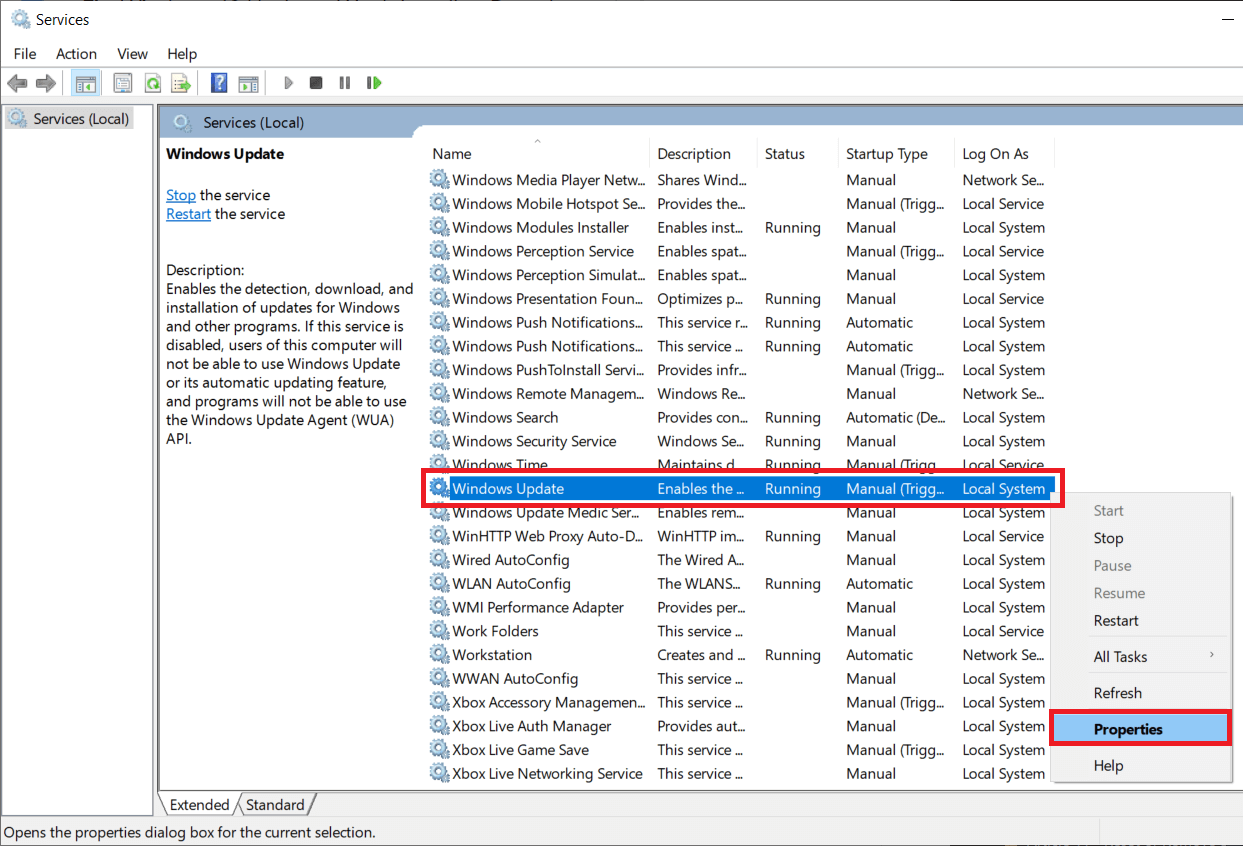
3. From the entailing list of services, find Windows Update and right-click on it. Select Properties from the list of options.
4. In the General tab, click on the drop-down list next to Start-up type and choose Automatic.
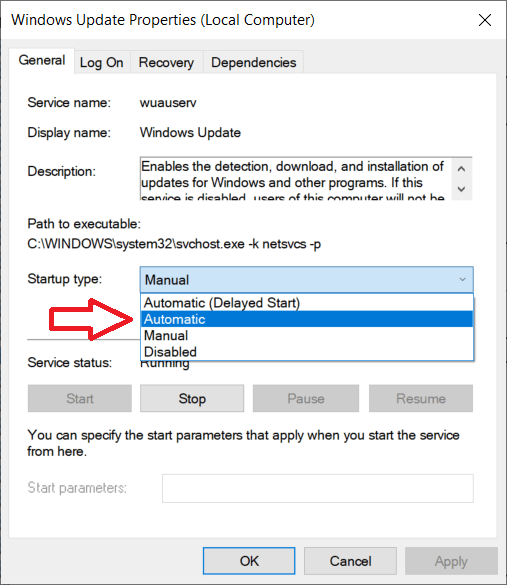
Ensure that the service is running (service status should display running), if not, click on Start followed by Apply and OK to register all the changes we made.
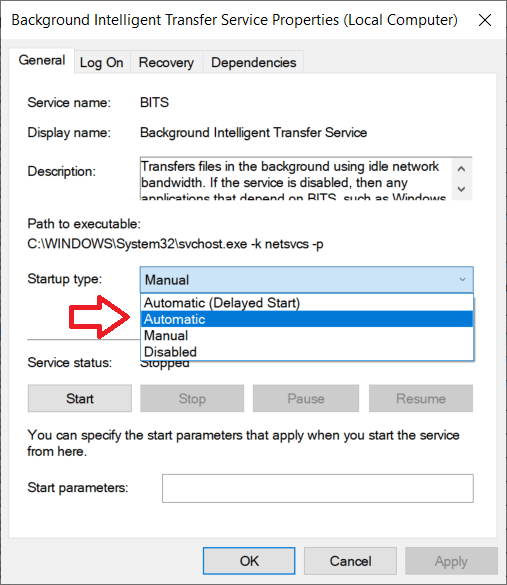
5. Now, back in the list of services, look for Background Intelligent Transfer Service (BITS), right-click on it and select Properties.
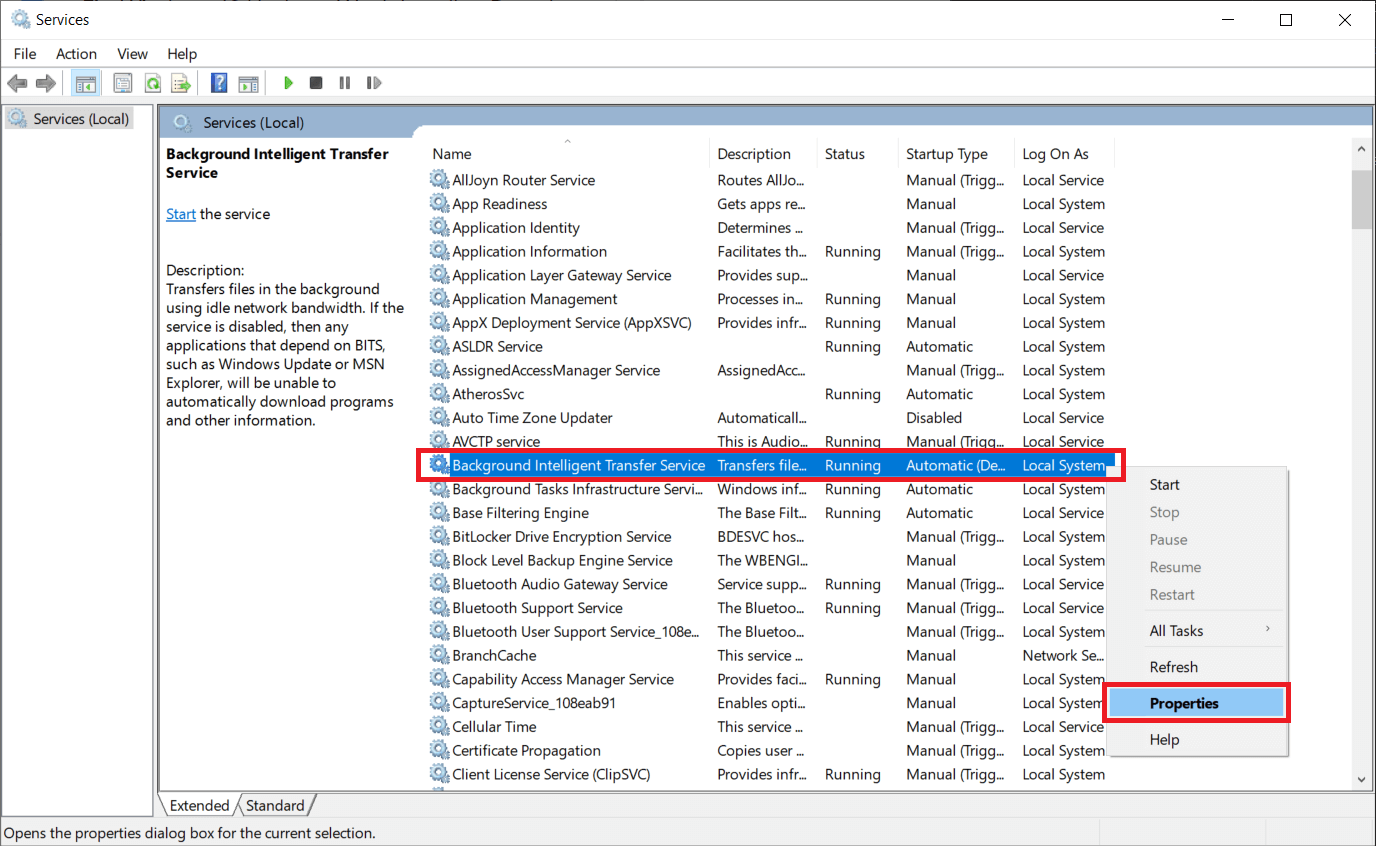
Repeat step 4 and set start-up type to Automatic.
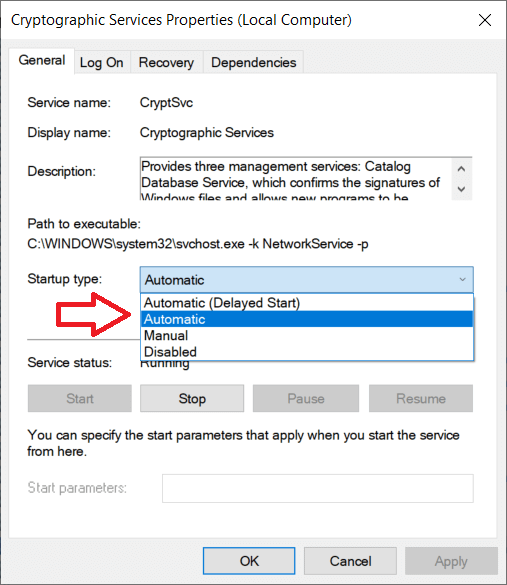
6. For the final step, search for Cryptographic Services, right-click, choose properties and repeat step 4 to set start-up type to Automatic.
Finally, close the Services window and perform a restart. Check if you’re able to fix Windows 10 updates won’t install error, if not, keep scrolling to try the next method.
Method 3: Using Command Prompt
For the next method, we turn to the Command Prompt: a plain black notepad with undefined power. All you need to do is type in the right commands and the application will run it for you. Although, the error we have on our hands today isn’t quite general and will require us to run more than a few commands. We start off by opening Command Prompt as Administrator.
1. Open Command Prompt as Administrator.
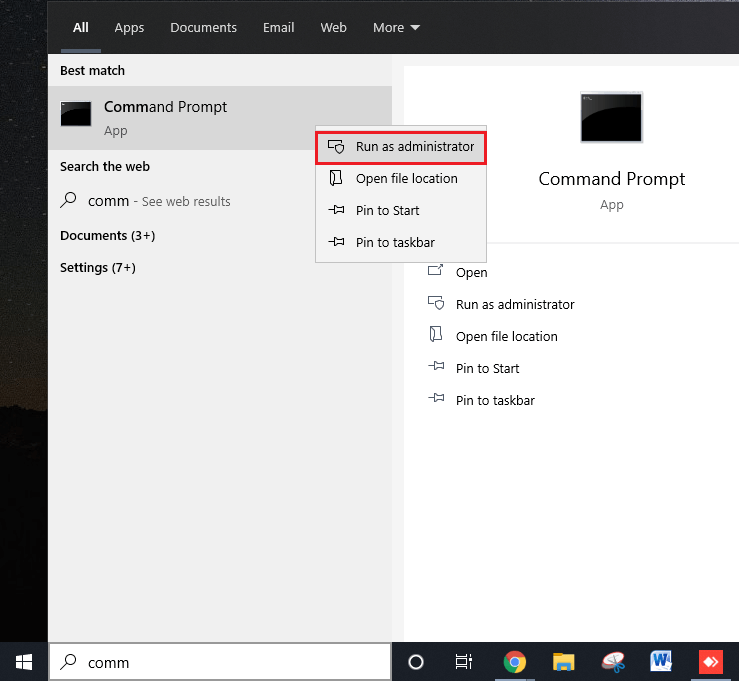
Irrespective of the mode of access, a user account control pop up requesting permission to allow the app to make changes to your computer will be displayed. Click on Yes to grant permission and continue.
2. Once the Command Prompt window opens up, type the following commands one by one, press enter after typing each line and wait for the command to execute before entering the next one.
net stop wuauserv
net stop cryptSvc
net stop bits
net stop msiserver
ren C:WindowsSoftwareDistribution SoftwareDistribution.old
ren C:WindowsSystem32catroot2 catroot2.old
net start wuauserv
net start cryptSvc
net start bits
net start msiserver
net localgroup administrators
networkservice /add
net localgroup administrators localservice /add
After you are done executing all the above commands, close the command prompt window, restart your PC and check if the error has been resolved on return.
Method 4: Uninstall Malware applications
Windows Updates often bring along fixes for malware and therefore many malware applications on their arrival first alter with Windows Updates & essential services and stop them from working properly. Simply getting rid of all malware applications on your system will turn things back to normal and should solve the error for you.
If you have any specialized third-party software such as an anti-virus or an anti-malware application then go ahead and run a scan on the same. However, if you only rely on Windows Security then follow the below steps to run a scan.
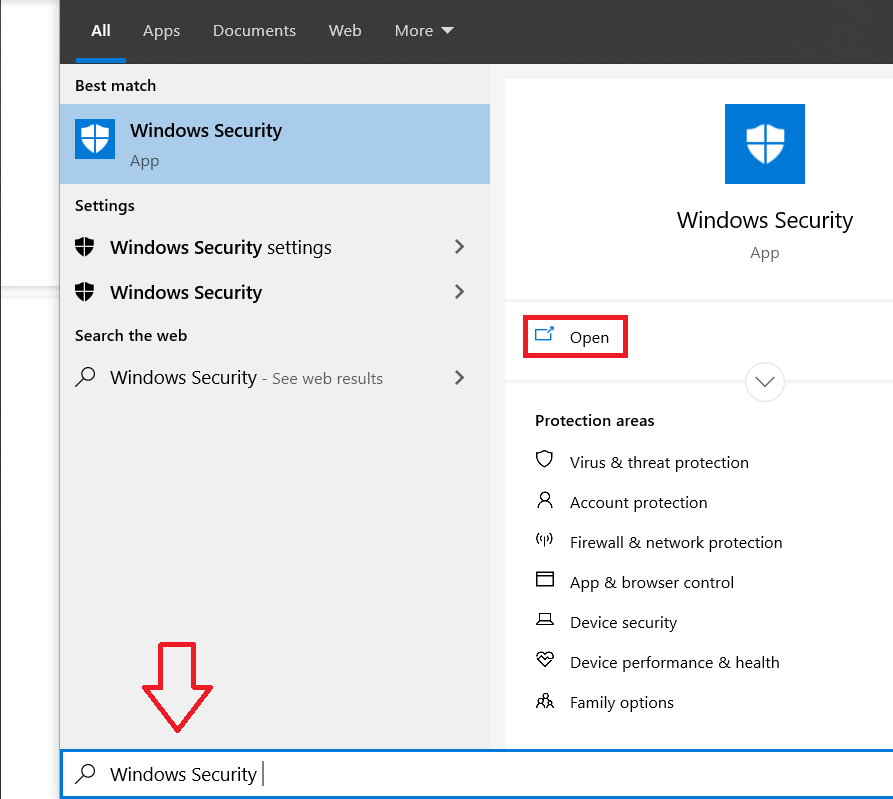
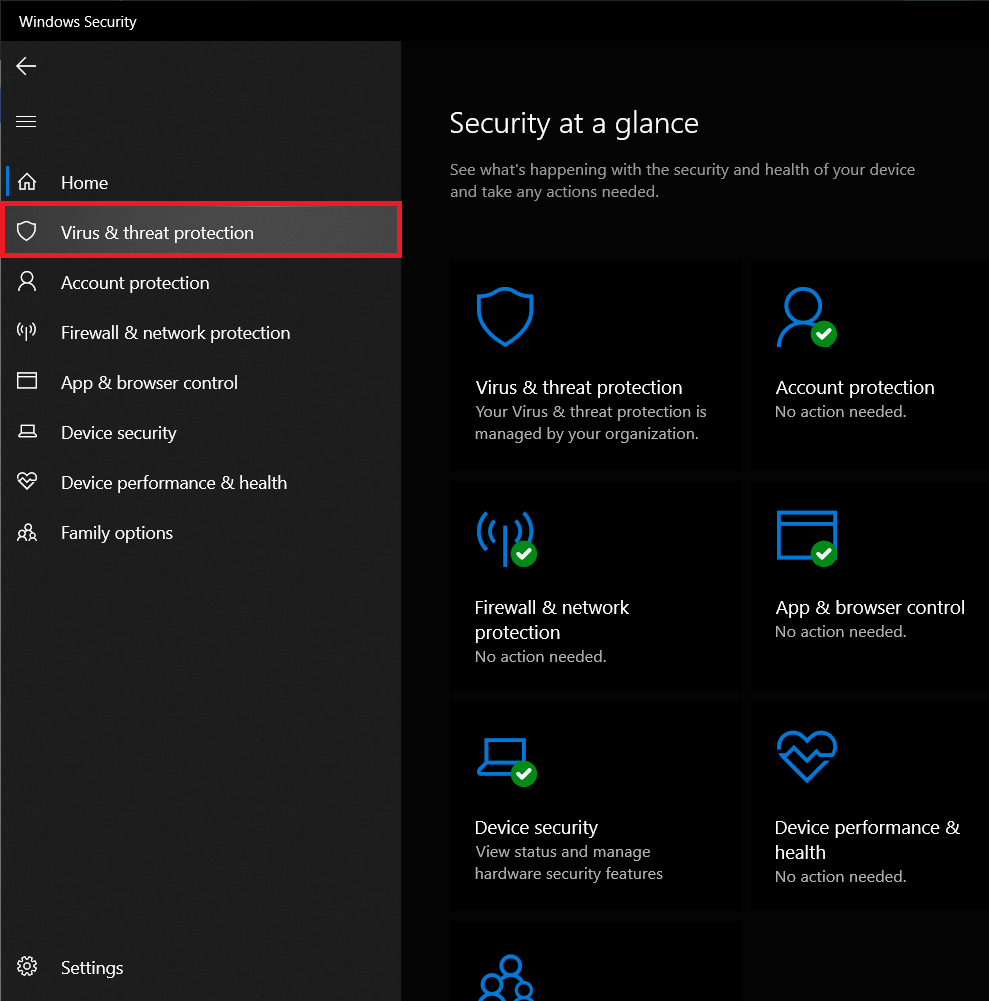
1. Click on the start button, search for Windows Security and press enter to open.
2. Click on Virus & threat protection to open the same.
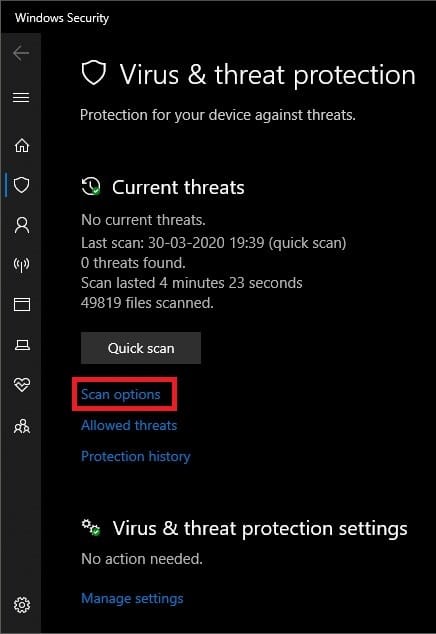
3. Now, there are more than a few types of scans that you can run. A quick scan, full scan and also a customized scan are the available options. We will be running a full scan to rid our system of any and all malware.
4. Click on Scan options
5. Select the Full Scan option and click on the Scan now button to start scanning.
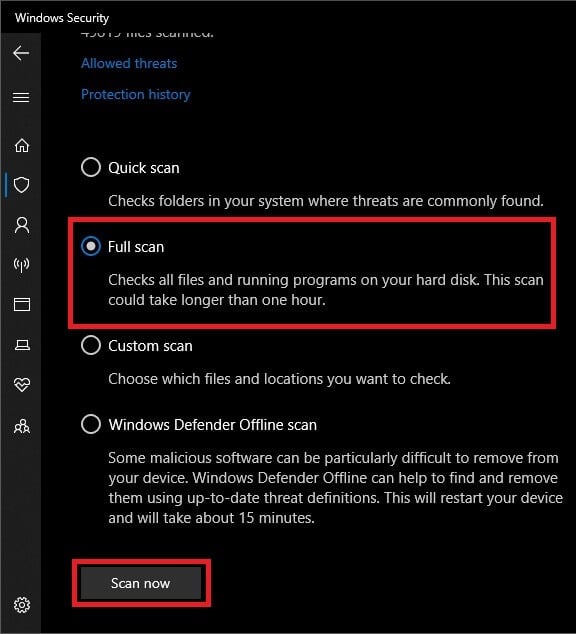
6. Once the security system is done scanning, the number of threats with their details will be reported. Click on Clean threats to remove/quarantine them.
7. Restart your PC and check if you’re able to fix Windows 10 updates won’t install error, if not, continue to the next method.
Method 5: Increase free disk space
Another possible reason for the error may be a lack of internal disk space. A lack of space implies Windows won’t be able to download any new OS updates let alone install them. Cleaning up your hard drive by deleting or uninstalling some unnecessary files should solve this problem for you. While there are multiple third-party applications that will clean up your disk for you, we will stick to the builtin Disk Cleanup application.
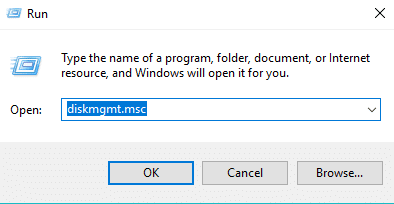
1. Launch Run command by pressing Windows key + R on your keyboard.
2. Type diskmgmt.msc and press enter to open disk management.
3. In the disk management window, choose the system drive (usually C drive), right-click on it and choose Properties.
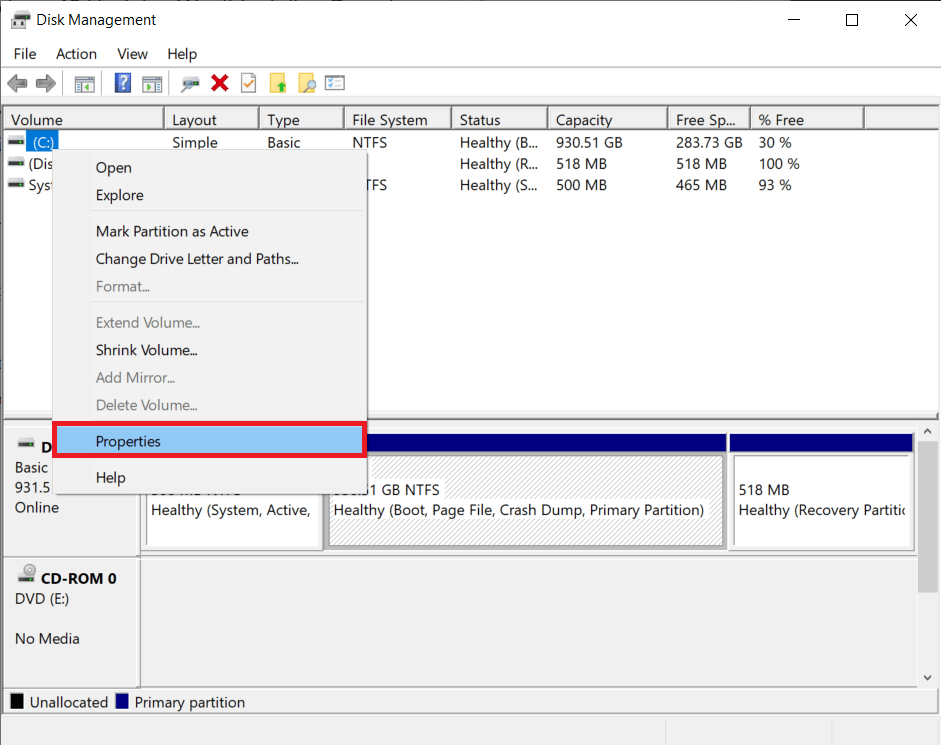
4. From the following dialogue box, click on the Disk Cleanup button.
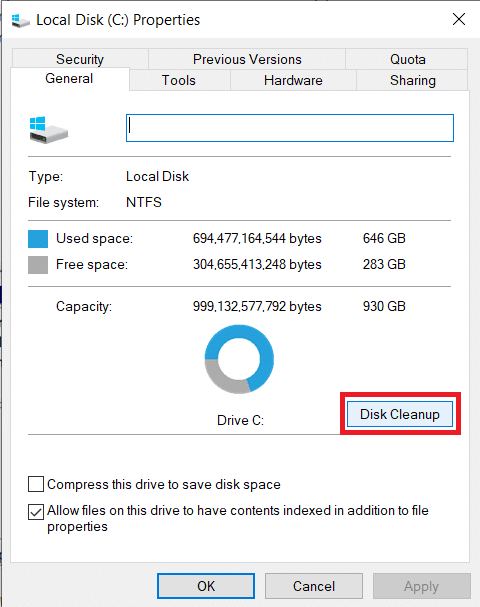
The application will now scan your drive for any temporary or unnecessary files that can be deleted. The scanning process can take up to a few minutes depending on the number of files in the drive.
5. After a few minutes, Disk Cleanup pop-up with a list of files that can be deleted will be displayed. Tick the box next to the files you would like to delete and click on OK to delete them.

6. Another pop-up message reading ‘Are you sure you want to permanently delete these files? ’ will arrive. Click on Delete Files to confirm.
Recommended:
We hope one of the above methods worked and you were able to successfully fix Windows 10 updates won’t install error. Apart from the mentioned methods, you could also try going back to a restore point during which the error didn’t exist or installing a clean version of Windows.