If you’re facing this issue in Windows 10 where Clock Time is always wrong even though the date is correct, then you need to follow this guide to fix the issue. The time in the taskbar and settings will be affected by this problem. If you try to set the time manually, it will work only temporary, and once you reboot your system, the time will again change. You will be stuck in a loop whenever you try to change the time it will work until you restart your system.
There is no particular cause of this problem as it can be caused because of outdated copy of Windows, faulty or dead CMOS battery, corrupt BCD information, no time synchronization, Windows time services might be stopped, corrupt registry etc. So without wasting any time let’s see how to Fix Windows 10 Wrong Clock Time Issue with the help of below-listed troubleshooting guide.
Fix Windows 10 Wrong Clock Time Issue
Make sure to create a restore point just in case something goes wrong.
Method 1: Synchronize with an Internet Time Server
1. Type Control in Windows Search and then click on Control Panel.

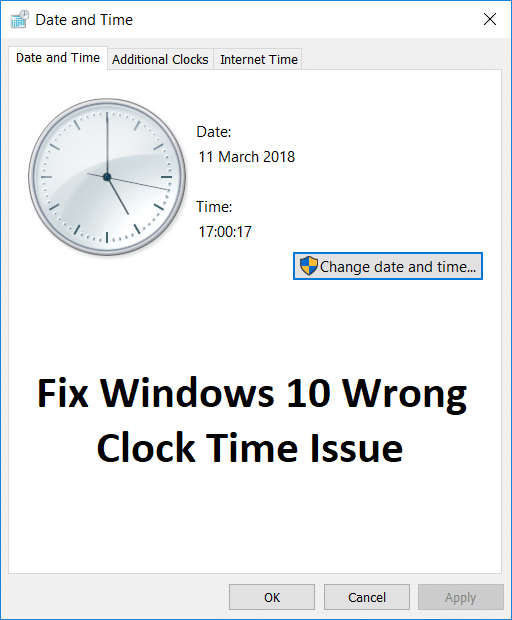
2. Choose Large icons from View by drop-down and then click on Date and Time.
3. Switch to Internet Time tab and click on Change settings.
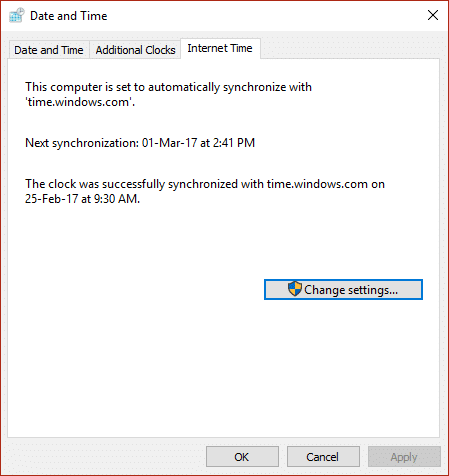
4. Make sure to checkmark “Synchronize with an Internet time server.”
5. Then from the Server drop-down choose time.nist.gov and click Update now.
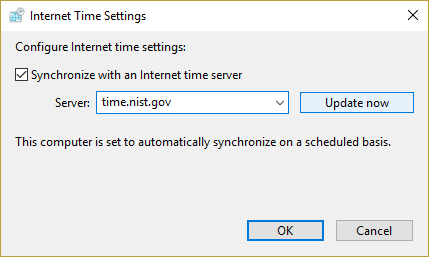
6. If the error occurs, again click Update now.
7. Click OK and reboot your PC and see if you’re able to Fix Windows 10 Wrong Clock Time Issue.
Method 2: Change Date & Time settings
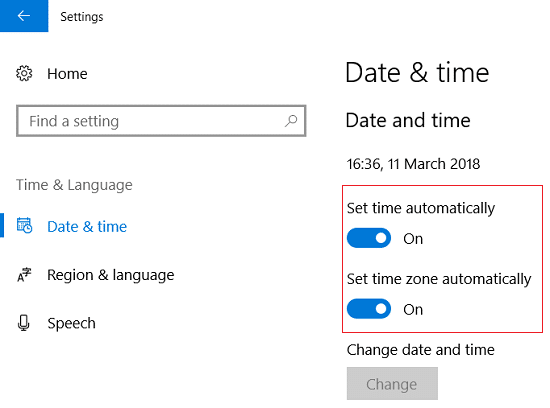
1. Press Windows Key + I to open Settings then click on Time & language.
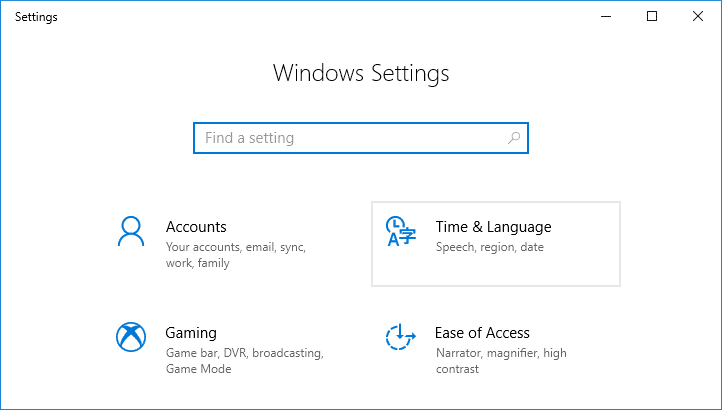
2. Make sure toggle for “Set time automatically” and “Set time zone automatically” is turned ON.
3. Reboot and see if you’re able to Fix Windows 10 Wrong Clock Time Issue.
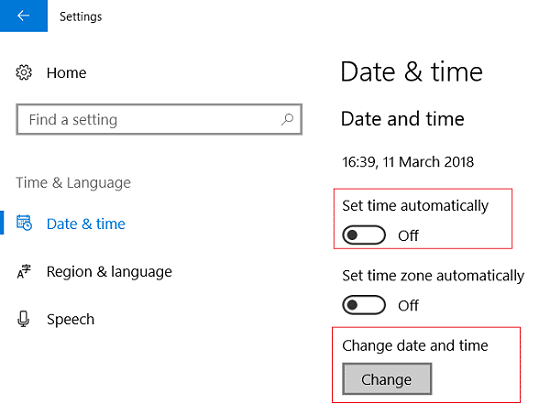
4. Now again go back to Time & language settings then turn off the toggle for “Set time automatically.”
5. Now click Change button to adjust date & time manually.
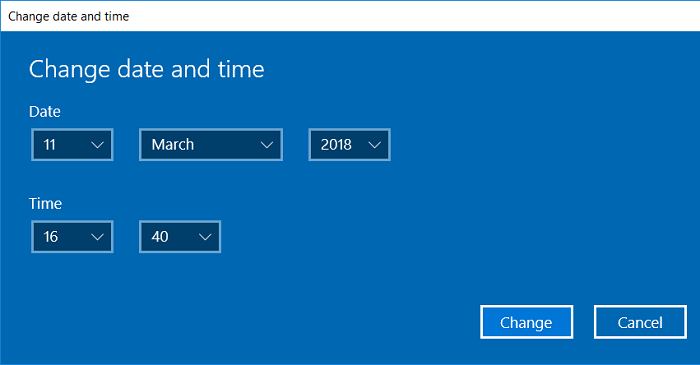
6. Make the necessary changes in the Change date and time window and click Change.
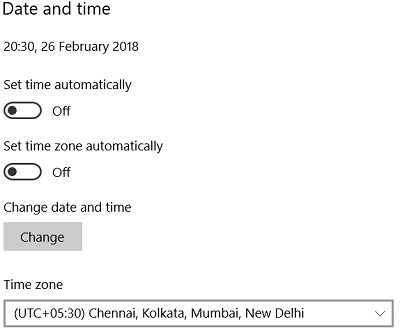
7. See if this helps, if not then turn off the toggle for “Set time zone automatically.”
8. From the Time zone, drop-down set your time zone manually.
9. Restart your PC to save changes.
Method 3: Windows Time Service is running
1. Press Windows Key + R then type services.msc and hit Enter.

2. Find Windows Time Service in the list then right-click and select Properties.
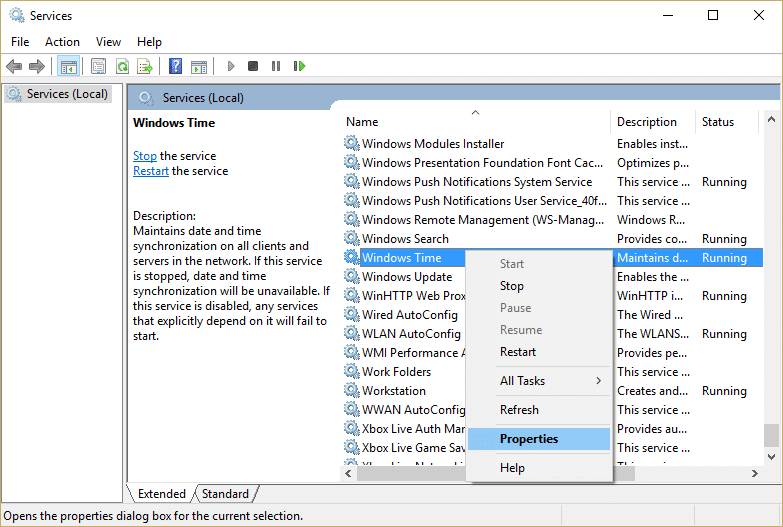
3. Make sure the Startup type is set to Automatic (Delayed Start), and the service is running, if not, then click on start.
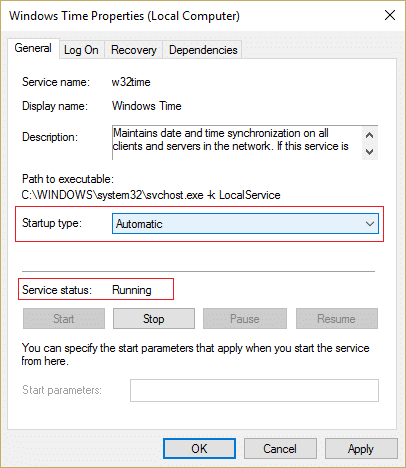
4. Click Apply, followed by OK.
5. Reboot your PC to save changes and see if you’re able to Fix Windows 10 Wrong Clock Time Issue.
Method 4: Change Windows Time Service Log on Settings
1. Press Windows Key + R then type services.msc and hit enter.
2. Find Windows Time in the list then right-click on it and select Properties.
3. Switch to Log on the tab and select “Local System Account.”
4. Make sure to checkmark “Allow service to interact with Desktop.”
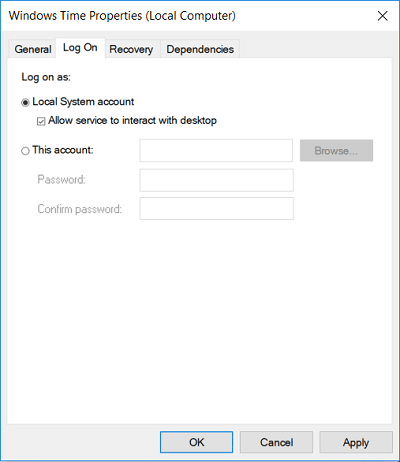
5. Click Apply, followed by OK.
6. Restart your PC.
Method 5: Re-register Windows Time DLL
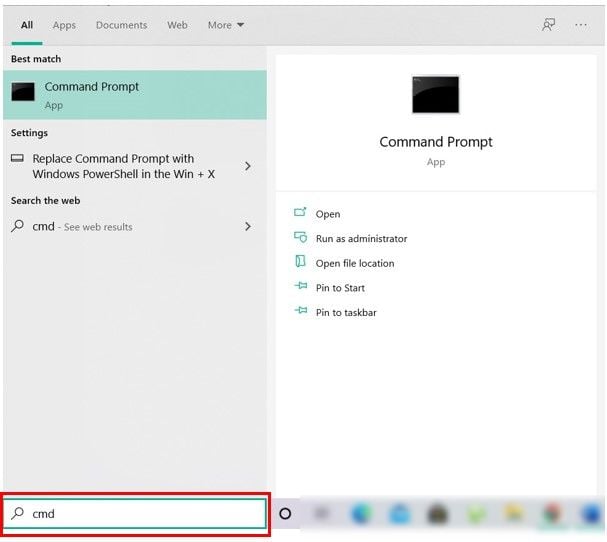
1. Open Command Prompt. The user can perform this step by searching for ‘cmd’ and then press Enter.
2. Type the following command into cmd and hit Enter:
regsvr32 w32time.dll
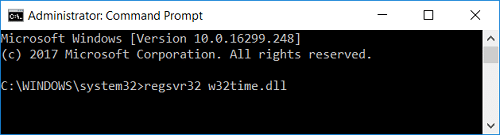
3. Wait for the command to finish and then reboot your PC.
Method 6: Re-register Windows Time Service
1. Type PowerShell in Windows Search then right-click on PowerShell and select Run as Administrator.
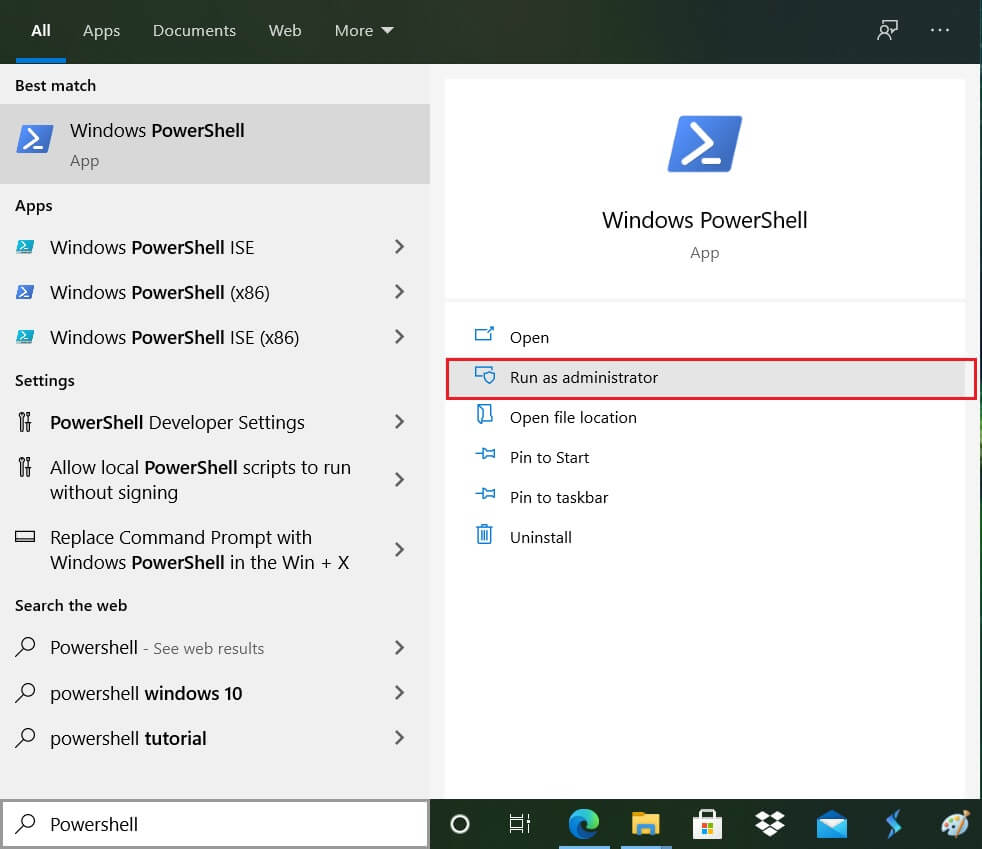
2. Now type the following command into PowerShell and hit Enter:
w32tm /resync
3. Wait for the command to finish, else if you’re not logged in as Administrator then type the following command:
time /domain
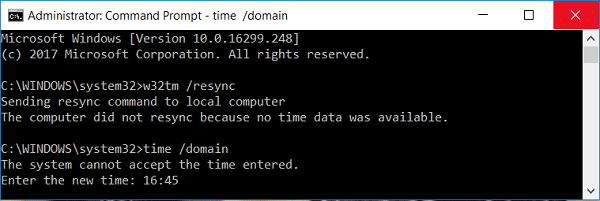
4. Reboot your PC to save changes and see if you’re able to Fix Windows 10 Wrong Clock Time Issue.
Method 7: Re-register W32Time
1. Open Command Prompt. The user can perform this step by searching for ‘cmd’ and then press Enter.
2. Type the following command into cmd and hit Enter after each one:
net stop w32time
w32tm /unregister
w32tm /register
net start w32time
w32tm /resync
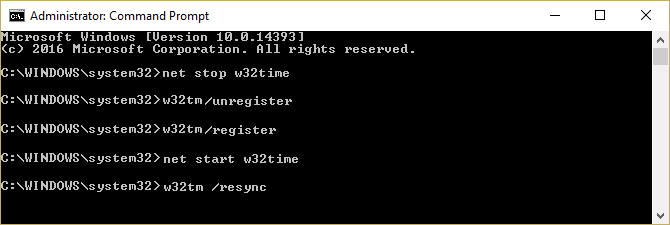
3. Wait for the above commands to finish then again follow the method 3.
4. Restart your PC.
Method 8: Update BIOS
Performing BIOS update is a critical task, and if something goes wrong it can seriously damage your system; therefore, expert supervision is recommended.
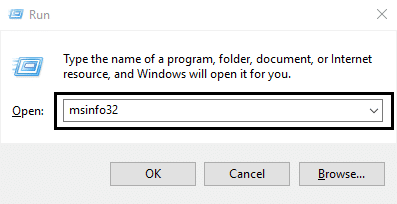
1. The first step is to identify your BIOS version, to do so press Windows Key + R then type “msinfo32” (without quotes) and hit enter to open System Information.
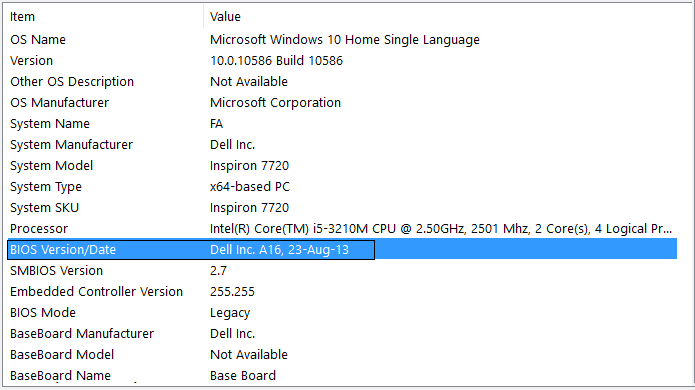
2. Once the System Information window opens locate BIOS Version/Date then note down the manufacturer and BIOS version.
3. Next, go to your manufacturer’s website, e.g., it’s Dell so I will go to Dell website and then I will enter my computer serial number or click on the auto-detect option.
4. Now, from the list of drivers shown, I will click on BIOS and download the recommended update.
Note: Do not turn off your computer or disconnect from your power source while updating the BIOS or you may harm your computer. During the update, your computer will restart, and you will briefly see a black screen.
5. Once the file is downloaded, just double-click on the Exe file to run it.
6. Finally, you have updated your BIOS, and this may also Fix Windows 10 Wrong Clock Time Issue.
If nothing helps then try to Make, Windows synchronize time more often.
Method 9: Dual Boot Fix
If you are using Linux and Windows, then the problem occurs because Windows gets its time from BIOS assuming it is in your regional time and while Linux gets its time assuming the time is in UTC. To fix this issue, go to Linux and browse to the path:
/etc/default/rcS
Change: UTC=yes to UTC=no
Method 10: CMOS Battery
If nothing works then chances are your BIOS battery might be dead and it’s time to replace it. Time and Date are stored in BIOS, so if the CMOS battery is drained time & date will be incorrect.
Recommended:
That’s it you have successfully Fix Windows 10 Wrong Clock Time Issue but if you still have any questions regarding this post then feel free to ask them in the comment’s section.