Are you bored of using Windows Notepad with basic formatting? Then, Notepad++ is a better option for you. It is a replacement text editor for Notepad in Windows 10. It is programmed in C++ language and is based on the powerful editing component, Scintilla. It uses pure Win32 API and STL for faster execution and smaller program size. Also, it includes various upgraded features like Notepad++ plugin. This guide will teach you how to install, add, update & remove Notepad++ plugin on Windows 10.
How to Add Notepad++ Plugin on Windows 10 PC
A few notable features of Notepad ++ are:
- Auto-completion
- Syntax highlighting and folding
- Search and replace feature
- Zoom in and out mode
- Tabbed interface, and many more.
How to Install Plugin & Modify Settings
To install a plugin in Notepad++, a few settings have to be made while installing Notepad++. So, if you have installed Notepad++ already, then, it is advisable for you to uninstall and then, reinstall it.
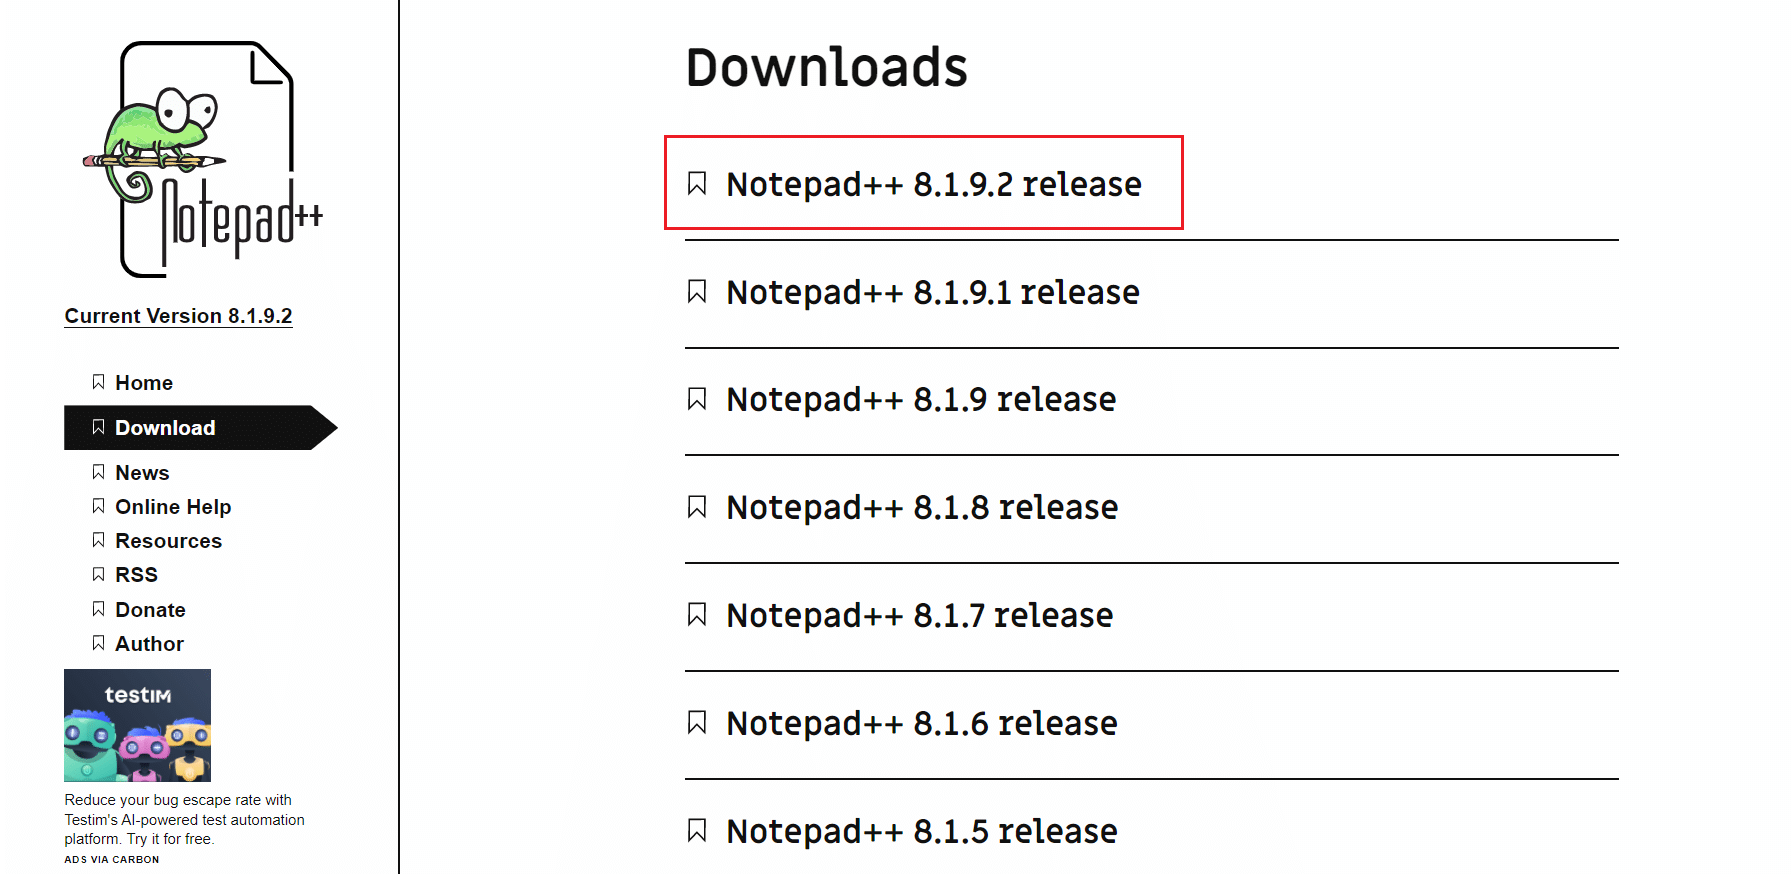
1. Install the current version of Notepad++ from Notepad++ Downloads webpage. Here, choose any release of your choice.
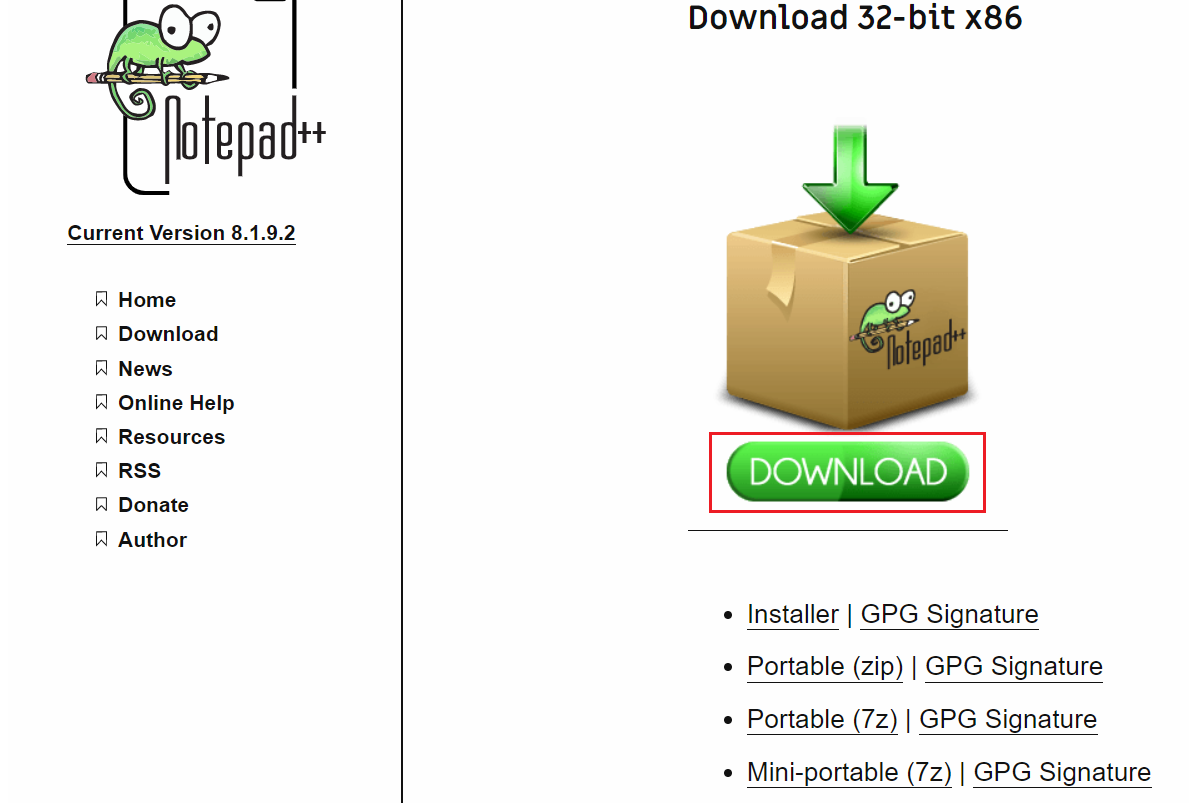
2. Click on the green DOWNLOAD button shown highlighted to download the chosen version.
3. Go to the Downloads folder and double-click on the downloaded .exe file.
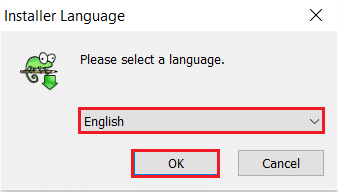
4. Choose your language (e.g. English) and click OK in Installer Language window.
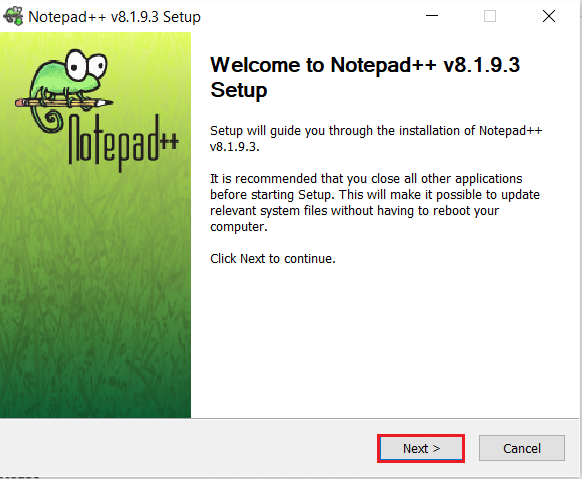
5. Click on Next > button.
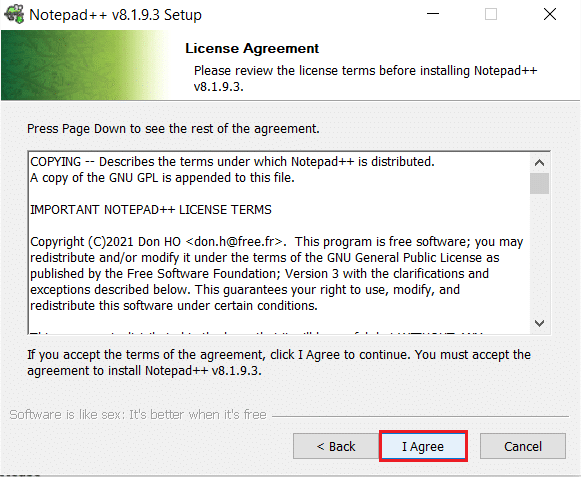
6. Click on I Agree button after reading the Licence Agreement.
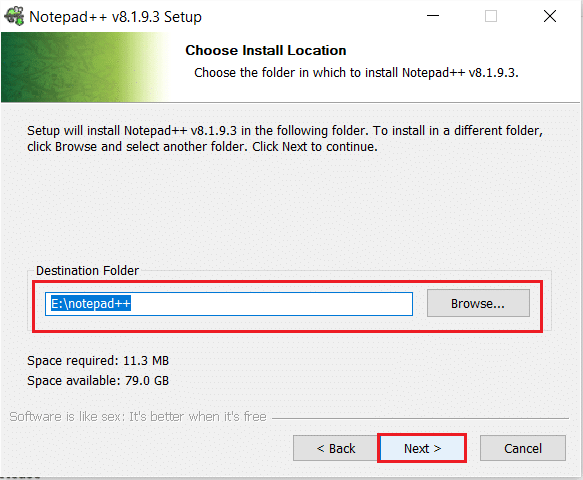
7. Choose the Destination Folder by clicking on Browse… button, then click on Next, as shown.
8. Then, select the required components in Choose Components window and click on Next button, as depicted below.
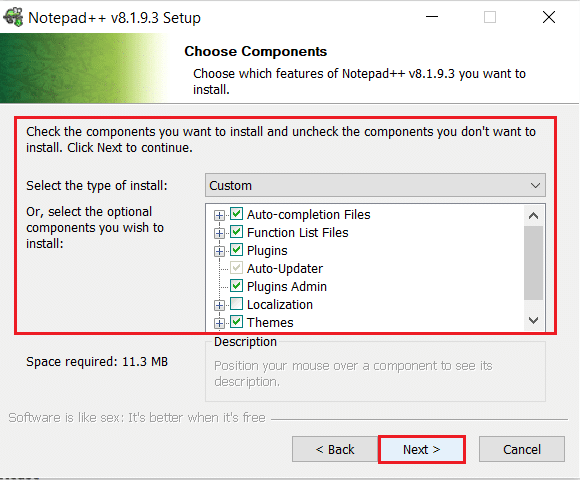
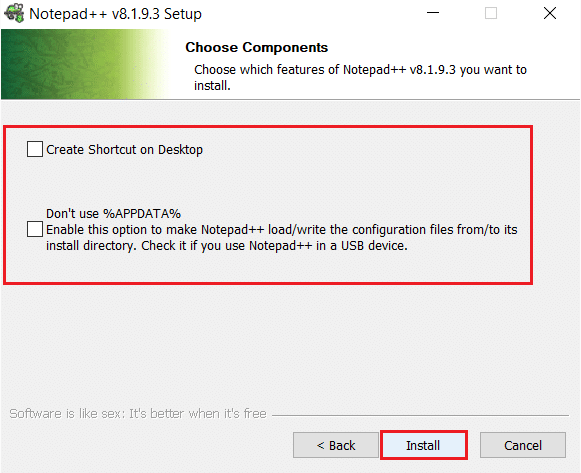
9. Again, select the option as per your requirements in Choose Components window and click Install button, shown highlighted.
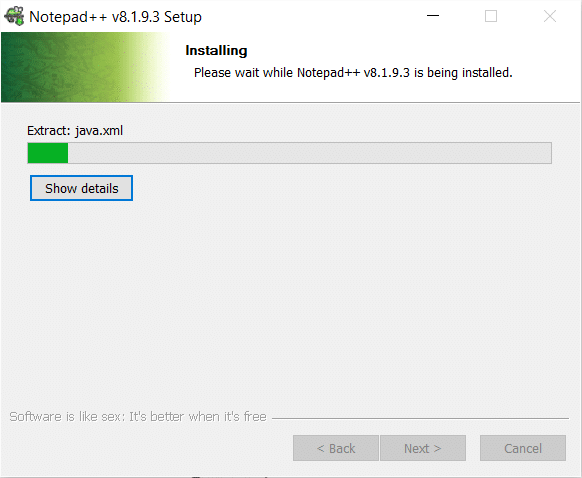
10. Wait for the installation process to be completed.
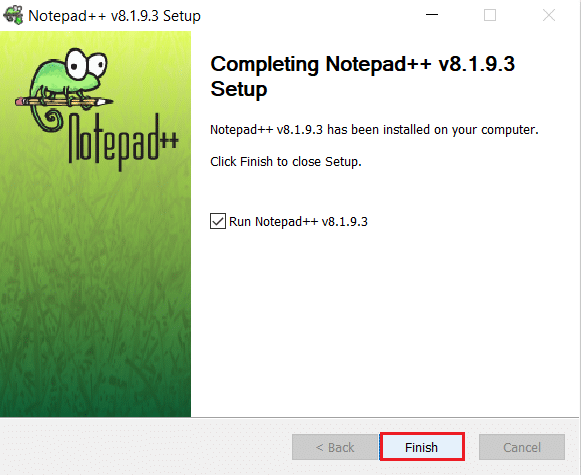
11. Finally, click on Finish to open Notepad++.
Also Read: Fix Windows Media Creation Tool Not Working
Follow the methods listed below to install plugin in Notepad++ in this upgraded version of Notepad.
Method 1: Through Plugins Admin in Notepad
Notepad++ is bundled with plugins that you can install easily by following the given steps:
1. Launch Notepad++ on your PC.
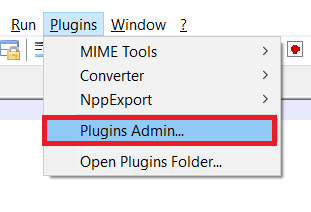
2. Click Plugins in the menu bar.
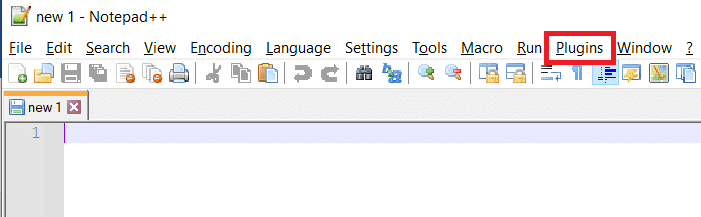
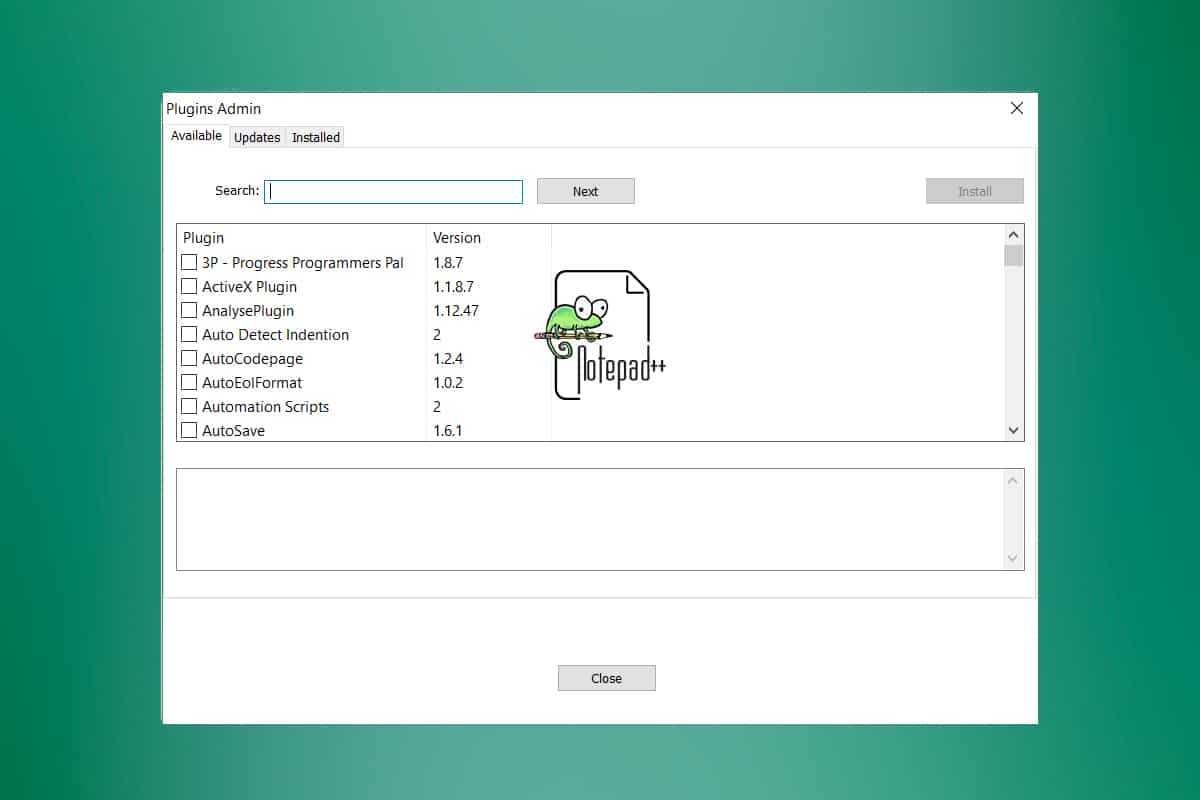
3. Select Plugins Admin… option, as highlighted below.

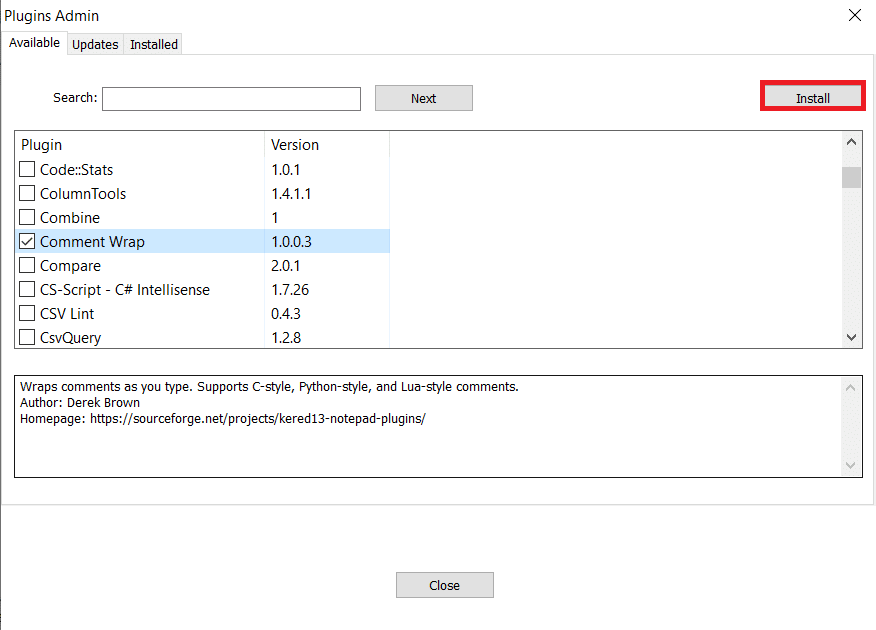
4. Scroll through the list of plugins and select the desired plugin and click the Install button.
Note: You can also search for a plugin in the Search bar.
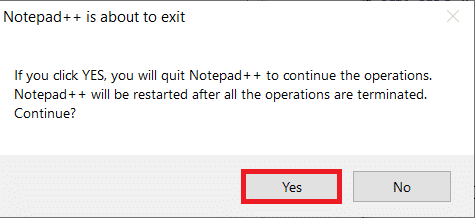
5. Then, click Yes to exit Notepad++.
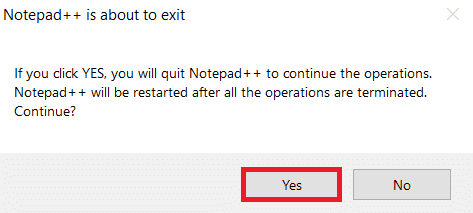
Now, it will restart with new versions of plugins.
Also Read: 6 Ways To Create A Computer Virus (Using Notepad)
Method 2: Manually Install Plugin Via Github
We can also manually install the plugin Notepad++ apart from the plugins present in the Plugins Admin.
Note: But before downloading a plugin, ensure that the version matches the system and the Notepad++ app. Close your Notepad++ app on your device before downloading.
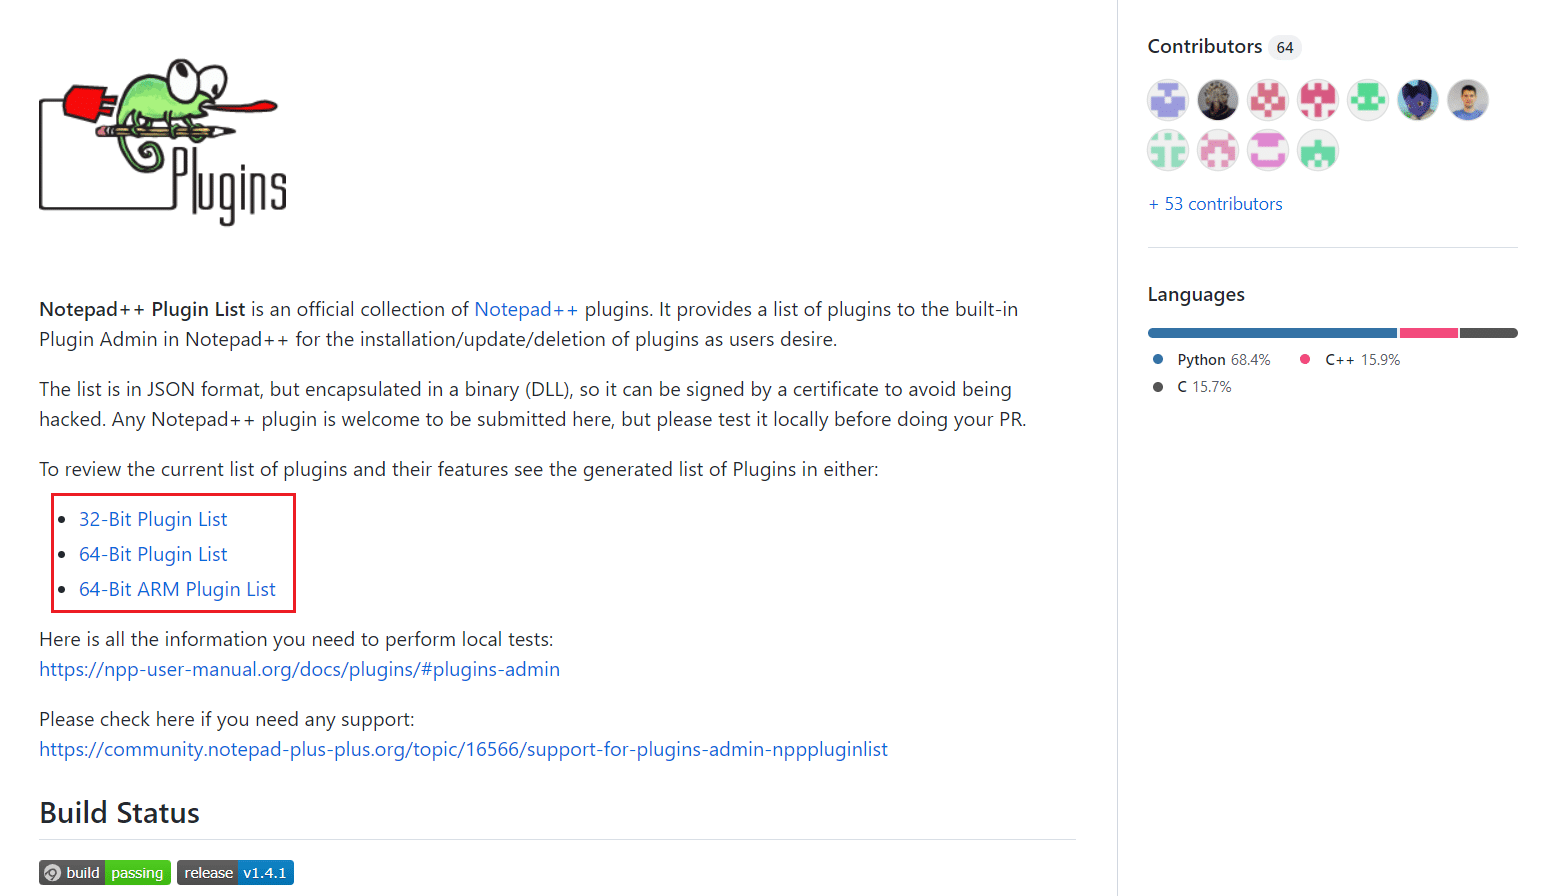
1. Go to the Notepad ++ Community Github page and select the List of plugins according to your system type from the given options:
- 32-Bit Plugin List
- 64-Bit Plugin List
- 64-Bit ARM Plugin List
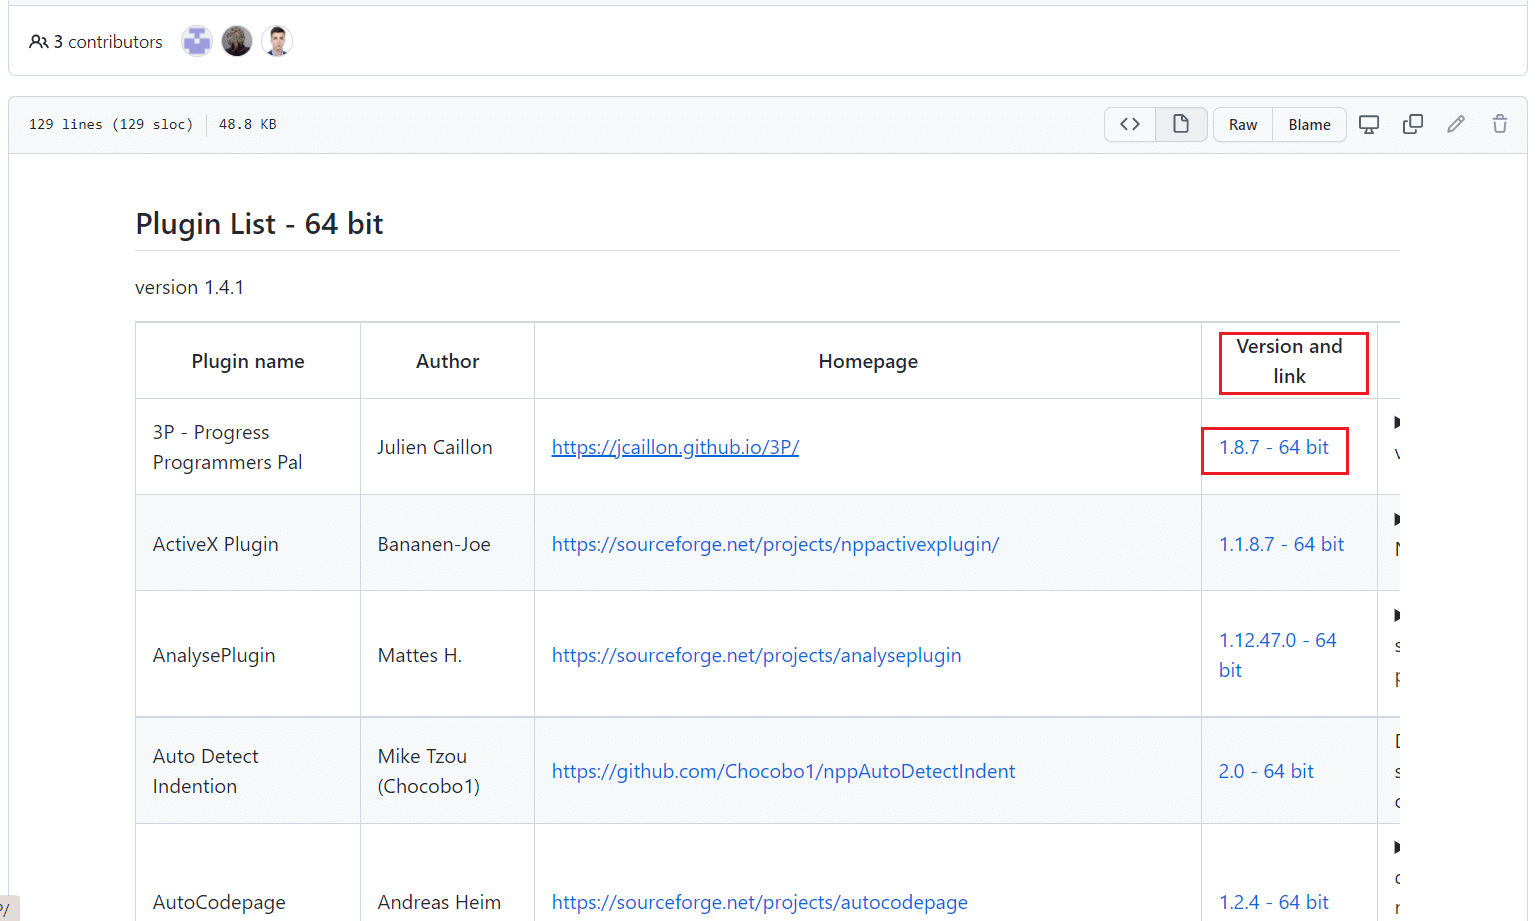
2. Click on Version and link of the Respective plugins to download the .zip file.
3. Extract the contents of the .zip file.
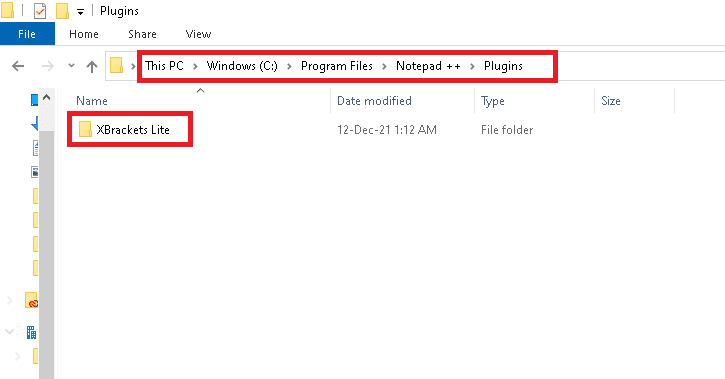
4. Create a folder in the location path where Notepad++ plugins are installed and rename the folder with the plugin name. For example, the given directory will be either of these two:
C:Program FilesNotepad++plugins
C:Program Files (x86)Notepad++plugins
5. Paste the extracted files in the newly created Folder.
6. Now, open Notepad++.
7. You can find the downloaded plugin in the Plugins Admin. Install the plugin as instructed in Method 1.
How to Update Notepad++ Plugins
Updating the Notepad++ plugin is as easy as downloading. The plugins included in the Plugin Admin will be available in the Updates tab. However, to update the manually downloaded plugins, you need to make sure that the latest version of the plugin is downloaded. Follow the below steps to update Notepad++ plugins:
1. Launch Notepad++ on your PC. Click Plugins > Plugins Admin… as shown.
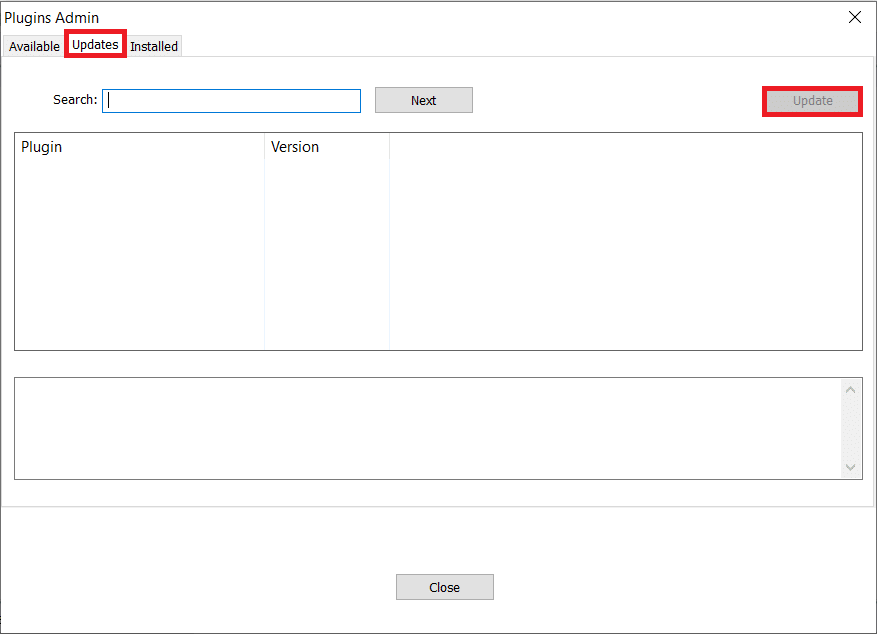
2. Go to the Updates tab.
3. Select the Available plugins and click Update button at the top.
4. Then, click Yes to exit the Notepad++ and for changes to take effect.
How to Remove Notepad++ Plugin
You can just as easily uninstall Notepad++ plugins.
Option 1: Remove Plugin from Installed Tab
You can remove Notepad++ plugins from the installed tab in Plugins Admin window.
1. Open Notepad++ > Plugins > Plugins Admin… as earlier.
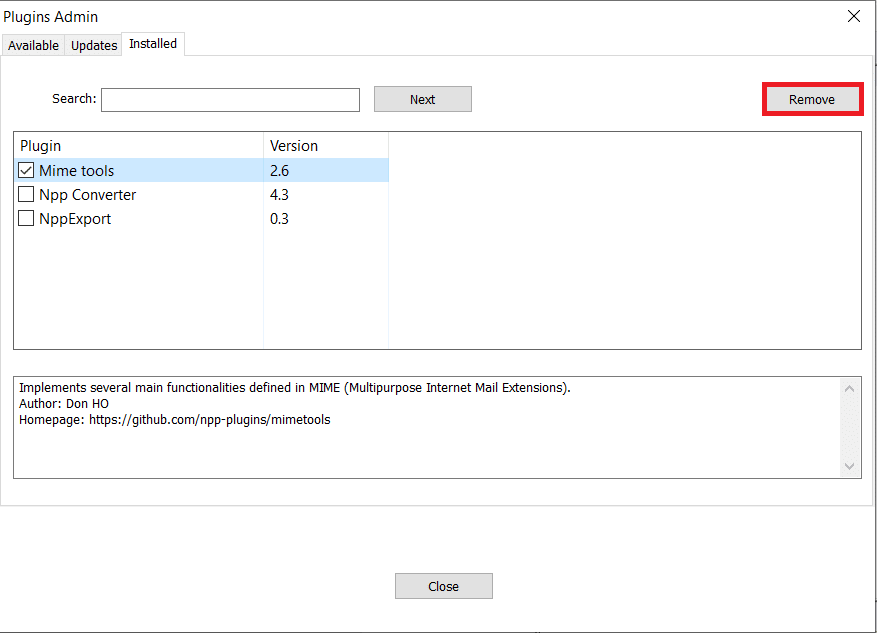
2. Go to the Installed tab and select the plugins to be removed.
3. Click Remove at the top.
4. Now, click Yes to exit the Notepad++ and restart it.
Also Read: Fix VCRUNTIME140.dll Missing on Windows 11
Option 2: Remove Manually Installed Notepad++ Plugin
Follow these steps to remove Notepad++ plugins manually:
1. Go to the Directory where you have placed the plugins file.
C:Program FilesNotepad++plugins
C:Program Files (x86)Notepad++plugins

2. Select the Folder and press Delete or Delete + Shift keys to delete it permanently.
Frequently Asked Questions (FAQs)
Q1. Is it safe to manually download and add plugins in Notepad++?
Ans. Yes, it is safe to download plugins and include them in Notepad++. But make sure that you download it from a reliable source like Github.
Q2. Why is it best to use Notepad++ than Notepad?
Ans. Notepad++ is a replacement text editor for Notepad in Windows 10. It comes with many notable features such as auto-completion, syntax highlighting and folding, search and replace, zoom in and out, and tabbed interface.
Q3. Is it safe to download and use Notepad++?
Ans. It is safe to download and use Notepad++. However, it is advised to download Notepad++ only from the Notepad official site or Microsoft Store.
Recommended:
We hope that this guide will help you to install Notepad++ as well as add or remove plugin in Notepad++. Drop your queries and suggestions in the comment section below.