When you install Windows 11 for the first time, you must create a user account to access and use your computer. You have two choices here: connect to your Microsoft account and utilize it as User account, or establish a Local account that is saved only on your computer. Microsoft encourages the usage of Microsoft account for its features & security. It has even removed the provision of logging in via a local account during Windows 11 setup. Local account, on the other hand, might be beneficial and necessary if you share your computer with other people. In this case, you may create a local account for them with their own log-in password for easy access. Moreover, they will not have access to your data. There are several ways to create a local user account in Windows 11 as discussed in this guide. Furthermore, read till the end to learn how to delete user account in Windows 11, if you should so need it.

How to Create a Local User Account in Windows 11
You can create a Local User Account in Windows 11 through the Settings menu, User accounts setting, or even Command Prompt. But, before discussing these methods let us learn the difference between a Microsoft account and a Local account on Windows 11.
Microsoft Account vs Local Account
Using a Microsoft Account provides many advantages.
- Right after set up, you will get the option to transfer your customizations and preferences from one Windows device to another.
- You will be able to access & download programs from the Microsoft Store.
- You will also be able to access the services like OneDrive and Xbox Game Pass without having to check in individually.
However, these benefits come at the given expense:
- You will need to share your data with Microsoft.
- You will require a constant internet connection to keep in sync with Microsoft servers.
Read our guide on How to Reset Microsoft Account Password here.
Local accounts, on the other hand,
- These do not require internet access.
- It saves account-related data locally on your hard disc.
- Local accounts are safer because if someone obtains your log-in password, they will not be able to access any other accounts unless you use the same password for all of them.
- Local accounts are ideal for secondary users or those who value privacy above everything else.
Thus, local accounts are mostly utilized in schools or enterprises where a Microsoft account is not a necessary or viable option.
Method 1: Through Windows Account Settings
Follow the steps listed below to create a local account in Windows 11 using Windows Account Settings:
1. Press Windows + I keys simultaneously to open the Settings app.
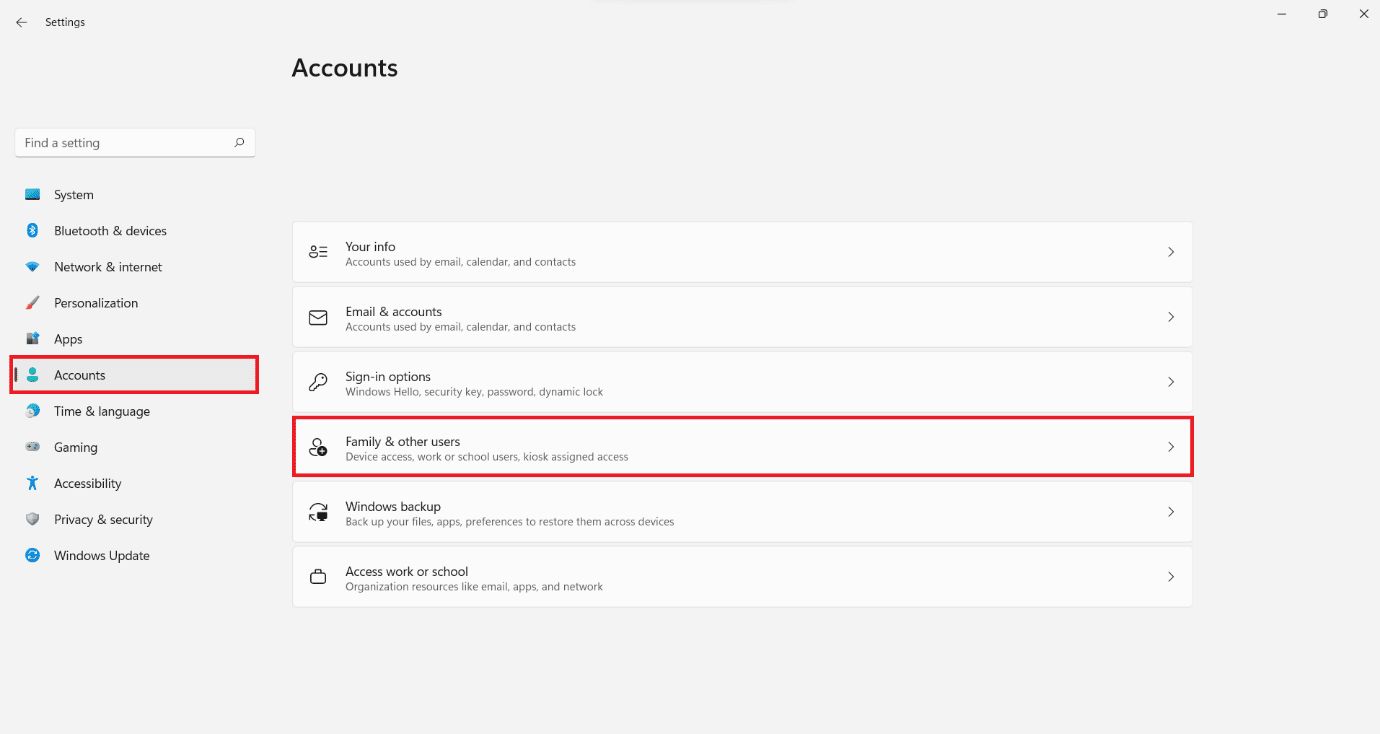
2. Click on Accounts in the left pane.
3. Then, click on Family & other users, as depicted.

4. Here, click on Add account for Add other user option, as shown.

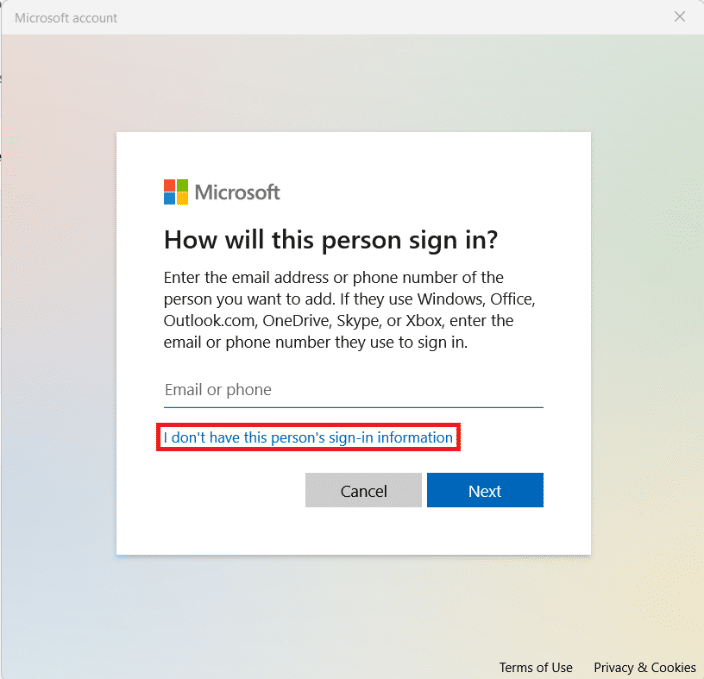
5. Click on I don’t have the person’s sign-in information option in the Microsoft How will this person sign-in? window.
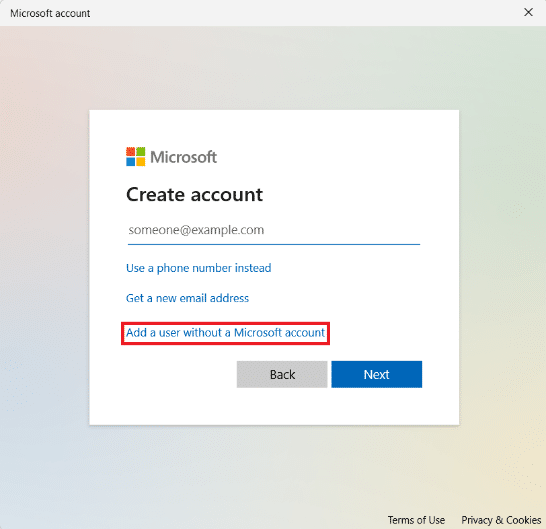
6. Click on Add a user without a Microsoft account option Create account screen, shown highlighted.
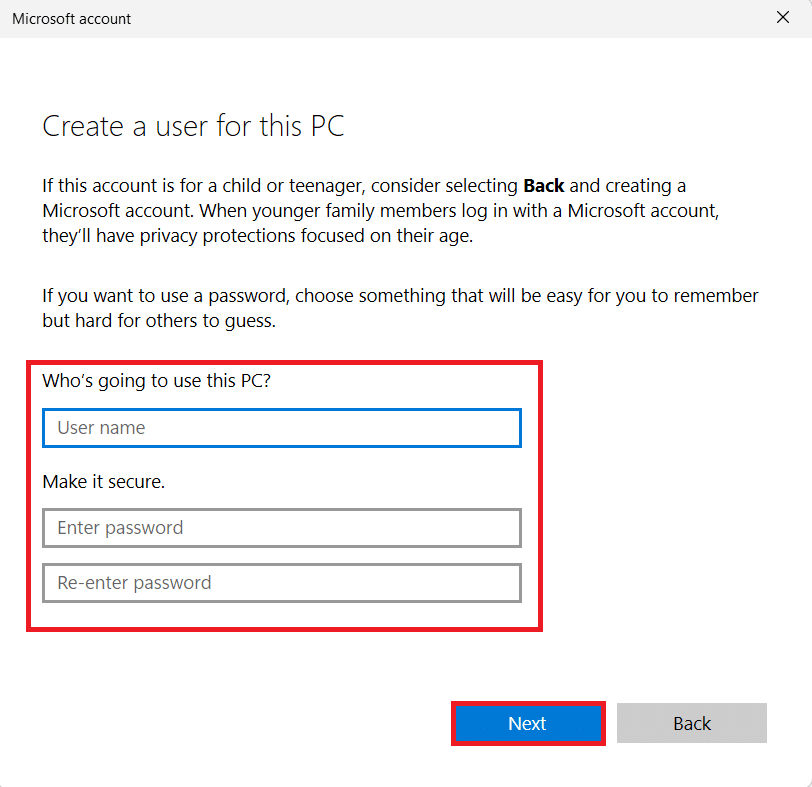
7. Enter User name, Password and Re-enter password in the respective text fields and click on Next, as illustrated below.
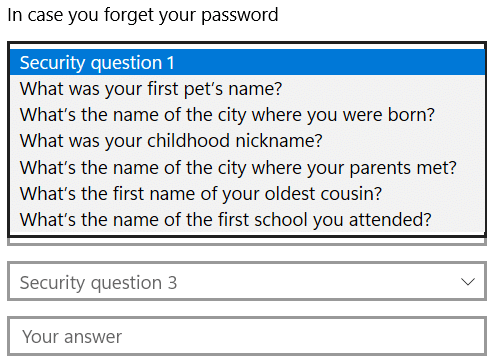
8. After you enter your password, add Three security questions to retrieve your log-in password, if you forget it. Then, click Next to complete the account creation process.
Note: We recommend that you note security questions & their answers.
You should now see the local account listed under the Other users section in Step 4. You can sign out of your account and use the log-in password to sign into the local account.
Also Read: How to Find Sprint Account Number and PIN
Method 2: Through Command Prompt
Alternately, you can set up a local user account in Windows 11 using Command Prompt as follows:
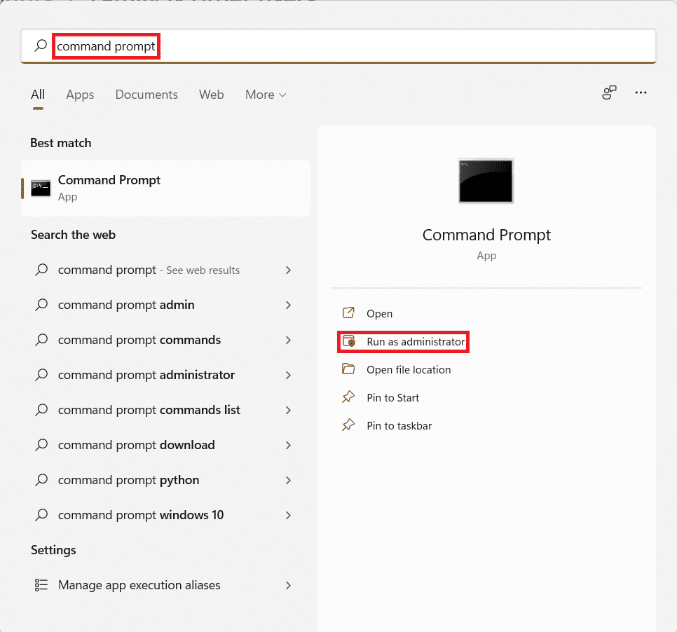
1. Click on the Search icon and type command prompt. Then click on Run as administrator.
2. Click on Yes in the User Account Control prompt.
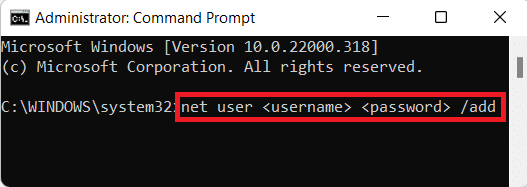
3. Here, type net user <username> <password> /add and press Enter key.
Note: replace <username> and <password> with username and password for the Local account respectively.
4. The command was successfully performed message should appear. This indicates the successful creation of a local account.
Also Read: How to Install Windows 11 on Legacy BIOS
Method 3: Through User Accounts Window
Here’s how to create a local account in Windows 11 through User Accounts:
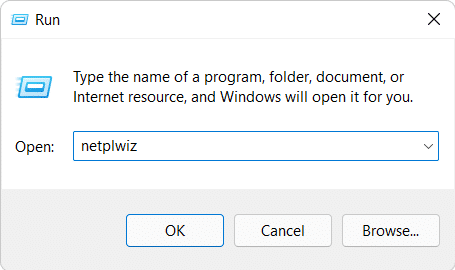
1. Press Windows + R keys simultaneously to open Run dialog box.
2. Type netplwiz and click on OK, as shown.
3. In the User Account window, click on Add… button.

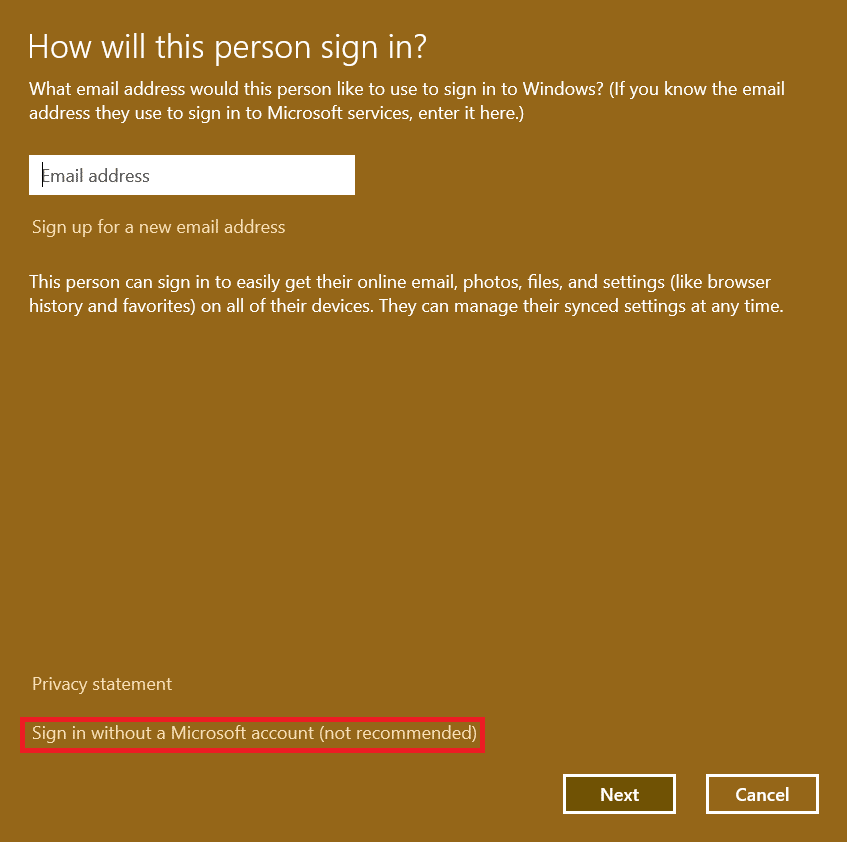
4. Then, click on the Sign in without a Microsoft account (not recommended) option on How will this person sign in? window.
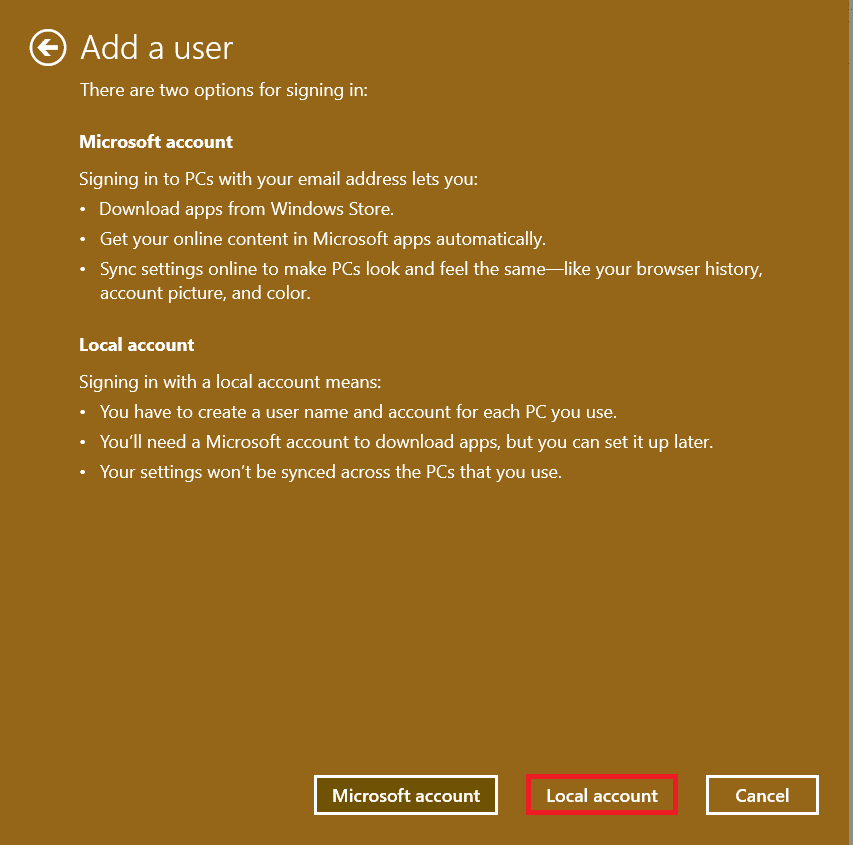
5. Next, click on the Local account button from the bottom of the screen.
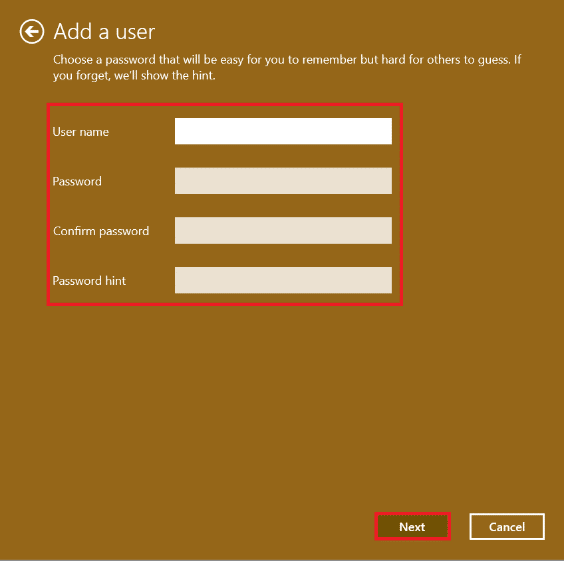
6. Enter the following details and click on Next:
- User name
- Password
- Confirm password
- Password hint
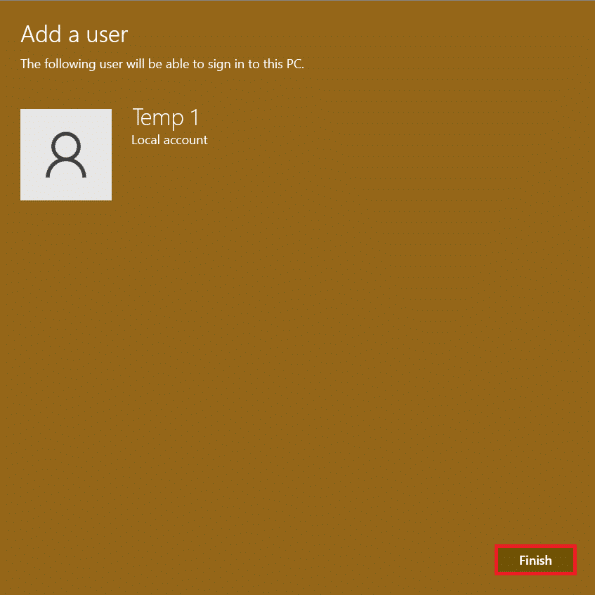
7. Finally, click on Finish button shown highlighted.
How to Convert Existing Microsoft Account to Local Account
It is also possible to convert an existing Microsoft account to a local account, as explained below.
1. Press Windows + I keys simultaneously to open the Settings app.
2. Here, click on Accounts in the left pane. Click on Your info in the right pane.

3. Then, click on Sign in with a local account instead under Account Settings, as shown.

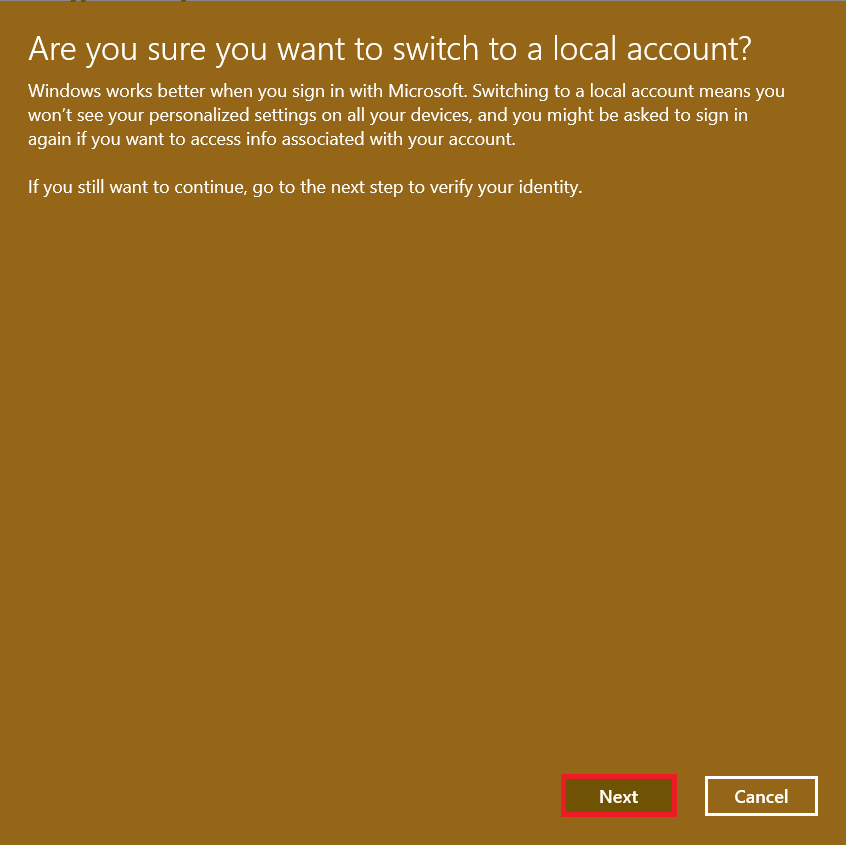
4. Click on Next in the Are you sure you want to switch to a local account window.
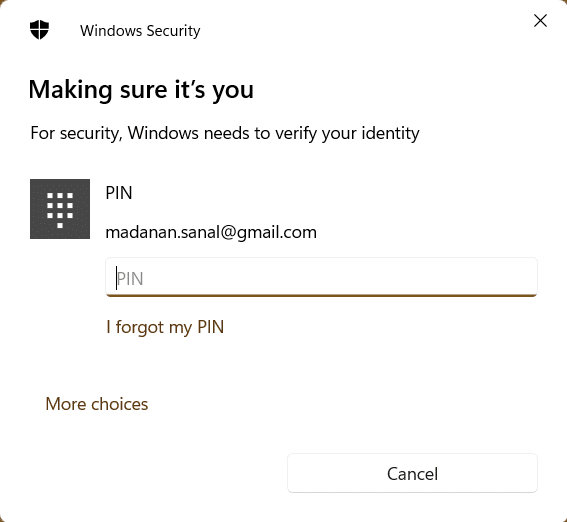
5. Enter your Account PIN in the Windows Security window to verify your identity.
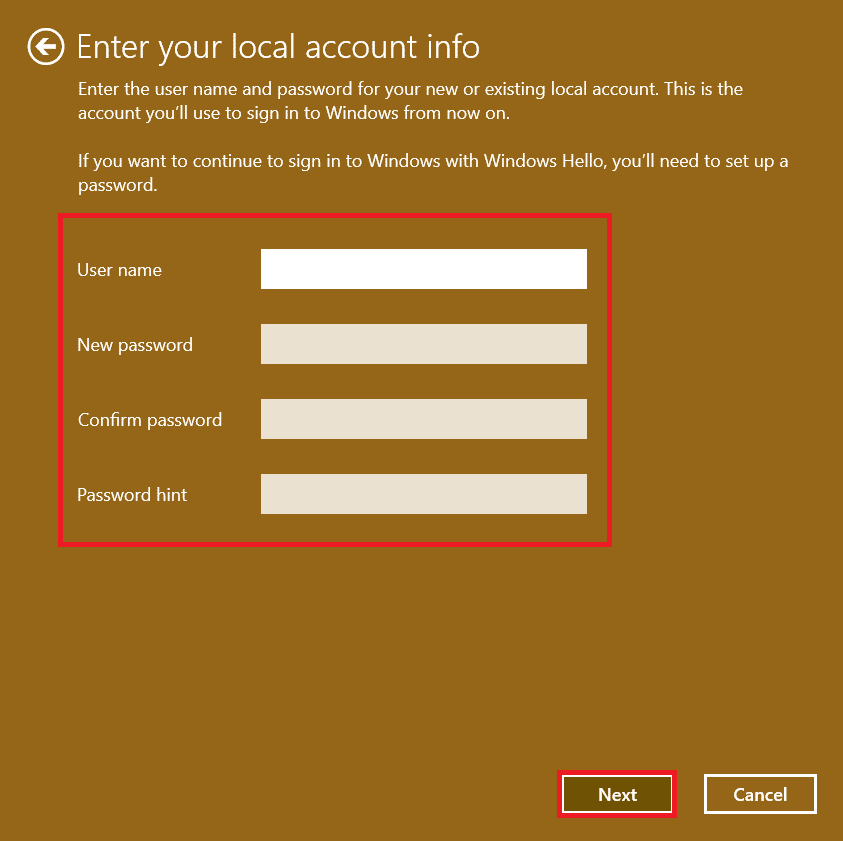
6. Enter the following local account info and click on Next.
- User name
- Password
- Confirm password
- Password hint
7. To complete the account conversion, click Sign out and finish on Switch to a local account screen.

This will redirect you to the sign-in screen, where you may sign in to your desktop using your new password.
Also Read: How to Set Up Windows Hello on Windows 11
How to Remove User Account in Windows 11
Note: To delete a local account, you must have administrator access & priveleges.
Follow the given steps to delete or remove a local user account in Windows 11 PCs:
1. Navigate to Settings > Accounts > Family & other users as illustrated below.

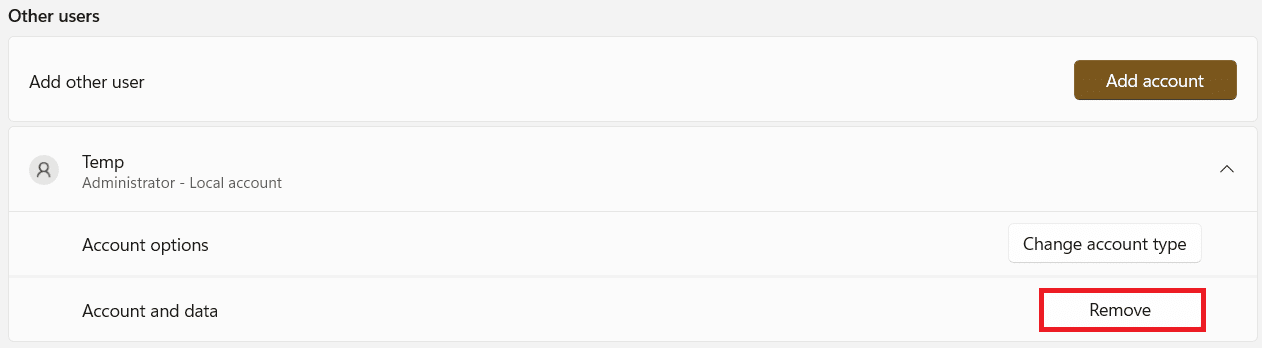
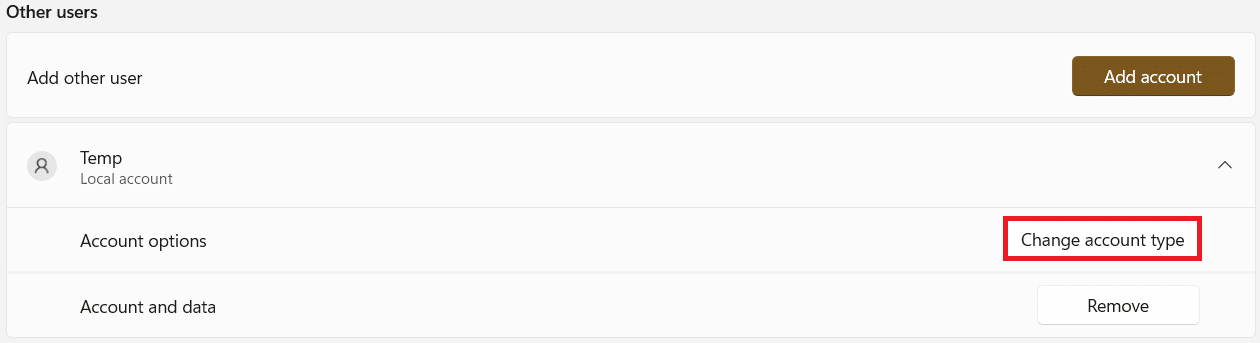
2. Locate the User Account you want to remove from your system and click on it.
Note: We have shown the account named Temp as an example.
3. Click on the Remove button for Account and data option, as shown.
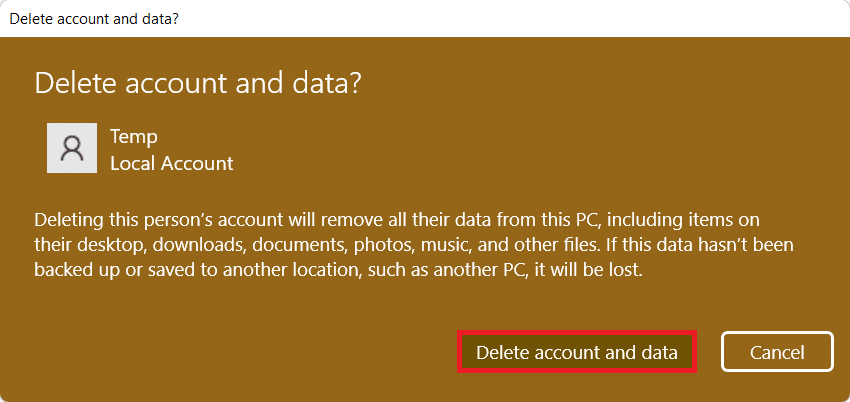
4. Now, click on Delete account and data button in Delete account and data? prompt.
Pro Tip: How to Grant Administrator Access to a Local Account
By granting Admin access to a local account, the account will have the same privileges as a Microsoft account, minus the benefits of having an Online account. Using the Settings menu, you can quickly convert any conventional local account to an Administrator local account, as discussed here:
1. Navigate to Settings > Accounts > Family & other users as earlier.
2. Click on the Account you want to grant admin access.
Note: We have shown the account named Temp as an example below.
3. Click on the Change account type button for Account options.
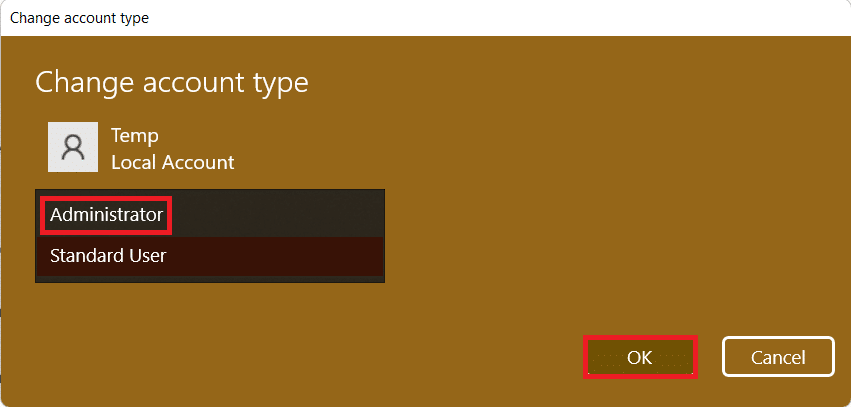
4. In the Change account type window, select Administrator option from the Account type dropdown menu and click on OK, as depicted below.
Recommended:
We hope you learned how to create, modify or delete a local user account in Windows 11. Drop your suggestions and queries in the comment section below. Let us know which topic you want us to explore next. Keep visiting us for more helpful guides.