How to Create a Password Reset Disk in Windows 10
Users who easily forgot their Windows login password could easily create Password Reset Disk which will help them change the password if they have forgotten it. In any case, you should have Password Reset Disk at your disposal as it can come handy in case of some mishap. The only drawback of password reset disk is that it works only with a Local account on your PC and not with a Microsoft account.
A password reset disk allows you to access your local account on your PC by resetting the password if you have forgotten the password. It’s basically a file stored on USB Flash drive or any other external drive which when plugged into your PC allows you to easily reset your password on the lock screen without knowing the current password. So without wasting any time, let’s see how to create a password reset disk in Windows 10 with the help of below-listed steps.
How to Create a Password Reset Disk in Windows 10
Make sure to create a restore point, just in case something goes wrong.
1. First, Plugin your USB Flash drive into your PC.
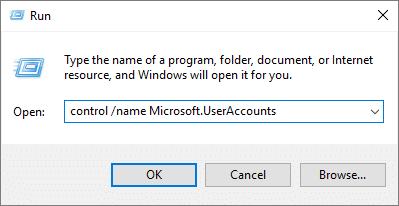
2. Press Windows Key + R then type the following and hit Enter.
control /name Microsoft.UserAccounts
3. Else, you could search User accounts in the search bar.
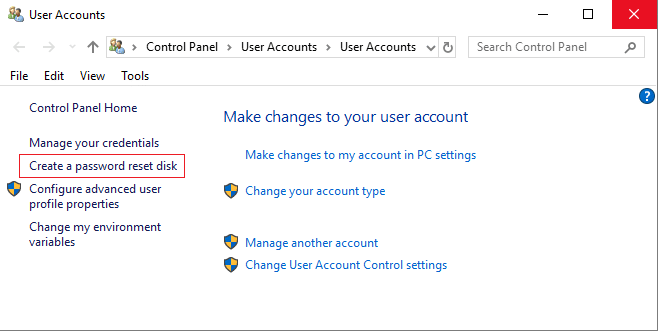
4. Now under User Accounts, from the left-hand menu, click on Create a password reset disk.
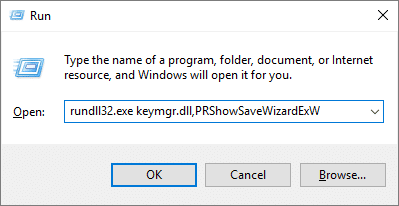
5. If you can’t find “Create a password reset disk” then press Windows Key + R then type the following and hit Enter:
rundll32.exe keymgr.dll,PRShowSaveWizardExW
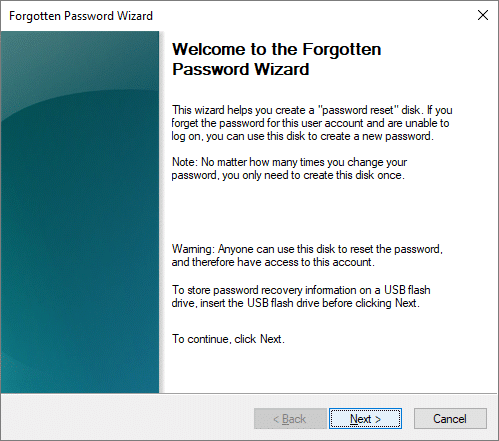
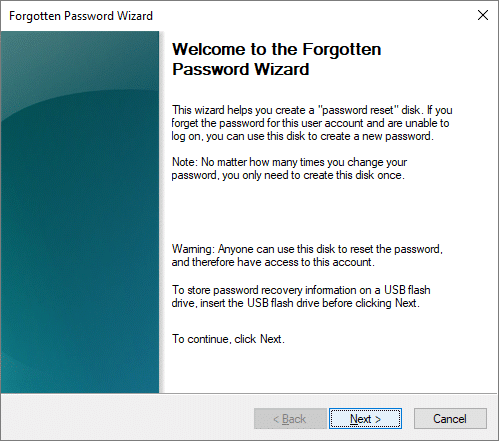
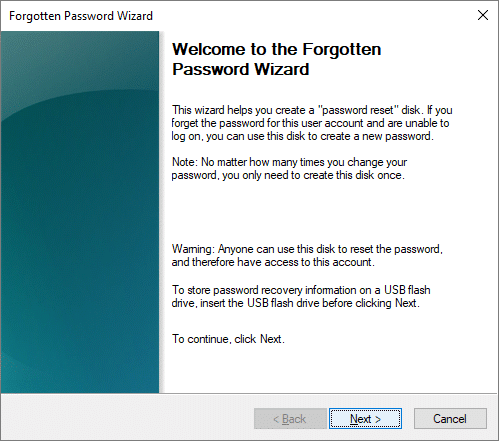
6. Click Next to continue.
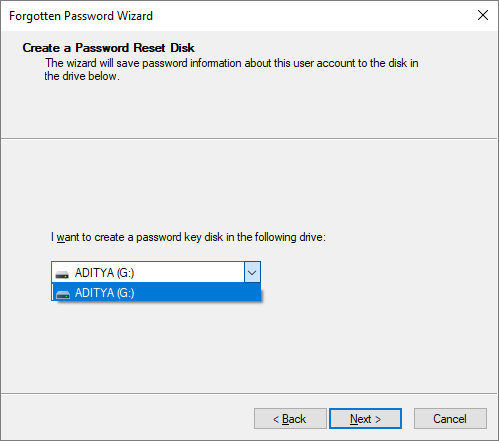
7. On the next screen, select the device from the drop-down on which you want to create the password reset disk.
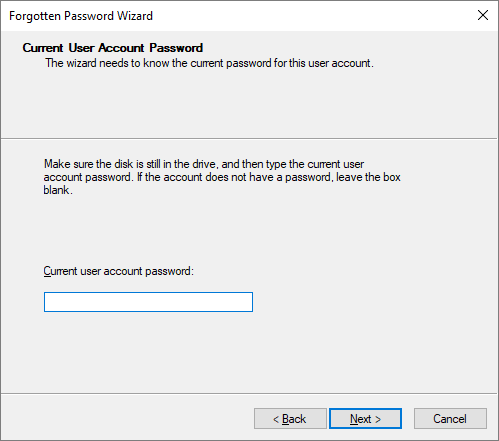
8. Type your password for your local account and click Next.
Note: This is the current password you use to log into your PC.
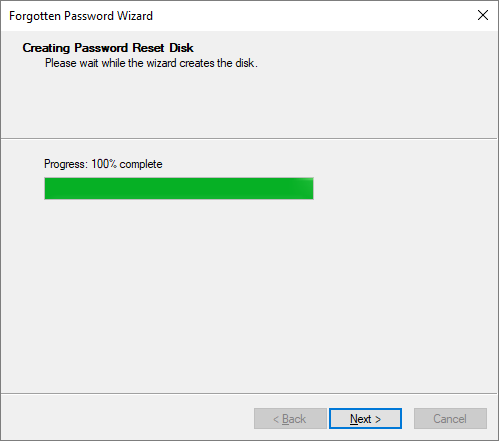
9. The wizard will start the process and once the progress bar reaches 100%, click Next.
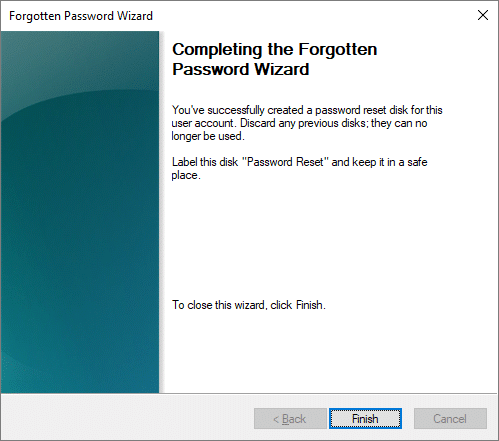
10. Finally, click Finish, and you have successfully created a password reset disk in Windows 10.
In case you can’t use Windows Password Reset Disk Creation Wizard follow this guide to create a password reset disk using third-party software.
How to reset password using password reset disk in Windows 10
1. Plugin your USB flash drive or external drive into your PC.
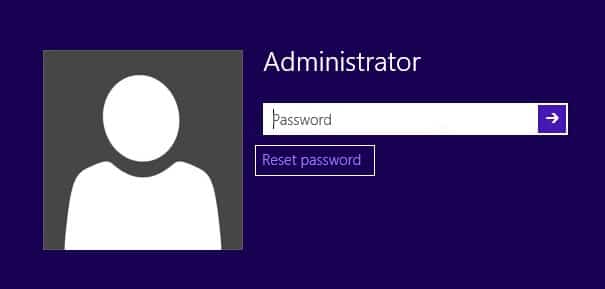
2. Now on the login screen, at the bottom click, Reset password.
Note: You may need to enter the wrong password just once to see the Reset password option.
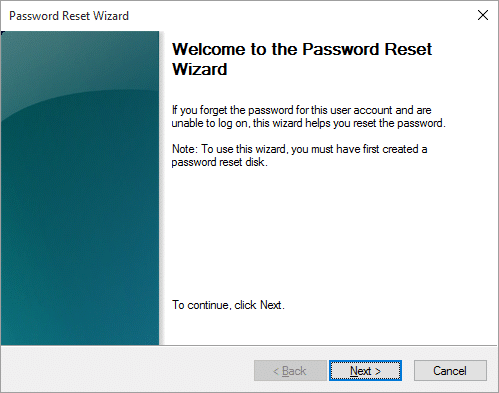
3. Click Next to continue the password reset wizard.
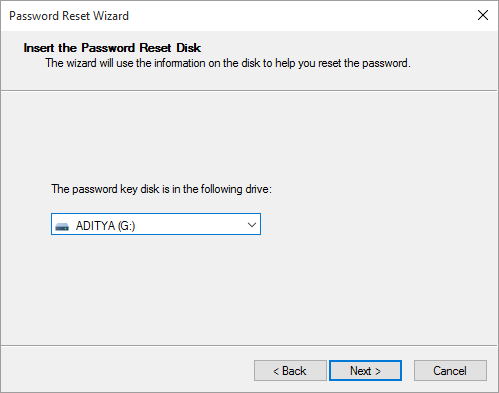
4. From the drop-down, select the USB drive which has a password reset disk and click Next.
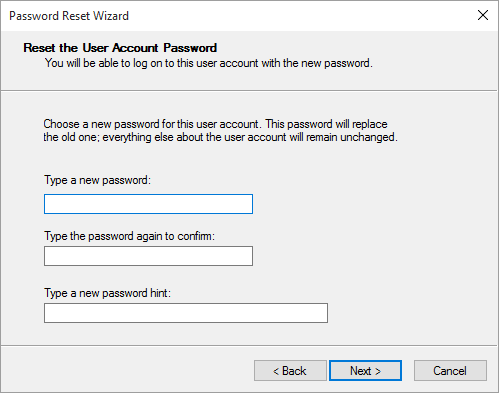
5. Type the new password with which you want to login to your PC, and it will be better if you type a hint, which can help you remember the password.
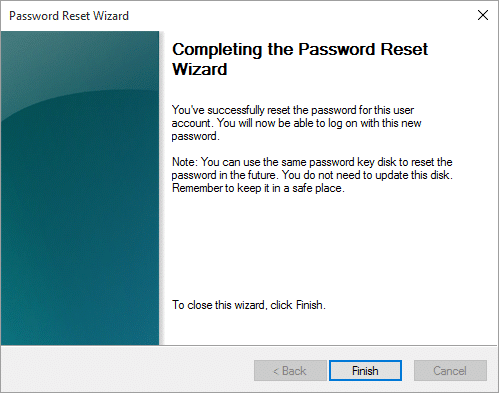
6. Once you have done the above steps, click Next and then click Finish to complete the wizard.
7. Now you can easily log into your account with the new password you just created above.
Recommended:
That’s it you have successfully learned How to Create a Password Reset Disk in Windows 10 but if you still have any questions regarding this post then feel free to ask them in the comment’s section.
