How to Download and Install Optional Updates in Windows 11

Microsoft brings new updates and bug fixes to improve the operating system and its functioning. As Windows 11 has been launched, there will be continuous updates provided for the stable version soon. It offers a feature of optional updates. These are those updates that are not required by your operating system but are needed for other apps & features. Mostly, optional updates include the drivers for your system as well as package updates for third-party drivers. On Windows 11, this feature has been improved by leaps and bounds. The Windows Team has made it easier for you to locate the driver and optional updates in Windows 11 as they now have their own section in the Windows Update settings. Here’s how to download and install optional updates in Windows 11.
How to Download and Install Optional Updates in Windows 11
Most of the time, optional updates are not required for your operating system. However, if any hardware becomes unresponsive or does not function properly, you can try installing these optional updates to resolve the issue in Windows 11. Follow the steps listed below to download and install optional updates on Windows 11:
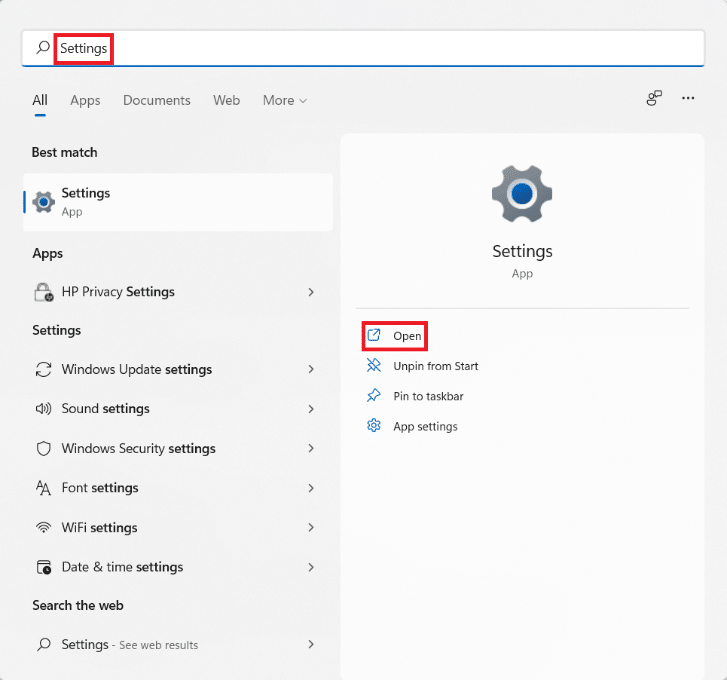
1. Click on the Search icon and type Settings.
2. Then, click on Open.
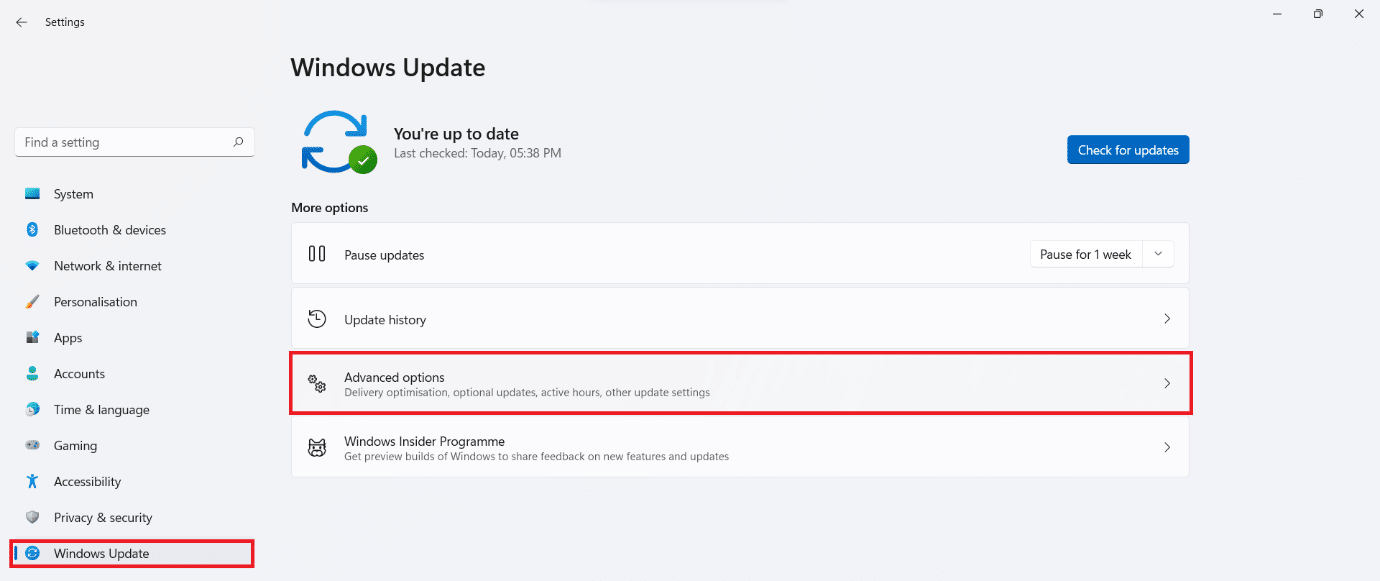
3. Click on Windows Update in the left pane.
4. Then, click on Advanced options, as depicted below.
5. Click on Optional updates under Additional options.
6. Check the boxes for the available drivers and click on Download & install button.
7. Click on Restart Now to restart your PC to implement these changes.
Recommended:
That’s how to download and install optional updates in Windows 11. You can send your suggestions and queries in the comment section down below. We would love to know which topic you want us to explore next. Stay tuned for all Windows 11 articles!


