User Account Control (UAC) is a security feature in Windows which helps you to prevent your system from unauthorized access. This feature helps to protect your Windows files and settings. If you want to change User Account Control settings then, we bring to you a perfect guide that will teach you how to enable or disable User Account Control in Windows 11. So, continue reading to turn On or Off User Account Control.
How to Enable or Disable User Account Control in Windows 11
User Account Control is a great feature in Windows for security and control of your system files and settings. You can provide access to other users and any other third-party apps by changing the UAC settings. In this article, we have shown the methods to enable or disable UAC on Windows 11.
Why Should You Turn On User Account Control (UAC)?
Turning On User account control (UAC) is necessary when you’re sharing a single user account on your PC amongst different people or team members and want to assure changes made to the PC make into effect only after approval by you as an admin. Following are some features of User Account Control (UAC)
- This provides controlled access by the administrator for the users and enables users to get administrative permission to make any important changes to the PC.
- It manages Windows functions like downloading, accessing specific websites, sharing or transferring data from the PC to a different device, installing an application in the PC, etc.
- Many teachers and organizations use this feature in schools, colleges, and other such institutions to regulate the devices provided for learning or working purposes according to the basic decorum created by the authority.
Now Let’s discuss some methods that you can follow to turn On or Off User Account Control on Windows 11.
Method 1: Through Control Panel
You can enable administrator permissions in Windows 11 by making changes in the User Accounts section through Control Panel settings. To do so, follow these steps:
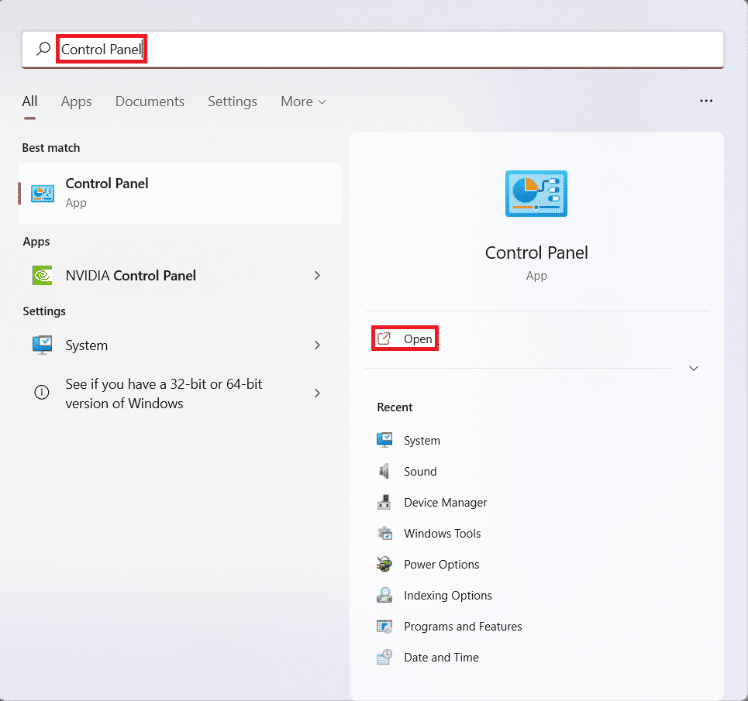
1. Click on the Search icon and type control panel, then click on Open.
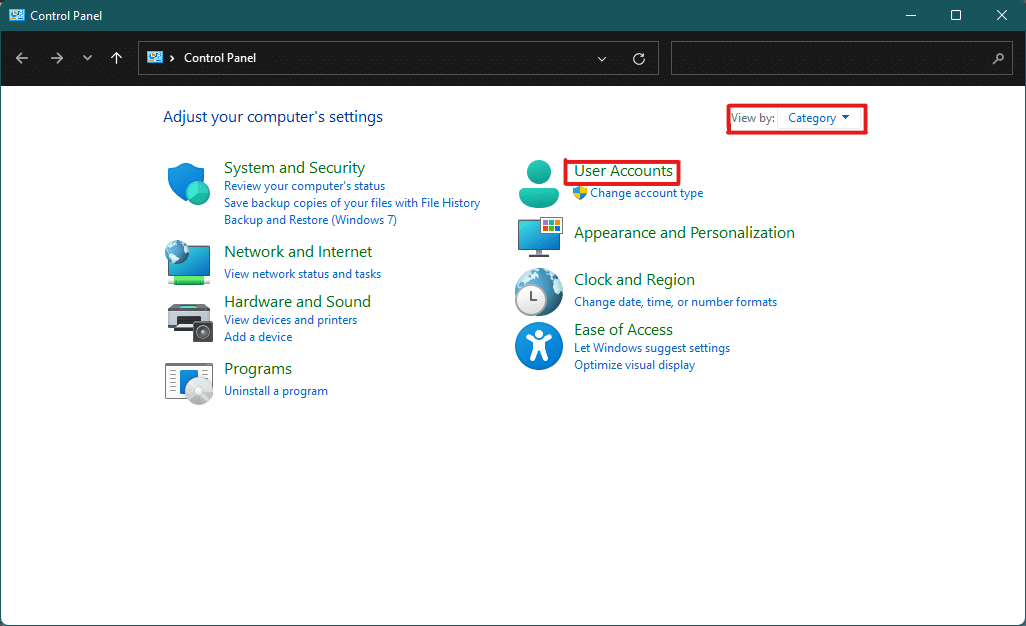
2. Here, set View by: > Category, then click on User Accounts.
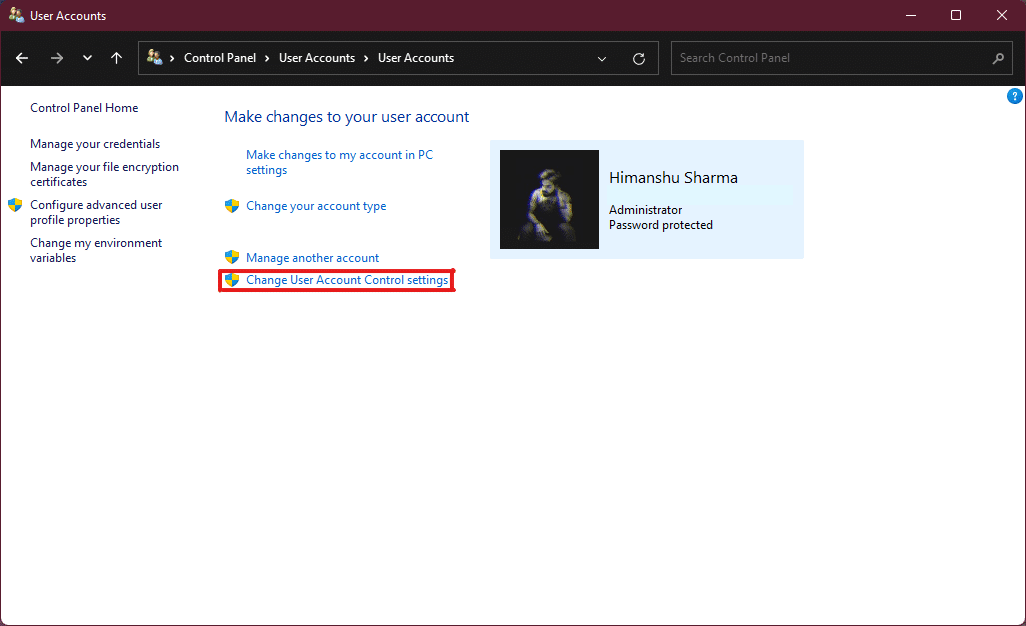
3. In the User Accounts settings, click on the User Accounts option as highlighted below.

4. Now, in the Make changes to your user account section, click on Change User Account Control settings.
5. This will open a User Account Control settings window where you’ll find a vertical slider. You can move the slider to change the User Account Control settings.
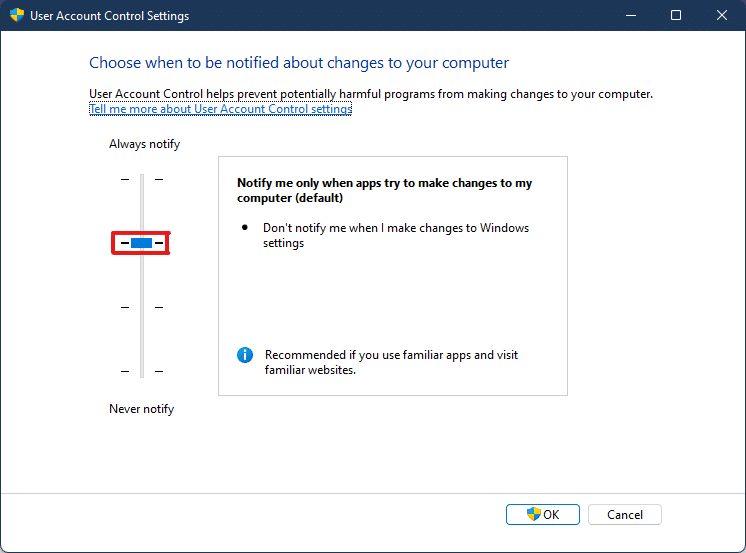
6A. By default, the slider will be in the second-highest level then this enables the Notify me only when apps try to make changes to my computer setting.
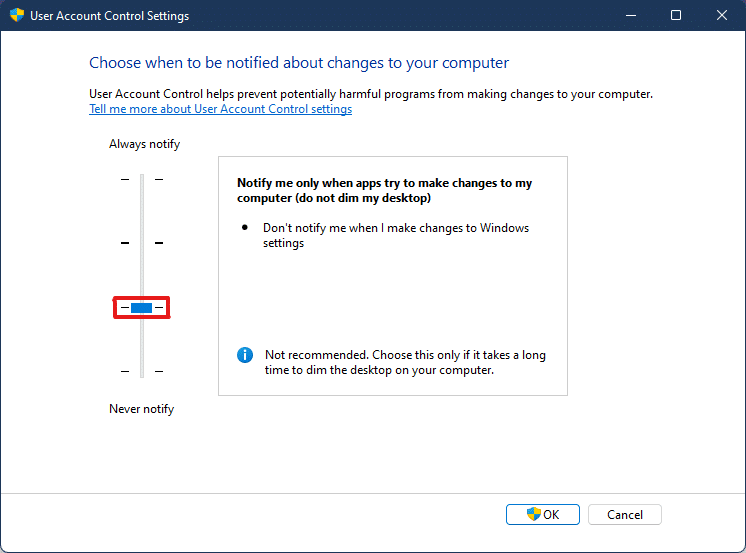
6B. If you move the slider to the third-highest level then, it will enable the Notify me only when apps try to make changes to my computer (do not dim my desktop) setting.
Note: This setting is the same as the default settings but, it will not dim your Desktop. In this setting, malware can enter your system. So this setting is not recommended.
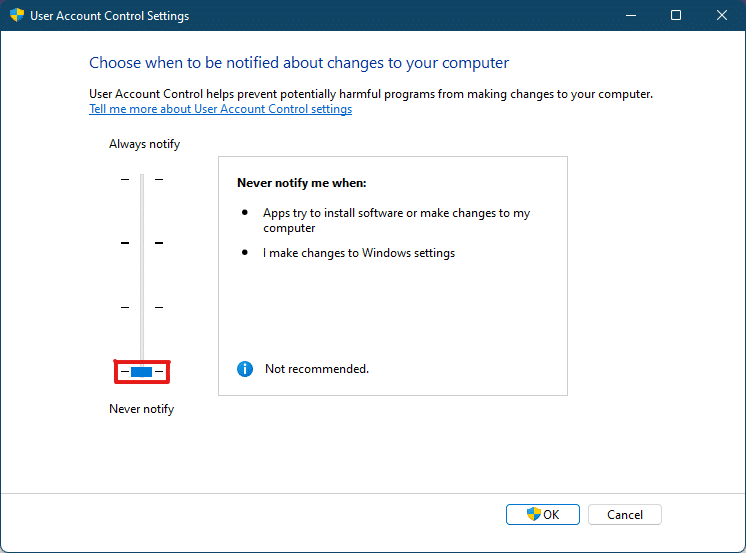
6C. If you move the slider to the bottom level then, this will turn Off UAC in Windows 11. This setting is not recommended as any users and apps can make changes to your system.
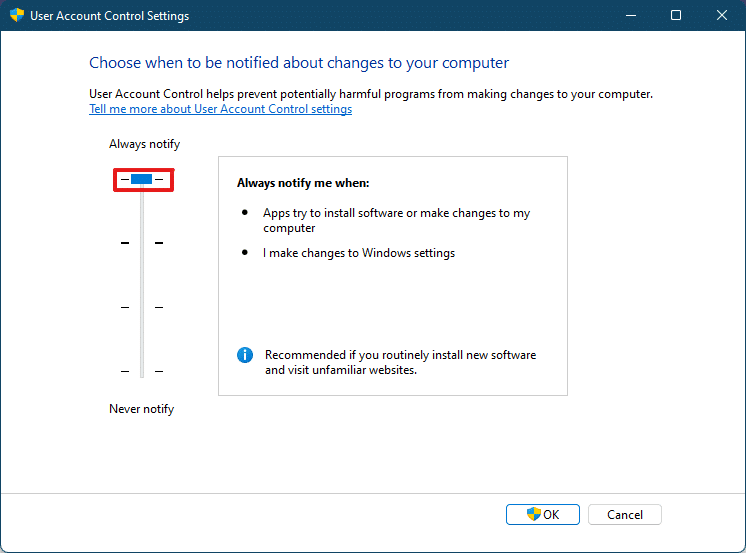
6D. You can move the slider to the highest level which will enable the setting to always notify when apps or users make changes to your system.
7. After choosing the preferred setting, click on OK to apply the settings and close the window.
Also Read: How to Create a Local Account in Windows 11
Method 2: Through Registry Editor
Following are the steps to enable or disable User Account Control in Windows 11 through Registry Editor.
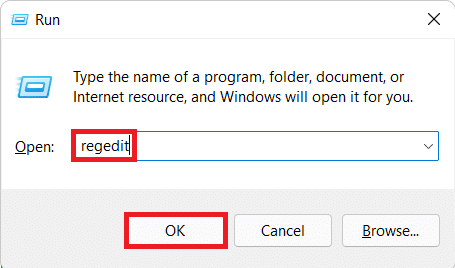
1. Hit the Windows + R keys simultaneously to open the Run dialog box.
2, Type regedit and click on OK.
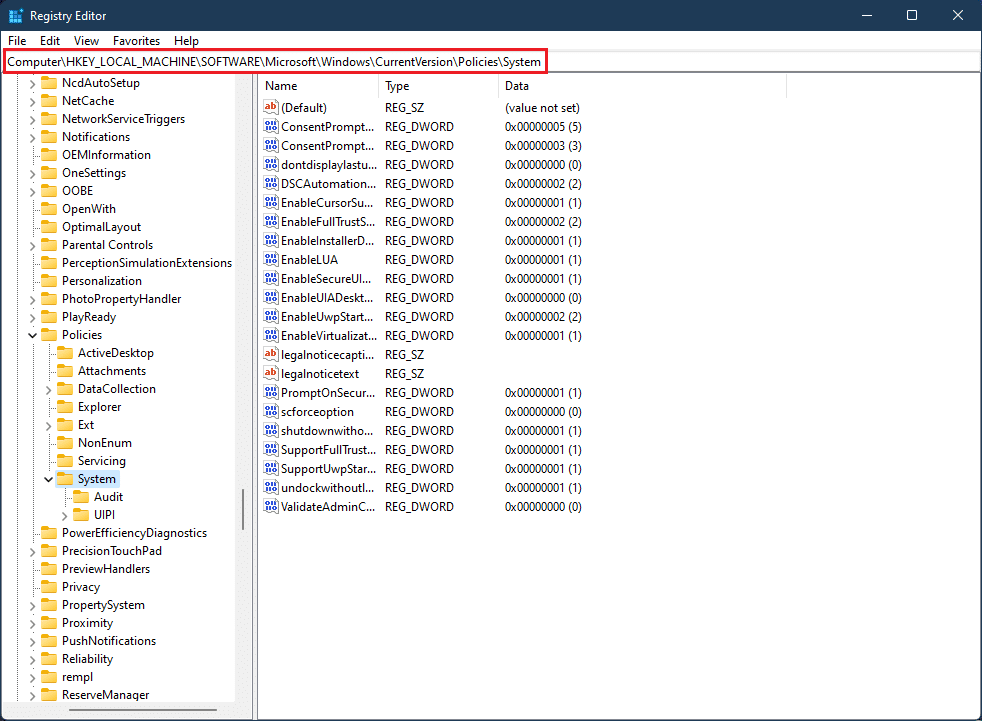
3. In the Registry Editor, go to the following location path from the address bar.
HKEY_LOCAL_MACHINESOFTWAREMicrosoftWindowsCurrentVersionPoliciesSystem
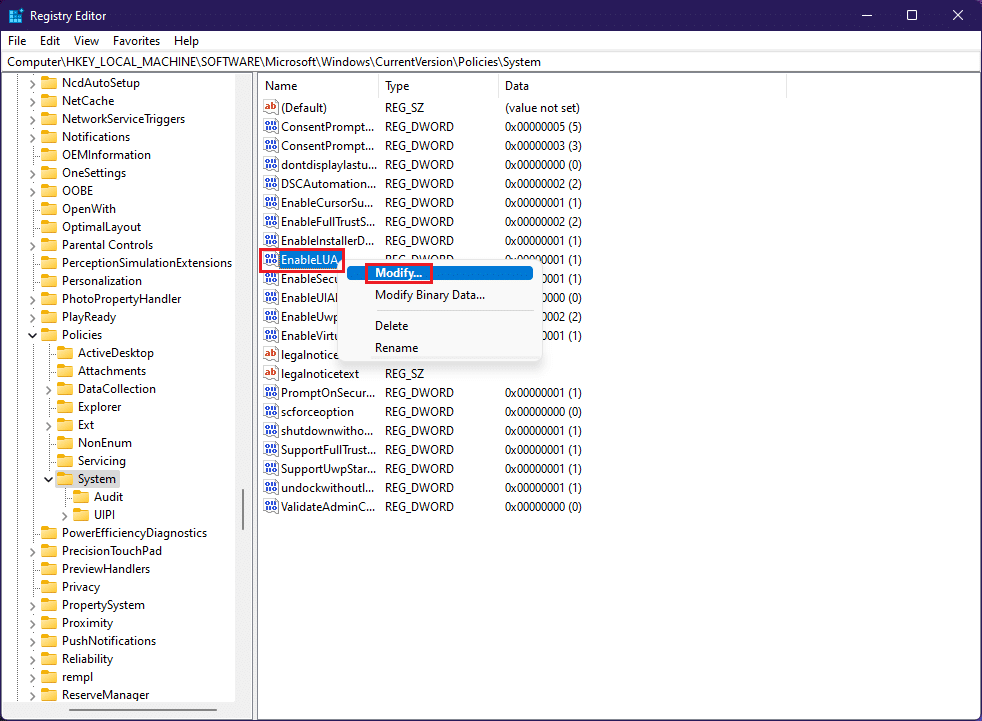
4. Then, in the right pane, search for EnableLUA value, right-click on it and select the Modify… option.
5. Change the Value data to 0 and click on OK to disable User Account Control.
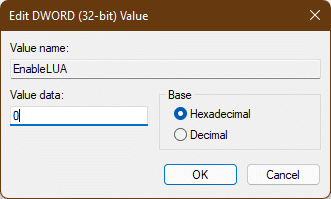
To enable User Account Control again, you can follow the same steps and change the Value data to 1 in Step 4.
Method 3: Through Local Security Policy Editor
Another method to turn On or Off UAC is through local security policy app. Here are the steps to do so.
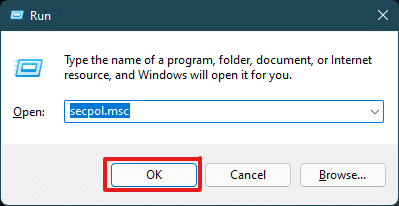
1. Launch Registry Editor, type secpol.msc and click on OK to open the Local Security Policy app.
2. Double-click on Local Policies to expand it from the left pane.
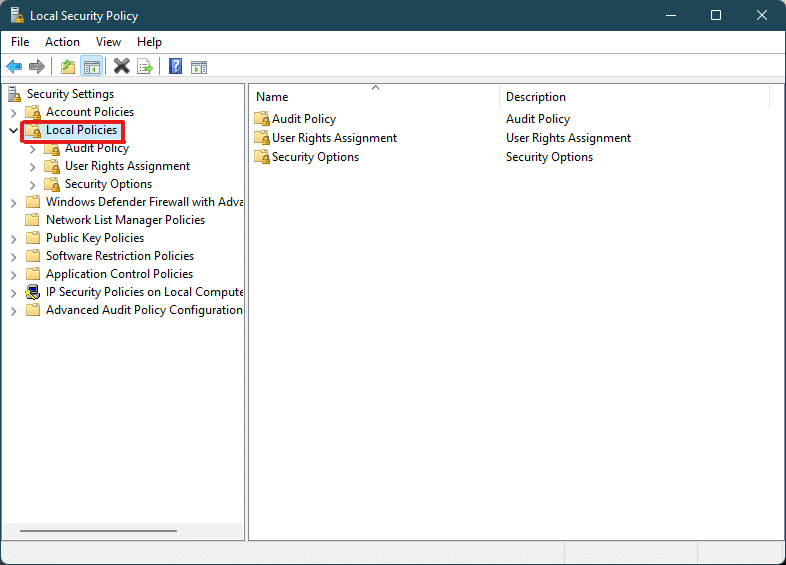
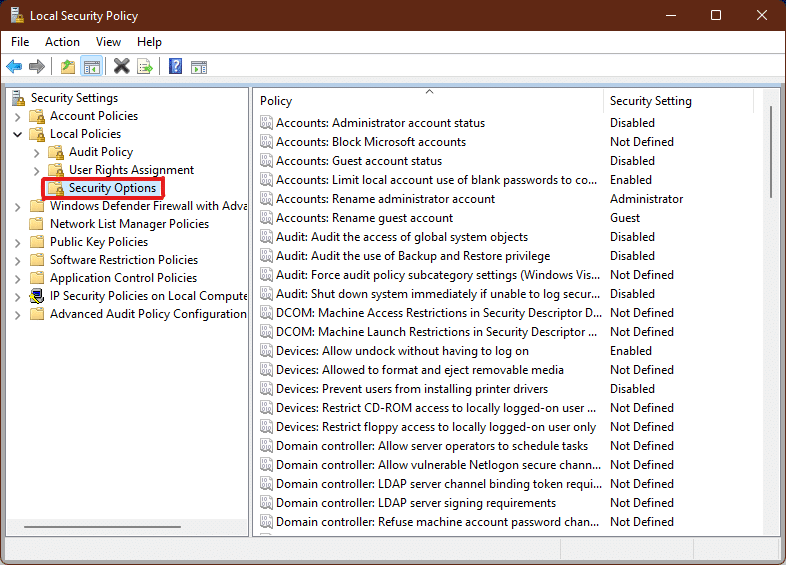
3. Again, double-click on Security Options in the Local Policies folder.
4. Now, in the left pane, double-click on the User Account Control: Run all administrators in Admin Approval Mode policy
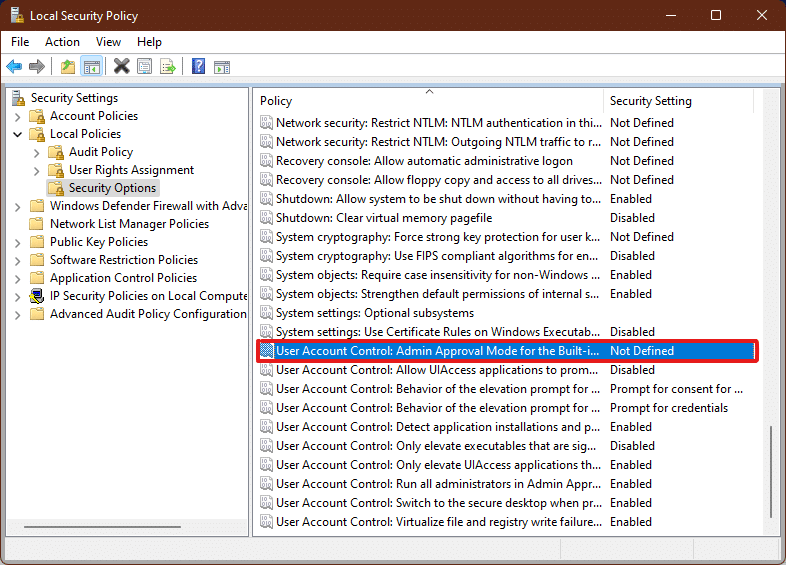
5. In the Local Security Setting tab, select the Disabled option to disable User Account Control (UAC)
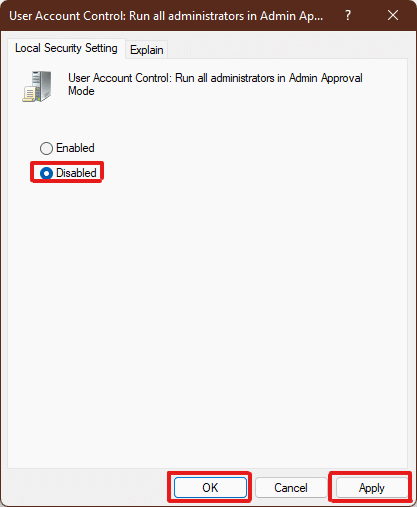
6. Then, click on Apply > OK to save changes.
7. Finally, close all the windows and restart your system.
Note: If you want to enable User Account Control (UAC) again, follow the same steps as above and select the Enabled option in Step 5.

The administrator settings will be applied, and the changes will be visible on selected actions hence now you know how to enable administrator permissions in Windows 11.
Also Read: How to Enable or Disable Compact OS in Windows 11
Pro Tip: Download & Run Registry Files
Alternatively, you can enable or disable User Account Control on Windows 11 by merging specifically set registry files with your computer registry files. To do it, follow these steps:
1. Download the registry files for applying different UAC settings from the links given below.
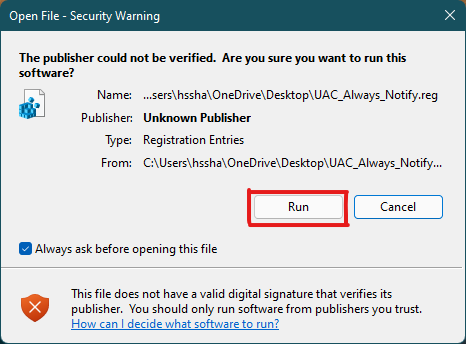
2. Now, open the .reg file for a particular UAC setting.
3. Click on Run in the Security Warning prompt is shown.
4. Finally, click on Yes in the Registry Editor prompt to apply the respective UAC setting.
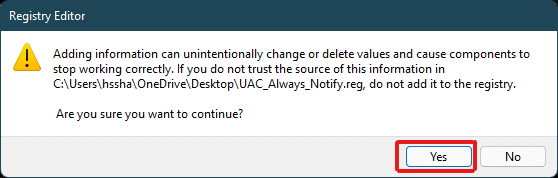
5. Restart your PC to apply the changes.
Recommended:
We hope this article provided enough help to your query of how to enable or disable User Account Control in Windows 11. Write down in the comment section below if you think we missed something, don’t forget to mention your favorite method amongst these. If you’ve further doubts about this topic, write it in the comment section below or reach us out directly.