Teletype Network, more commonly known as Telnet, is a network protocol that predates the currently used Transmission Control Protocols (TCP) and Internet Protocols (IP). Developed as early as 1969, Telnet uses a simple command-line interface which is predominantly, used to establish a remote connection between two different systems and communicate between them. So, how to enable Telnet on Windows Server 2019 or 2016? The Telnet network protocol consists of two different services: Telnet Client & Telnet Server. Users seeking to control a remote system or server should be running the Telnet client while the other system runs a Telnet server. We bring to you a perfect guide that will help learn how to enable Telnet in Windows 7/10.
How to Enable Telnet in Windows 7 or 10
Since Telnet network protocols were developed in the formative years of the internet, it lacks any form of encryption, and commands between a telnet server and client are exchanged in plain text. In the 1990s, when the internet and computers were becoming available to a much larger audience, concerns over communication security started growing. These concerns saw Telnet being replaced by the Secure Shell Protocols (SSH) which encrypted data before transmitting and authenticated connections by the means of certificates. However, Telnet protocols are not at all, dead and buried yet, they are still being used to:
- send commands & remotely manage the server to run a program, access files & delete data.
- manage & configure new network devices such as routers & switches.
- test TCP connectivity.
- check port status.
- connect RF Terminals, Barcode scanners and similar data collection devices.
Data transfer in simple text format by Telnet implies faster speed and easy setup process.
All Windows versions have the Telnet Client pre-installed; although, in Windows 10, the client is disabled by default and requires manual enabling. Also read Top 30 Best IRC clients for Windows. There are only two ways on how to enable Telnet Windows Server 2019/2016 or Windows 7/10.
Method 1: Using Control Panel
The first method of enabling it is by using the settings interface of Control Panel. Here’s how to enable Telnet in Windows 7 or 10:
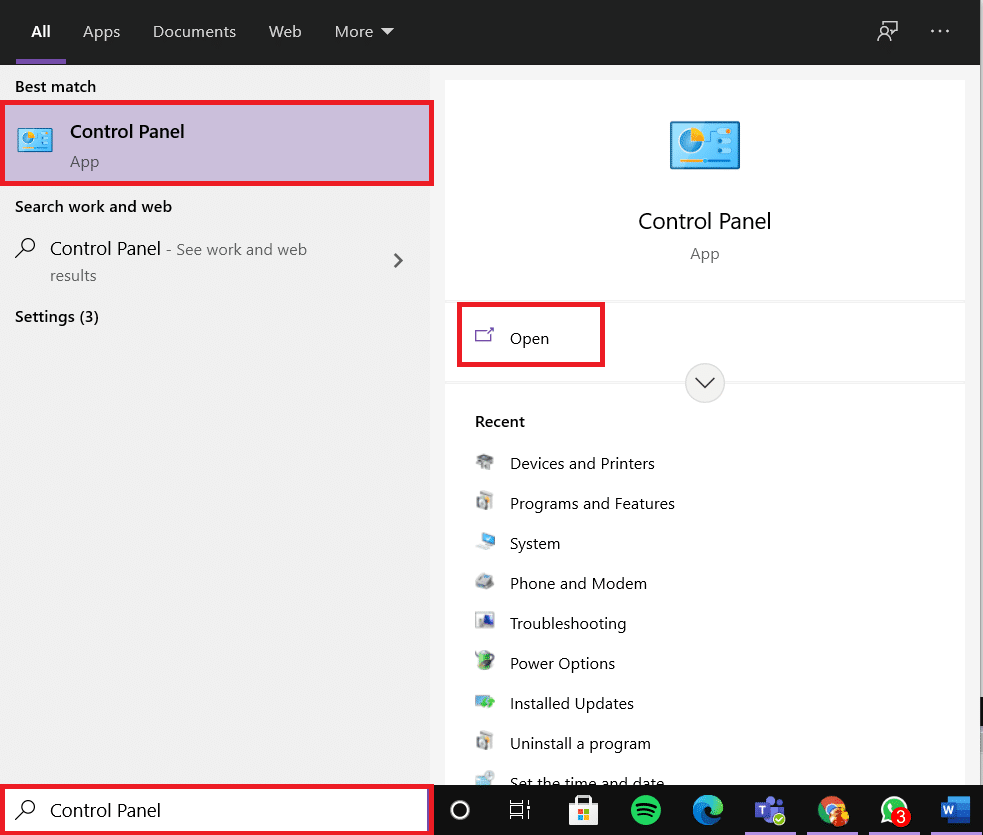
1. Press Windows key and type Control Panel. Click on Open to launch it.
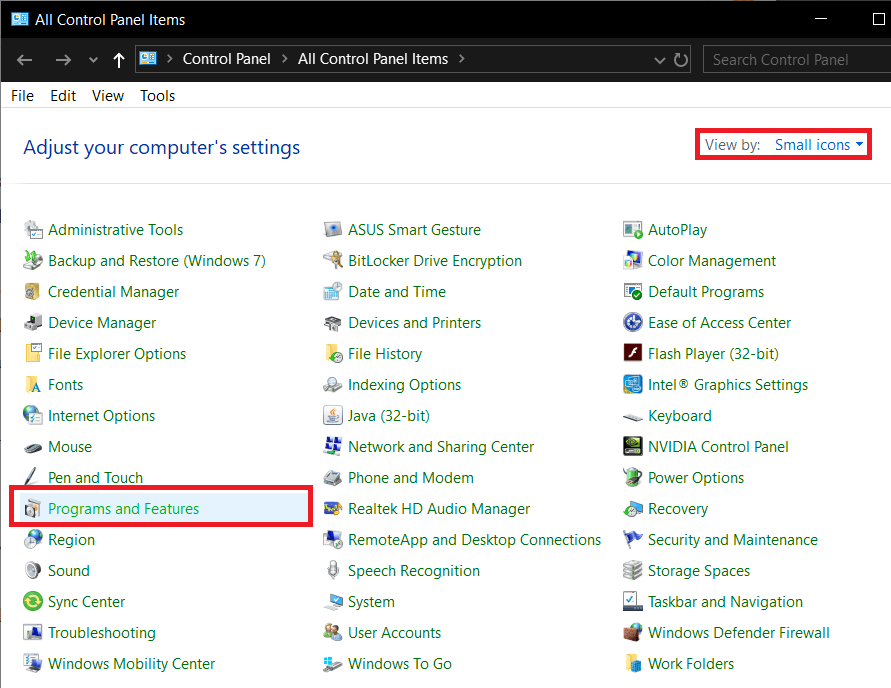
2. Set View by > Small icons and click on Programs and Features, as depicted below.
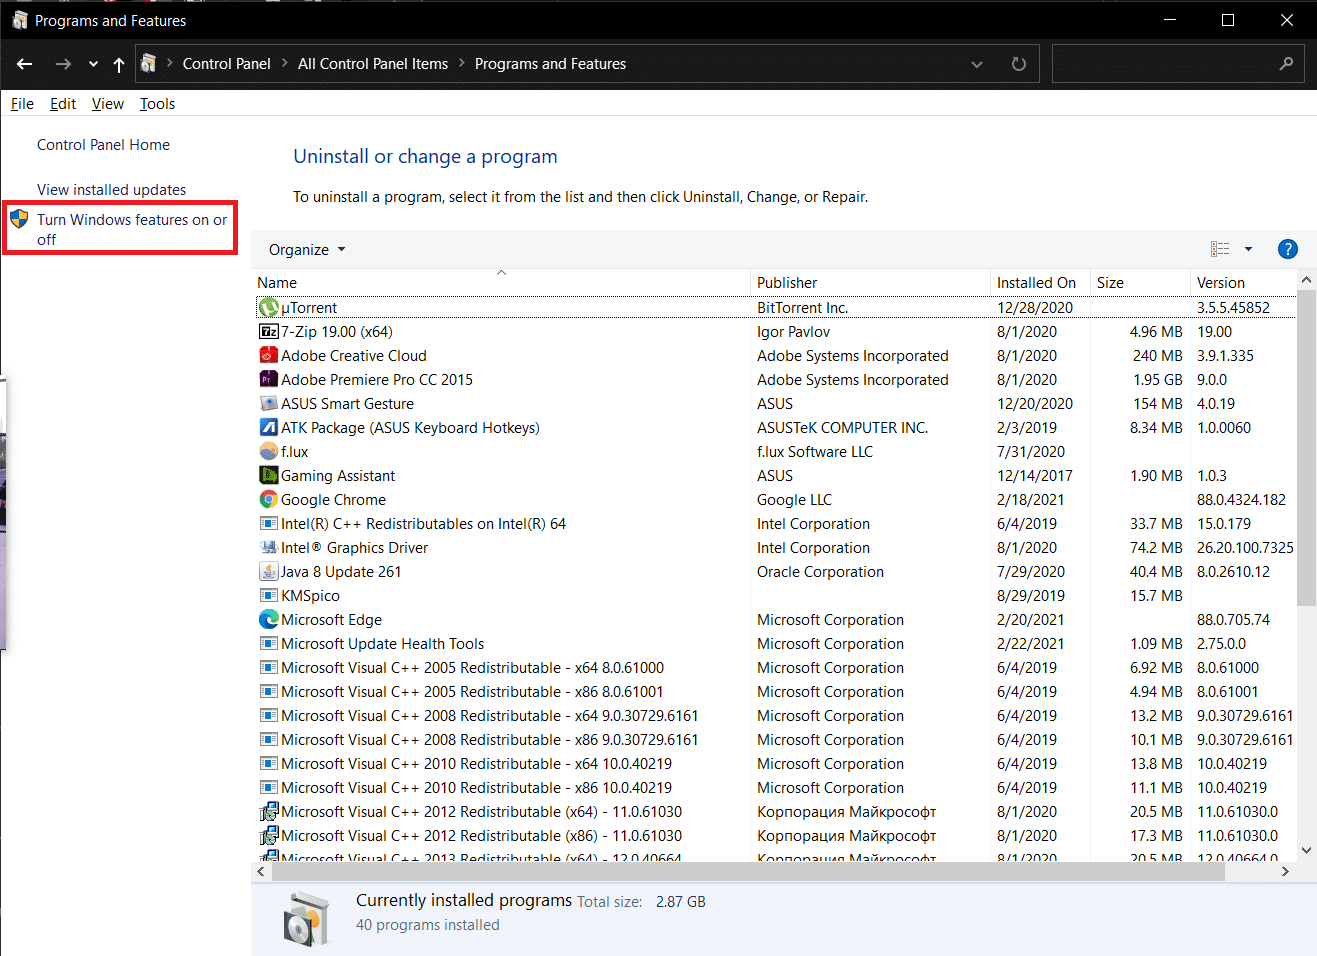
3. Click Turn Windows features on or off option from the left pane.
4. Scroll down the list and check the box marked Telnet Client, as highlighted below.
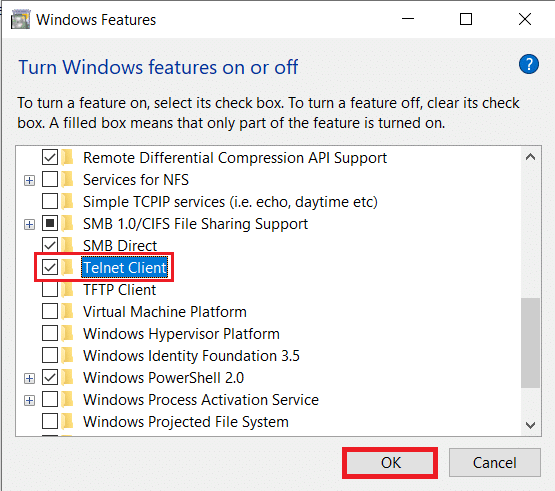
5. Click on OK to save the changes.
Also Read: Show Control Panel in WinX Menu in Windows 10
Method 2: Using Command Prompt
Telnet can also be enabled by running a single command line in either Command Prompt or Windows Powershell.
Note: Both, Command Prompt & Windows Powershell should be launched with administrative privileges to enable Telnet.
Here’s how to enable Telnet in Windows 7 or 10 using DISM command:
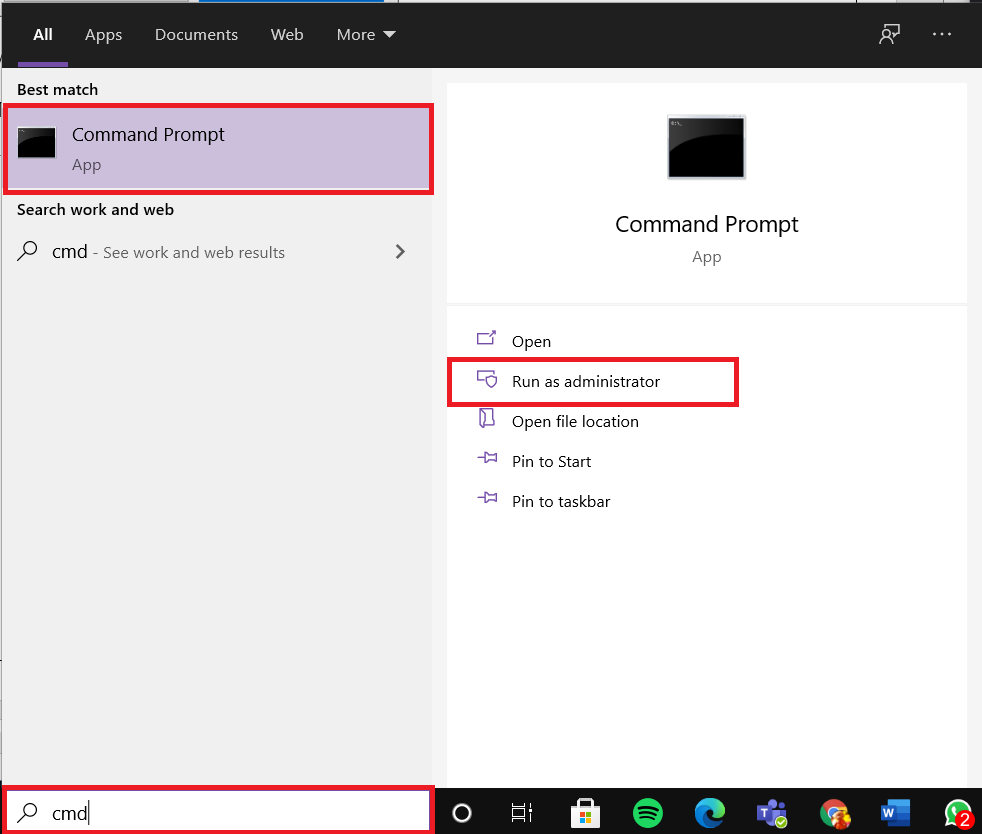
1. In the Search bar located on the taskbar, type cmd.
2. Click Run as administrator option to launch Command Prompt.
3. Type the given command and press Enter key:
dism /online /Enable-Feature /FeatureName:TelnetClient

This is how to enable Telnet in Windows 7/10. You can now start using the Telnet feature and connect to a remote Telnet Server.
Also Read: Delete a Folder or File using Command Prompt (CMD)
Casual Uses of Telnet
While Telnet protocols may be considered archaic by many, enthusiasts have still kept it alive in various forms.
Option 1: Watch Star Wars
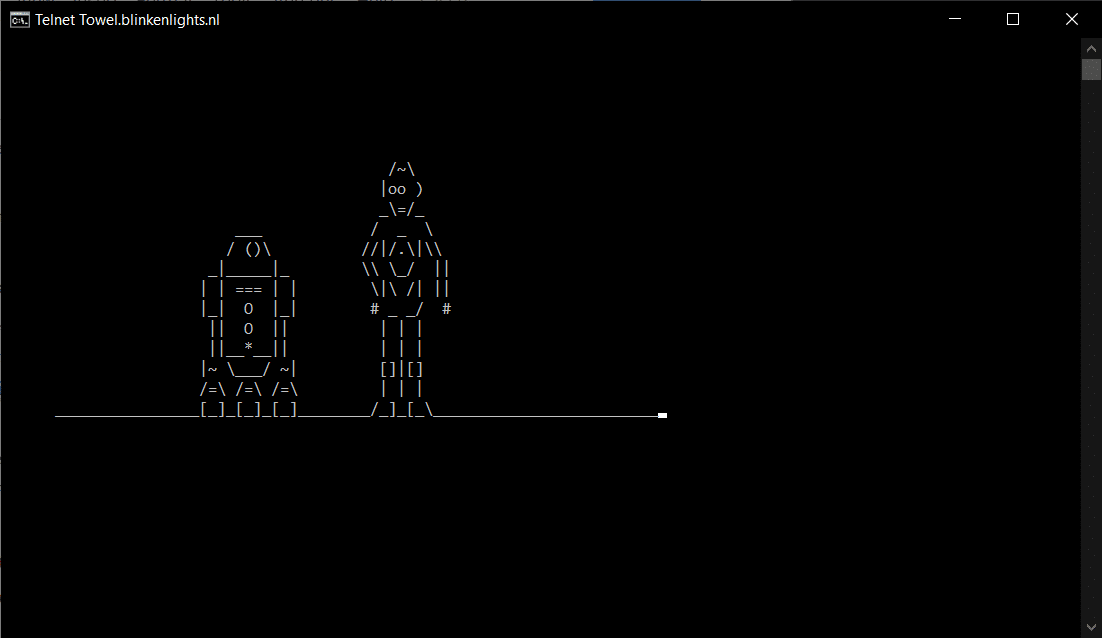
In the 21st century, a famous and casual case of Telnet is to watch an ASCII version of Star Wars in Command Prompt window, as follows:
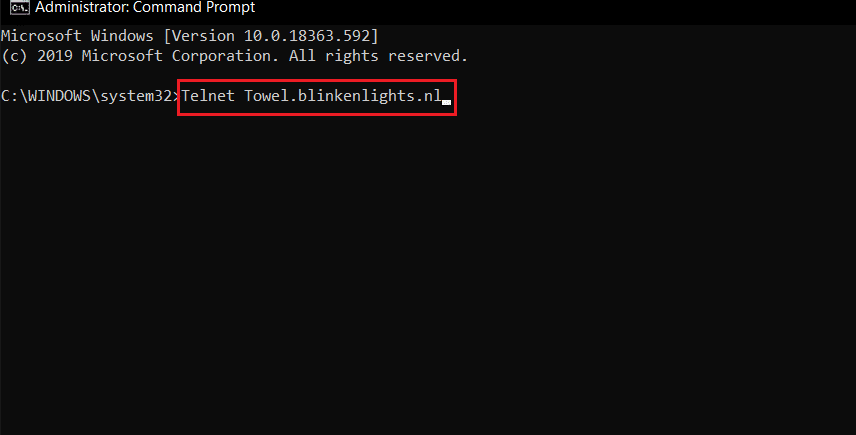
1. Launch Command Prompt as administrator as instructed in Method 2.
2. Type Telnet Towel.blinkenlights.nl and press Enter to execute.
3. Now, sit back and enjoy George Lucas, Star Wars : A New Hope (Episode IV) in a way you never knew existed.
Option 2: Play Chess
Follow the steps listed below to play chess in Command Prompt with the help of Telnet:
1. Launch Command Prompt as administrator as earlier
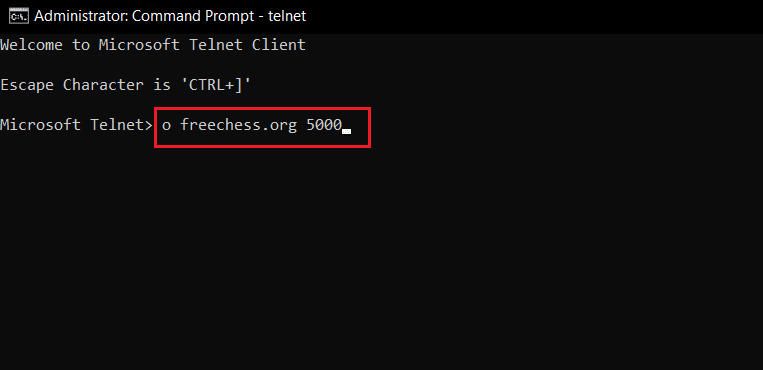
2. Type Telnet and hit Enter to activate it.
3. Next, type o freechess.org 5000 and press Enter key.
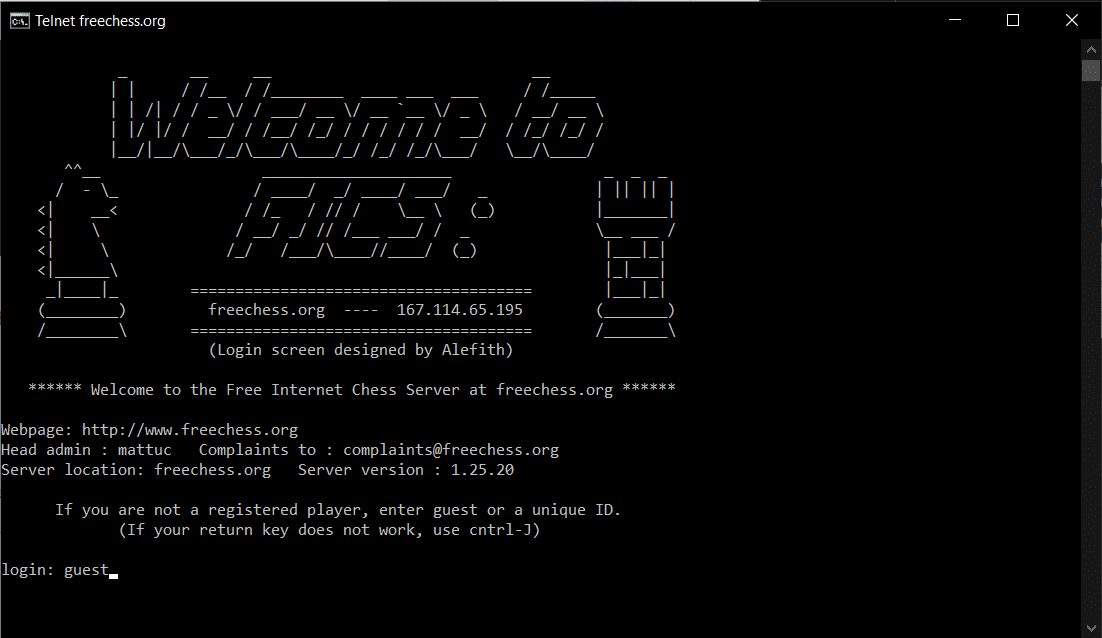
4. Wait for Free Internet Chess Server to be set up. Enter a new username and start playing.
If you too, know any such cool tricks with the Telnet client, share the same with us and fellow readers in the comment section below.
Frequently Asked Questions (FAQs)
Q1. Is Telnet available in Windows 10?
Ans. The Telnet feature is available on Windows 7, 8 & 10. By default, Telnet is disabled on Windows 10.
Q2. How do I set up Telnet in Windows 10?
Ans. You can set up Telnet in Windows 10 from Control Panel or Command Prompt. Follow the methods explained in our guide to do the same.
Q3. How do I enable telnet from Command Prompt in Windows 10?
Ans. Simply, execute the given command in Command Prompt window running with administrative privileges:
dism /online /Enable-Feature /FeatureName:TelnetClient
Recommended:
We hope that this guide was helpful and you were able to learn how to enable Telnet in Windows 7/10. If you have any queries or, suggestions, then feel free to drop them in the comments section.