Are Windows 10 updates not being downloaded and installed on your system? Multiple users reported that a bunch of updates are either waiting to be downloaded or waiting to be installed. When you go to the Windows Update screen, you are able to view a list of available updates; but none of them are fully installed on your computer.
If you, too are facing the issue Windows 10 Won’t Update, read on to know why this issue occurs and what you can do to fix it. Through this guide, we have provided a comprehensive list of all possible solutions for the said issue.
How to Fix Windows 10 Won’t Update
Why Windows 10 Won’t Update?
It is not entirely clear why users face this issue. But, in general, it is commonly caused by the following reasons:
- Windows Update tool is either malfunctioning or turned off.
- Files related to the update have gotten corrupted.
- Windows security or other security software could be blocking the installation of the updates.
Regardless of the reason, you must be eager to update your Windows 10 to the latest version. Fortunately, we have various solutions that you can try to fix Windows 10 Won’t Update.
Method 1: Run Windows Update Troubleshooter
This is the easiest method wherein Windows OS itself troubleshoots update problems and fixes the issues automatically. Follow the steps below to run the Windows 10 Update Troubleshooter:
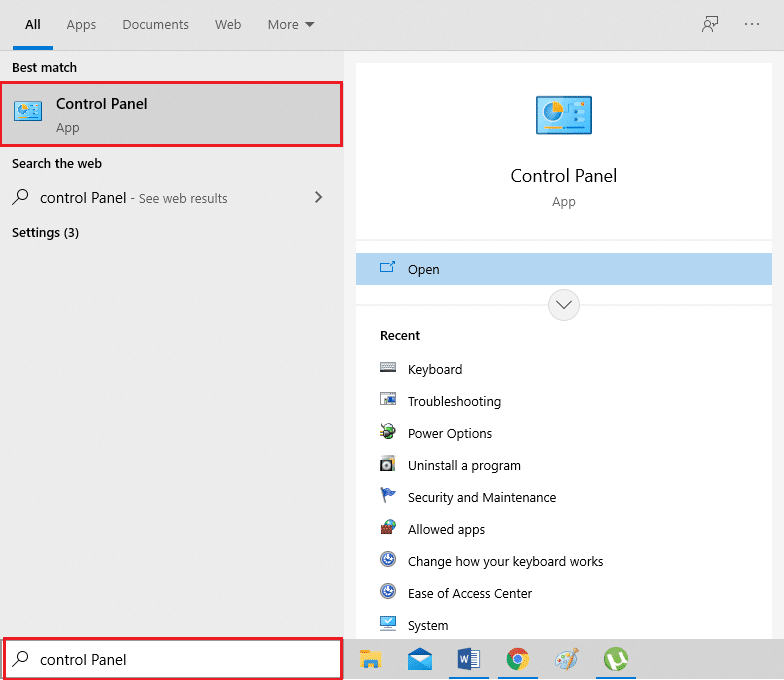
1. In the Windows search bar, type Control Panel. Click on Control Panel from the search result to launch it.
2. In the new window, go to View by > Small icons. Then, click on Troubleshooting.
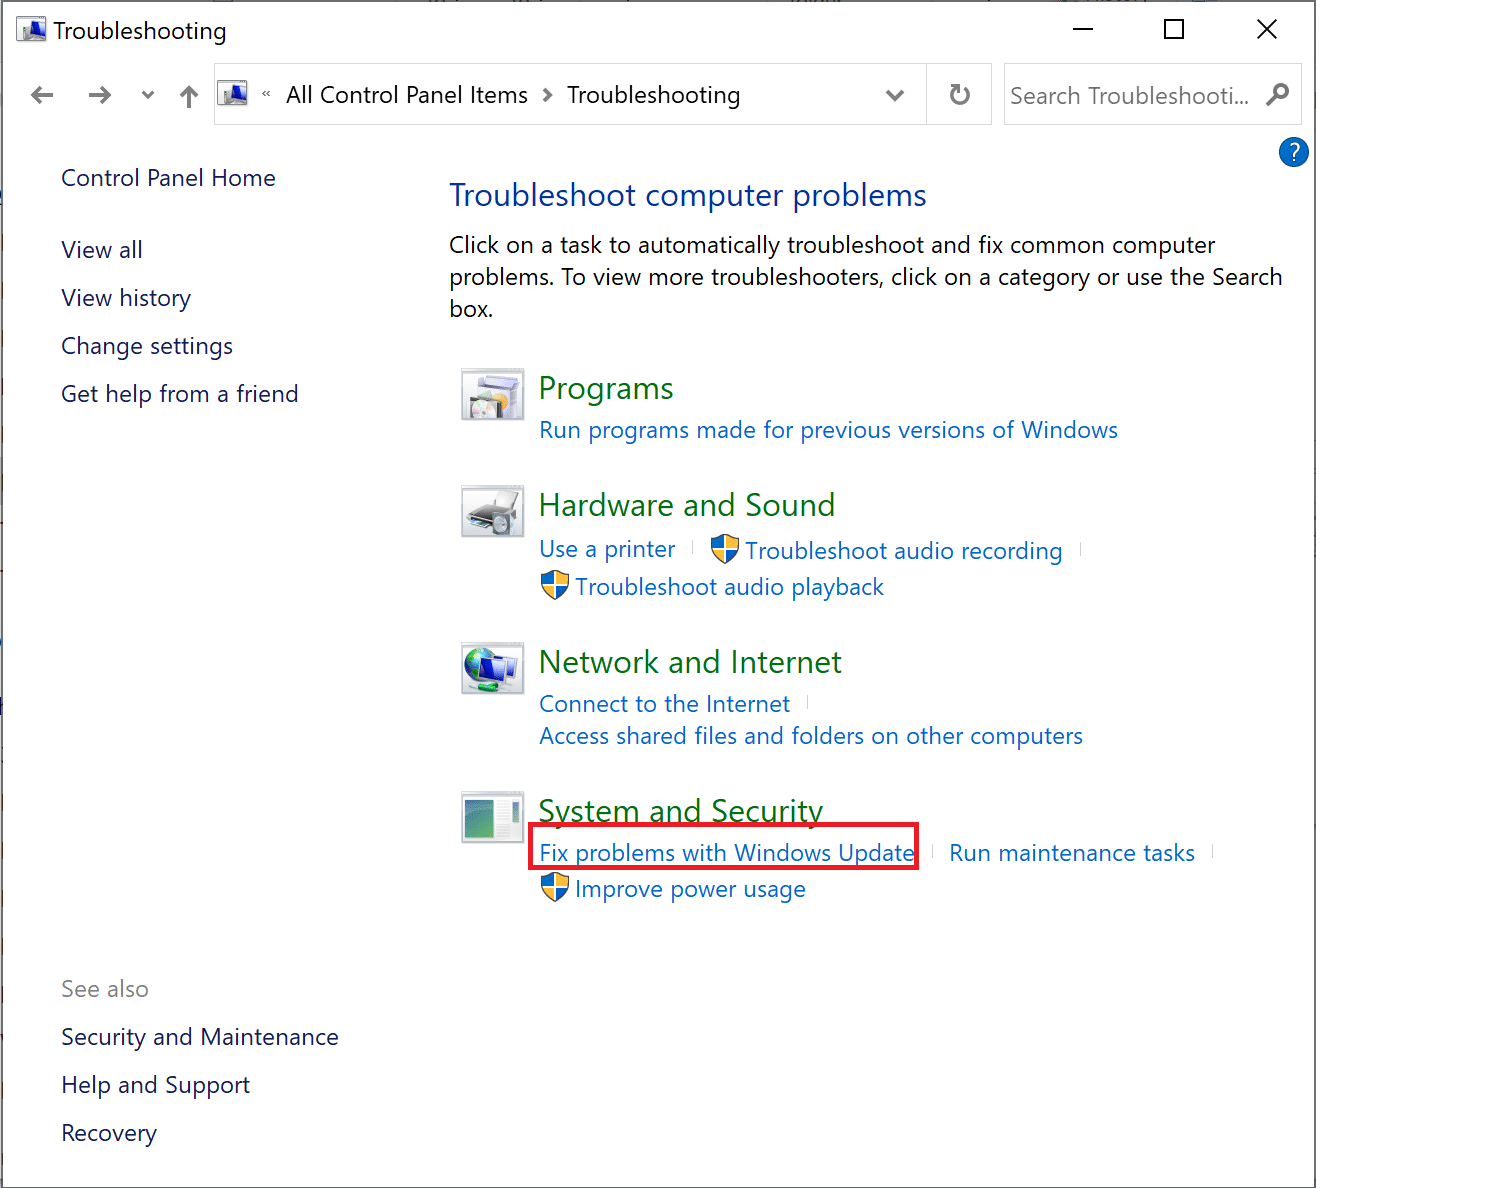
3. Next, click on Fix problems with Windows Update under System and Security, as depicted.
4. Finally, follow the on-screen instructions and click on Next to run the troubleshooter.
The Windows 10 troubleshooter will find and fix update problems if any.
After the troubleshooting process has been completed, restart the computer and then check if you can download and install updates. If not, read below.
Method 2: Disable Security Software
Antivirus software and Virtual Private Networks can sometimes block downloads. Follow these steps to disable them to be able to update Windows 10:
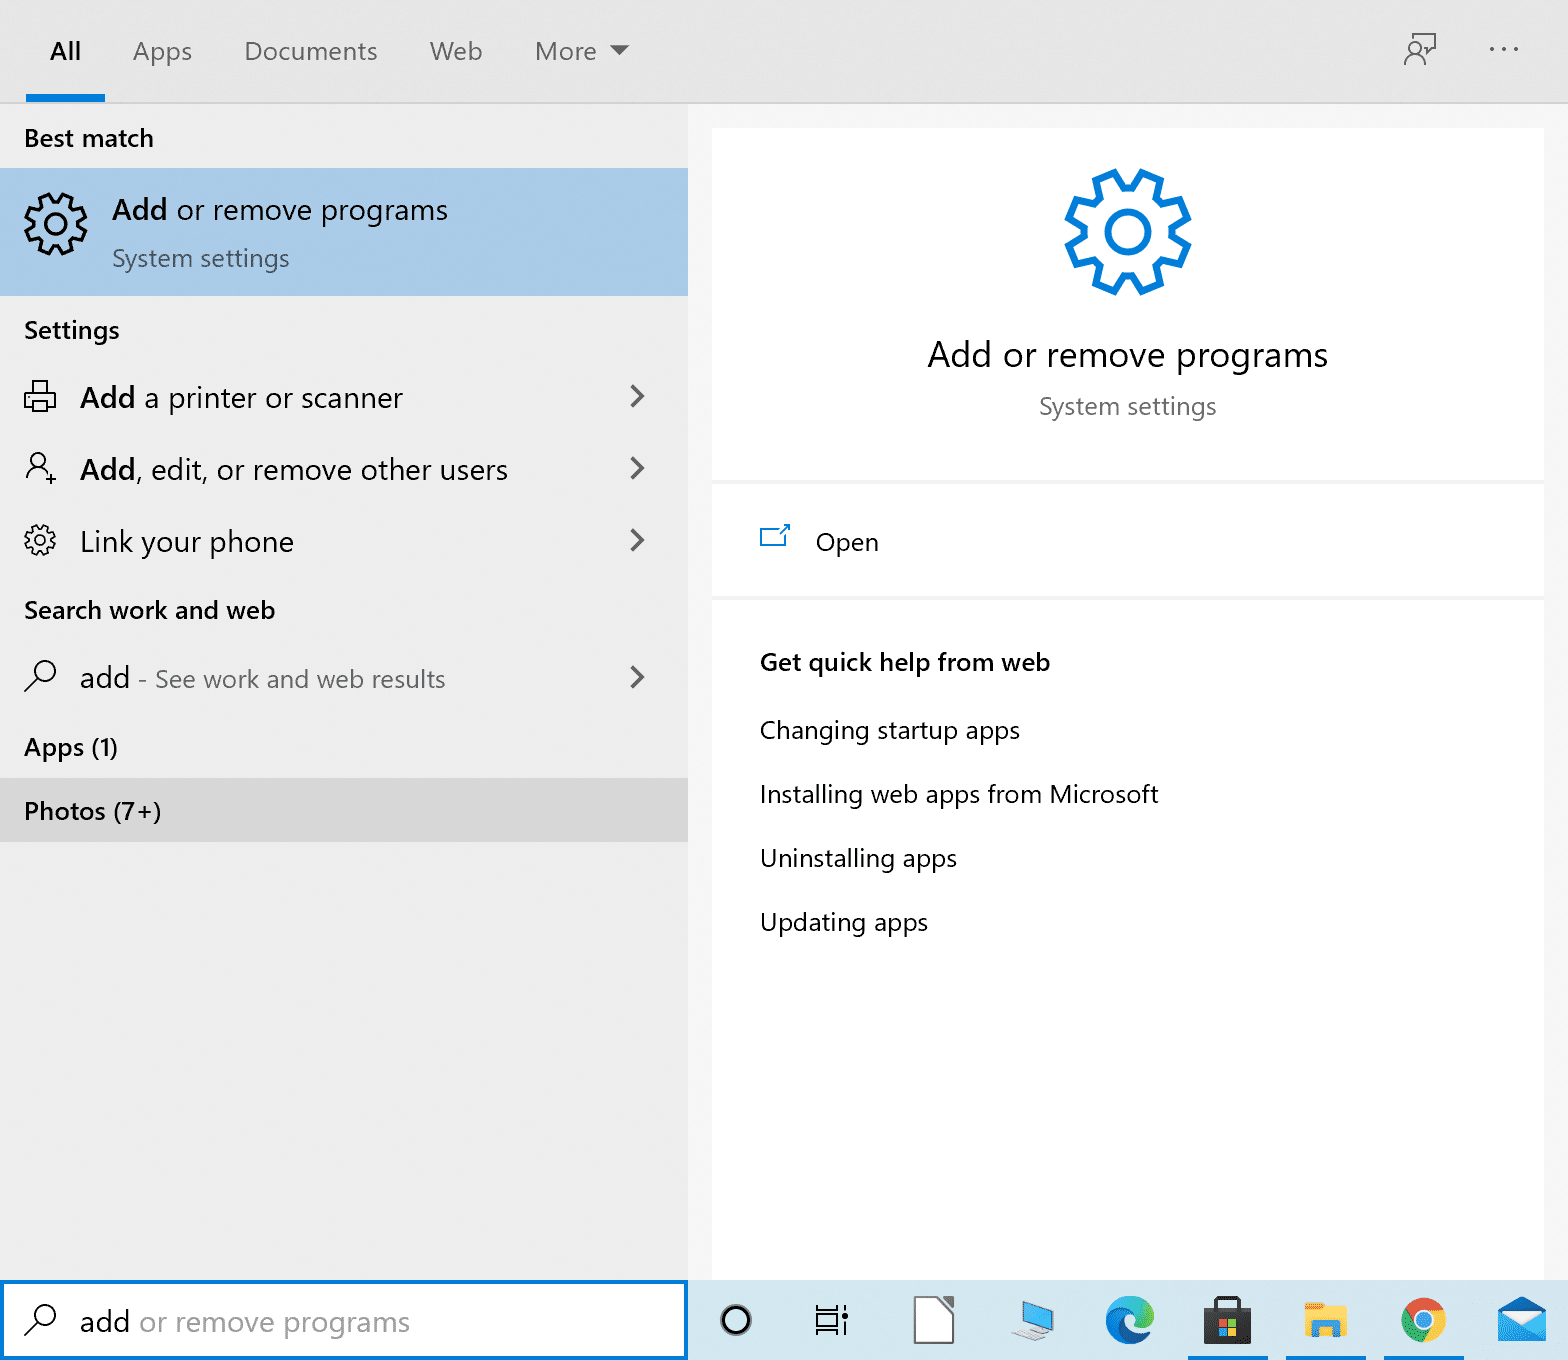
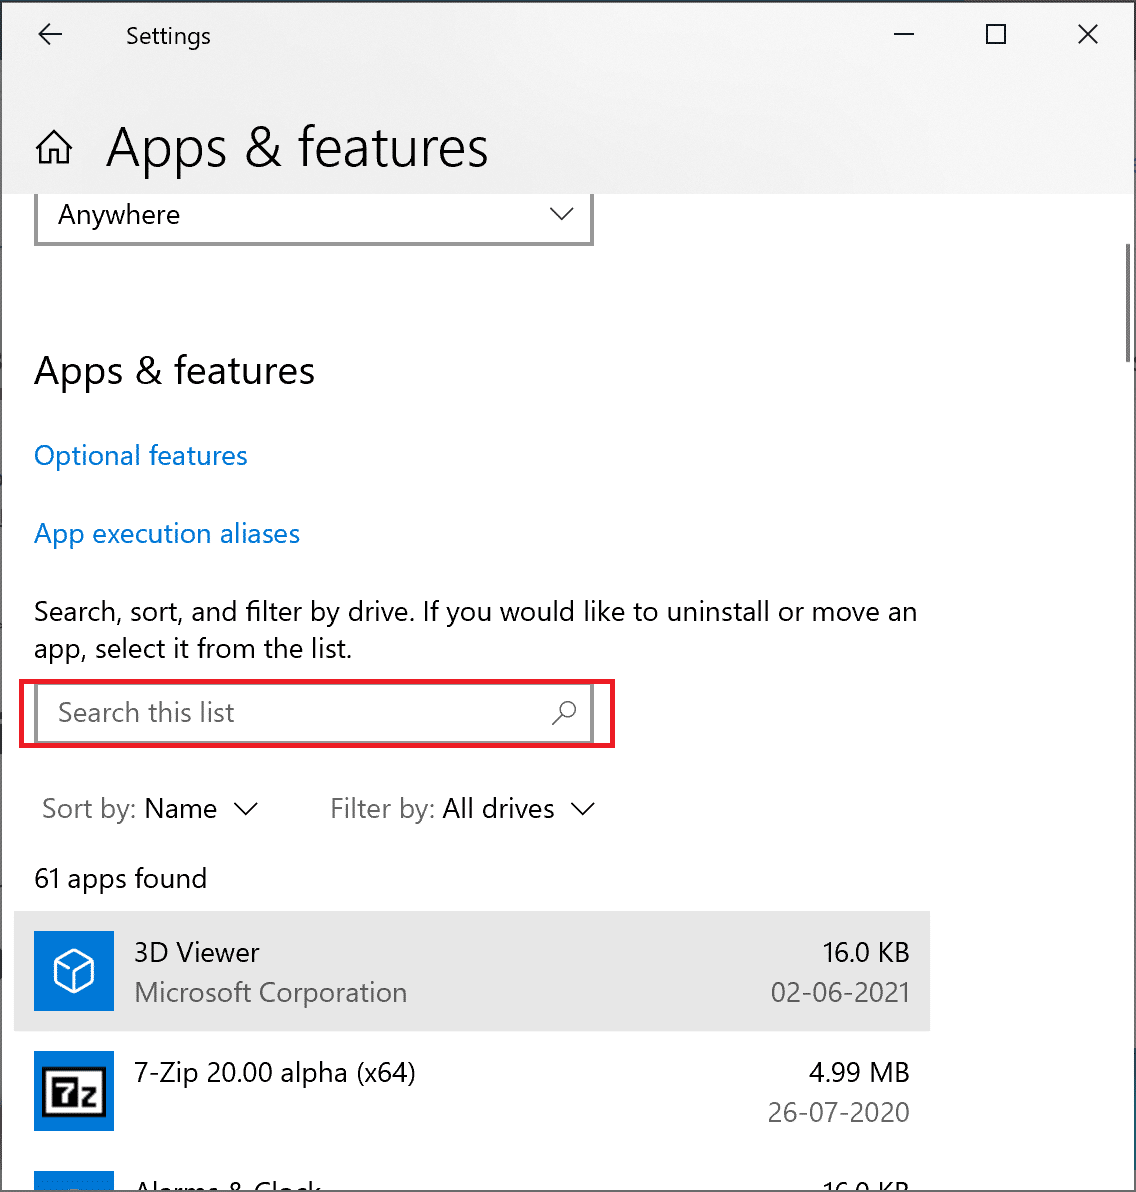
1. Search for Add or remove programs in the Windows search bar. Then, click on Add or remove programs to launch it.
2. In the Search this list search bar (shown below), type the name of your antivirus software.
 .
.
3. Next, click on the name of the antivirus in the results.
4. Lastly, click on the Uninstall button to remove the program.
Restart your computer and then try to download and install the pending updates for Windows 10.
The same process can be used for VPN, or any third-party apps which seem to be causing Windows 10 won’t update problems.
If the problem persists, you have to ensure Windows Update services are running as instructed in the next method.
Also Read: Fix Windows 7 Updates Not Downloading
Method 3: Check Windows Update Services Status
If services related to Windows Update are not enabled or aren’t running on your computer, you most will likely face the Windows 10 Won’t Update issue. Follow the given steps to ensure that all essential Windows Update services are running.
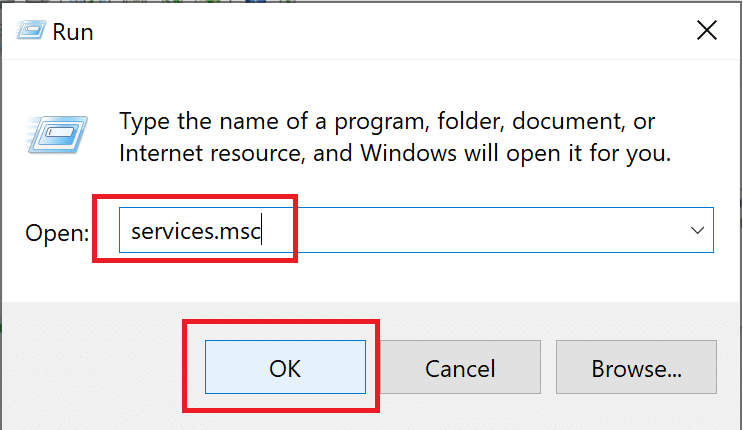
1. Use the Windows search bar and type Run. Then, launch the Run dialogue by clicking on Run in the search results.
2. Next, type services.msc in the dialogue box. Then, click on OK, as shown below. This will launch the Services window.
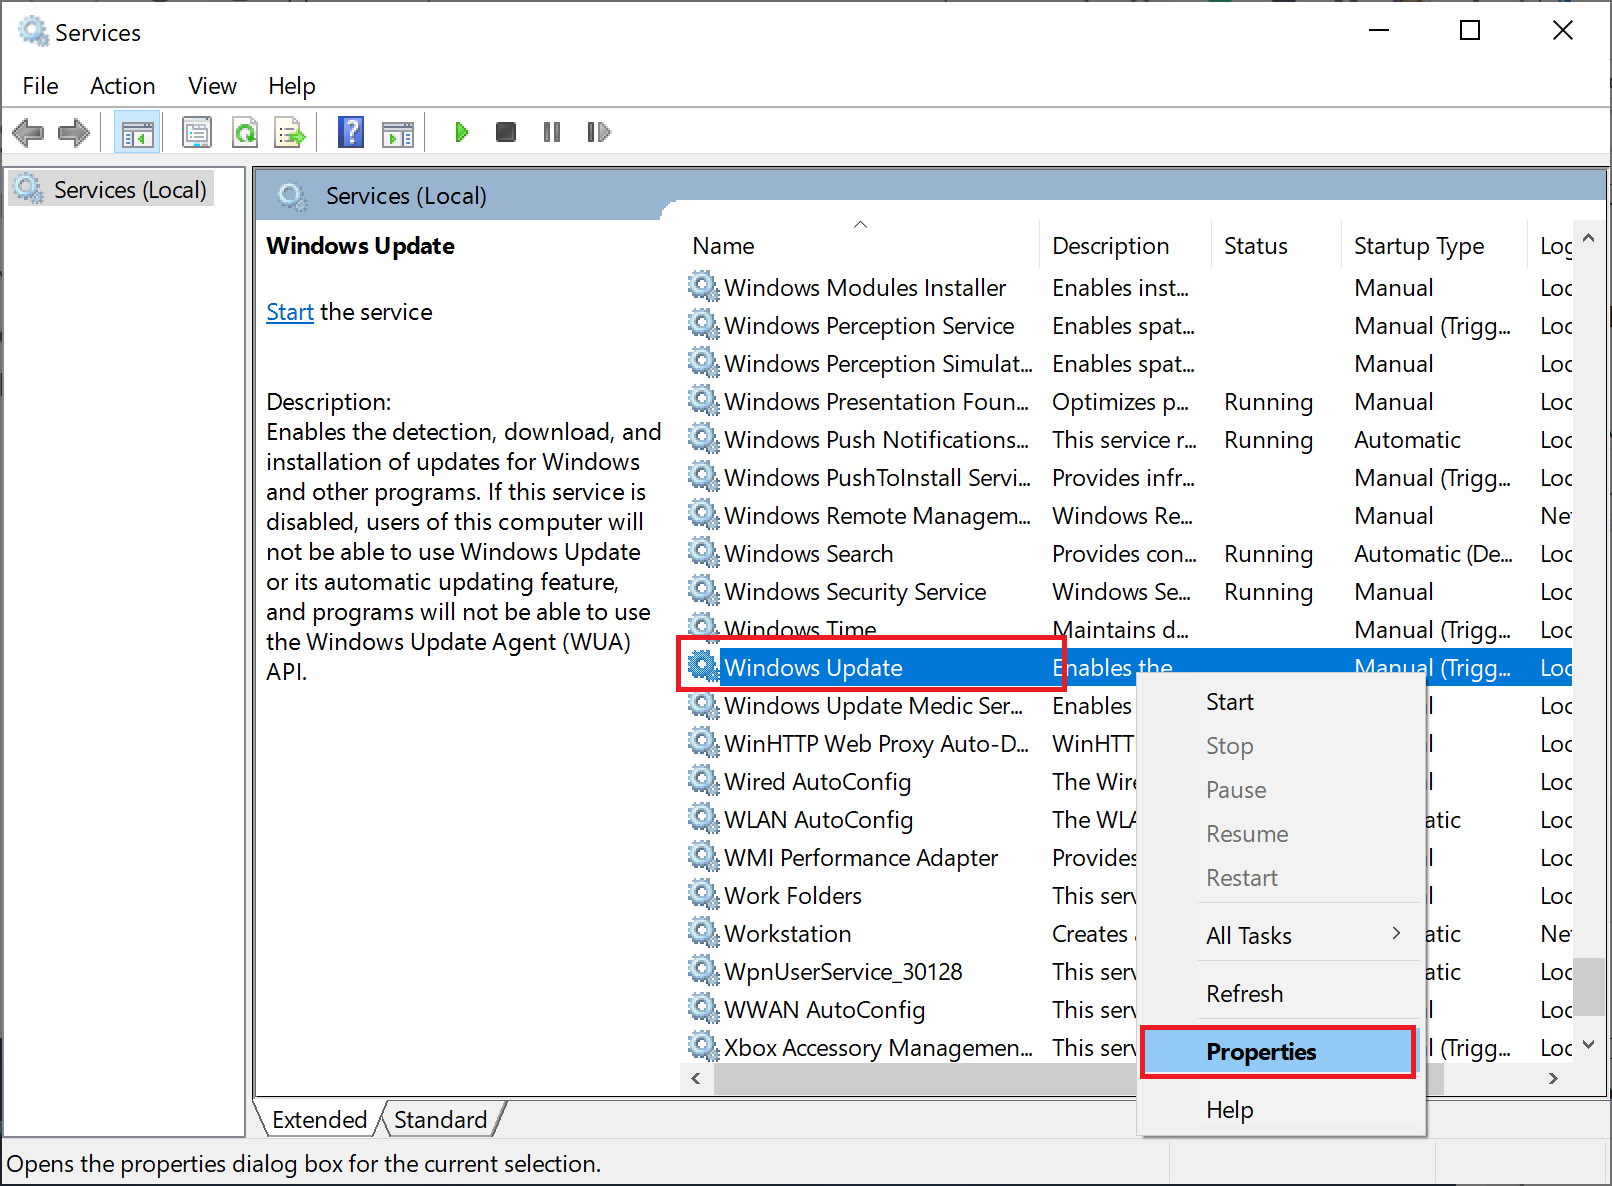
3. In the Services window, right-click on Windows Update. Then, select Properties from the menu, as illustrated below.
4. Next, select Automatic in the Startup type menu. Click on Start if the service has stopped.
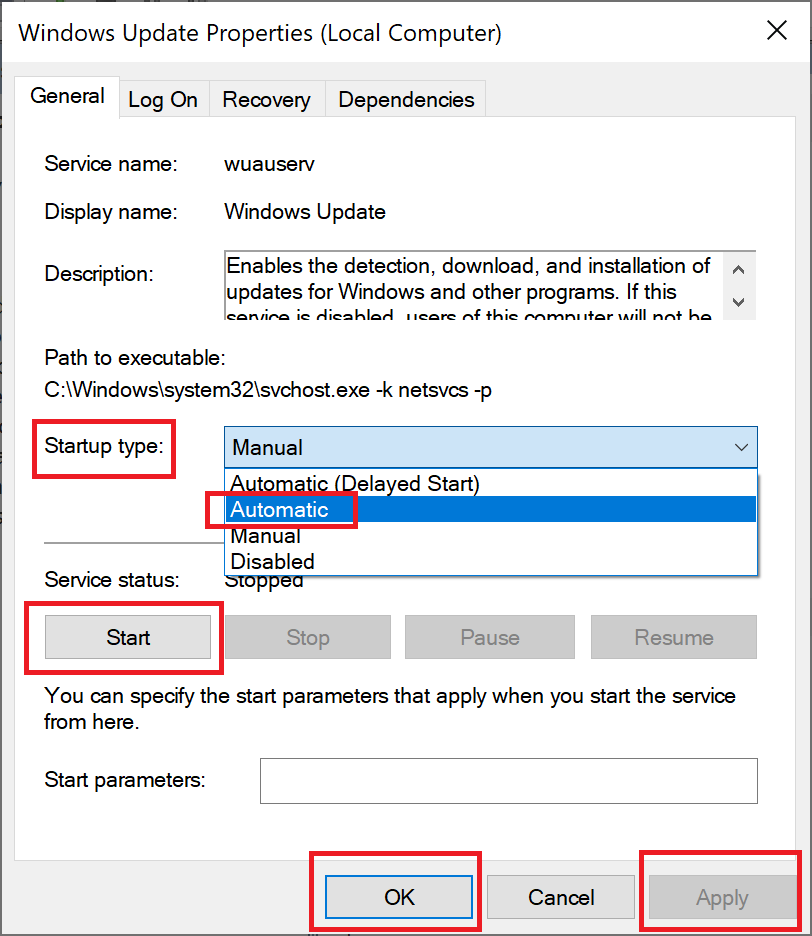
5. Then, click on Apply and then OK.
6. Again, go to the Services window and right-click on Background Intelligent Transfer Service. Here, select Properties, like you did in step 3.
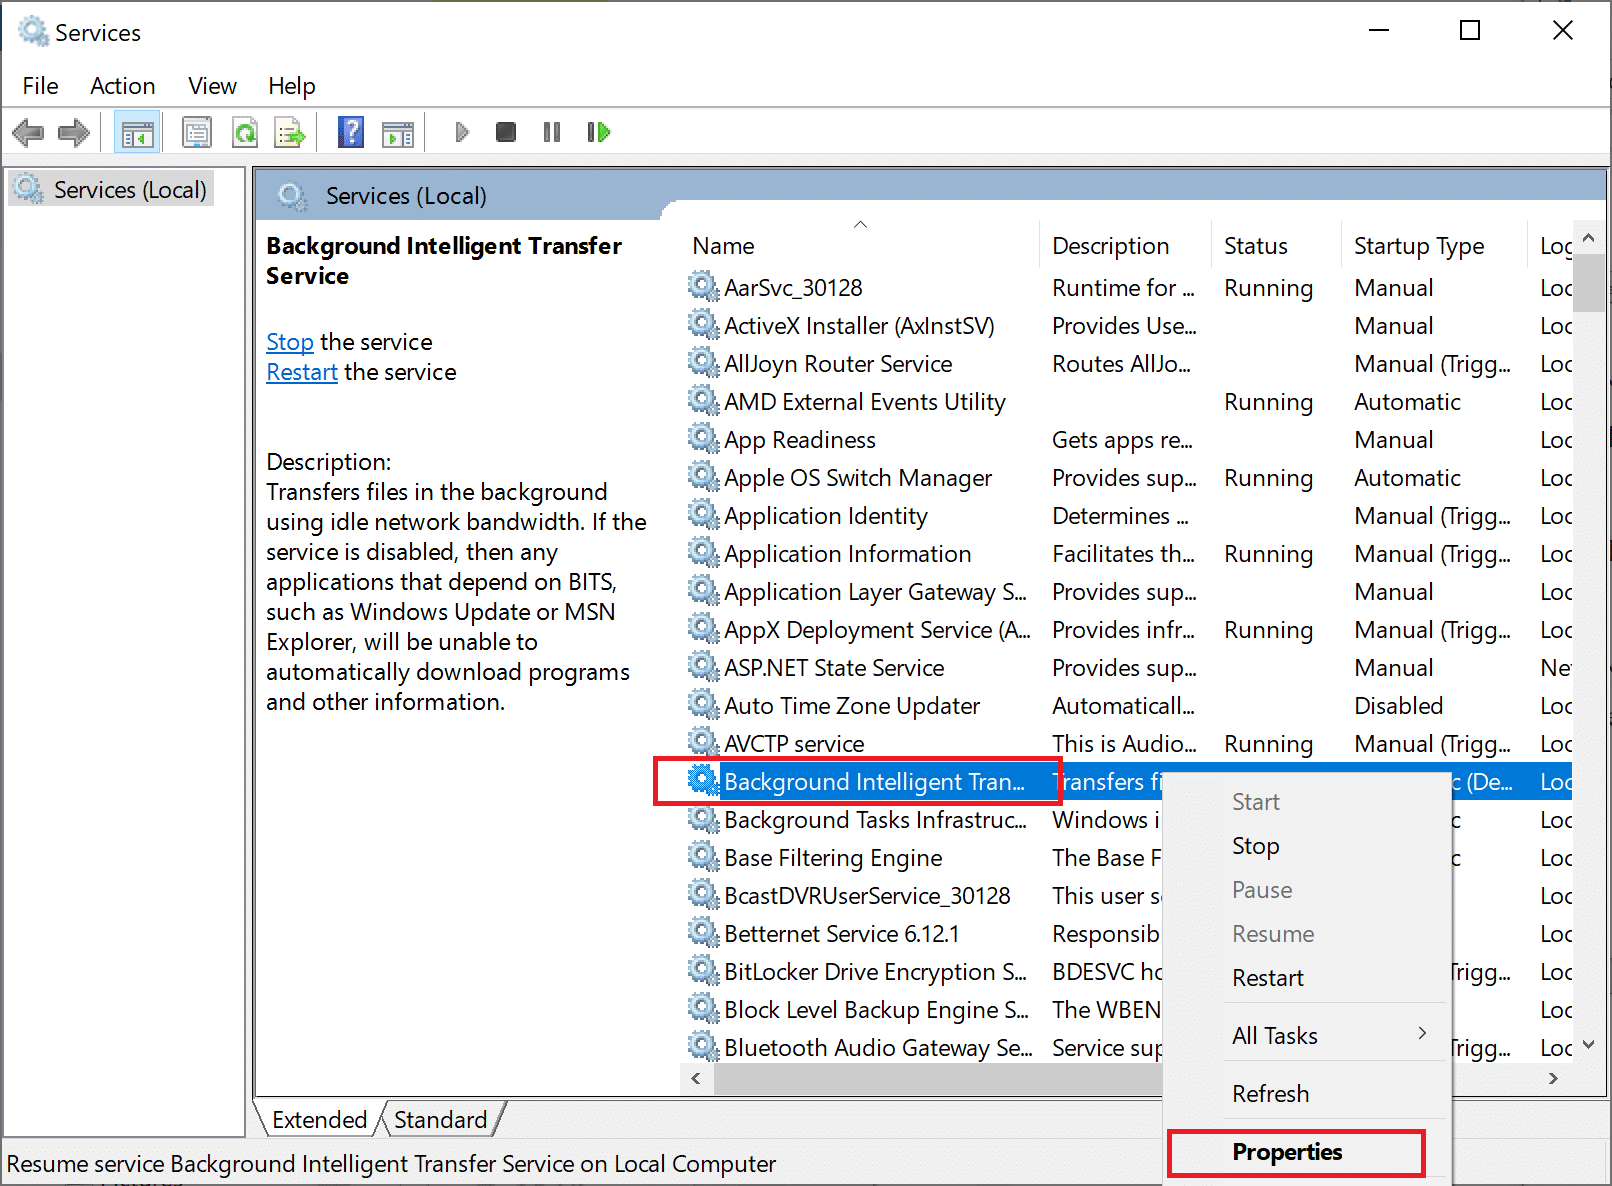
7. Repeat the process explained in Step 4 and Step 5 for this service.
8. Now, right-click on Cryptographic Service in the Services window and select Properties, as shown below.
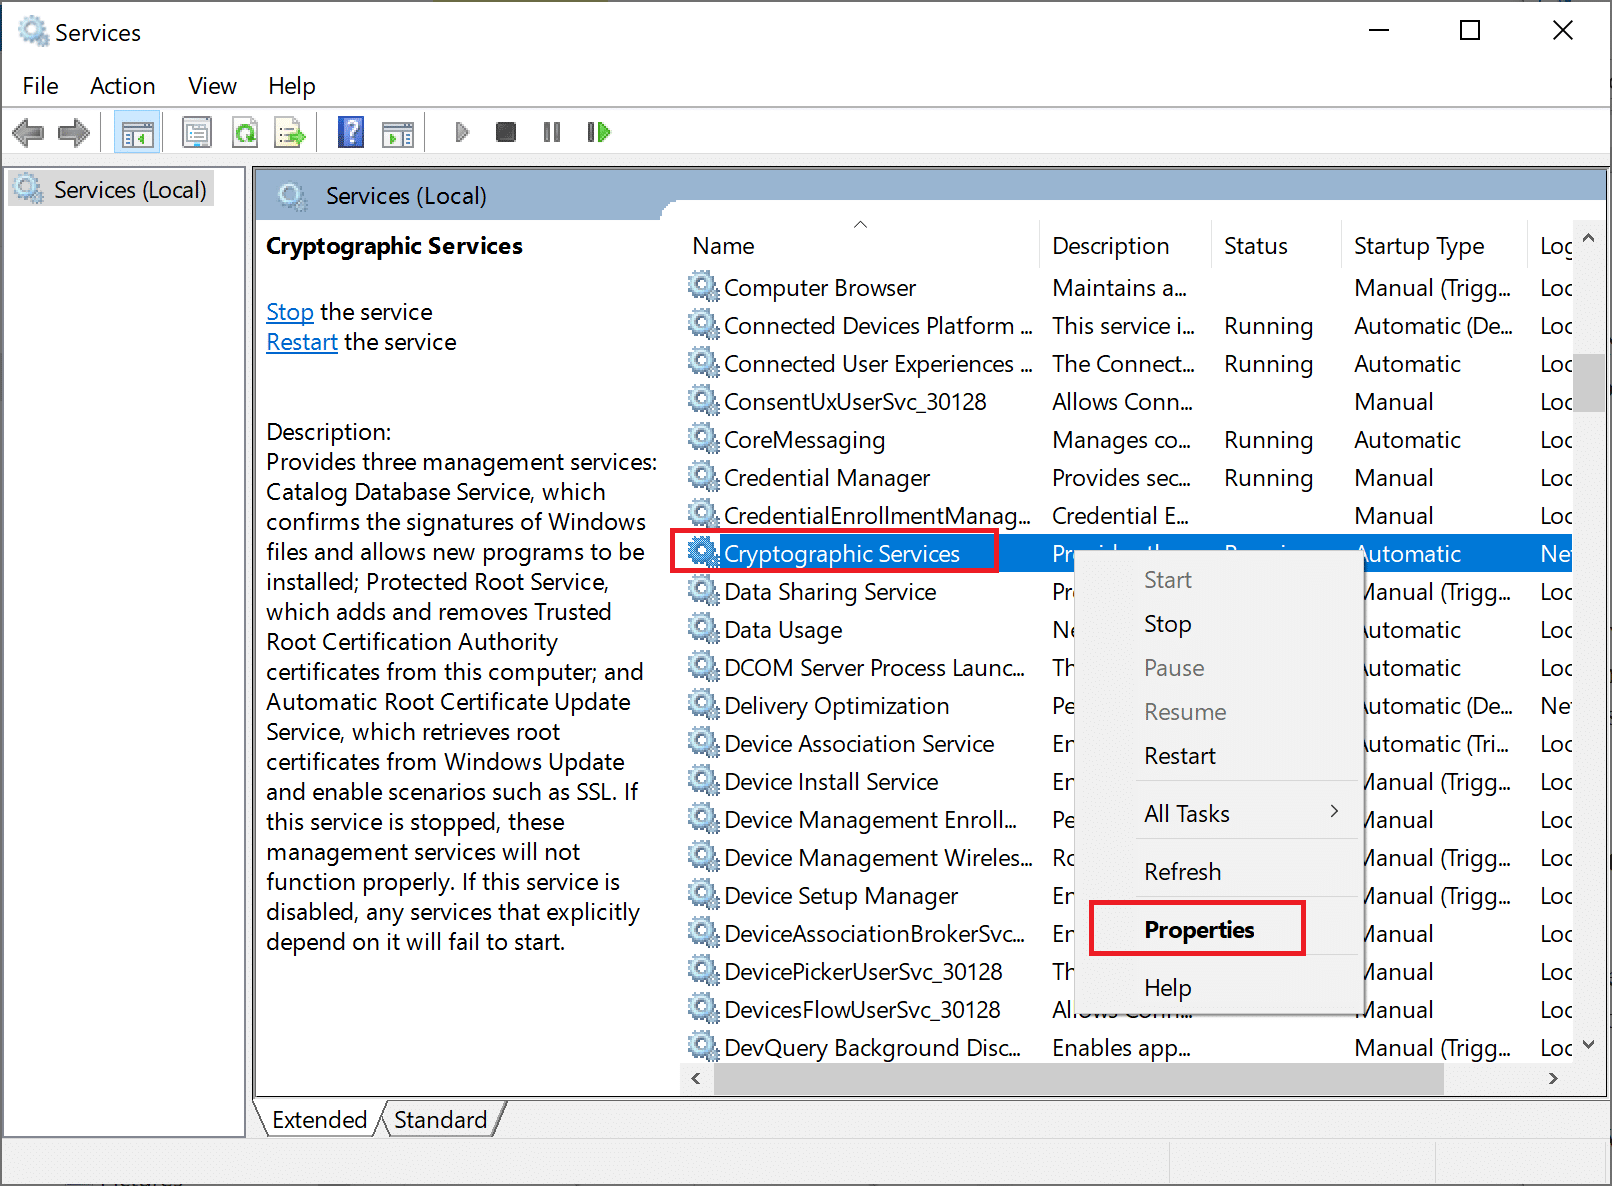
9. Lastly, repeat step 4 and step 5 again for starting this service as well.
Now restart the computer and then check if Windows 10 can download and install the pending updates.
If you still face the same problem, you will have to use the Microsoft Update Assistant as instructed in the next method.
Method 4: Use Windows 10 Update Assistant
The Windows 10 update assistant is an ideal tool to use if your Windows 10 is not updating. Follow the steps given below to utilize it:
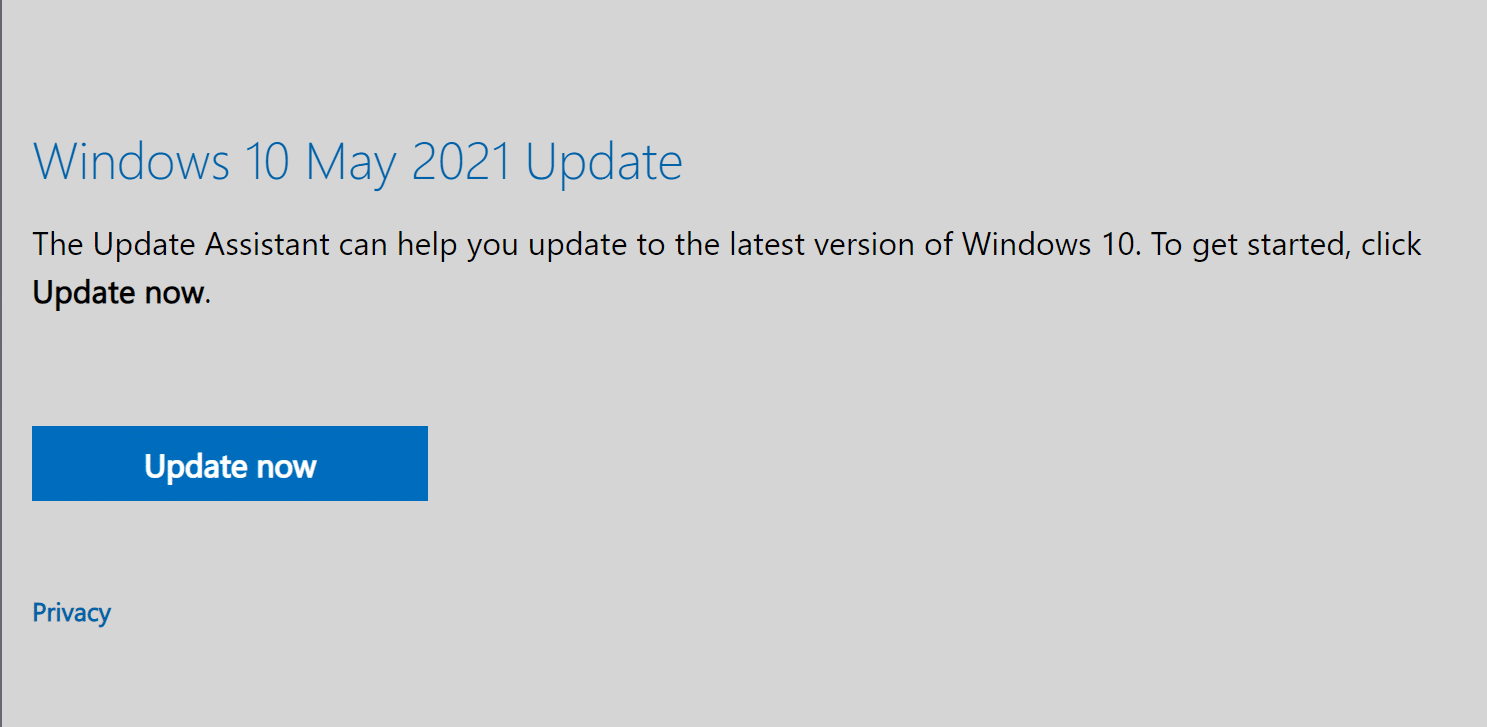
1. Visit the official Microsoft page for Windows 10 updates.
2. Next, click on Update Now to download the Update assistant as seen here.
3. Once downloaded, click on the downloaded file to open it.
4. Lastly, follow the on-screen instructions to update your Windows 10 to the latest version.
If this method doesn’t work for you, move to the next method to rectify Windows 10 updates won’t install issue.
Method 5: Restart Windows Update Services
In this method, we will run multiple commands using Command Prompt to fix Windows 10 update failed to install issue. Implement the steps listed below to do the same:
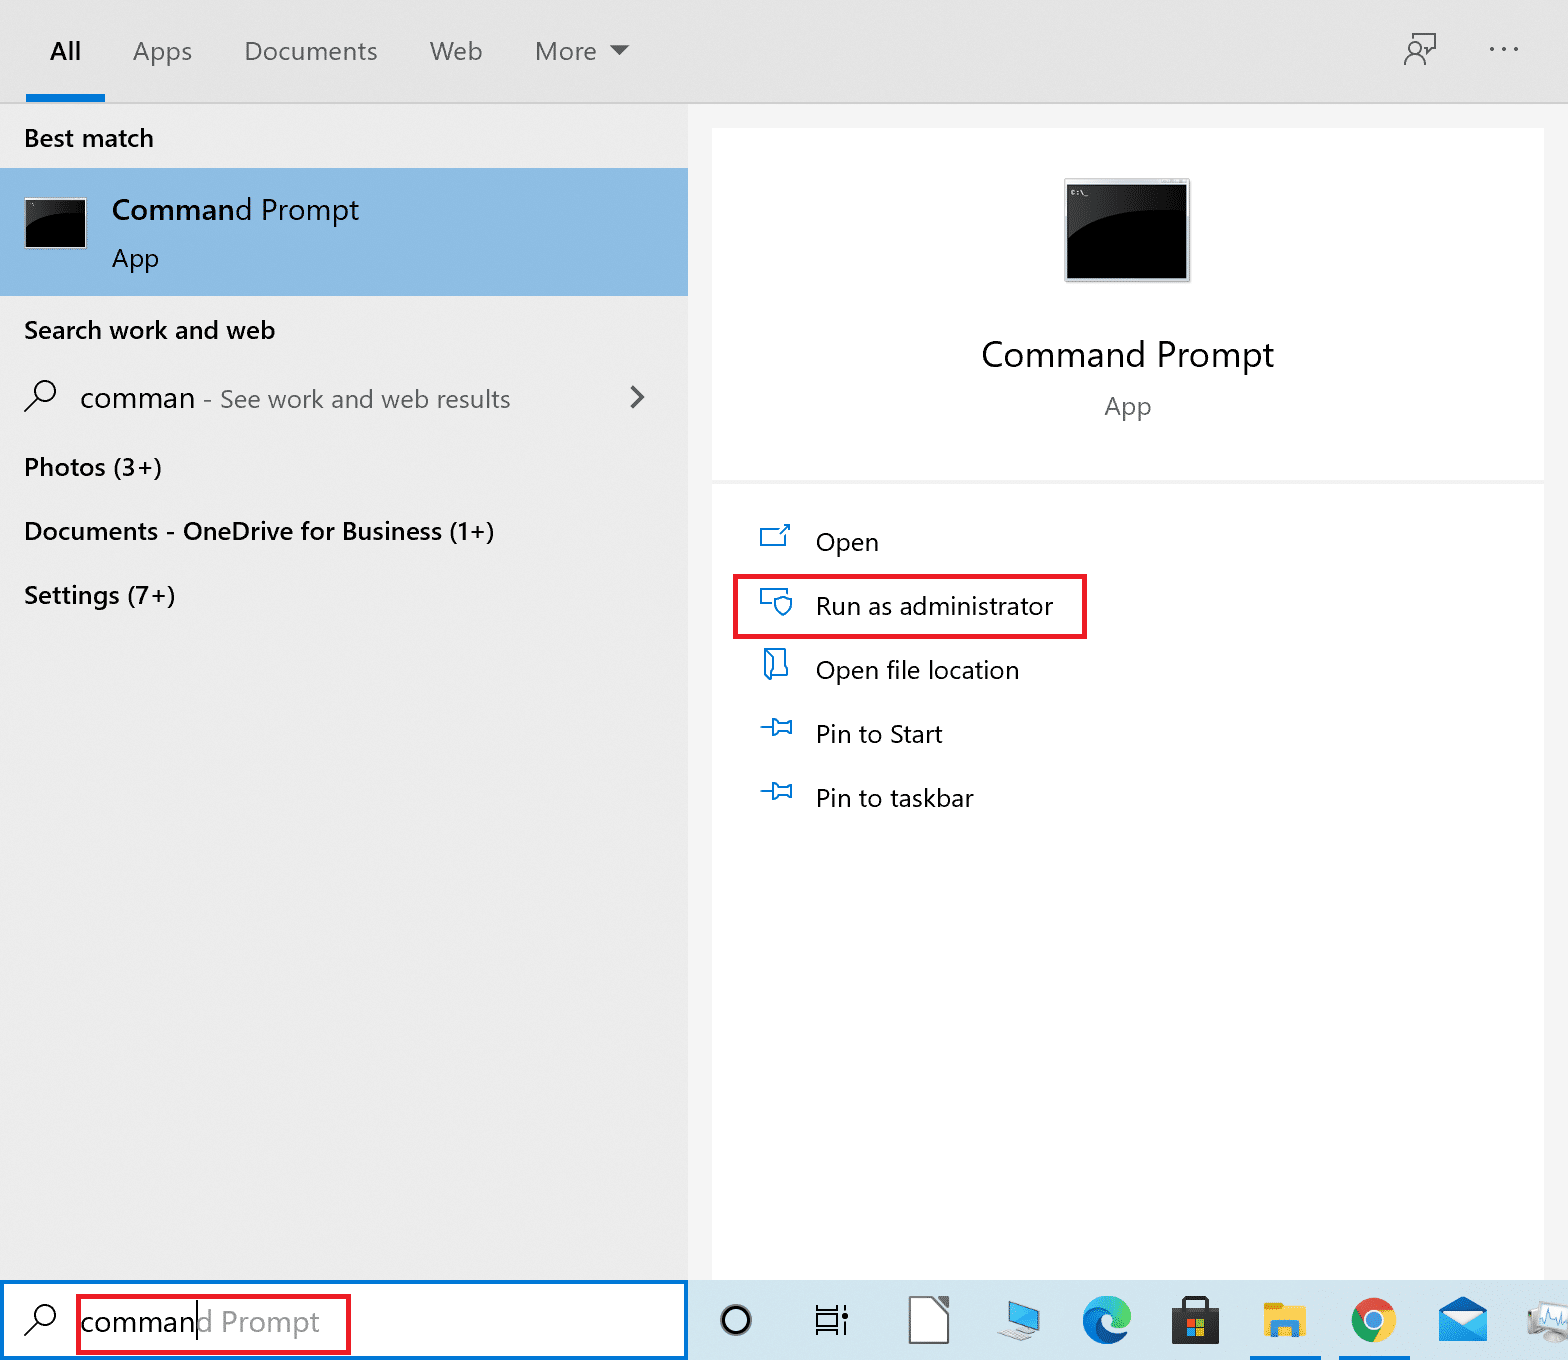
1. Search for Command Prompt in the Windows search bar.
2. Right-click on Command Prompt in the search result and then select Run as administrator as shown.
3. Now, type the commands listed below in the command prompt window, one by one, and hit Enter after each one:
net stop wuauserv
net stop cryptSvc
net stop cryptSvc
net stop msiserver
ren C:WindowsSoftwareDistribution SoftwareDistribution.old
ren C:WindowsSystem32catroot2 catroot2.old
net start wuauserv
net start cryptSvc
net start bits
net start msiserver
net localgroup administrators
networkservice /add
net localgroup administrators localservice /add
4. After all the commands have been run, restart your computer.
Verify if the Windows 10 update failed to install issue is resolved.
Also Read: Fix Windows 10 Updates Won’t Install Error
Method 6: Turn Metered Connection Off
There is a possibility that Windows 10 updates won’t install because you have set up a metered internet connection. Follow the steps below to check for a metered connection, and turn it off, if required.
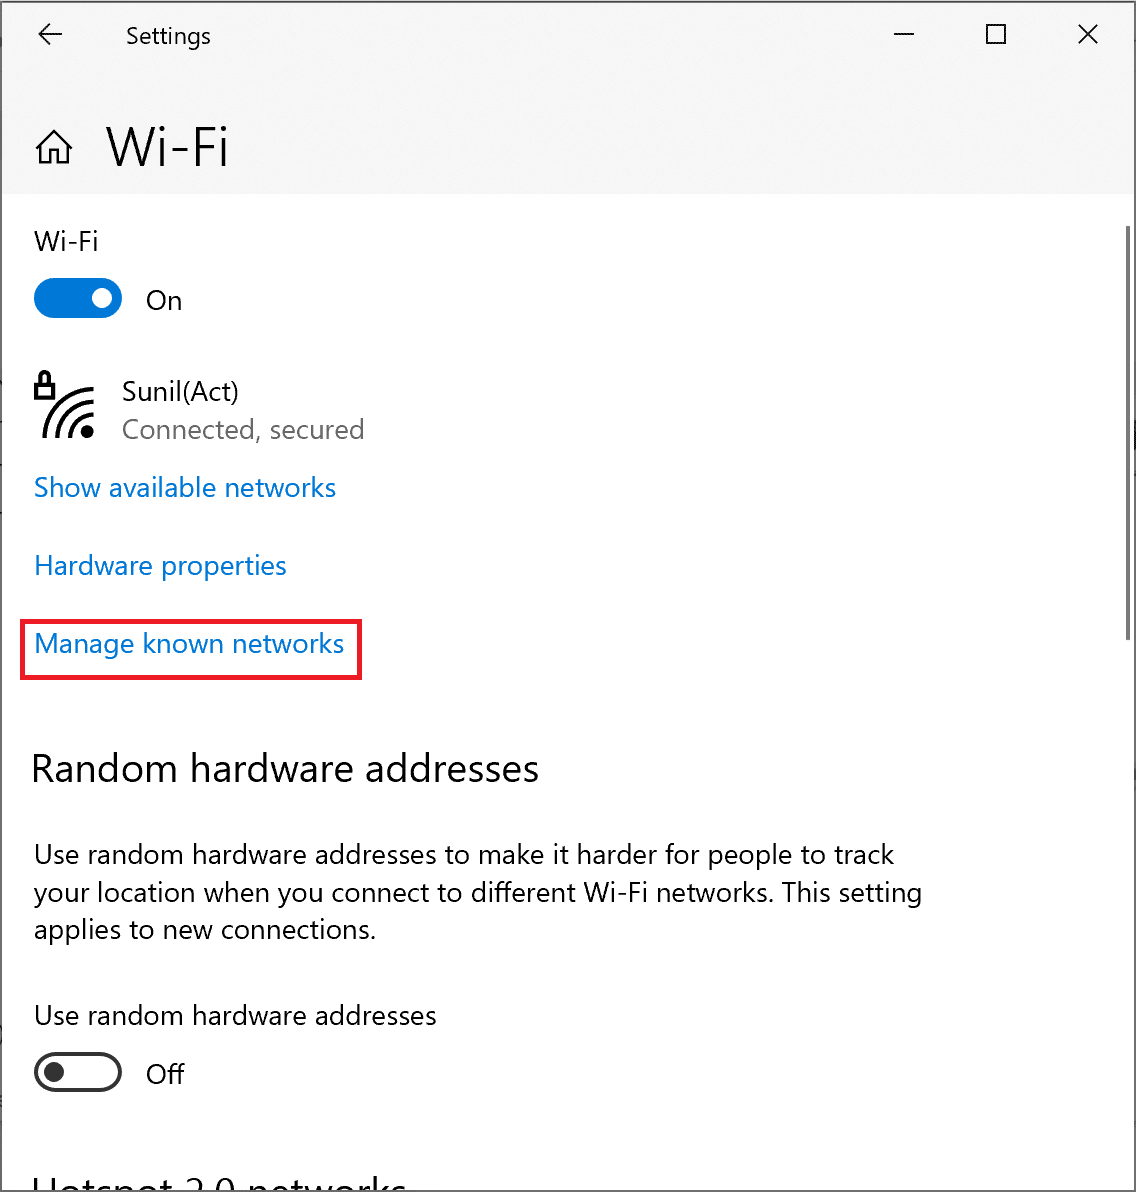
1. In the Windows search bar, type Wi-Fi and then click on Wi-fi settings.
2. Next, click on Manage known networks, as shown below.
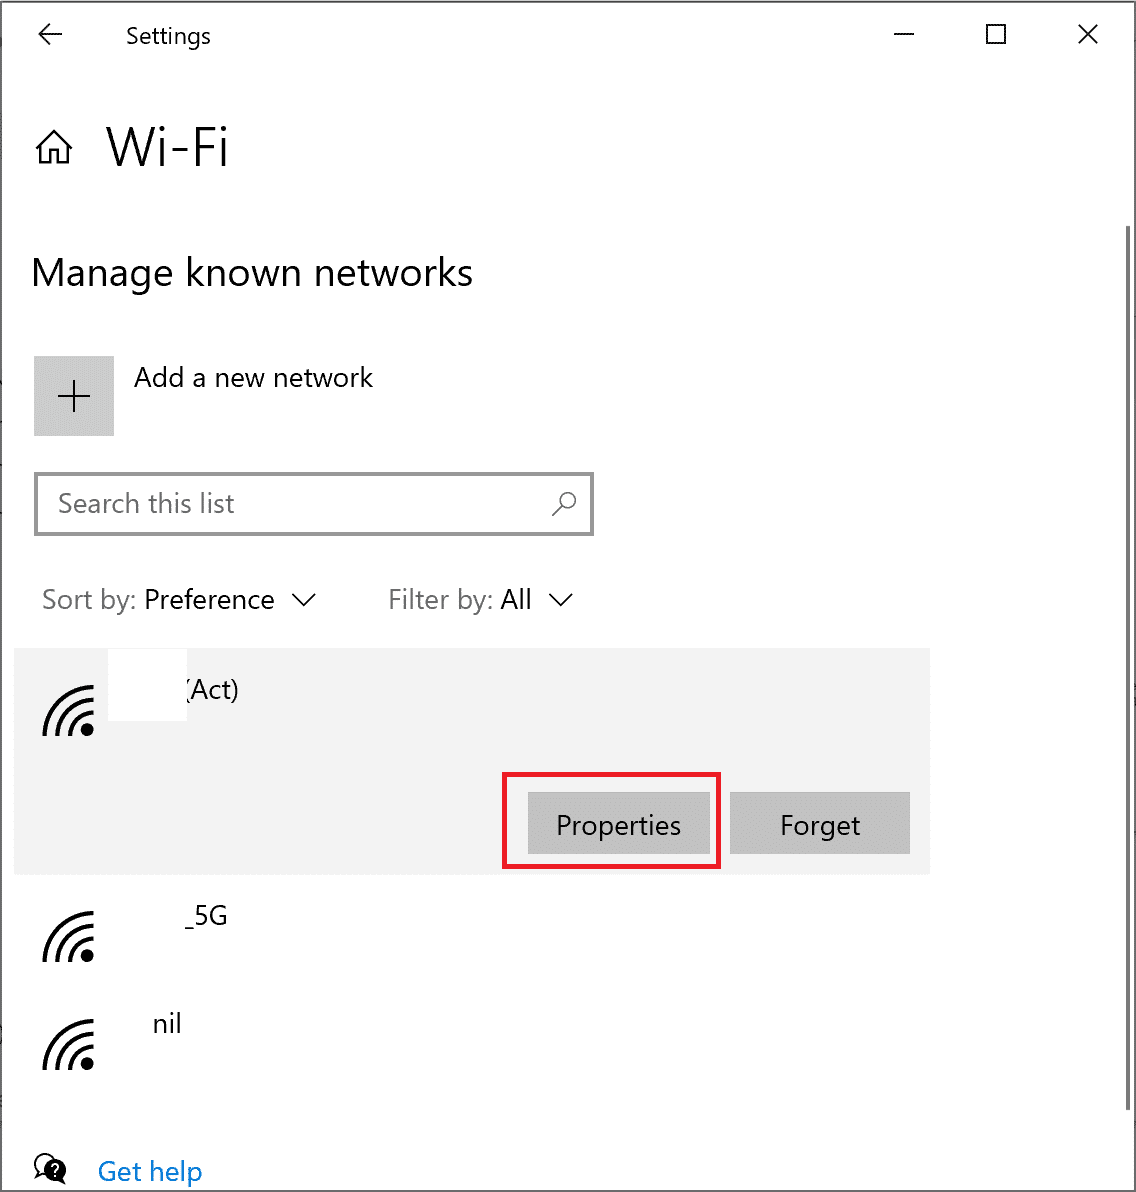
3. Now, select your Wi-Fi network and then select Properties, as shown.
4. Scroll down the new window to turn the toggle off next to the Set as a metered connection option. Refer to the given pic.
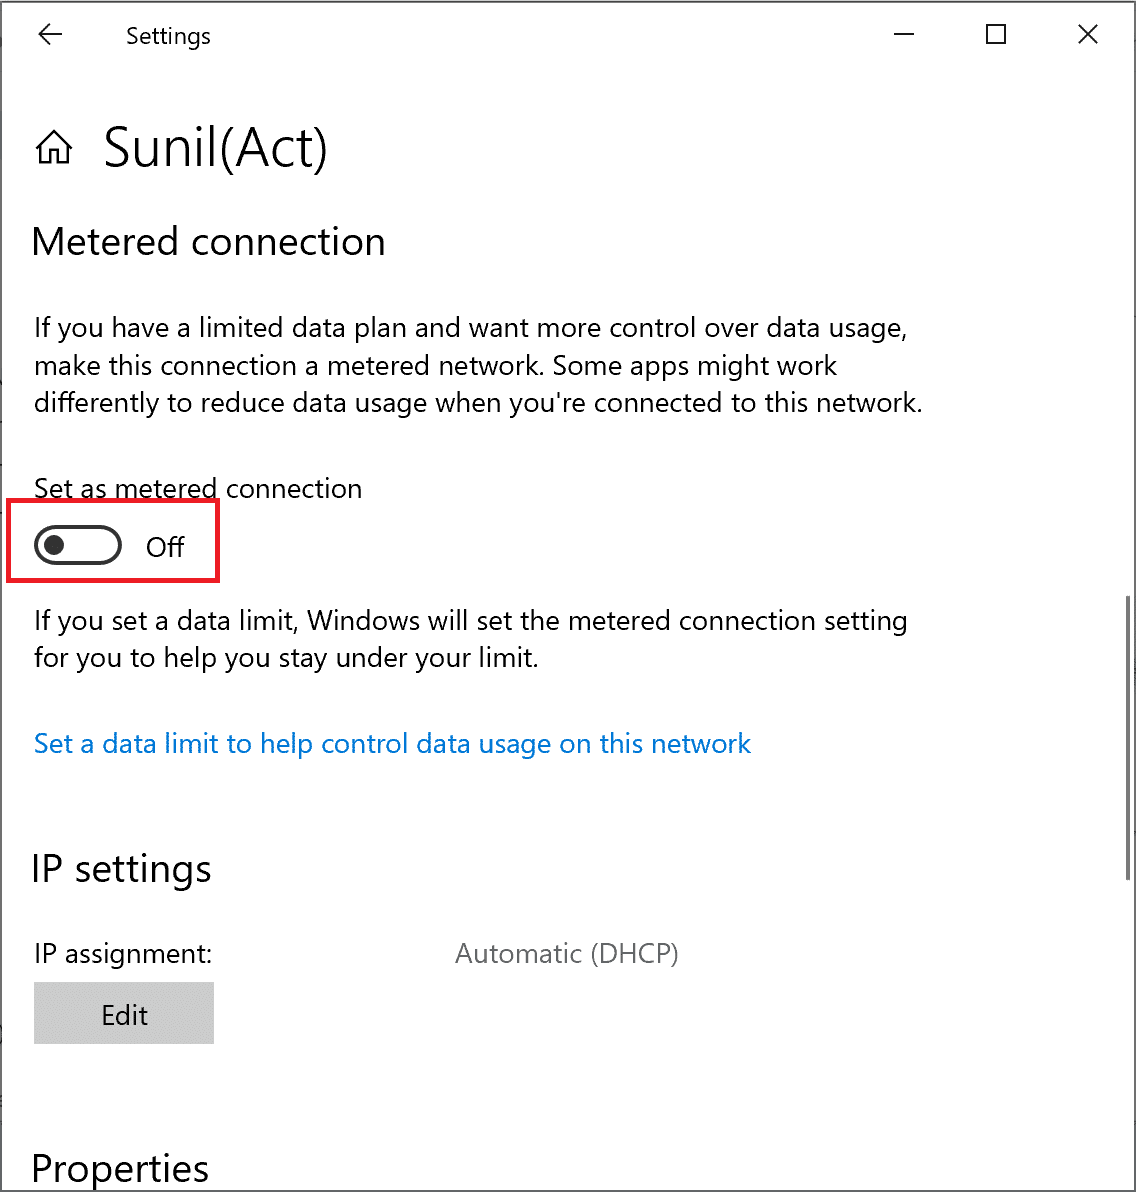
If your Wi-Fi network connection was set as a metered connection, and now that you have turned it off, Windows updates should be downloaded and installed.
If not, go through the succeeding methods to repair corrupted system files.
Method 7: Run SFC Command
Probably, Windows 10 is not able to update itself because system files are corrupted. To check for corrupted files & repair those, we will use the System File Checker command. Just follow the steps written below:
1. Search for Command Prompt in the Windows search bar. Right-click on Command Prompt in the search result and then select Run as administrator as shown.

2. Type the following in the command prompt window: sfc /scannow and then press Enter as shown.

3. Wait for the command to run successfully.
Note: Do not close the window until the scan is complete.
Once the process is completed, restart your computer. Confirm if you’re able to fix Windows 10 update failed to install issue.
Method 8: Run DISM Command
If the SFC command failed to fix corrupt system files, you have to run the DISM (Deployment Image Servicing and Management) tool to repair or modify Windows images. You can do so using Command Prompt as:
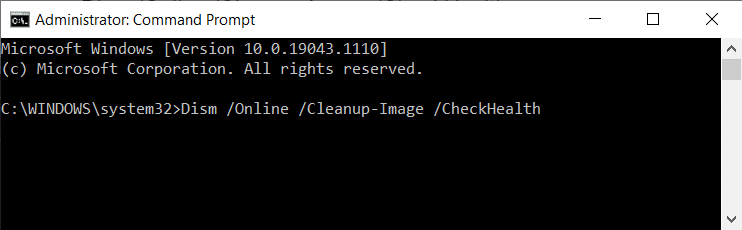
1. Run Command Prompt as administrator just as instructed in Method 7.
2. Next, type Dism /Online /Cleanup-Image /CheckHealth and press Enter.
The Check health command will not fix any issues. It will check if there are any corrupt files on your system.
Note: Do not close the window while the scan is running.
3. If the above command did not find any, do a wider scan by typing
Dism /Online /Cleanup-Image /ScanHealth and pressing Enter.
The Scan health command will take up to 20 minutes to run.
Note: Do not close the window while the scan is running.
4. If system files have gotten corrupt, run the Restore Health command to perform repairs.
5. Type Dism /Online /Cleanup-Image /RestoreHealth and then press Enter to run it.
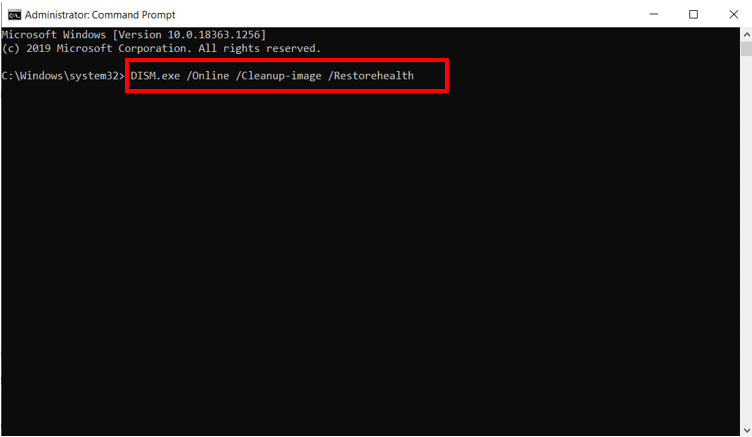
Note: Do not close the window while the scan is running.
You may have to wait for up to 4 hours for this command to make repairs. After the process is complete, restart the computer and check if the issue persists.
Method 9: Run chkdsk Command
The chkdsk command will check your hard disk drive for any errors that may have accumulated, preventing the Windows 10 updates download and installation from taking place. Follow these steps to run the Check disk command.
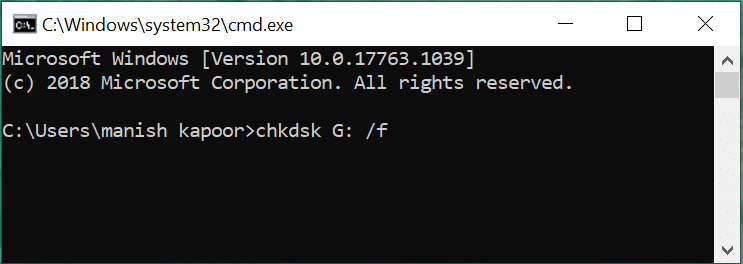
1. Launch Command Prompt as an administrator as instructed in the previous method.
2. Type chkdsk C: /f in the command prompt window and then press Enter.
Note: The system might restart few times during this process.
3. The next time your computer restarts, press the Y key to confirm the scan.
4. Lastly, restart the computer, and the chkdsk command will run.
After the command has run successfully, check if the Windows 10 updates are being downloaded and installed on your computer.
If not, that means the repairing of system files did not work. Now, you will need to delete corrupt files in the Software Distribution folder. Go through the next solution to do so.
Also Read: Fix Windows 10 Start Button Not Working
Method 10: Delete Software Distribution Folder
The files in the Software Distribution Folder are temporary files that may get corrupt; thereby, preventing your Windows 10 from updating. Follow these steps to delete all the files from this folder:
1. Launch File Explorer and then click on This PC.
2. Next, go to C: Drive in the left pane. Click on the Windows folder.
3. Now, click on the folder titled SoftwareDistribution, as shown below.

4. Select all the files in this folder. Use right-click and select Delete to remove them. Refer to the given pic.

Now go back and try to download or install the pending Windows 10 updates. Confirm if the ‘Windows 10 won’t update’ issue is resolved.
If the problem persists, there might be insufficient disk space. Continue reading to know more.
Method 11: Increase Disk Space
Windows 10 updates will not be able to install if there is insufficient space in your system drive. Follow these steps to free up some disk space:
1. Launch the Run dialogue box just as you did earlier.
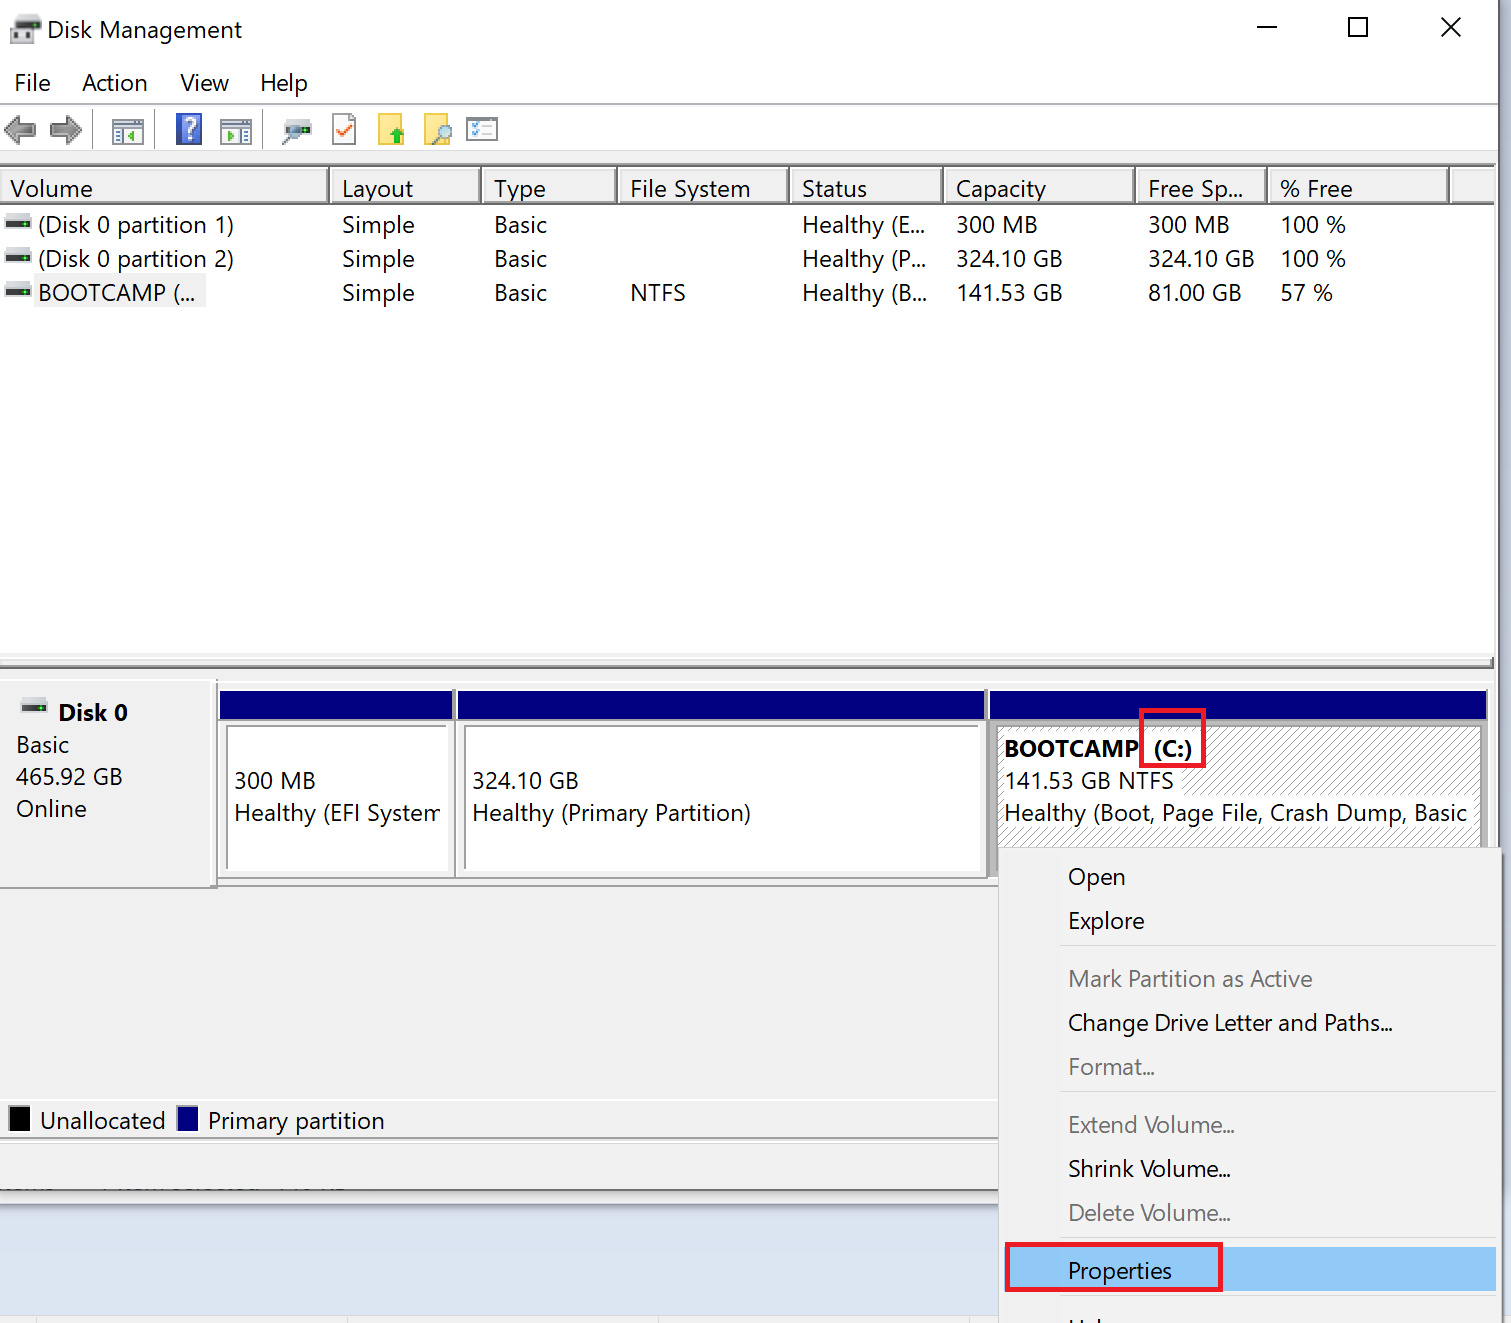
2. Next, type diskmgmt.msc and then click on OK. This will open the Disk Management window.
3. In the new window, right-click on C: drive and then select Properties as shown below.
4. Next, click on Disk Clean-up in the pop-up window.
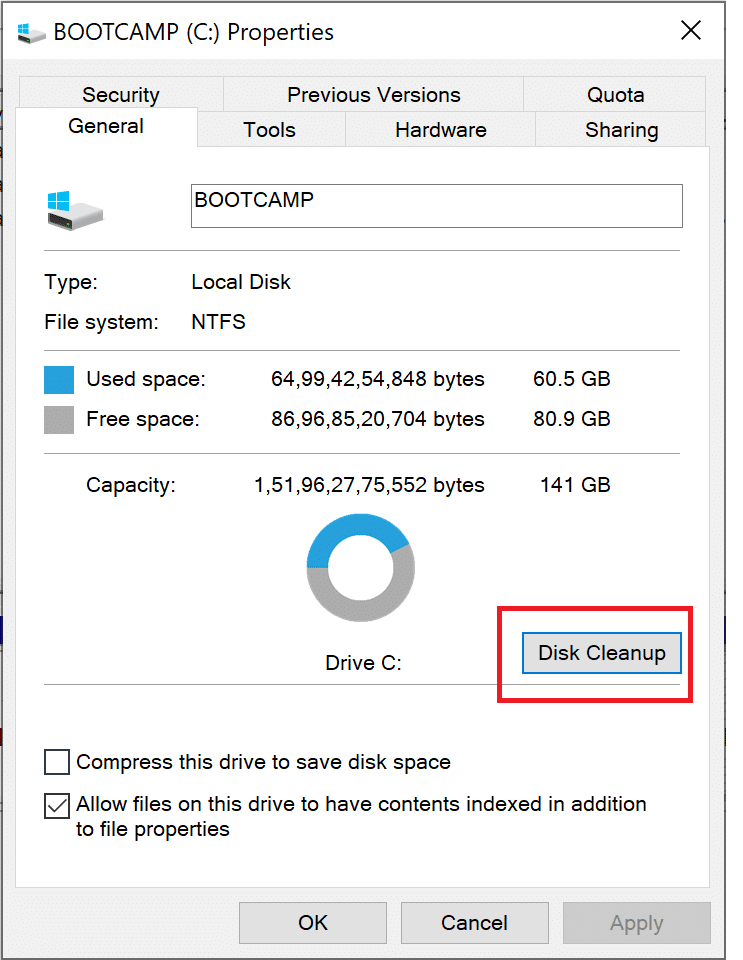
5. The files that need to be deleted will be automatically selected, as shown below. Lastly, click on OK.
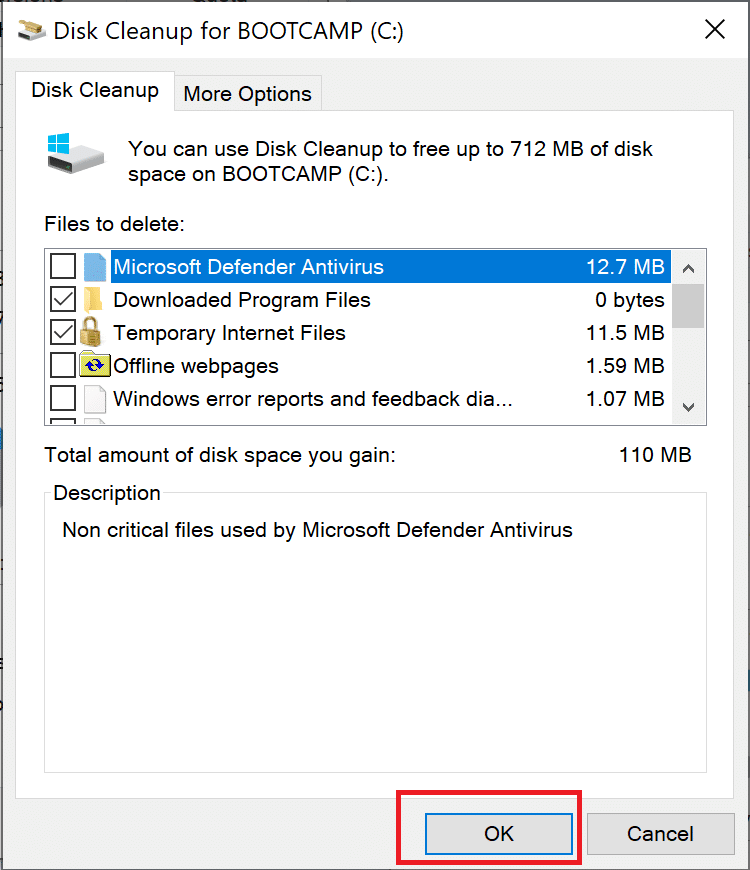
6. You will see a confirmation message box. Here, click on Delete Files to confirm this action.
After the unnecessary files have been deleted, ‘Windows 10 won’t update,’ and ‘Windows 10 updates won’t install’ errors should be rectified.
Method 12: System Restore
If the above-mentioned methods are unable to solve this issue, restoring your Windows OS to a point in time when updates are used to download and install successfully is the only way out.
1. In the Windows search bar, type Control Panel. Click on Control Panel from the search result to launch it.
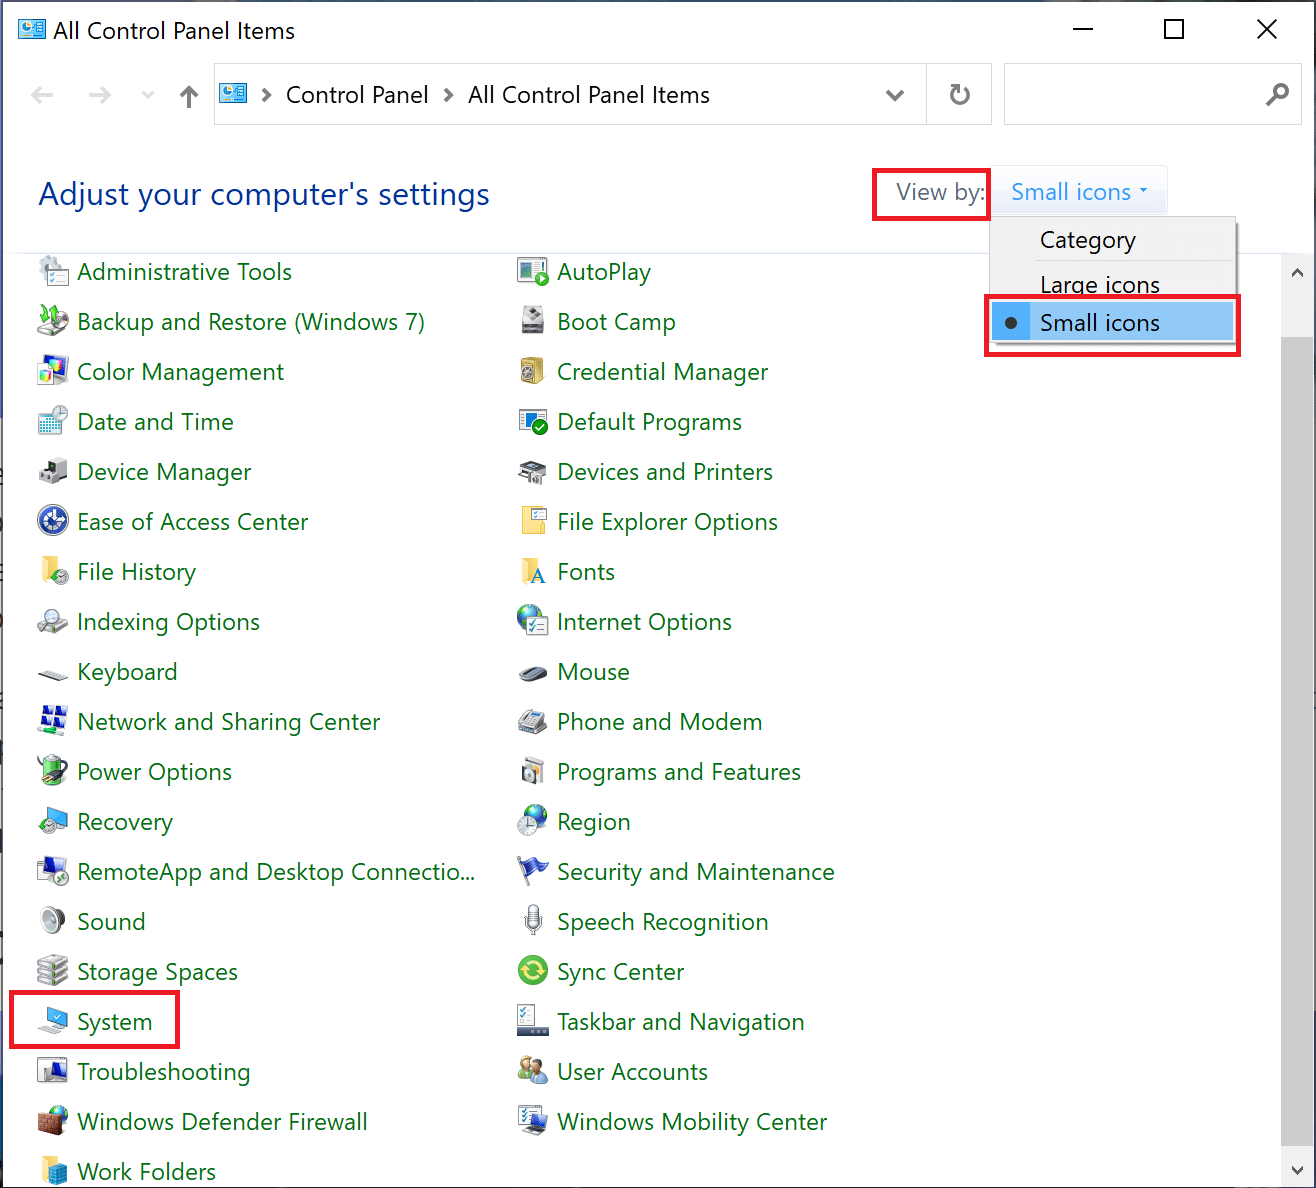
2. Go to View by and select small icons from the menu.
3. Then, click on System, as shown below.
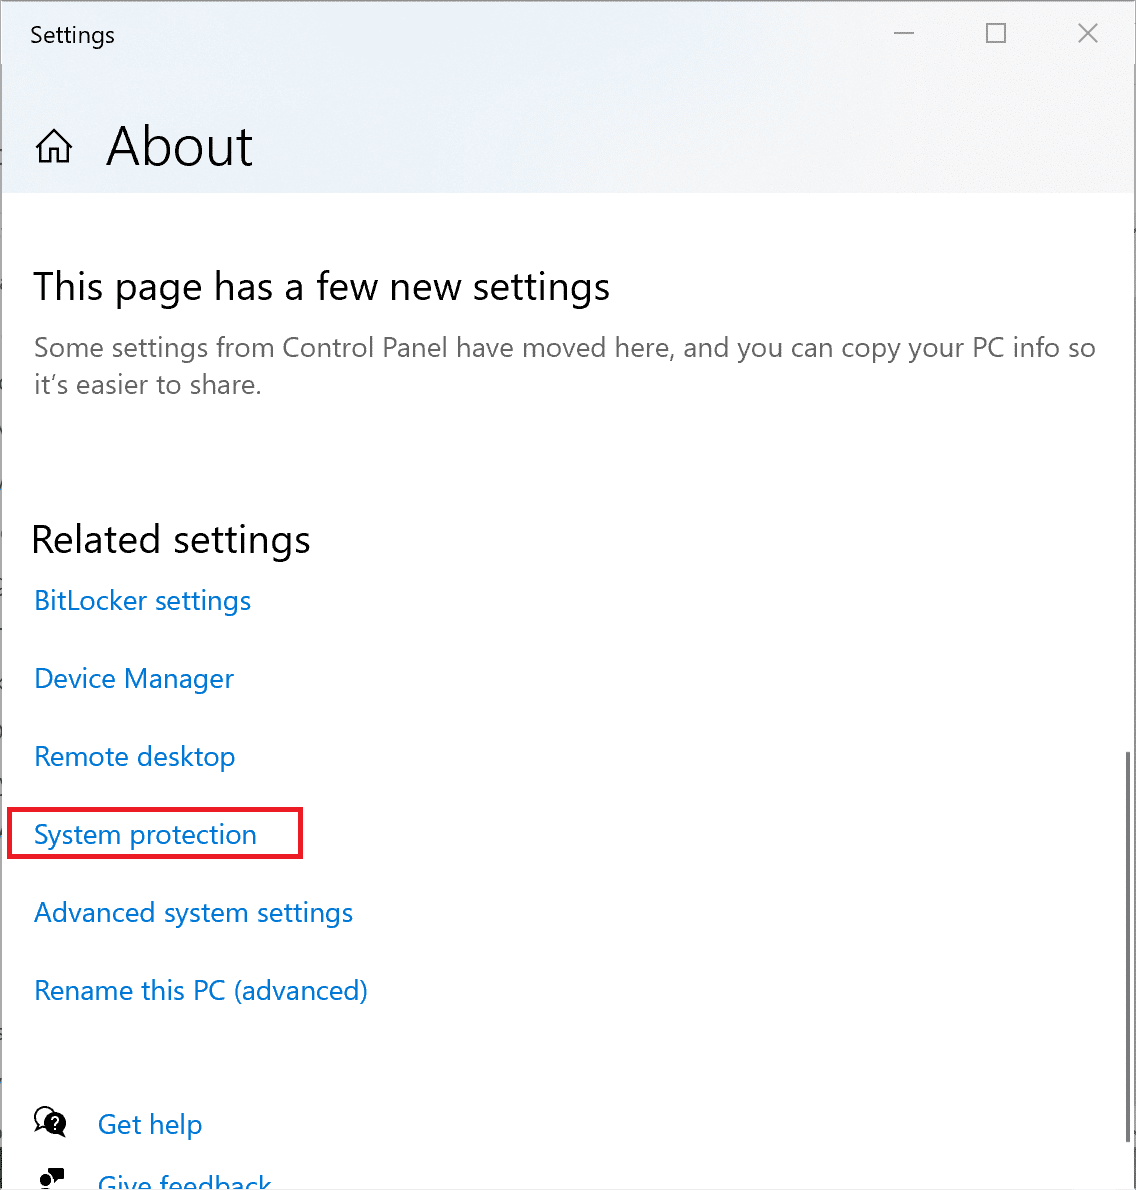
4. Scroll down in the new window (or search on the right-hand side) and select System protection.
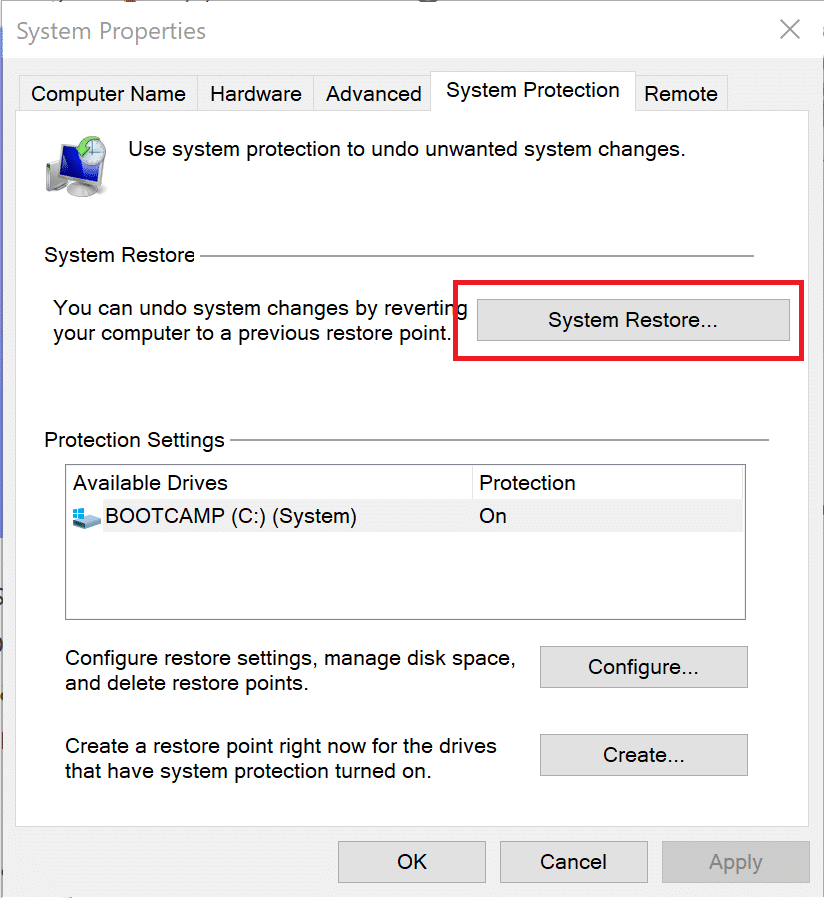
5. In the System Properties window, click on System Restore…. Refer to the given pic.
6. In the window that now pops up, select Choose a different restore point.
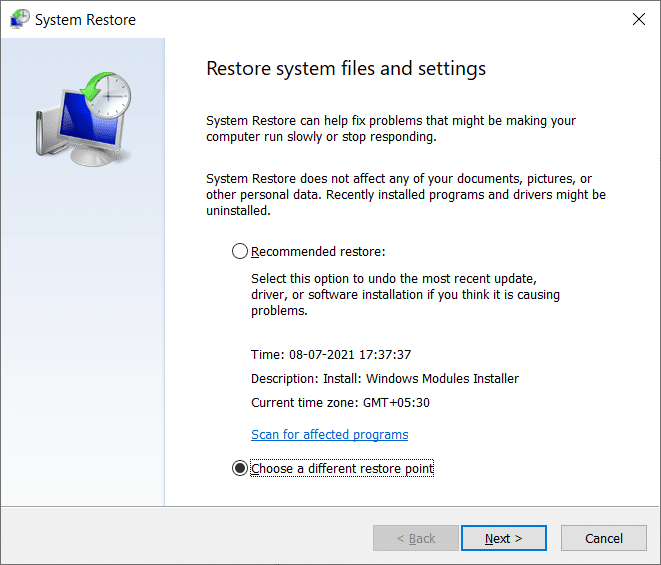
7. Click Next and follow the on-screen instructions.
8. Pick a time and date when Windows updates used to work properly.
Note: It doesn’t need to be exact; it can be an approximate time and date.
Once the system restore is complete, check if Windows 10 updates are being successfully downloaded and installed into your system.
Also Read: How to use System Restore on Windows 10
Method 13: Windows Reset
Implement this method only as a last resort to fix Windows 10 won’t update issue. Although, a complete Windows Reset will take the system files back to default or factory state. Yet, it will not affect any of your personal files. Here’s how to Reset Windows on your system:
1. Type Reset into the Windows search bar.
2. Next, click on Reset this PC in the search results.
3. In the Recovery window that opens, click on Get started under Reset this PC option. Refer to pic below.

4. Choose to Keep My files so that the Reset removes apps & settings but keeps your personal files as shown.
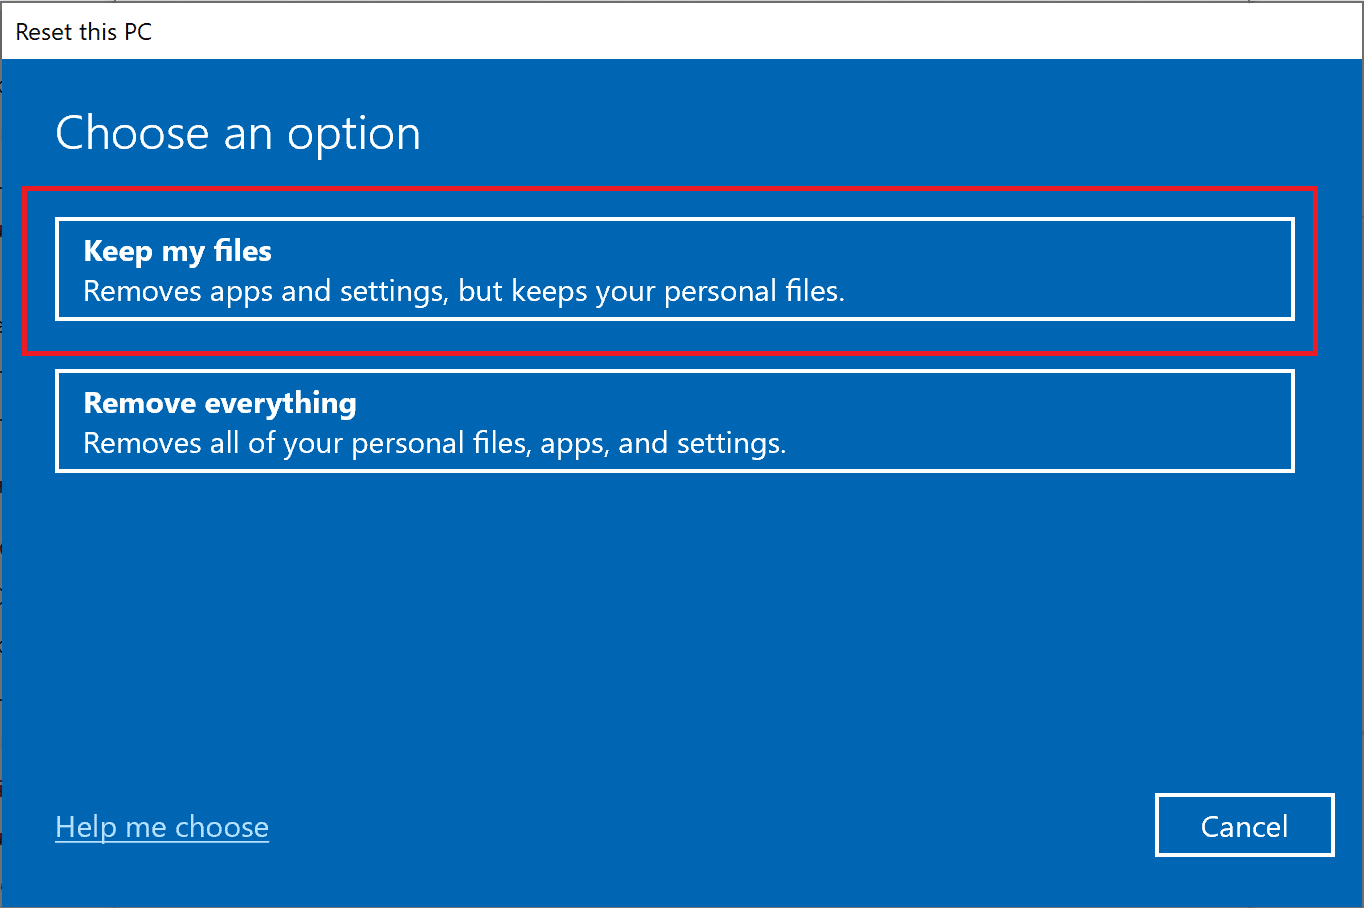
5. Finally, follow the on-screen instructions and wait for Windows 10 reset to be completed.
Recommended:
We hope that this guide was helpful and you were able to fix Windows 10 won’t update issue. Let us know which method worked for you the best. If you have any questions or suggestions regarding this article, feel free to drop them in the comments section.