If you’ve noticed that your smartphone GPS accuracy isn’t working correctly, then there are ways to fix and improve the GPS accuracy of your Android smartphone. Read along to know more!
GPS stands for Global Positioning System, and it is an internationally used service that allows you to locate your position on the map. Now, GPS isn’t anything new. It has been around for almost five decades. Initially, it was created for military purposes to guide aircraft, ships, and rockets but later it was made available for public use as well.
At present, it uses a fleet of 31 satellites that are distributed around the globe and help in triangulating your position. Different navigational devices use GPS services in cars, busses, trains, boats and ships, and even aeroplanes. A lot of smartphone apps like Google Maps actively rely on GPS to show you the right path. Every smartphone has a built-in antenna that receives signals from the satellites and relays it to the software or apps via a driver.
How to Improve GPS Accuracy on Android
What are the Reasons behind poor GPS Accuracy?
As mentioned earlier, several elements are involved in relaying the GPS signal to your phone. Therefore, the low accuracy of GPS can occur if any one of these is not in order.
We know that GPS works on the signals transmitted by the satellites. These satellites are spread all around the world. Ideally, they should be evenly distributed to ensure that proper signal coverage is available at all times. However, this is seldom possible. Some places have more satellites than the other. As a result, GPS accuracy differs from place to place. Metropolitan cities, for example, have better coverage than remote corners of the world. Thus, we can say that the number of satellites in your region greatly affects the GPS accuracy.
See Also:
7 Best Fixes for Spotify Something Went Wrong Error on Android
7 Ways to Fix WhatsApp Not Syncing Contacts on Android
How to Mirror Android Phone to TV Without Wi-Fi
Fix Android Not Accepting Correct PIN
Fix Netflix Error 5.7 on Android
The second most important factor is the quality of the GPS antenna on your smartphone. This antenna is built-in all Android smartphones and receives signals from the satellite. If this antenna has poor reception capacity or has been damaged in some way, you will not get the accurate GPS directions. The last element is this chain is the software or the app and its driver. The navigation app that you are using on your phone says Google Maps translates these signals to information that is relevant and legible to you. Problems in the app or app settings can lead to poor navigation.
How to Improve GPS Accuracy on Android Smartphone
Although some factors are not in our control (like the number of satellites in the region), we can make some changes on our end to improve the GPS accuracy. Tweaking a few app settings and preferences can make a big difference in terms of GPS accuracy. In this section, we are going to discuss a series of steps and measures that you can take to get the desired result.
1. Check Your Location
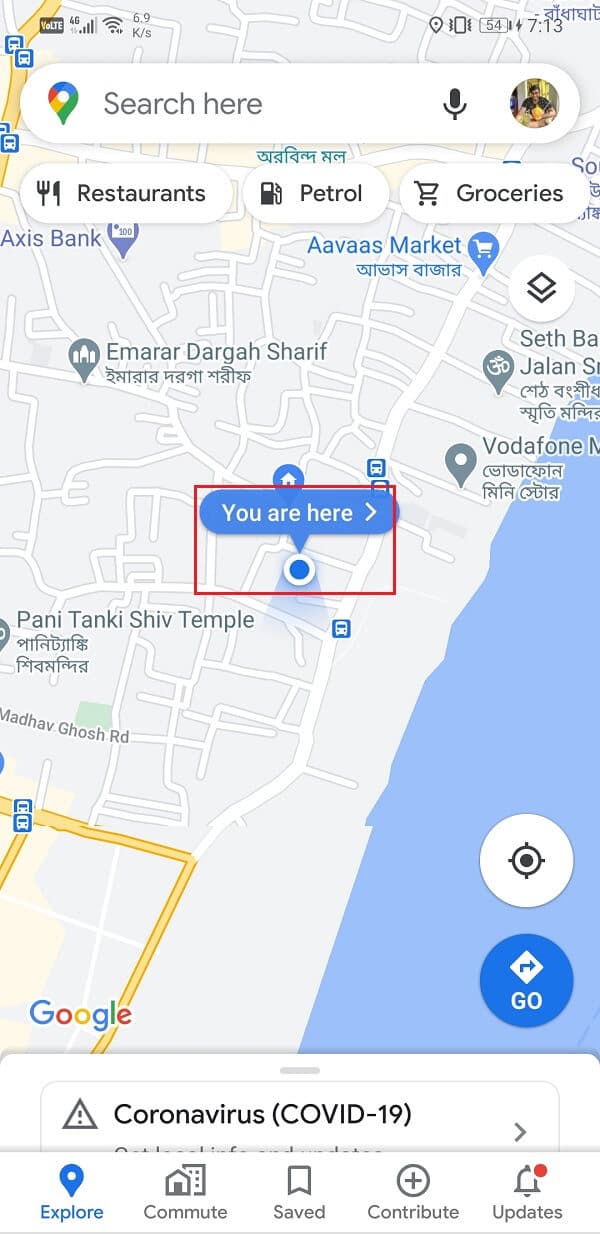
Before we begin to fix or improve the inaccurate GPS, we need to understand how much off the mark we really are. The easiest way to check your location it by opening your navigation app, like Google Maps. It will automatically start detecting your location and should place a blue pinpoint marker on the map.
Now if Google Maps is sure of your location, meaning GPS is working accurately, then you will see just a small blue dot on the map. However, if the GPS signal isn’t strong and Google Maps is not certain about your exact location, then there will be a light blue circle around the dot. The greater the size of this circle, the higher is the margin of error.
2. Turn on High Accuracy Mode
The first thing that you can do is enable the High Accuracy Mode for Google Maps. It will consume a little extra data and drain the battery faster, but it is worth it. As the name suggests, this increases the accuracy of detecting your location. Enabling high accuracy mode might improve the accuracy of your GPS. Follow the steps given below to enable high accuracy mode on your device.
1. Open the Settings on your phone.

2. Tap on the Passwords and Security option.
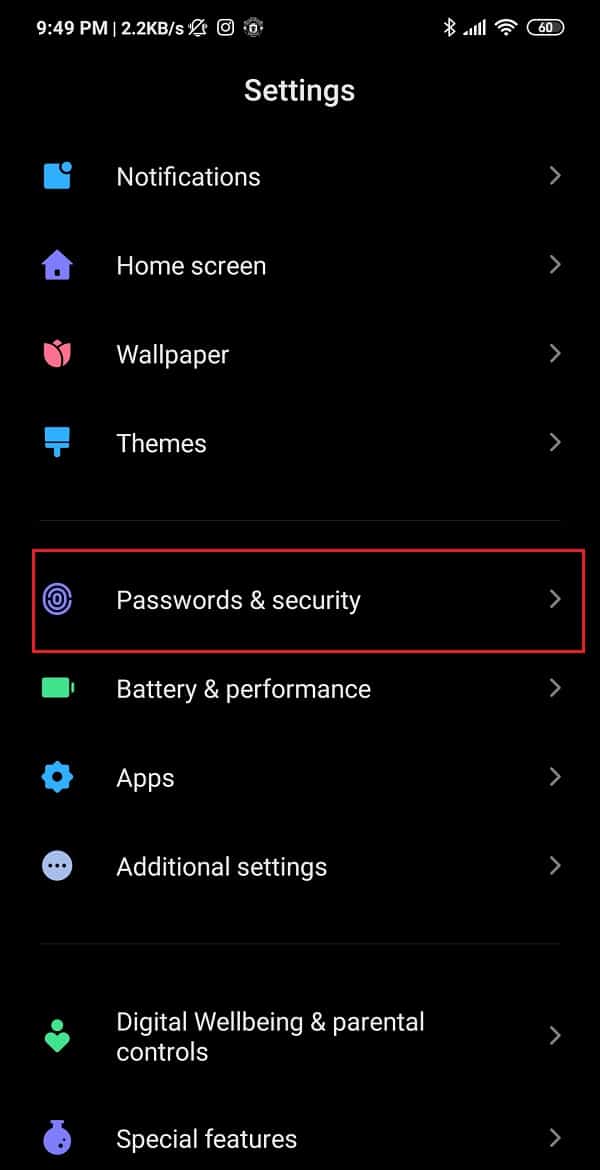
3. Here, select the Location option.
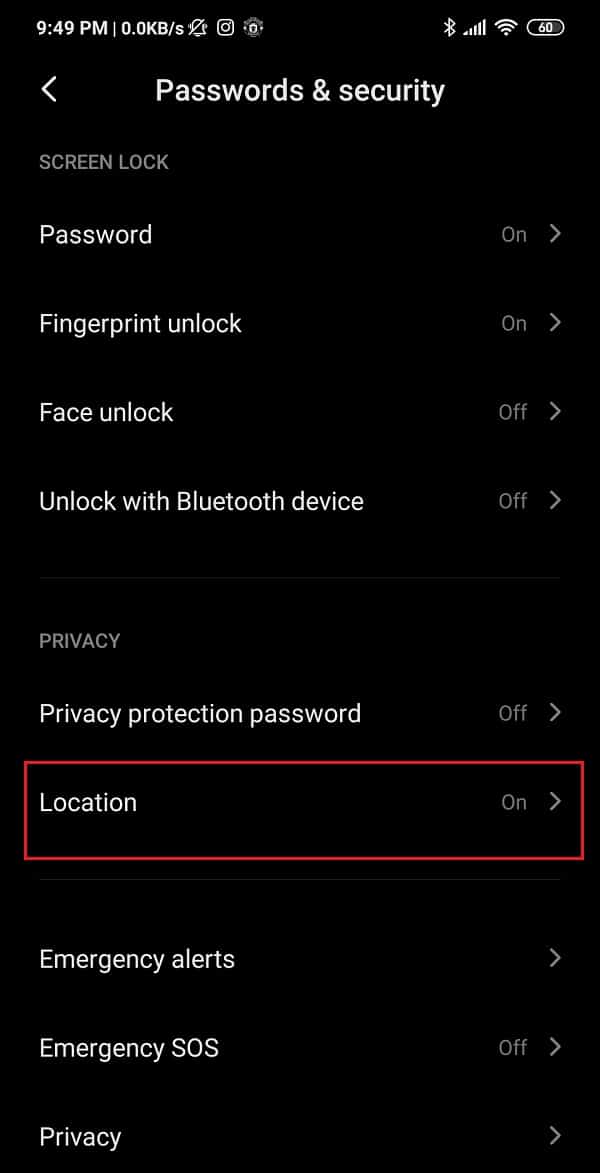
4. Under the Location mode tab, select the High accuracy option.
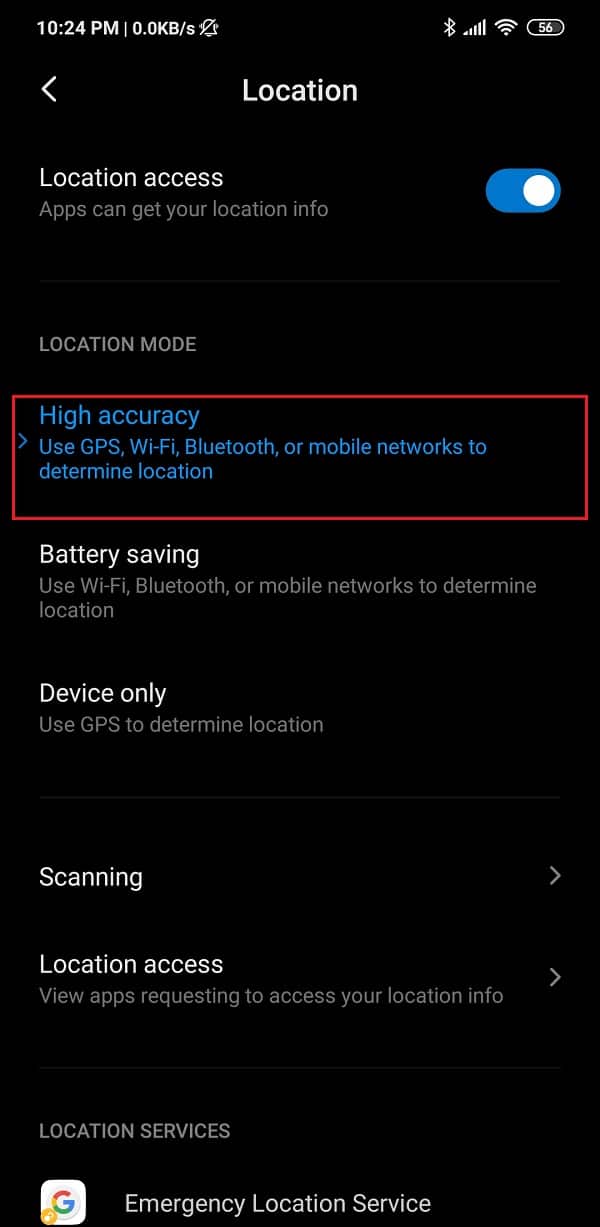
5. After that, open Google Maps again and see if you can get directions properly or not.
3. Recalibrate your Compass
To receive accurate directions in Google Maps, the compass must be calibrated. The problem may be due to the low accuracy of the compass. Even though the GPS is working properly, Google Maps will still show inaccurate navigation routes if the device’s compass is not calibrated. Follow the steps given below to re-calibrate your compass.
1. Firstly, open the Google Maps app on your device.
2. Now, tap on the blue dot that shows your current location.
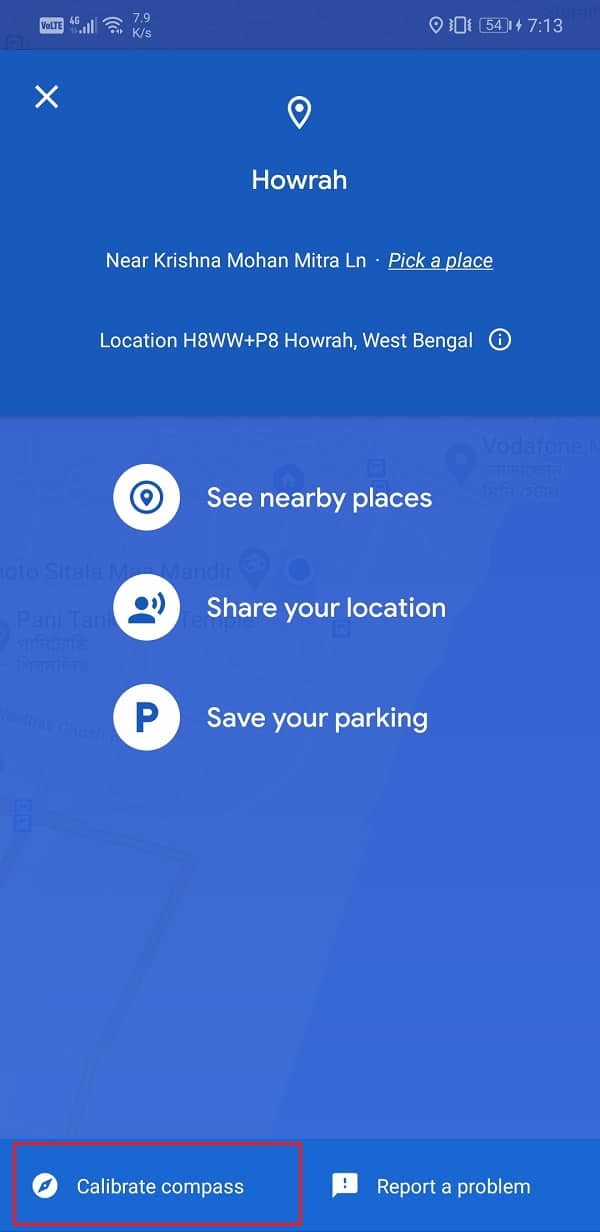
3. After that, select the Calibrate compass option on the bottom left side of the screen.
4. Now, the app will ask you to move your phone in a specific way to make figure 8. Follow the on-screen animated guide to see how.
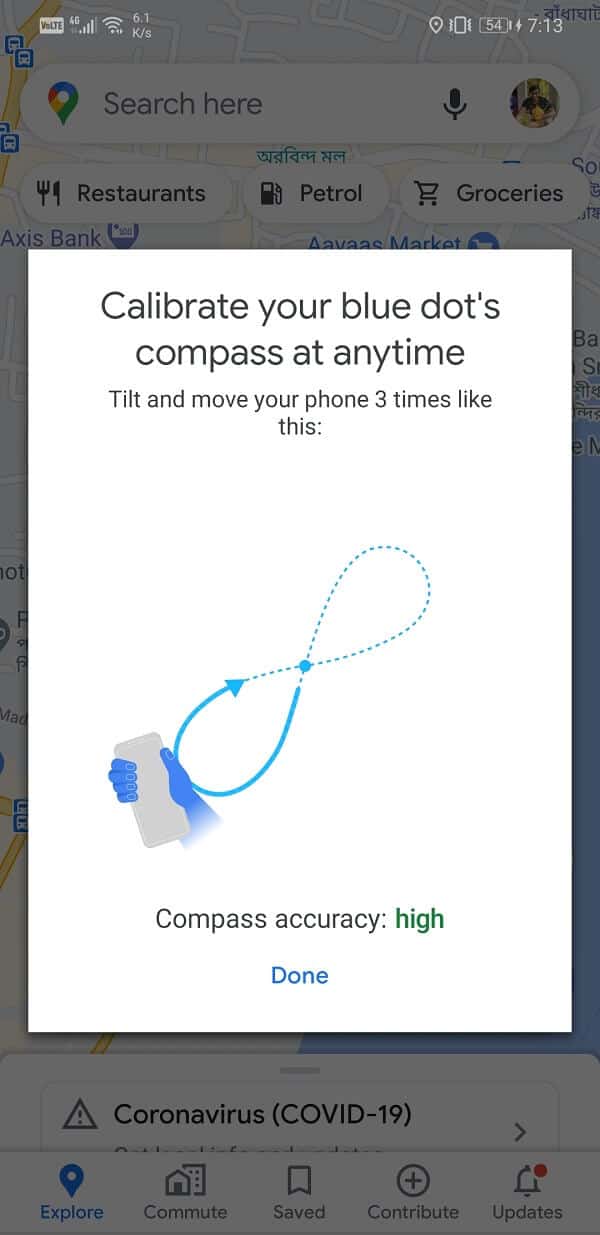
5. Once you have completed the process, your Compass accuracy would be high, and this will solve the problem.
6. Now, try searching for an address and see if Google Maps provides accurate directions or not.
You can also use a third-party app to calibrate your compass. Apps like GPS Status can be easily downloaded for free from the Play Store and be used to recalibrate your compass. Follow the steps given below to learn how to use the app.
1. Firstly, download and install the GPS Status on your device.
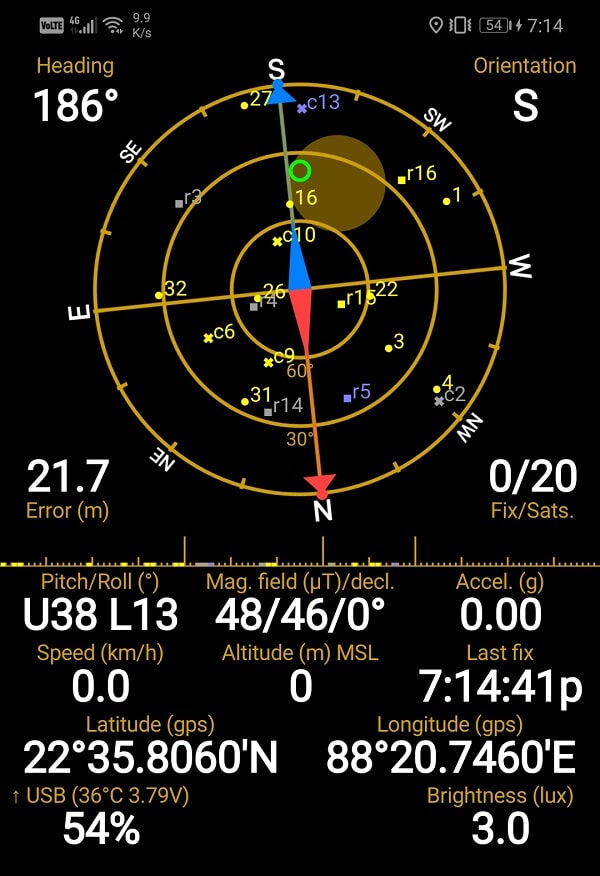
2. Once you launch the app, it will automatically start searching for available satellite signals. This also gives you an idea of how strong the signal reception is in that area. The reason behind poor reception could be a lack of clear skies or simply fewer satellites in that area.
3. After the app has locked on to a signal, tap on the “Compass Calibration” button and then follow the on-screen instructions.
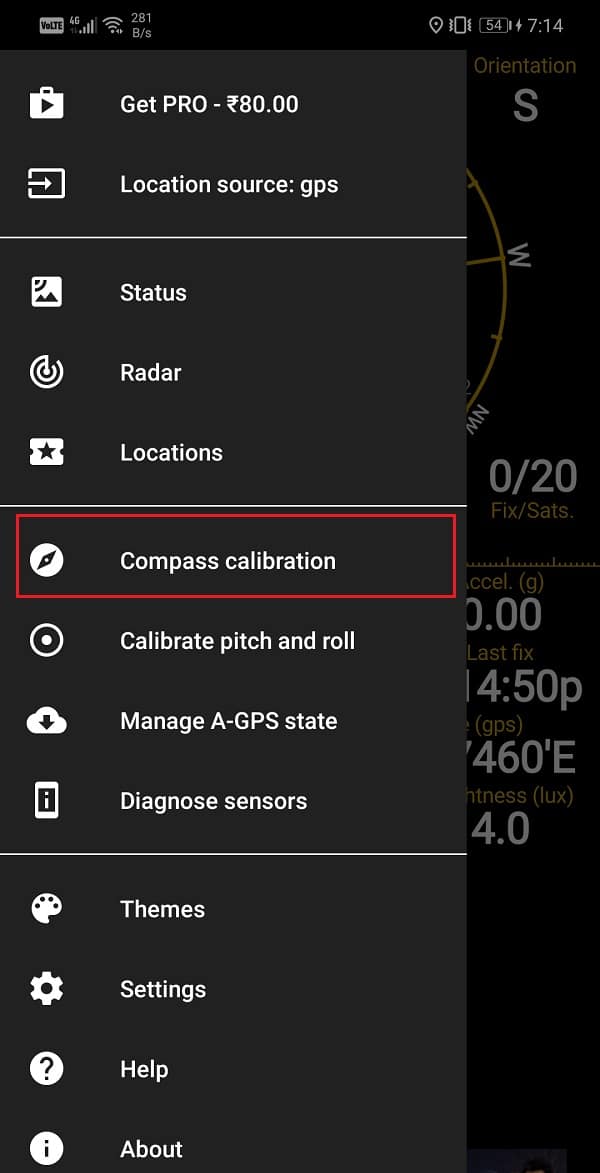
4. Once the calibration is complete, your device should work properly, and the GPS accuracy will improve significantly.
4. Make Sure that GPS is Connected
Sometimes when an app is not using the GPS, it gets disconnected. The main purpose of that is to save battery. However, that could lead to a loss of accuracy. Take, for example, you are using Google Maps and decide to switch to your messaging app to check new messages. Now while you are on the messaging app, your phone might turn off the GPS to save power.
The ideal solution to this problem is to use a third-party app to keep the GPS ON at all times. Apps like “Connected GPS” will make sure that your GPS does not automatically turn off. You can use this app while using your navigation app like Google Maps or some GPS based games like Pokémon GO. It will consume a little extra power, but it worth it. You can turn it off at other times if you like.
5. Check for Physical Obstruction
To detect GPS signals properly and accurately, your device should be able to connect to and establish a clear connection with the satellites. However, if there is any metallic object blocking the path, then your device will not be able to receive GPS signals. The best way to make sure is to use a third-party app like GPS Essentials. It will allow you to identify the reason behind poor GPS signal accuracy properly. You will be able to know for sure whether the problem is software related or due to some physical obstruction caused by a metallic object. Follow the steps given below to learn how to use the app.
1. The first thing that you need to do is download and install the GPS Essentials app from the Play Store.
2. Now launch the app and tap on the Satellite option.
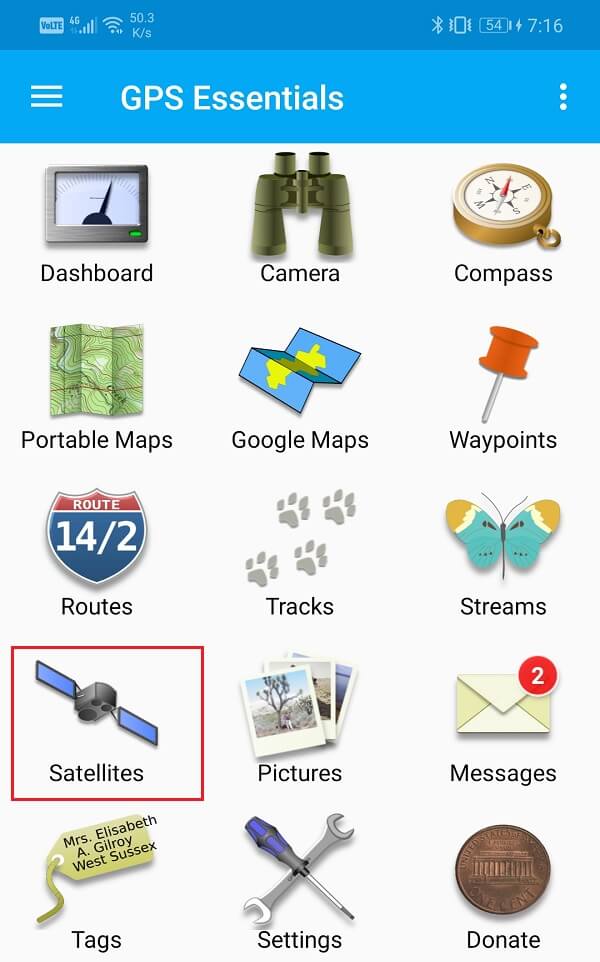
3. Your device will now automatically start looking for Satellite nearby.
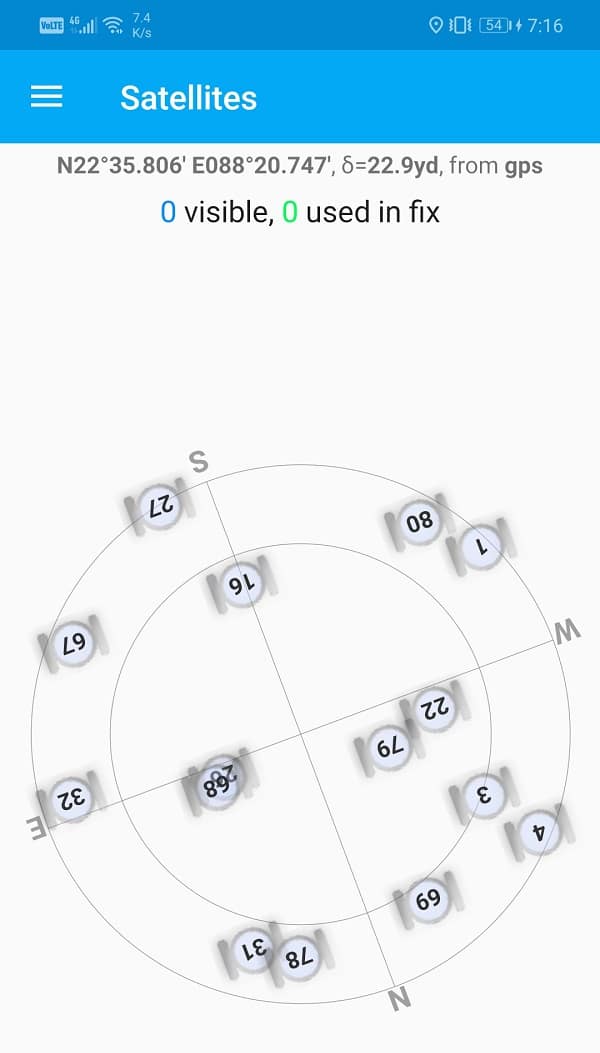
4. If it is unable to detect any satellites, then it means that some metallic object is blocking the path and preventing your device to get GPS signals.
5. However, if it shows satellites on the radar, then it means that the problem is software-related.
6. You can download an alternative app like Here WeGo to confirm the results. Once the physical obstruction theory is out of the window, then you need to look for software-oriented solutions which will be discussed in the next part of the solution.
6. Refresh Your GPS
If none of the above methods works, then your device may be stuck on some old satellites that are not even in the region. Therefore, the best thing to do is to refresh your GPS data. This will allow your device to establish a fresh connection with the satellites that are within its range. The best app for this purpose is GPS Status and Toolbox. Follow the steps given below to use the app to Refresh your GPS data.
1. Firstly, download and install the GPS Status and toolbox from the Play Store.
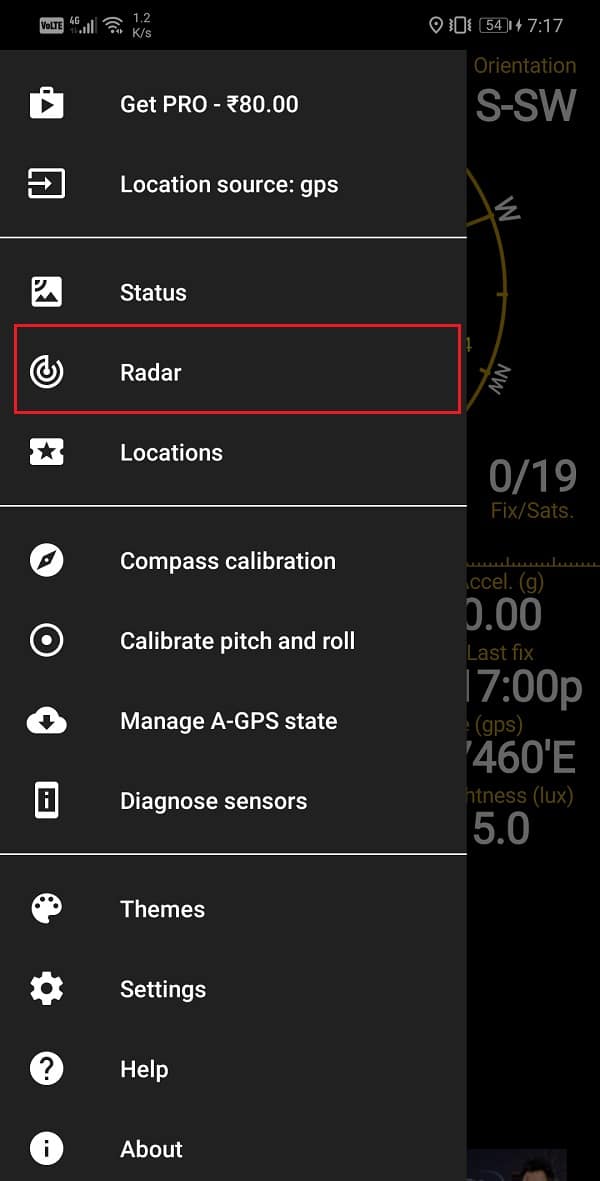
2. Now launch the app and tap anywhere on the screen.
3. After that, tap on the Menu button and select Manage A-GPS state.
4. Here, tap on the Reset button.
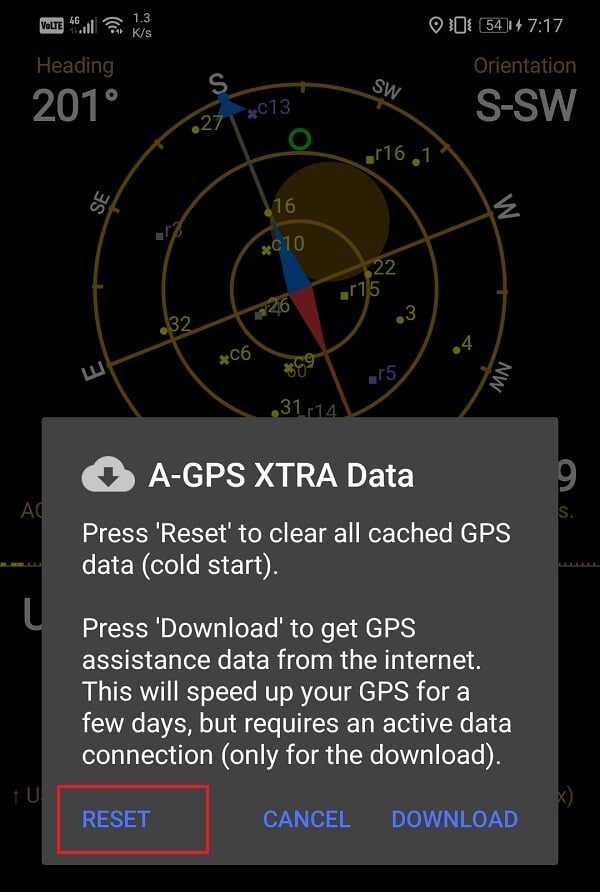
5. Once the data has been reset, go back to the Manage A-GPS state menu and tap on the Download button.
6. Wait for some time, and your GPS data will get reset.
7. Purchase an External GPS Receiver
If none of the above methods works, then, unfortunately, it seems like the problem is with your device’s hardware. The GPS reception antenna that receives and relays signals from the satellites are no longer functional. In this case, the only solution is to get an external GPS Receiver and connect it to your Android phone via Bluetooth. An external GPS receiver would cost somewhere around 100$, and you can get it easily from Amazon.
Recommended:
We hope that you find this information helpful and you were able to improve GPS accuracy on your Android smartphone. GPS plays an important role in our daily lives. Navigating from one place to another would be extremely difficult, especially for the tech-dependent young generation, without GPS. Almost everyone uses navigation apps like Google Maps on their smartphone while driving, exploring new places, or travelling in an unknown city. Therefore, they must have strong GPS signal reception and in turn, get accurate directions on the app. We hope that these solutions and fixes can improve the GPS accuracy on your Android device.