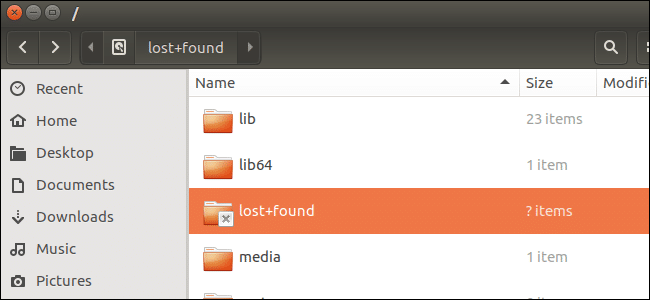
How to Restore files from lost+found: The folder entitled /lost+found is where fsck puts fragments of files that it hasn’t been able to attach anywhere in the directory tree. The lost+found directory (not Lost+Found) is a construct used by fsck when there is damage to the filesystem. Files that would normally be lost because of directory corruption would be linked in that filesystem’s lost+found directory by inode number.
/lost+found is an important directory which is useful for recovering files which are not properly closed due to many reasons such as power failure. Lost+Found is created by the system at the time of Linux OS installation for each partition we create. In other words, we can say the mounted folder contains this lost+found folder. This folder contains the files with no links and files to be recovered. Any file to be recovered is kept in this folder. fsck command is used to recover these files.
How to Restore files from lost+found
1.If you are unable to boot and seeing the screen “Continue to wait; Press S to skip mounting or M for manual recovery” due to file system error in / and /home partitions. Then select the recovery option.
2.Run fsck on both / and /home file systems.
3.If you are having trouble in getting fsck cleared for /home then use:
 fsck -p /home (Automatic fixing)
"fsck -y /home" (this would select yes for all the prompts automatically).
4.Now you would be able to pass /home from fsck successfully.
5.If you will try mount /home there won’t be any user files excpet lost+found directory. Run “df -h” and you will see that your file system will be using the same space as before the crash because all the files are in the lost+found directory and we are going to recover them.
6.Now in the lost+found folder, you will see that there are a large number of folders without a name and scrutinizing each one will waste so much of your time. So next we should run “file *” to know which type of file we are dealing with.
#7479417: directory
#7479418: directory
#7479419: directory
#7602560: directory
#7603310: MPEG sequence, v2, program multiplex
#7603464: JPEG image data, JFIF standard 1.02
#7603542: Audio file with ID3 version 2.3.0, contains: Audio file with ID3 version 2.4.0, contains: MPEG ADTS, layer III, v1, 320 kbps, 44.1 kHz, JntStereo
#7604043: ISO 9660 CD-ROM filesystem data 'Linux Mint 9 Isadora ' (bootable)
#7604089: ISO 9660 CD-ROM filesystem data 'netbook-x86_64-201005242312 ' (bootable)
#7605425: MPEG sequence, v2, program multiplex
#7605470: MPEG sequence, v2, program multiplex
#7605484: MPEG sequence, v2, program multiplex
#7607478: gzip compressed data, from Unix, last modified: Fri May 14 07:55:35 2017
#7607788: gzip compressed data, from Unix, last modified: Tue May 4 14:16:31 2017
#7610801: PDF document, version 1.4
#7612061: ISO 9660 CD-ROM filesystem data 'Ubuntu 10.04 LTS amd64 ' (bootable)
#7613228: directory
#7613583: directory
#7613588: directory
7.Now let’s filter out the result because we just want the directory to be included in our result. So run “file * | grep directory > /root/list.dir” command.
8.Next, edit /root/list.dir to make it a script to show the list of files in each directory. Edit the file to make it a script using vi, vim, nano. Add set -v to the first line and add ‘ls -l‘ to the beginning of every other line.
set -v
ls -l #10104455
ls -l #10104531
ls -l #10104536
9.Now make the file executable then run it and redirect the output to a file:
chmod -x /tmp/list.dir
./list.dir 1> /tmp/list.out 2>&1
10.Now search for the file e.g. Desktop in the dir.out output file. The result will be something like this:
ls -l #7733249
total 5704
drwxr-xr-x 2 1002 1002 4096 2017-06-05 13:24 Desktop
drwxr-xr-x 2 1002 1002 4096 2017-04-30 09:15 Documents
drwxr-xr-x 2 1002 1002 4096 2017-04-30 09:15 Downloads
-rw-r--r-- 1 1002 1002 179 2017-04-30 09:14 examples.desktop
drwxr-xr-x 2 1002 1002 4096 2017-04-30 09:15 Music
drwxr-xr-x 2 1002 1002 4096 2017-04-30 09:15 Pictures
drwxr-xr-x 2 1002 1002 4096 2017-04-30 09:15 Public
-rw-r--r-- 1 1002 1002 5794003 2017-05-15 11:00 scrap001_a.ora
drwxr-xr-x 2 1002 1002 4096 2017-04-30 09:15 Templates
-rw-r--r-- 1 1002 1002 1265 2017-05-20 14:35 tinda chuteny
drwxrwxr-x 2 1002 1002 4096 2017-05-23 14:57 Ubuntu One
drwxr-xr-x 2 1002 1002 4096 2017-04-30 09:15 Videos
11.The above output specified that the home directory is #7733249. Now to restore the home folder just mv the folder:
mv /lost+found/#7733249 /home/yourUsername
Note: Replace your username with the actual username of your Linux installation.
Method 2: Use the script to automatically recover files
First, run “sudo -i” or a “sudo su –” and then run the below script which runs on filesystem /dev/sd?? and outputs to /tmp/listing:
fsck -y /dev/sd??
mkdir /tmp/recover
mount /dev/sd?? /tmp/recover -o rw
cd /tmp/recover-lost+found
(
echo ‘set -v’
file * | grep directory 2>/dev/null | perl -pe ‘s/^(#[0-9]+):.*$/ls -l ‘”‘”‘$1'”‘”‘/’
) | sh > /tmp/listing
That’s it you have successfully learned How to Restore files from lost+found but if you still have any question regarding this article feel free to ask them in the comment’s section.