In schools and offices, the documents (assignments & reports) to be submitted are expected to follow a specific format. The specificity can be in terms of the font and font size, line and paragraph spacing, indentation, etc. Another common requirement with Word documents is the margin size on all sides of the page. To those unaware, margins are the empty white space you see before the first word and after the last word of a completed line (the space between the edge of the paper and the text). The amount of margin size maintained indicates to the reader if the author is a professional or an amateur.
Documents with small margins run the risk of printers trimming the initial and final words of every line while larger margins imply fewer words can be accommodated in the same line causing the overall number of pages in a document to increase. To avoid any mishaps while printing and provide a good reading experience, documents with 1-inch margins are considered optimal. The default margin size in Microsoft Word is set as 1 inch, although users do have the option to manually adjust the margins of every side.
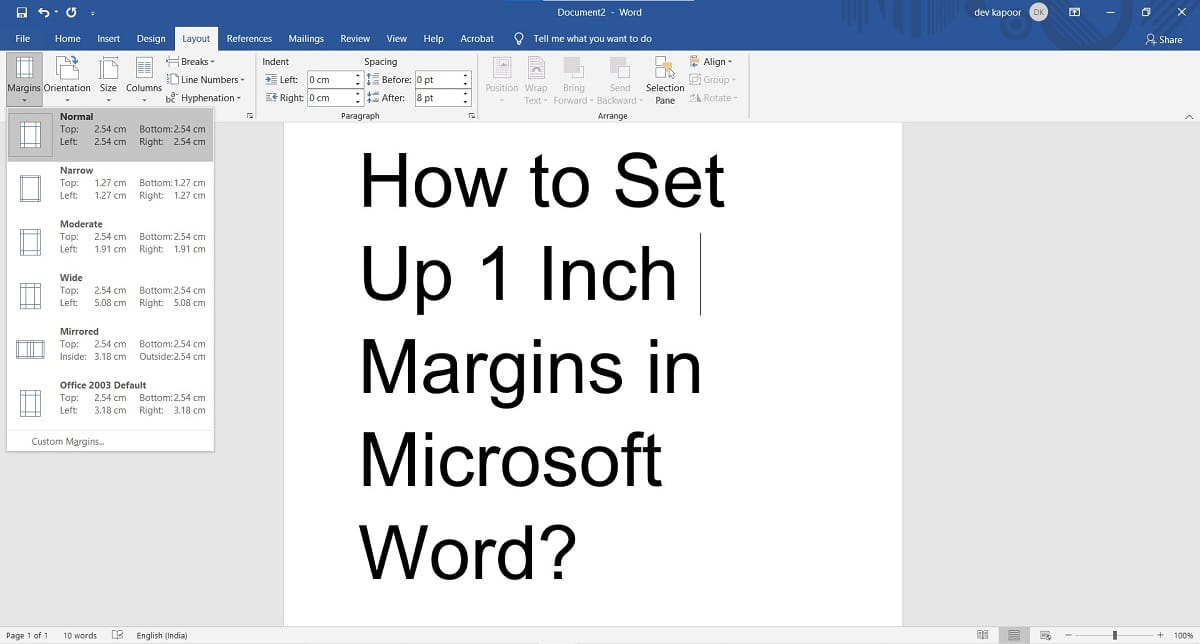
How To Set Up 1 Inch Margins In Microsoft Word
Follow the below guide to change the margin size in your Word document:
1. Double-click on your word document to open it and consequently launch Word.
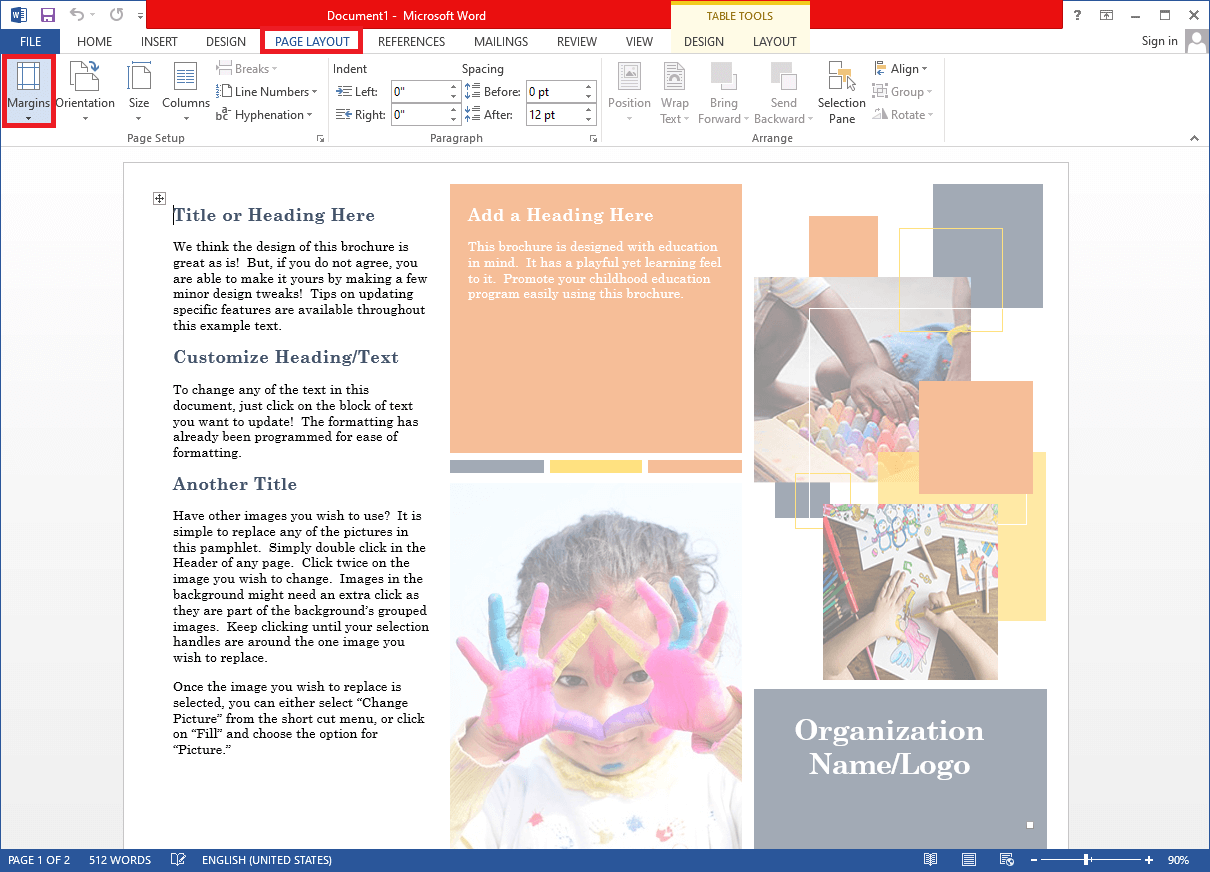
2. Switch to the Page Layout tab by clicking on the same.
3. Expand the Margins selection menu in the Page Setup group.
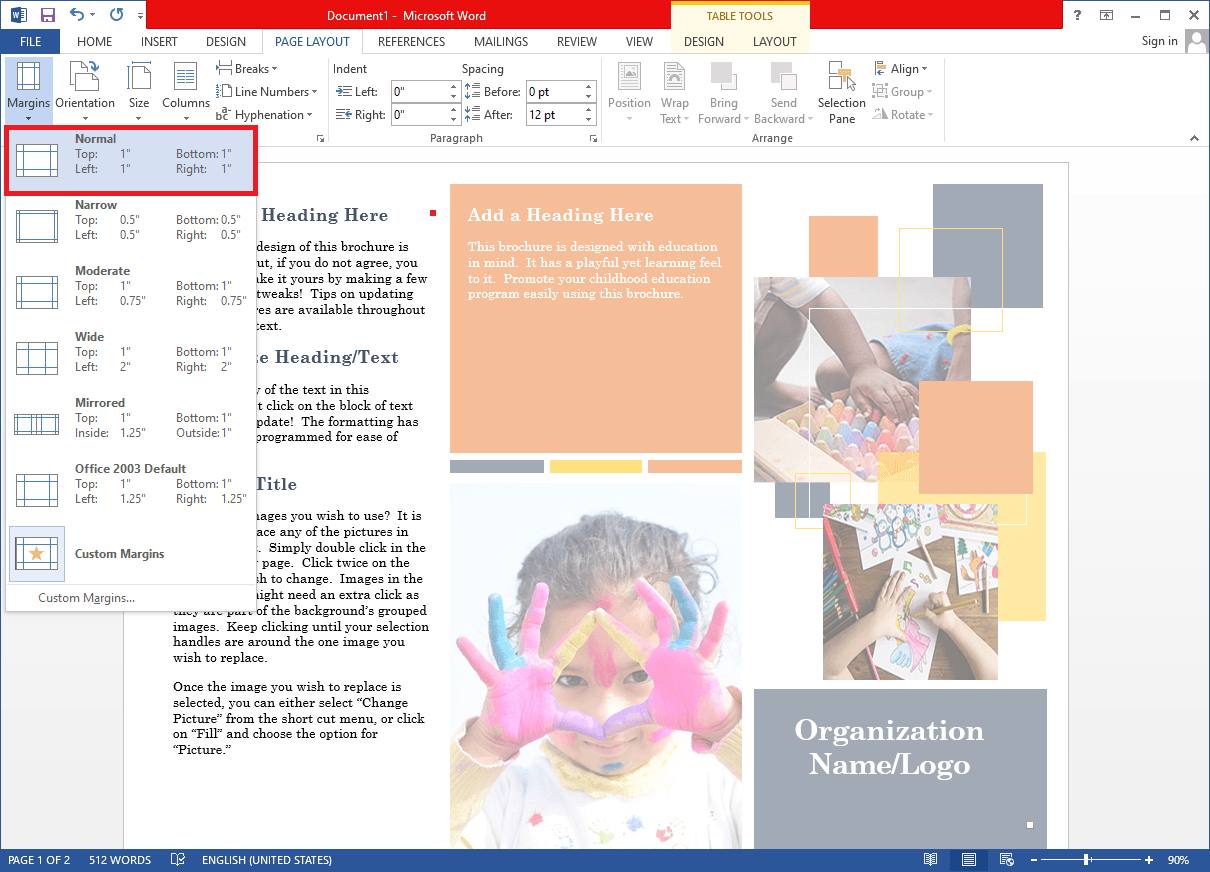
4. Microsoft Word has a number of predefined margins for various types of documents. Since a document with a 1-inch margin on all sides is the preferred format across many places, it is also included as a preset. Simply click on Normal to set 1-inch margins. The text will automatically readjust itself according to the new margins.
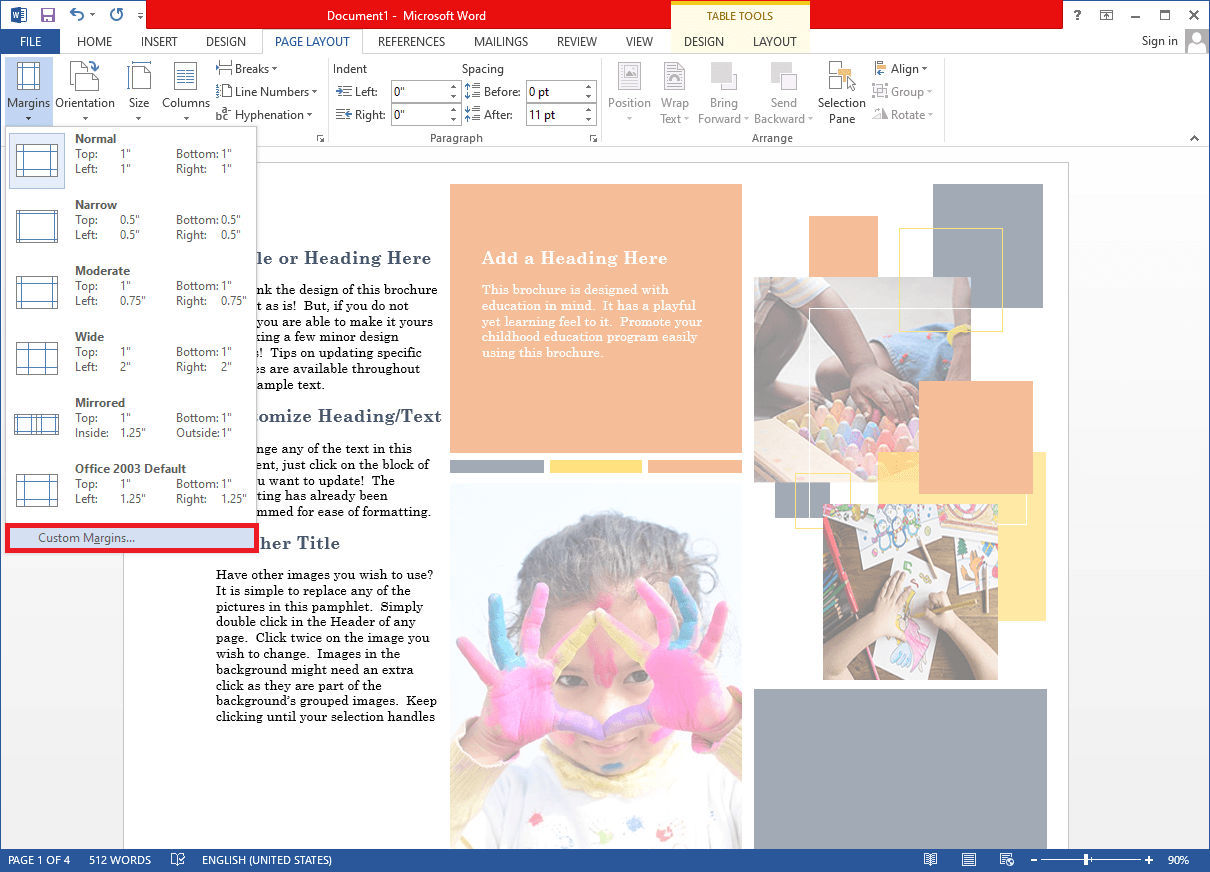
5. If you wish to only have 1-inch margins on some sides of the document, click on Custom Margins… at the end of the selection menu. A Page Setup dialogue box will come forth.
6. On the Margins tab, individually set the top, bottom, left, and right side margins according to your preference/requirement.
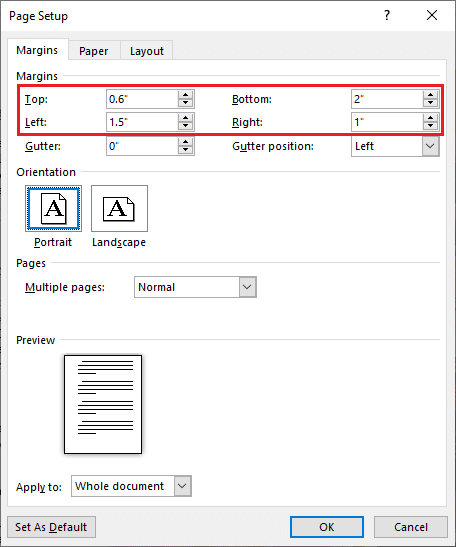
If you are going to print the document out and bind all the pages together either using a stapler or binder rings, you should also consider adding a gutter on one side. A gutter is extra empty space in addition to the page margins to ensure the text does not tuck away from the reader after bidding.
a. Click on the up arrow button to add a little gutter space and select the gutter position from the adjacent drop-down. If you set the gutter position to top, you will need to change the document orientation to landscape.
![]()
b. Also, using the Apply to option, select if you would like all pages (Whole document) to have the same margin and gutter space or only the selected text.
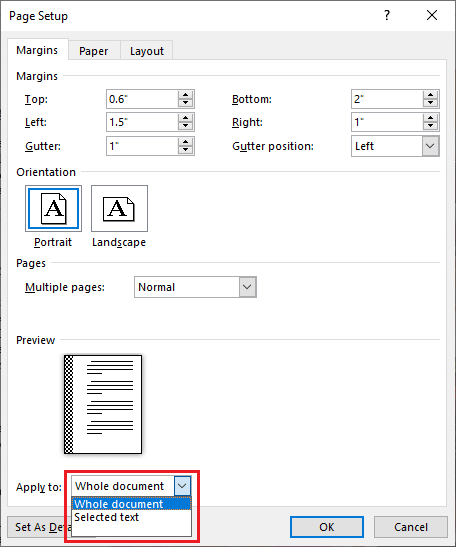
c. Preview the document after setting the gutter margins and once you are happy with it, click on Ok to apply the margin and gutter settings.
Also Read: How to Write Roman Numbers in Word
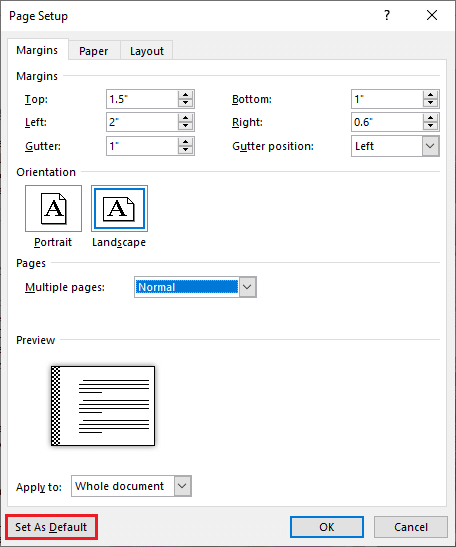
If your workplace or school requires you to print/submit documents with custom margins and gutter size, consider setting them as the default for every new document you create. This way you won’t have to worry about changing the margin size before printing/mailing the document. Open the Page Setup dialogue box, enter the margin and gutter size, select a gutter position, and click on the Set as Default button at the bottom-left corner. In the following pop-up, click on Yes to confirm and change the default page setup settings.
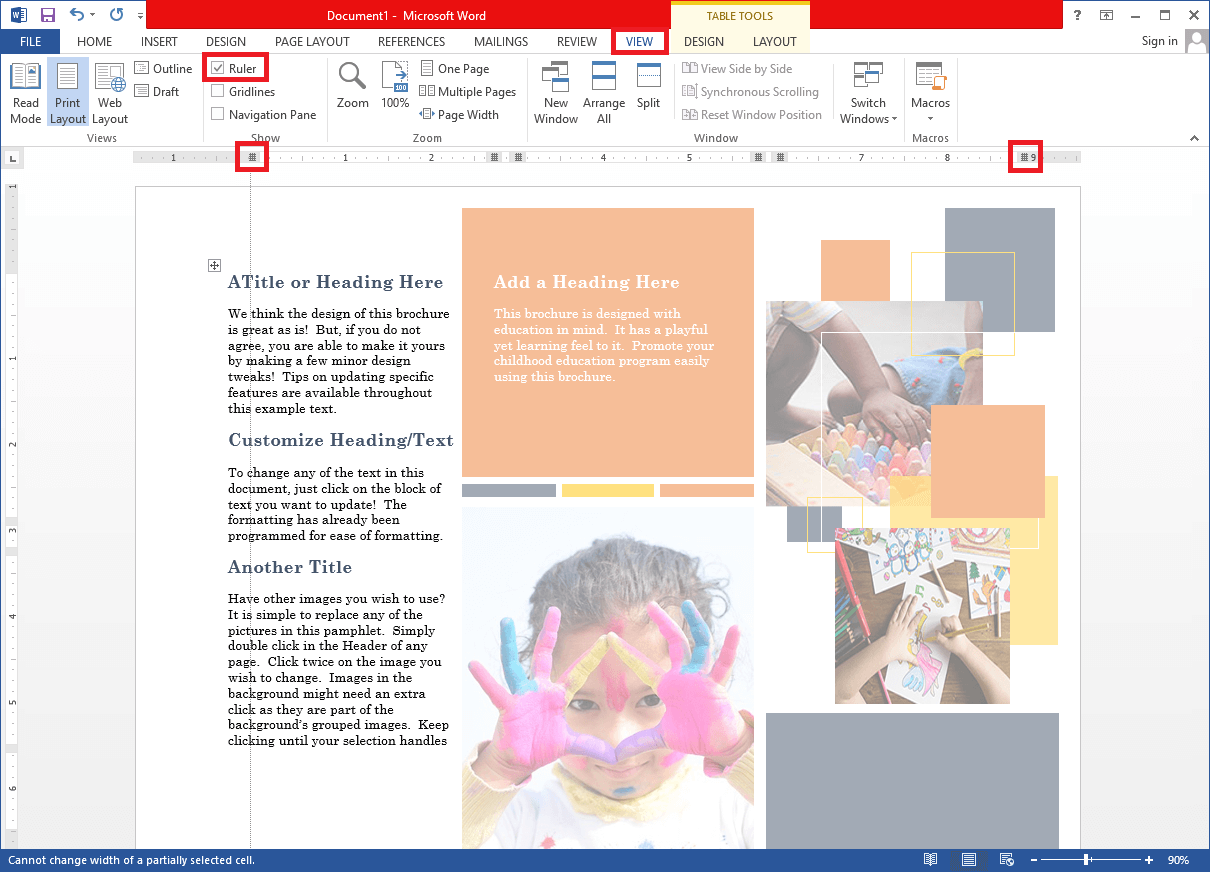
Another way to quickly adjust the margin size is by using the horizontal and vertical rulers. If you are not able to see these rulers, go to the View tab and check/tick the box next to Ruler. The shaded portion on the ends of the ruler indicates the margin size. Drag the pointer inwards or outwards to adjust the left and right side margins. Similarly, drag the shaded portion pointers on the vertical ruler to adjust the top and bottom margins.
Using the ruler one can eyeball the margins but if you need them to be accurate, use the Page Setup dialog box.
Recommended:
We hope this article was helpful and you were able to set up 1 inch margins in duplicate pages in Microsoft Word. you have any doubt or confusion regarding this article then feel free to write it down in the comment section.