How to Change Fonts on Android Phone (Without Rooting)

Oh well, it looks like someone’s into fancy fonts! Many people like to give an essence of themselves to their Android devices by changing their default fonts and themes. That certainly helps you personalize your phone and give it a totally different and refreshing look. You can even express yourselves through it which is kind of fun if you ask me!
Most of the phones, such as Samsung, iPhone, Asus, come with built-in additional fonts but, obviously, you do not have much of choice. Sadly, all the smartphones do not provide with this feature, and in such cases, you need to rely on the third-party apps. It can be a task to change your font, depend on the device you are using.
So, here we are, at your service. We have listed down below various tips and tricks through which you can change your Android device’s fonts very easily and also; you won’t even have to waste your time looking for suitable third-party apps, because we did that for you, already!
Without further ado, let us get started!
How to Change Fonts on Android Phone (Without Rooting)
#1. Try Default Method to Change Font
As I said earlier, most of the phones come with this built-in feature of additional fonts. Although you don’t have many options to choose from, still at least you have something to tweak with. However, you may have to boot your Android device in some cases. All in all, it is a very simple and easy process.
See Also:
How to Change Card Details on Xbox One
How to Remove Moisture from Phone Charging Port
How to Change HDMI Output to Input on a Laptop (Problem Solved!)
What is Background App Refresh on Android?
How to Edit Duration of Photos on TikTok on Phone
Change your font using your default phone settings for a Samsung mobile:
- Tap on the Settings option.
- Then click on the Display button and tap on Screen zoom and font option.
- Keep looking and scroll down until and unless you find your favourite Font Style.
- When you are done choosing the font that you want, and then tap on the confirm button, and you have successfully set it as your system font.
- Also, by tapping on the “+” icon, you can download new fonts very easily. You will be asked to log in with your Samsung account if you want to do so.
Another method that might come in handy to other Android users is:
1. Go to the Settings option and find the option saying, ‘Themes’ and tap on it.
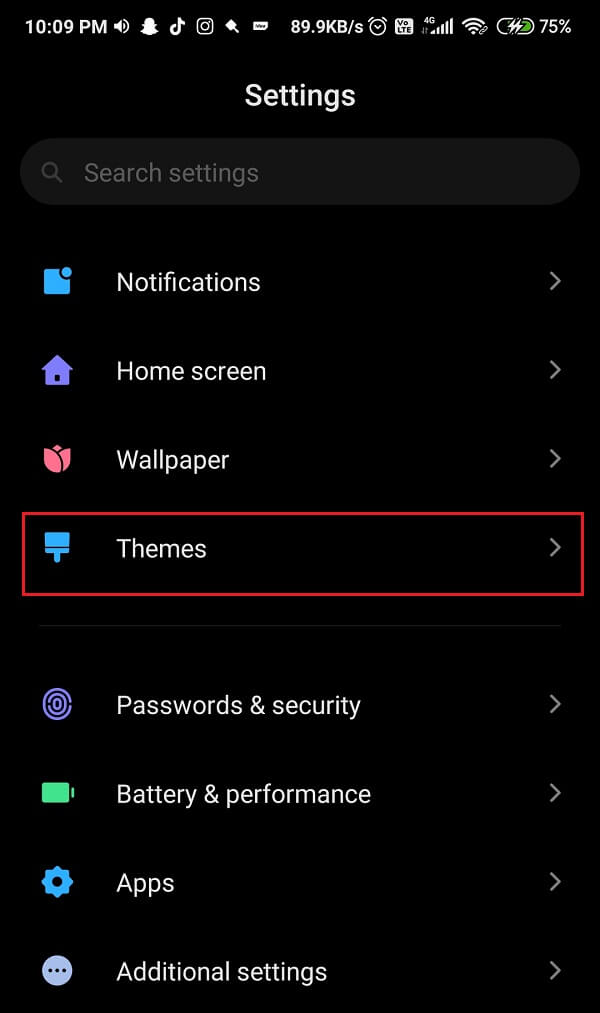
2. Once it opens, on the menu bar at the bottom of the screen, find the button saying Font. Select it.
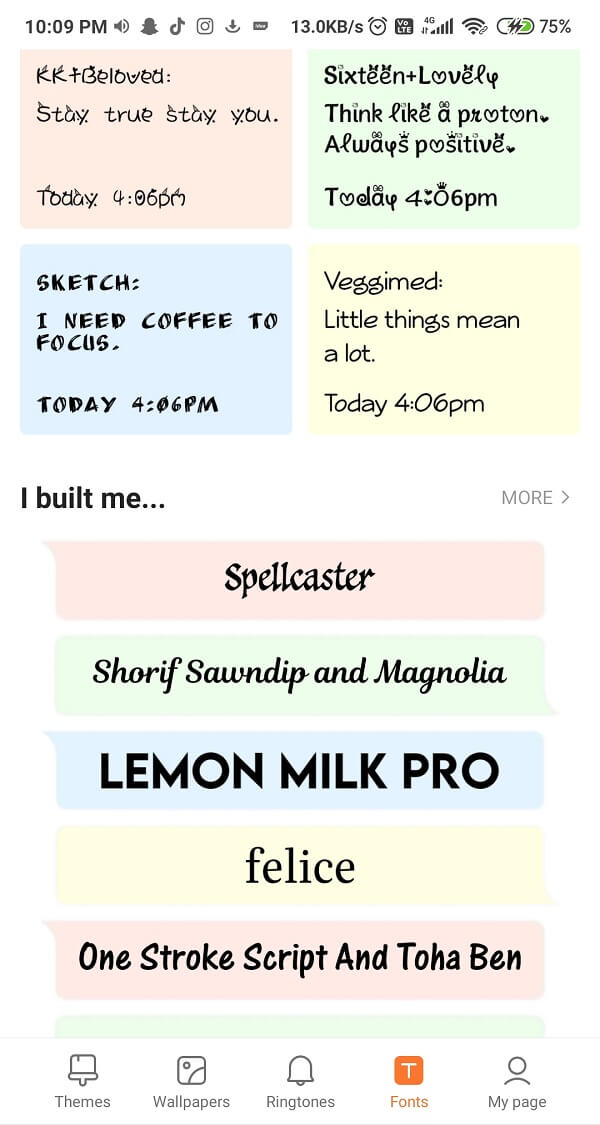
3. Now, when this window opens, you will get multiple options to choose from. Select the one you like the most and tap on it.
4. Download the particular font.
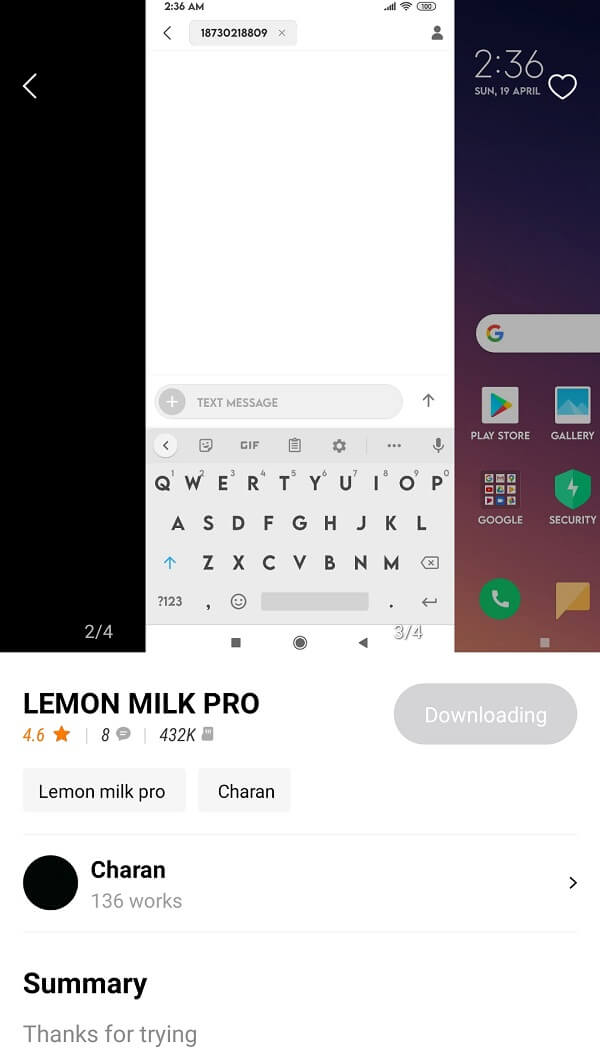
5. Once you are done downloading, tap on the Apply button. For confirmation, you will be asked to reboot your device to apply it. Just simply select the Reboot button.
Hurray! Now you can enjoy your fancy font. Not only that, by clicking on the Font size button, you can also tweak and play with the size of the font.
#2. Use Apex Launcher to Change Fonts on Android
If you own one of those phones which does not have the ‘Change font’ feature, do not stress! The simple and easy solution to your issue is a third-party launcher. Yes, you are right by installing a third-party launcher, you will not only be able to put in fancy fonts on your Android device but, can enjoy numerous amazing themes side by side. Apex Launcher is one of the examples of good third-party launchers.
Steps to change your Android device’s font using the Apex Launcher are as follows:
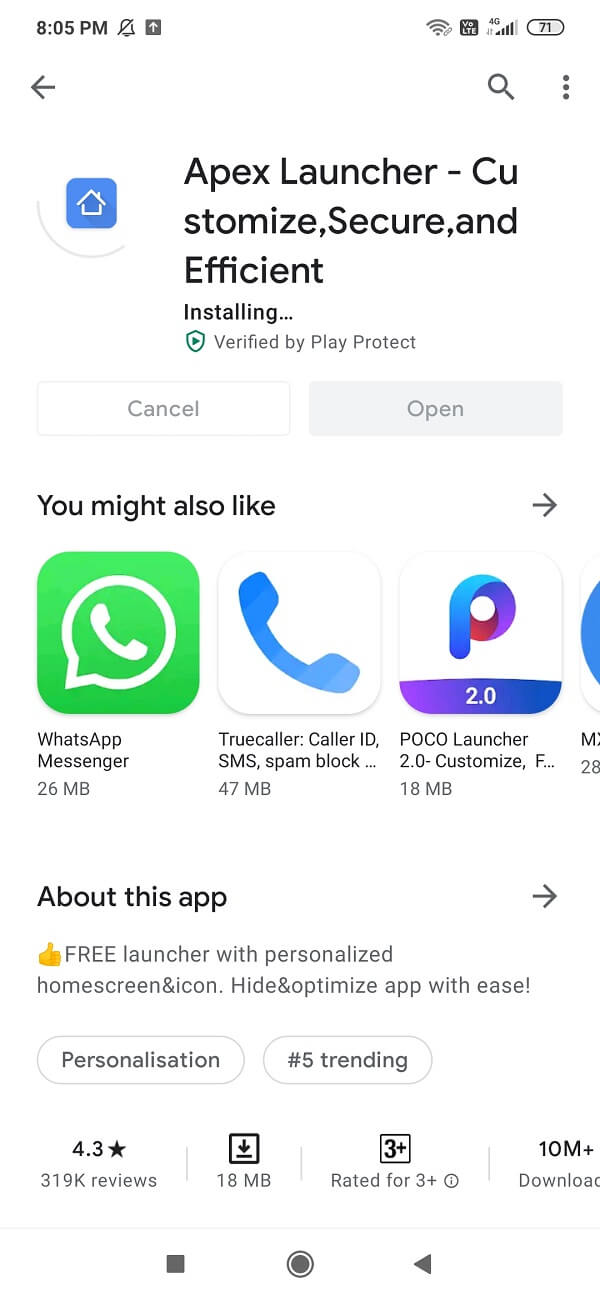
1. Go to Google Play Store then download and install Apex Launcher App.
2. Once the installation is complete, launch the app and tap on the Apex Settings icon at the centre of the screen.
![]()
3. Tap on the search icon from the top-right corner of the screen.
4. Type “font” then tap on “Label font” for Home Screen (the first option).
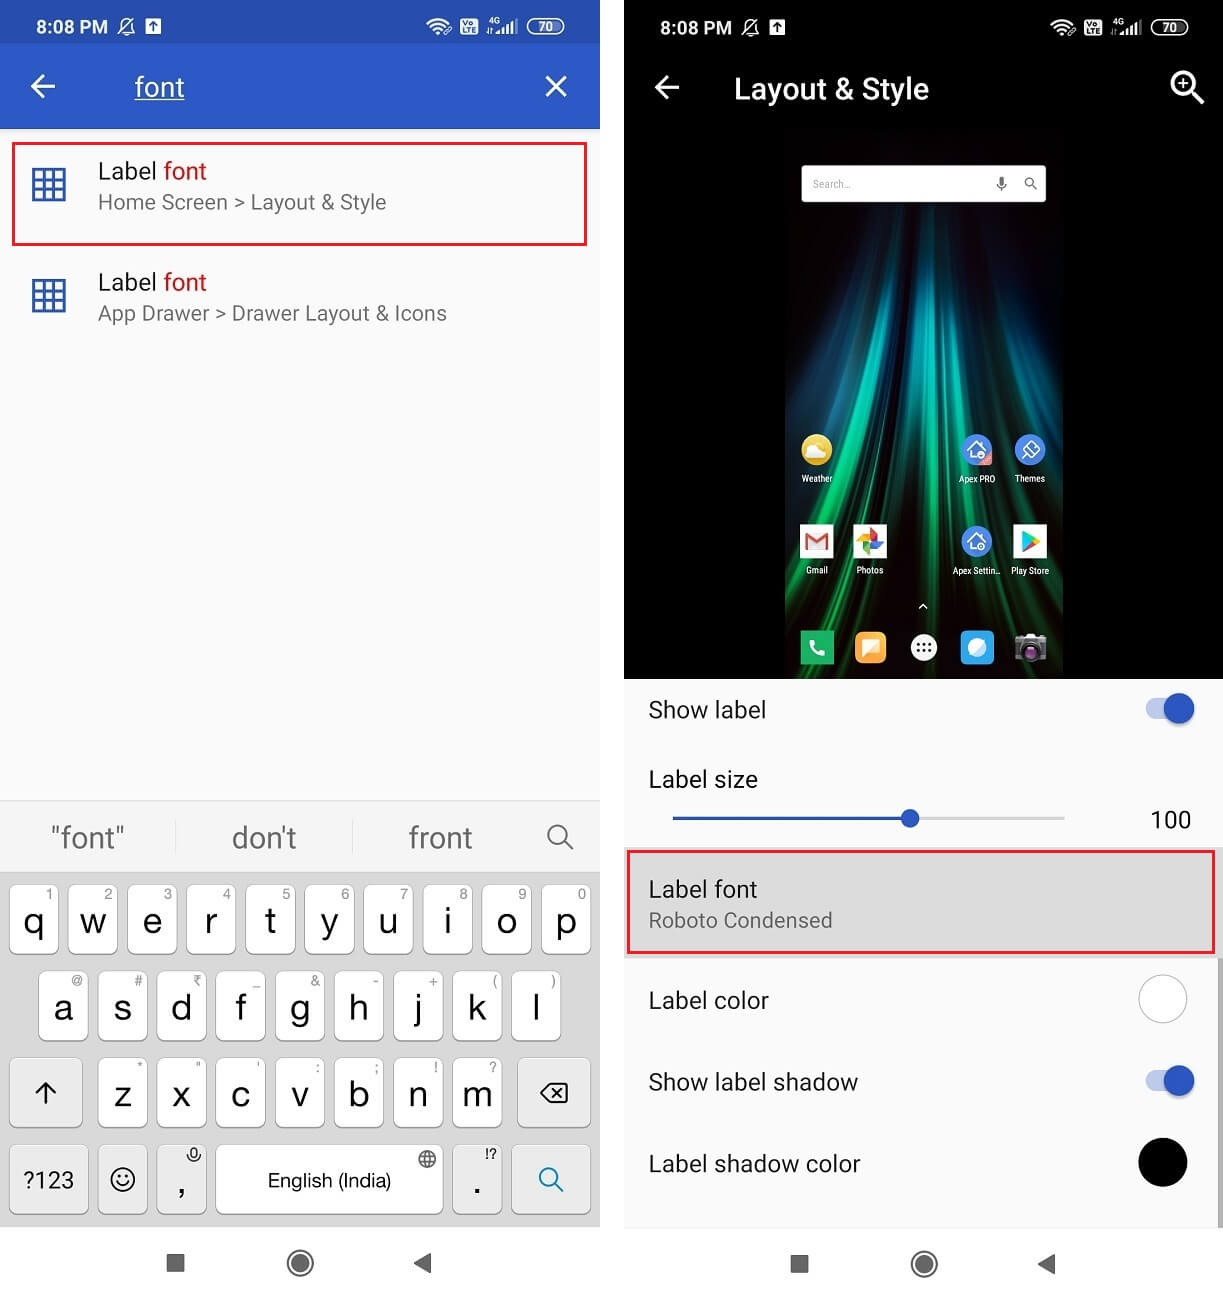
5. Scroll down then tap on “Label font” and choose the font from the list of options.
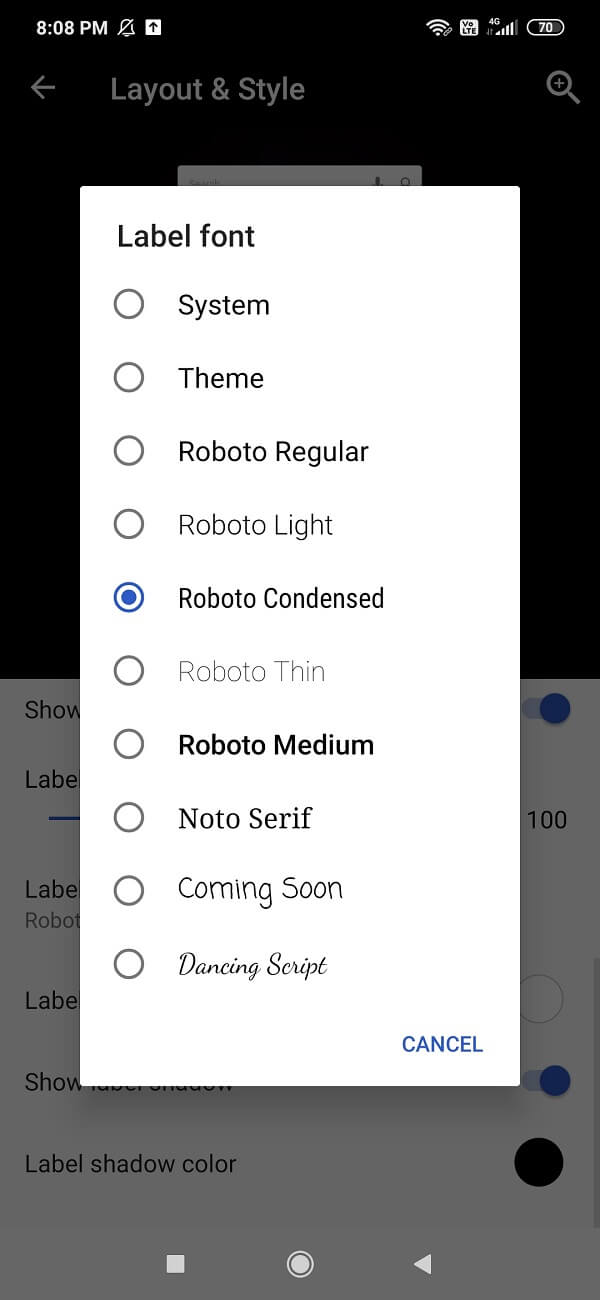
6. The launcher will automatically update the font on your phone itself.
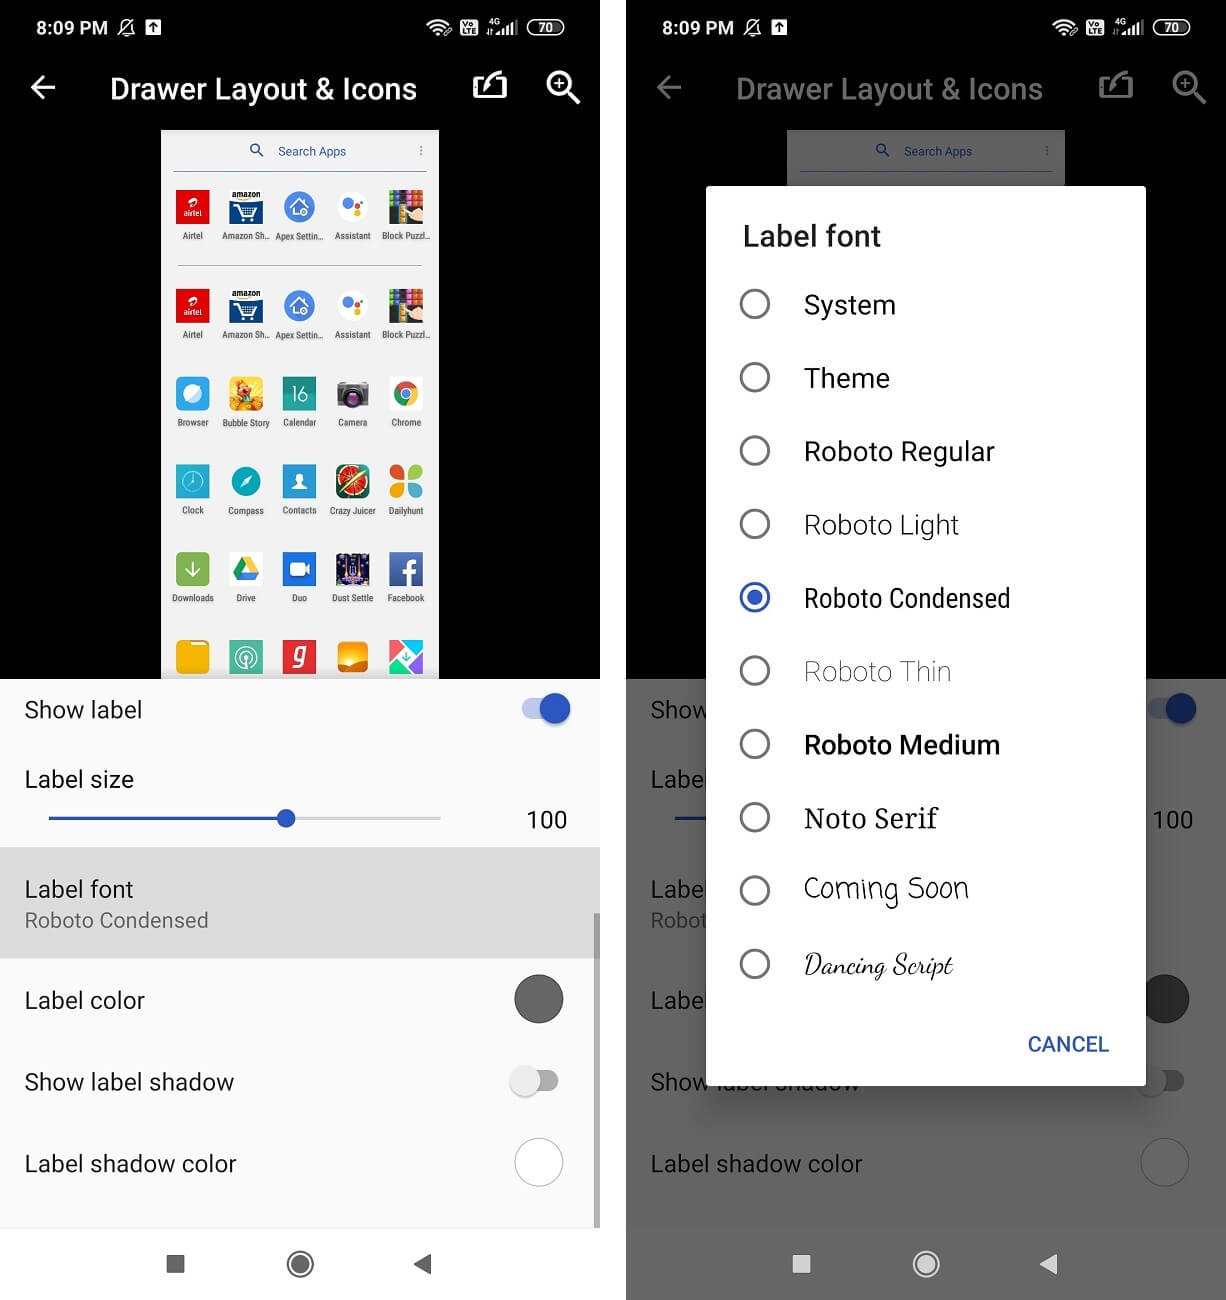
In case you want to change the font of your app drawer too, then follow these steps and let’s carry on with the second method:
1. Again open Apex Launcher Settings then tap on the “App Drawer” option.
2. Now tap on the Drawer Layout & Icons option.
![]()
3. Scroll down then tap on “Label font” and choose the font you like the most from the list of options.
Note: This launcher will not change the font within the apps already installed on your Android device. It only changes the home screen and app drawer fonts.
#3. Use Go Launcher
Go Launcher is yet another solution to your problem. You will definitely find better fonts on Go Launcher. Steps to change the font of your Android device using Go Launcher are as follows:
Note: It is not necessary that all the fonts will work; some may even crash the launcher. So beware of that before taking any further steps.
1. Go to Google Play Store and download & install the Go Launcher app.
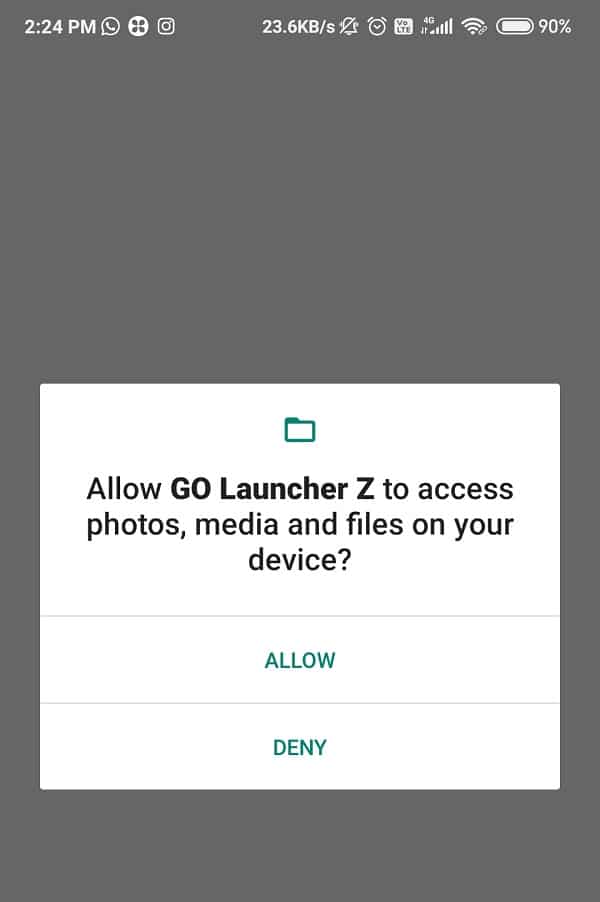
2. Tap on the install button and give the necessary permissions.
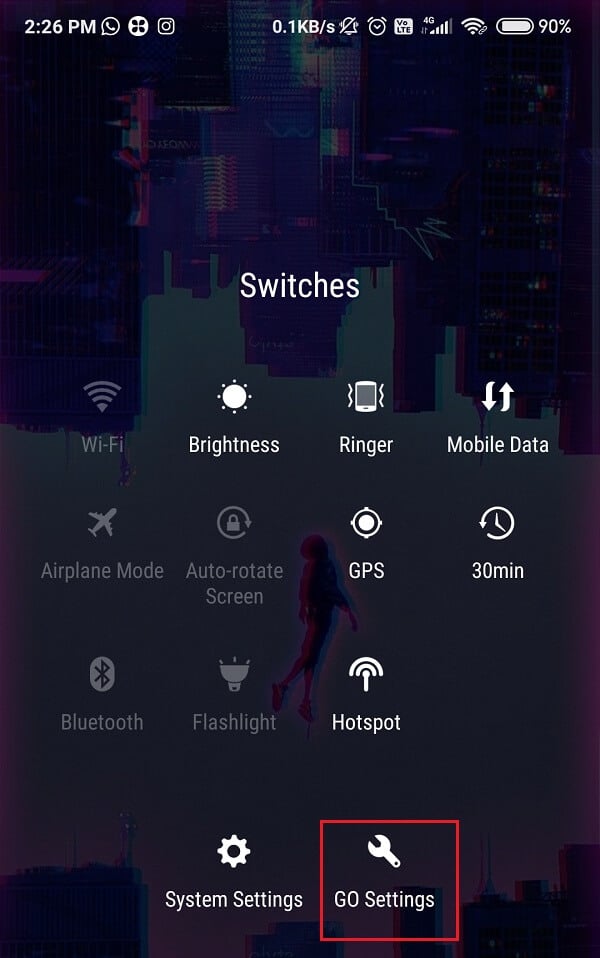
3. Once that is done, launch the app and find the three dots icon situated at the bottom right corner of the screen.
4. Click on the Go Settings option.
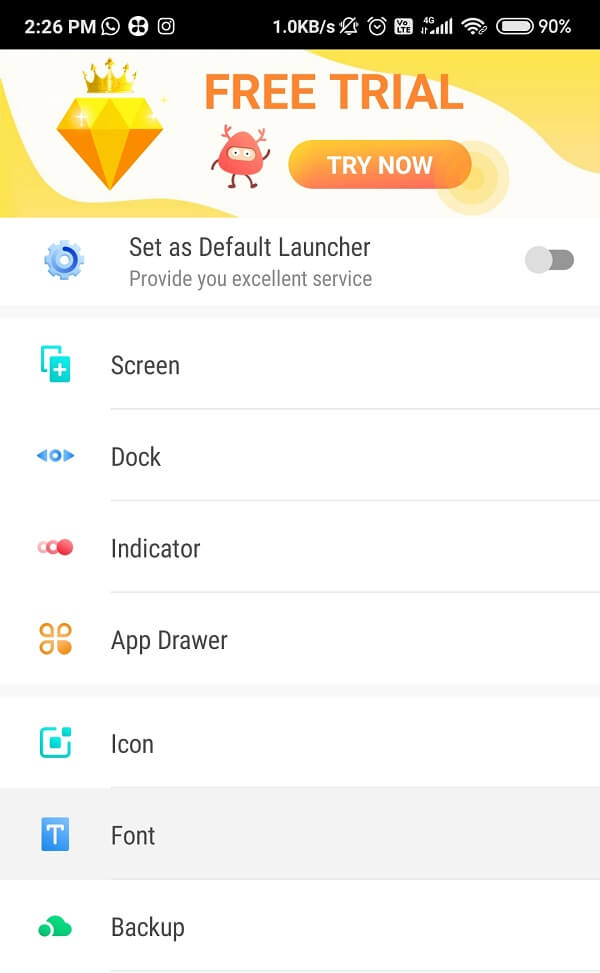
5. Look for the Font option and click on it.
6. Click on the option of saying Select Font.
7. Now, go crazy and browse through the fonts which are available.
8. If you are not satisfied with the available options and want more, click on the Scan font button.
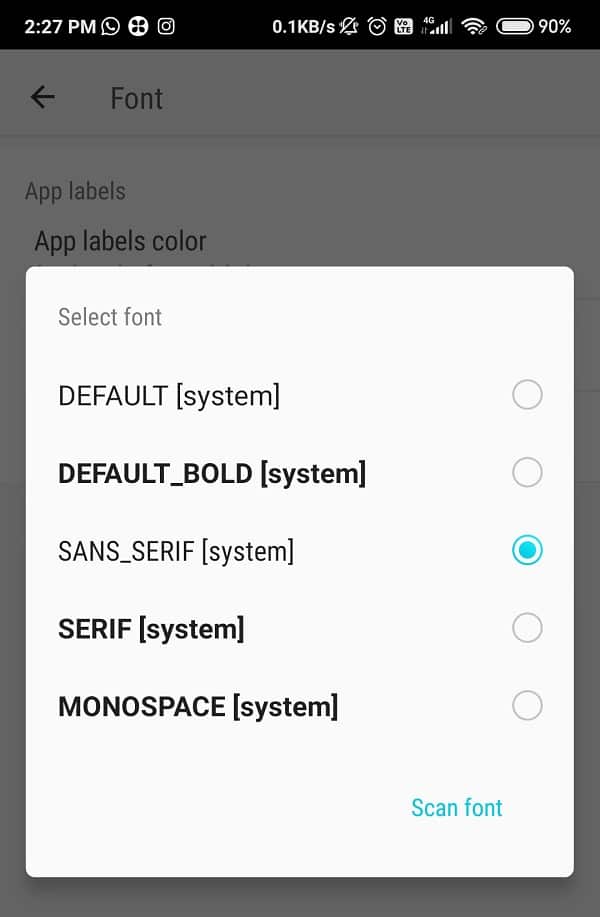
9. Now choose the font you like the most and select it. The app will automatically apply it on your device.
Also Read: Transfer data from your old Android phone to new one
#4. Use Action Launcher to Change Fonts on Android
So, next up we have the Action Launcher. This is a powerful and unique launcher which has excellent customization features. It has a bunch of themes and fonts and works wonderfully. To change the font settings on your Android phone using the Action launcher, follow these steps:
- Go to Google Play Store then download and install the Action Launcher app.
- Go to the Settings option of the Action Launcher and tap on the Appearance button.
- Navigate the Font button.
- Among the list of options, choose the font you like the most and want to apply.
However, keep in mind that you won’t get many options to choose from; only the system fonts will come in handy.
#5. Change Fonts Using the Nova Launcher
Nova Launcher is a very famous and of course, one of the most downloaded apps on Google Play Store. It has almost 50 million downloads and is a great custom Android launcher with a cluster of features. It allows you to customize the font style, which is being used on your device. Be it the home screen or the app drawer or maybe an app folder; it has something for everyone!
1. Go to Google Play Store then download and install the Nova Launcher app.

2. Now, open the Nova Launcher app and tap on the Nova Settings option.
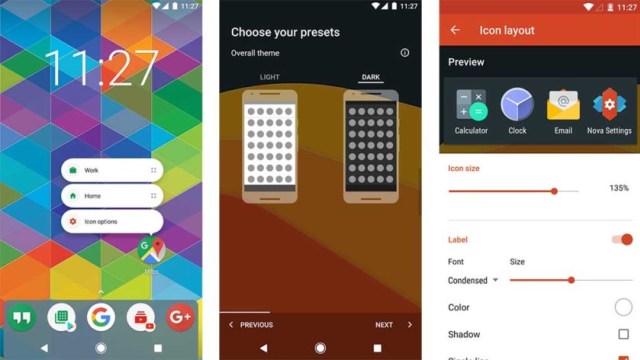
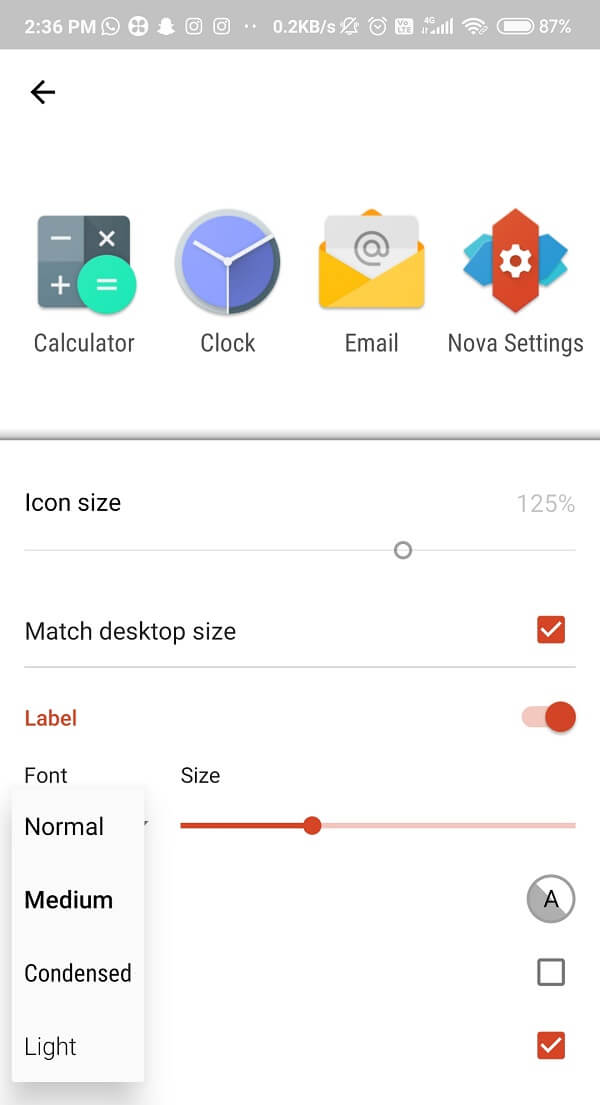
3. To change the font which is being used for the icons on your Home screen, tap on Home Screen then tap on the Icon Layout button.
4. To change the font which is being used for the App drawer, tap on the App Drawer option then on the Icon Layout button.
![]()
5. Similarly, to change the font for an app folder, tap on the Folders icon and the tap on Icon Layout.
Note: You will notice that the Icon Layout menu will be a little different for every selection (app drawer, home screen and folder), but the font styles will remain the same for all.
6. Navigate to the Font settings option under the Label section. Select it and choose between one of four options, which are: Normal, Medium, Condensed, and Light.
7. After choosing one of the options, tap on the Back button and have a look at your refreshing home screen and app drawer.
Well done! It’s all good now, just like you wanted it to be!
#6. Change Android Fonts Using Smart Launcher 5
Yet another amazing app is Smart Launcher 5, which will get you the best and the most suitable fonts for you. It is an awesome app you can find on Google Play Store and guess what? It is all for free! Smart Launcher 5 has a very subtle and decent collection of fonts, especially if you want to express yourselves. Although it has one drawback, the change of font will only be seen on the home screen and app drawer and not on the whole system. But of course, it is worth giving a little try, right?
Steps to change the font of your Android device using the Smart Launcher 5 are as follows:
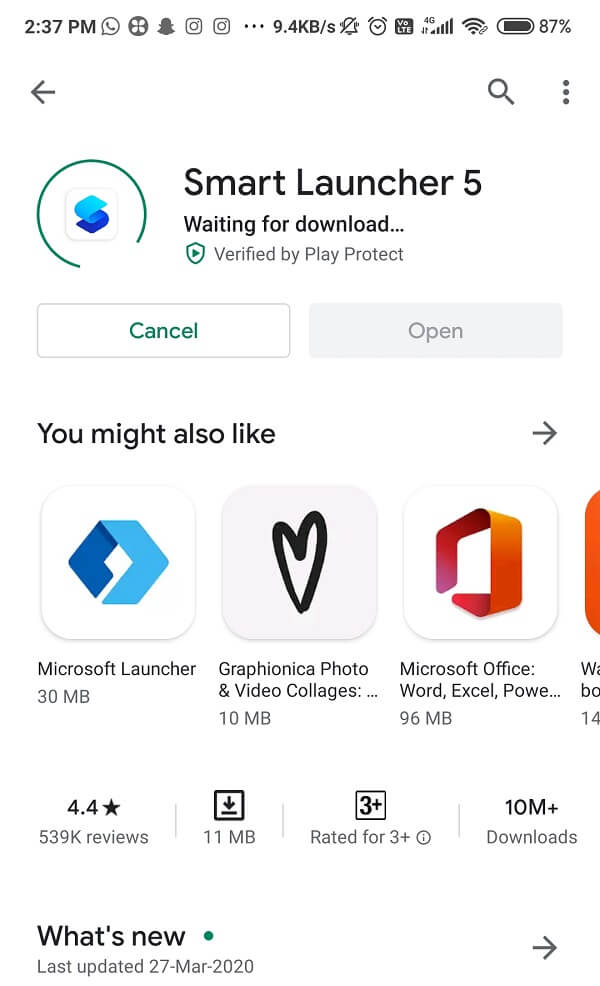
1. Go to Google Play Store then download and install Smart Launcher 5 app.
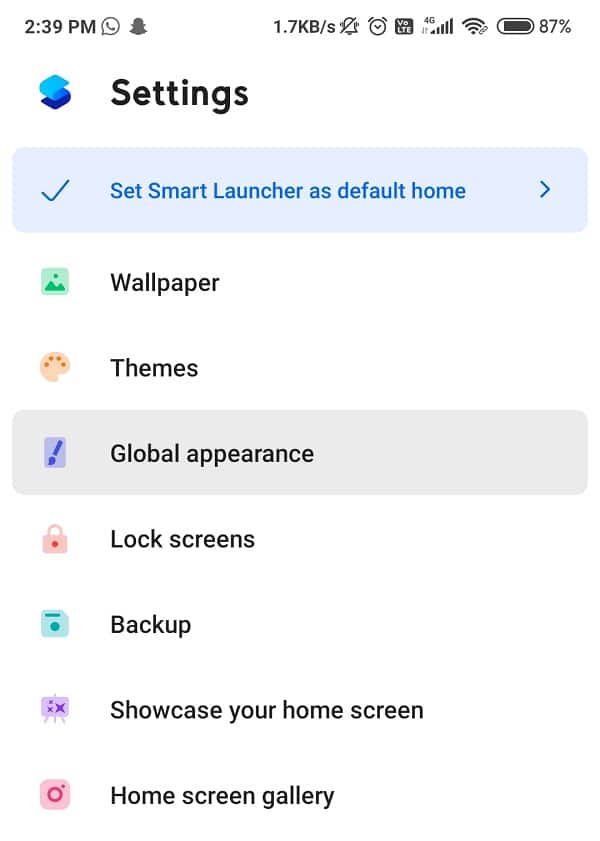
2. Open the app then navigate to the Settings option of Smart Launcher 5.
3. Now, tap on the Global appearance option then tap on the Font button.
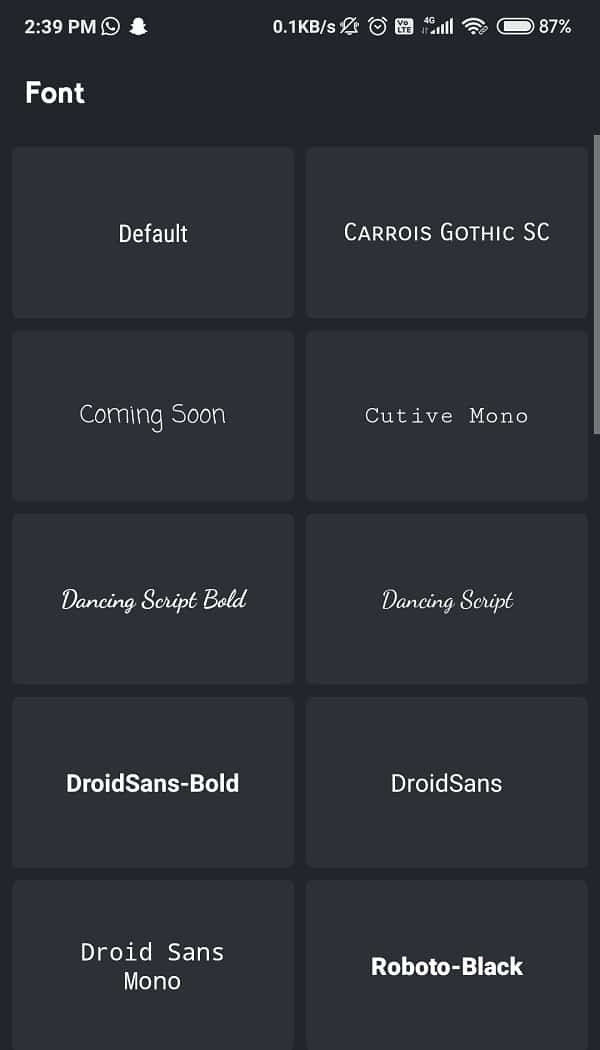
4. From the list of given fonts, choose the one than you want to apply and select it.
#7. Install Third-Party Font Apps
Third-party apps such as iFont or FontFix are a few examples of free third-party apps which are available on Google Play store, which provide you with infinite font styles to choose from. To take full advantage of them, and you are good to go! Some of these apps may require your phone to root, but you can always find an alternative.
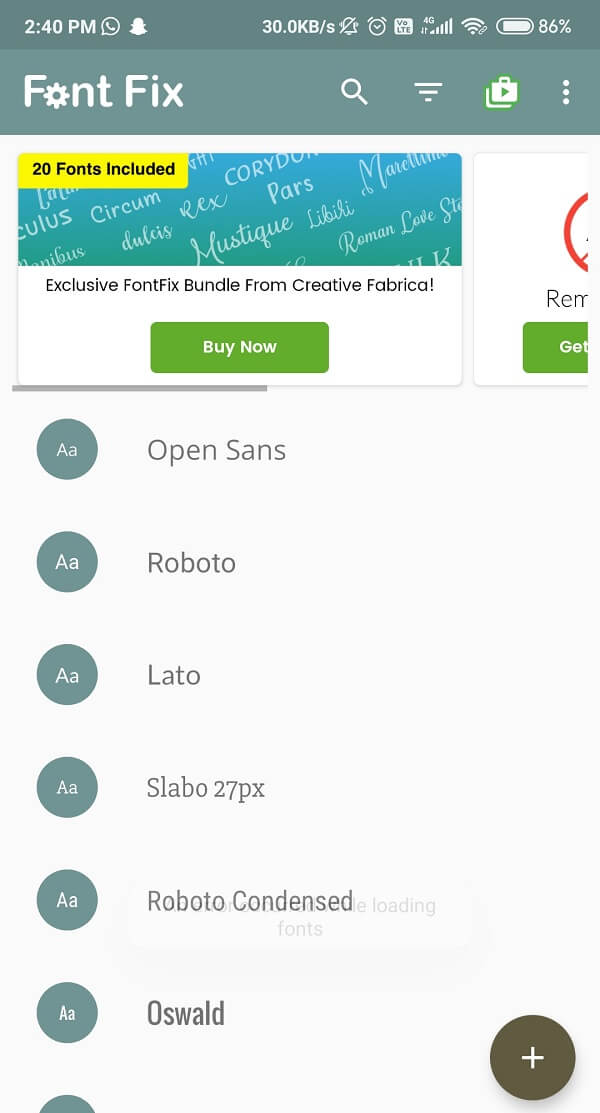
(i) FontFix
- Go to Google Play Store then download and install the FontFix app.
- Now launch the app and go through the font options available.
- Simply select the one you want to use and click on it. Now tap on the download button.
- After reading the given instructions in the pop-up, select the Continue option.
- You will see a second window popping up, simply click on the Install button. For confirmation, tap on Install button again.
- Once you are done with this, head towards the Settings option and select the Display option.
- Then, find the Screen zoom and font option and search for the font you just downloaded.
- After finding it tap on it and select the Apply button present on the upper right corner of the display.
- The font will be applied automatically. You will not require restarting your device.
Note: This app works best with Android version 5.0 and above, it may crash with the older versions of Android. Also, some fonts will require rooting, which will be denoted by a ‘font is not supported’ sign. So, in that case, you will have to find a font that is supported by the device. However, this process may differ from device to device.
(ii) iFont
The next app we mentioned is the iFont app which goes by the “without-root” policy. It is applicable on all the Xiaomi and Huawei devices, as well. But if in case you don’t own a phone from these companies you might want to consider rooting your device after all. Steps to change your Android device’s font using iFont are as follows:
1. Go to Google Play Store then download and install the iFont app.
2. Now, open then app and then click on the Allow button to grant the app necessary permissions.
3. You will find an endless scroll down list. Among the options chose the one you like the most.
4. Tap on it and click on the Download button.

5. Wait for the download to complete, once done, click on the Set button.
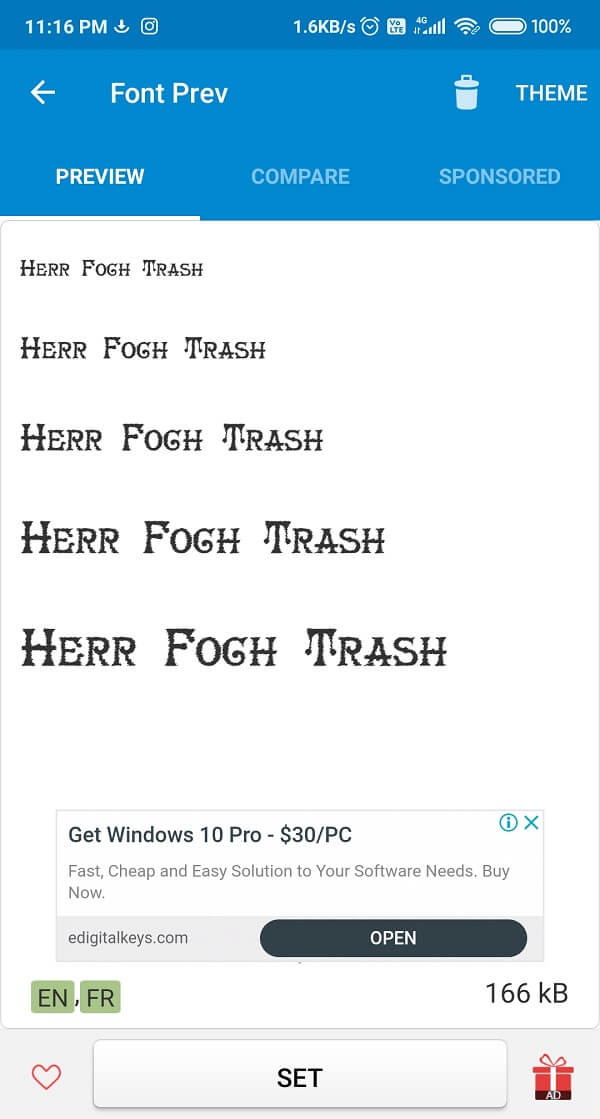
6. You have successfully changed your device’s font.
(iii) Font Changer
One of the best third-party app to copy-paste different types of fonts into WhatsApp messages, SMS, etc is called Font Changer. It doesn’t allow to change the font for the whole device. Instead, it will allow you to enter the phrases using different types of fonts, and you can then copy/paste them in the other apps such as WhatsApp, Instagram or maybe even default Messages app.
Just like the app mentioned above (Font Changer), the Stylish font app and the Stylish Text app also fulfil the same purpose. You will have to copy the fancy text from the App’s board and paste it on other mediums, such as Instagram, WhatsApp etc.
Recommended:
I know it is really cool to play around with your phone’s fonts and themes. It kind of makes your phone even more fancy and interesting. But it is very rare to find such hacks which will help you out to change the font without rooting the device. Hopefully, we were successful in guiding you through and made your life a little easier. Let you know which hack was the most useful!