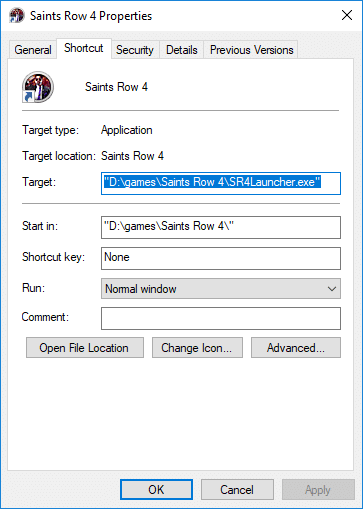
Remove Compatibility Tab from File Properties in Windows 10: The Compatibility tab provides a way to run older software on a newer operating system using compatibility mode. Now apart from this Compatibility tab also offers the features like Compatibility Troubleshooter, Reduced color mode, Override high DPI scaling, Disable fullscreen optimizations and running the particular program as an administrator. You could easily access the Compatibility tab by right-clicking on any program shortcut file then selecting Properties from the context window.

Now you can disable or remove the compatibility tab completely from the file properties window in order to restrict other users from changing the compatibility settings of the software installed on your PC. So without wasting any time let’s see How to Remove Compatibility Tab from File Properties in Windows 10 with the help of the below-listed guide.
Remove Compatibility Tab from File Properties in Windows 10
Make sure to create a restore point just in case something goes wrong.
Method 1: Remove Compatibility Tab from File Properties in Registry Editor
1.Press Windows Key + R then type regedit and hit Enter.

2.Now navigate to the following registry key:
HKEY_LOCAL_MACHINESOFTWAREPoliciesMicrosoftWindows
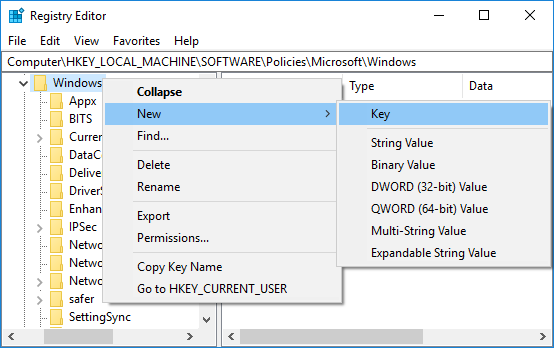
3.Right-click on Windows then select New > Key. Name this new key as AppCompat and hit Enter.
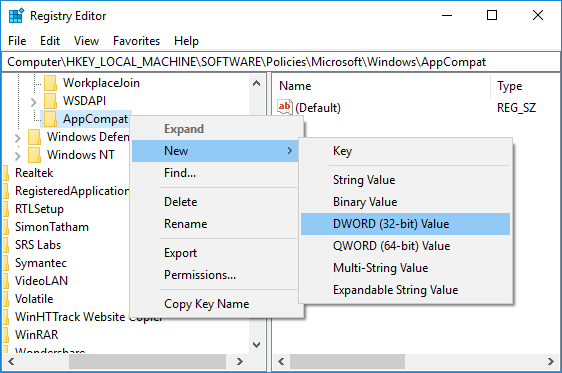
4.Next, right-click on AppCompat then select New > DWORD (32-bit) Value.
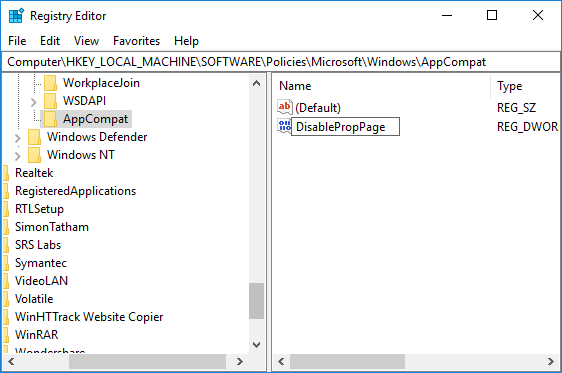
5.Name this newly created DWORD as DisablePropPage then hit Enter.
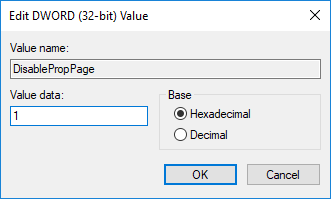
6.Double-click on DisablePropPage DWORD then change it’s value to 1 and click OK. This will remove the Compatibility tab from file properties in Windows 10.
7.In case, you need to enable the compatibility tab then right-click on AppCompa DWORD and select Delete.
8.Close everything and reboot your PC to save changes.
Method 2: Remove Compatibility Tab from File Properties in Group Policy Editor
Note: This method won’t work for Windows 10 Home Edition users.
1.Press Windows Key + R then type gpedit.msc and hit Enter.

2.Navigate to the following policy location:
Computer Configuration -> Administrative Templates -> Windows Components -> Application Compatibility
3.Select Application Compatibility then in the right-window pane double-click on “Remove Program Compatibility Property Page“.

4.Now in the properties window of the above policy configure it according to:
To Remove Compatibility tab: Enabled
To Add Compatibility Tab: Either select Not Configured or Disabled
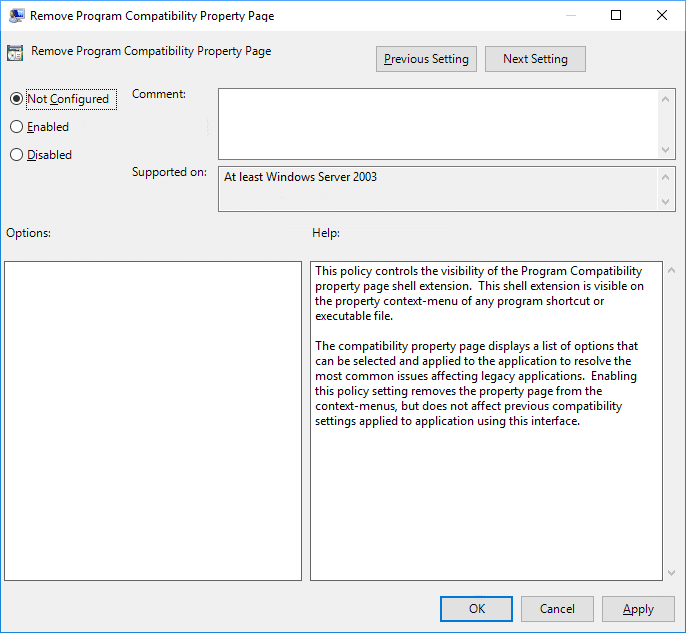
5.Click Apply followed by OK.
6.Reboot your PC to save changes.
Recommended:
That’s it you have successfully learned How to Remove Compatibility Tab from File Properties in Windows 10 but if you still have any queries regarding this post then feel free to ask them in the comment’s section.