This error can appear while running any app, program, or game, and it happens with almost all versions of Windows,s be it Windows 10,8 or 7. While the error may lead you to believe that this error is associated with the program itself, but the problem lies in your Windows.
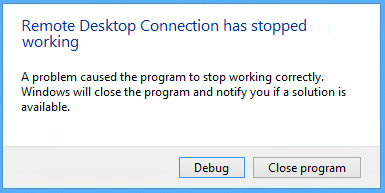
A problem caused the program to stop working correctly; an error occurs when the Windows process detects that a loop that was meant to exit is not doing so. Now there can be an infinite number of reason as to why you may be receiving this error but we have put together a small list which can help you identify the problem with your Windows.
Reasons why you might receive the error message – “A problem caused the program to stop working correctly. Windows will close the program and notify you if a solution is available.”
- Compatibility issue
- Screen Resolution issue
- KB3132372 update issue
- Corrupted or Outdated Graphic Card Driver
- Antivirus firewall issue
- Outdated DirectX
- Skype directory issue
- Image Acquisition (WIA) services not running
- EVGA Precision is ON
- Data Execution Prevention is enabled
[SOLVED] A problem caused the program to stop working correctly
Method 1: Run the Program in Windows Compatibility mode
1. Right-click on the program/app icon and select Properties.
2. Select the Compatibility tab in the Properties window.
3. Next, under Compatibility mode, make sure to tick mark “Run this program in compatibility mode for” and then select Windows 8.
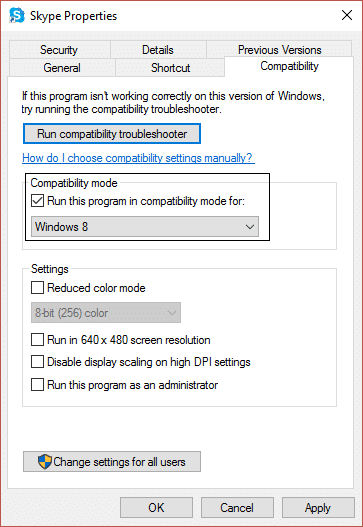
4. If it doesn’t work with Windows 8, then try Windows 7 or Windows Vista, or Windows XP until you find the correct compatibility.
5. Click on Apply and then OK. Now again, try to run the program/application which was giving the error – it should work without any problems now.
Method 2: Uninstall KB3132372 update
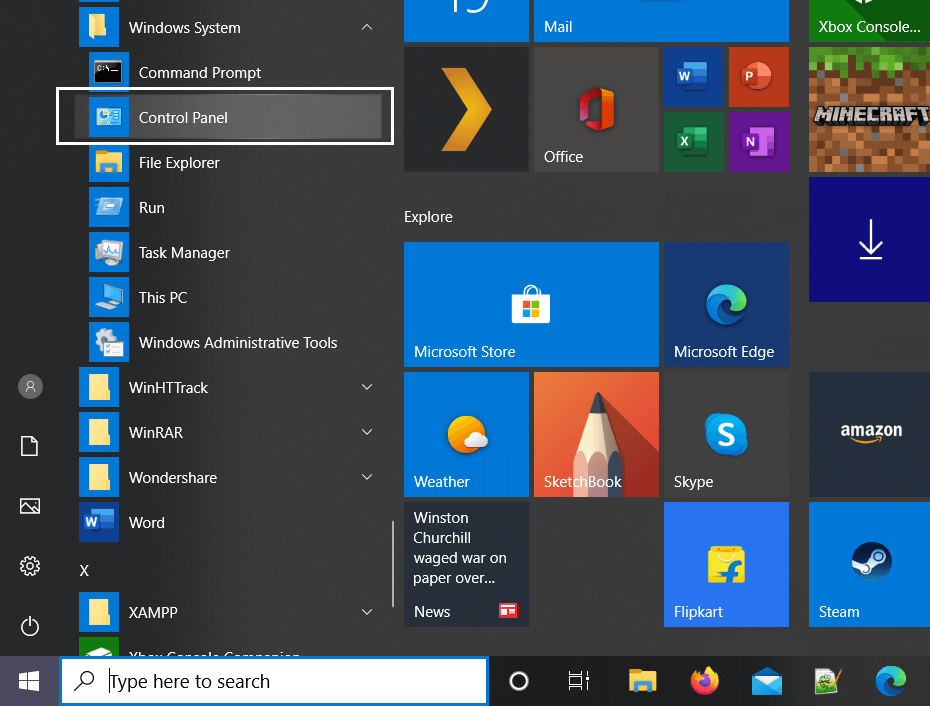
1. Press Windows Key + X and then click on Control Panel.
2. Now click on Programs and then click View installed updates.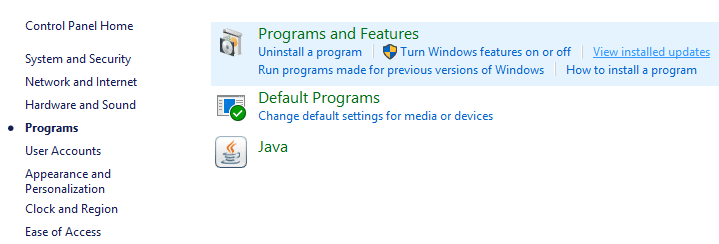
3. Next, search for Security Update for Internet Explorer Flash Player(KB3132372).
4. Once you have found it make sure to uninstall it.
5. Reboot your PC and see if you’re able to Fix A problem that caused the program to stop working issue correctly.
Method 3: Rename the Skype folder
1. Press Shift + Ctrl + Esc to open Task Manager and find skype.exe, then select it and click End task.
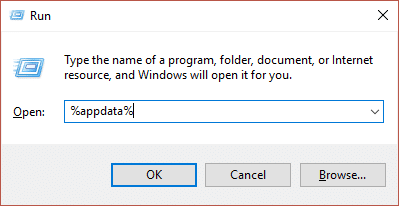
2. Now press Windows Key + R and type %appdata%, then press enter.
3. Locate the Skype directory and right-click on it, then select rename.
4. Next, rename the Skype directory to Skype_old.
5. Once again, Press Windows Key + R and type %temp%skype, then press enter.
6. Locate the DbTemp folder and delete it.
7. Reboot your PC and again start Skype. This must-have Solved the “A problem caused the program to stop working correctly” error in Skype.
Method 4: Update your Graphics Card Drivers
1. Press Windows Key + R, then type “devmgmt.msc” and press enters to open Device Manager.

2. Expand the Display adapter and right-click on your Graphic Card Driver, then select “Update Driver Software.”

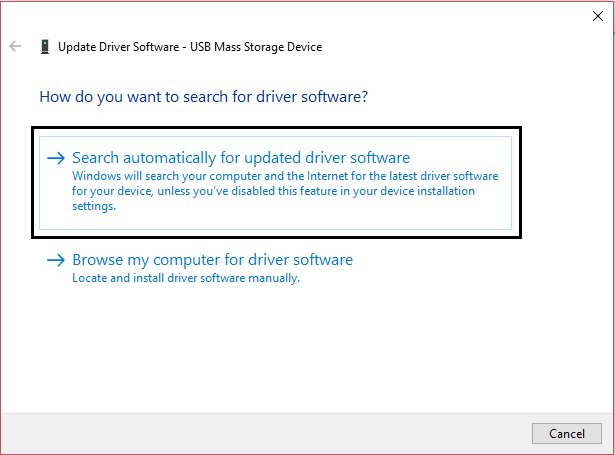
3. Now click “Search automatically for updated driver software” and let the wizard automatically update the graphic card drivers.
4. If the issue still persists, then again repeat steps 1 & 2.
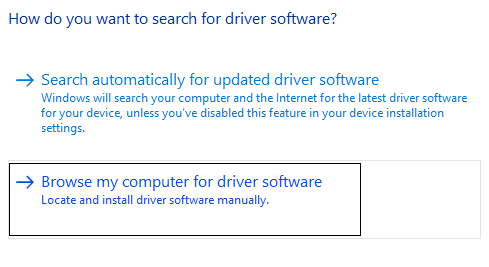
5. Next, select “Browse my computer for driver software.”
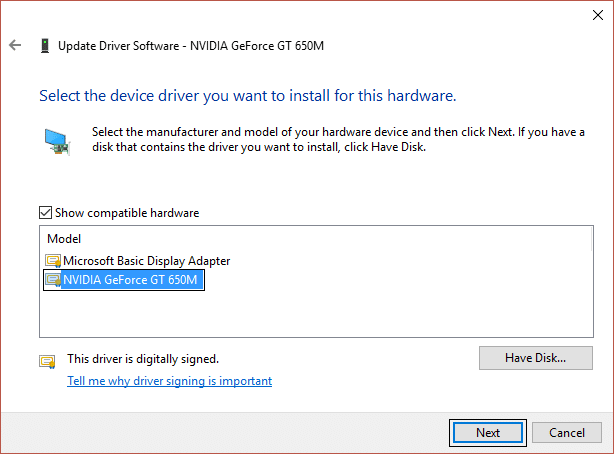
6. Now click on “Let me pick from a list of device drivers on my computer.”

7. Select the driver associated with your graphic card and click Next.
8. Restart your PC to save the changes.
Method 5: Reset Comodo Firewall’s settings
1. Type Comodo in Windows search and click on Comodo firewall.
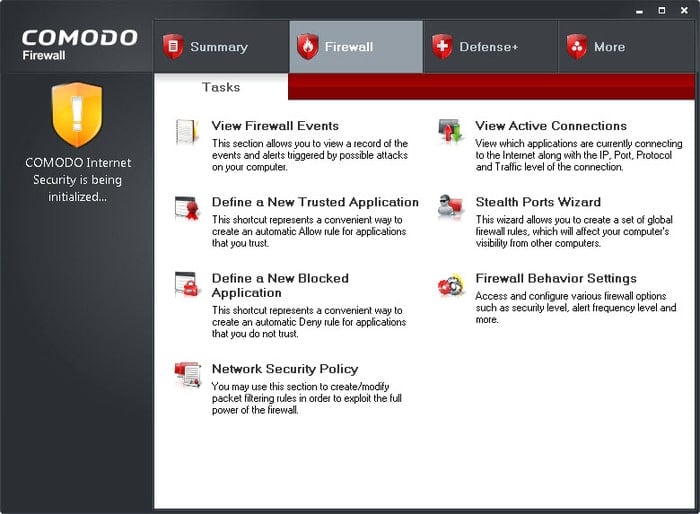
2. Click on Tasks in the top right corner.
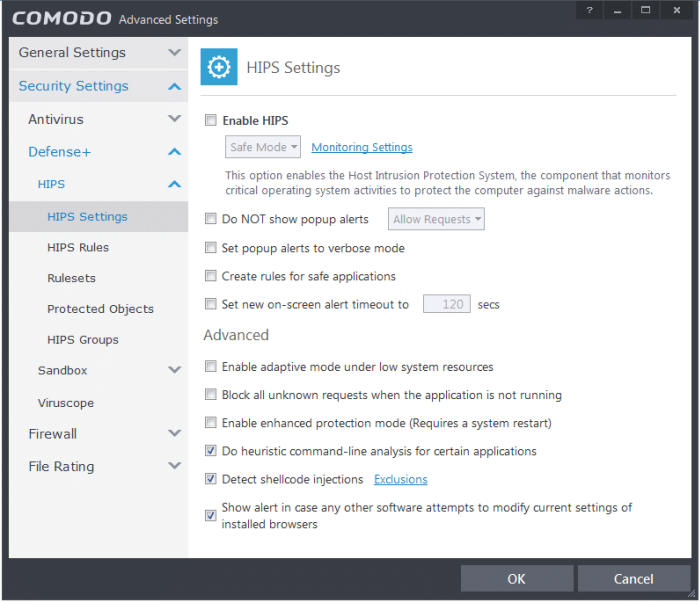
3. Next navigate like this: Advanced tasks> Open Advanced Settings> Security Settings> Defense+> HIPS> HIPS Settings.
4. Now, find to Detect shellcode injections and select Exclusions.
5. Click the arrow below Manage Exclusions, then select Add and then Files.
6. Now navigate to the following location in the Add Files Window:
C:Program Files (x86)GoogleChromeApplication
7. Double click on chrome.exe and then click OK.
8. Click OK and then close everything and see if you’re able to Fix A problem that caused the program to stop working error correctly.
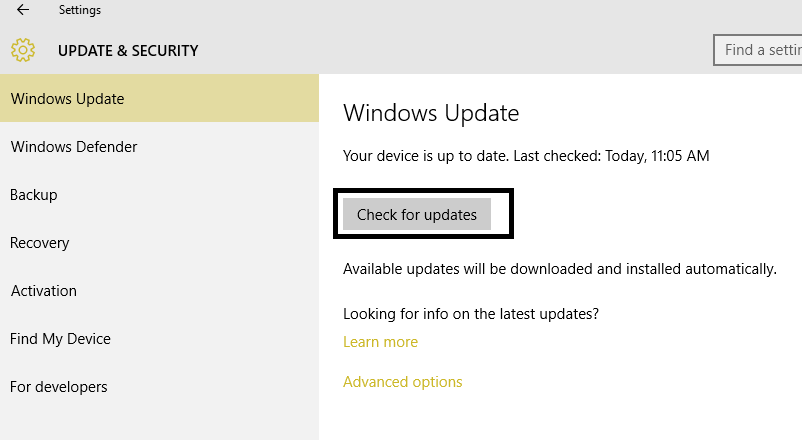
Method 6: Update DirectX
DirectX can be updated by updating your Windows, which can be done:
1. Type settings in the Windows search bar and click on Settings.
2. Now click on Update & Security.

3. Next, click “Check for updates” to automatically update DirectX.
4. If you want to manually update DirectX, then follow this link.
Method 7: Remove Norton Antivirus
One of the common thing user has in common which are experiencing the error “A problem caused the program to stop working correctly” is they all were using Norton Antivirus. Therefore, uninstalling Norton antivirus might be a good option in order to fix this issue.
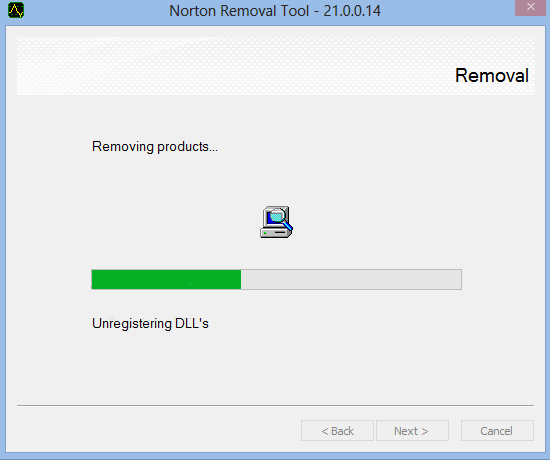
You could remove Norton Antivirus from Control Panel> Programs> Norton, or you should try Norton Uninstall Tool, which completely removes Norton from your system. If you don’t have Norton, try to disable your current Antivirus Software or Firewall.
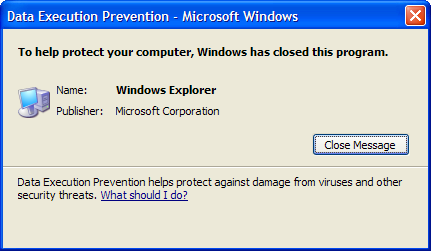
Method 8: Disable Data Execution Prevention
Data Execution Prevention (DEP) is a set of hardware and software technologies that perform additional checks on memory to help prevent malicious code from running on a system. While DEP can be extremely beneficial, but in some cases, it can cause a problem in Windows. So you might be considering disabling DEP for this particular instance and you might be able to Fix A problem caused the program to stop working correctly issue but if you’re still stuck then again enable it.
Method 9: Start Windows Image Acquisition (WIA) service
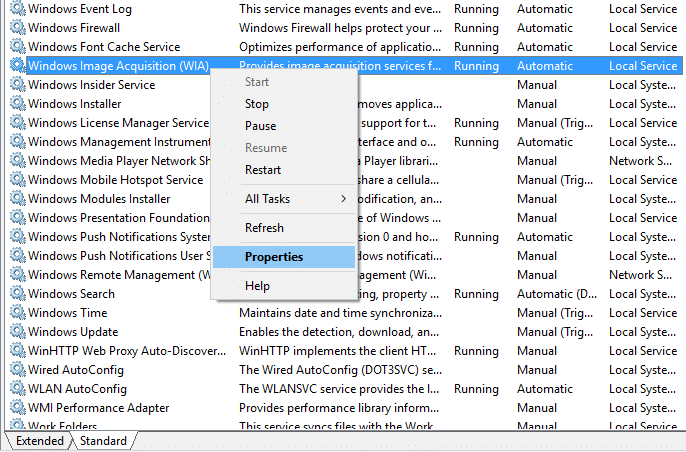
1. Press Windows Key + R, then type “Services.msc” and hit enter.

2. In the services window find the Windows Image Acquisition (WIA) service and right-click on it then select Properties.
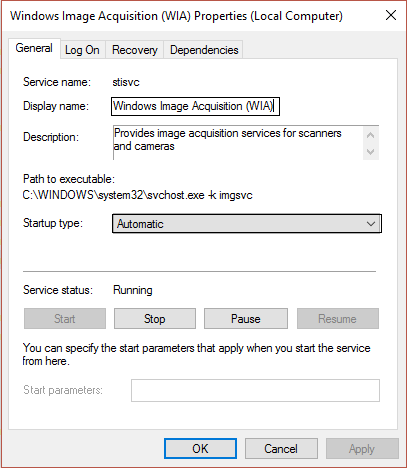
3. Make sure the Startup type is set to Automatic; if not, then set it.
4. Next, click on the Recovery tab, then under the First failure, select “Restart the Service” from the drop-down menu.
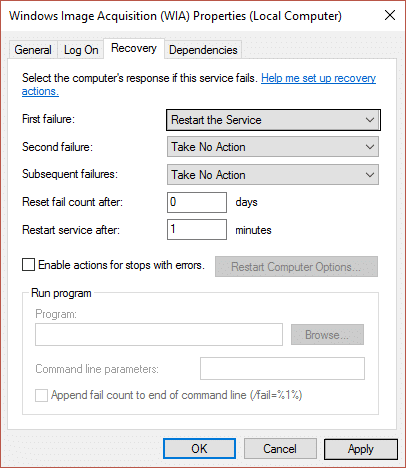
5. Click Apply, followed by Ok.
6. Make sure the WIA services are running, or right-click on it again and select Start.
Method 10: Turn off EVGA Precision
Many gamers use EVGA Precision to get the maximum out of their graphic card but sometimes this is the main cause of the error “A problem caused the program to stop working correctly.” In order to fix this, you need to uncheck all OSD items (frame time, FPS, etc.), and the error may be resolved.
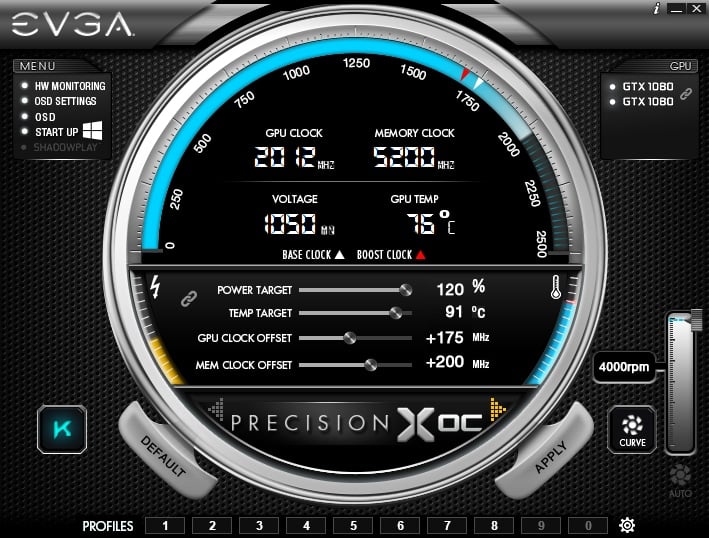
If it still doesn’t solve the problem, then rename the PrecisionX folder. Navigate to C:Program Files (x86)EVGAPrecisionX 16 and rename PrecisionXServer.exe and PrecisionXServer_x64 to something else. Although this is not an effective solution, if this works, then what’s the harm.
That’s it; you have successfully Fix a problem that caused the program to stop working correctly but if you still have any questions regarding this guide, then feel free to ask them in the comment section.