Drivers are the main components needed for hardware to interact with the operating system in order to fulfill all tasks as intended. Many problems can arise due to a malfunctioning driver, which could leave you scratching your head. Thankfully, both Microsoft developers and computer manufacturers make sure to release regular driver updates to keep things working properly. Although, issues like corrupt, missing, or incompatible drivers crop up. Today, we will discuss the methods to reinstall drivers on Windows 10 including NVIDIA, AMD & Intel.

How to Uninstall and Reinstall Drivers on Windows 10
The uninstallation and reinstallation of system drivers will delete the current driver installed in the system and replace it with the latest version. We have drafted the methods for three types of drivers: Graphics, Audio, and Network, with the explanation of the uninstall and reinstall method for each, one by one. Follow the correct method to reinstall drivers Windows 10 carefully.
Option I: Uninstall and Reinstall Graphics Driver
For a smooth and lag-free visual experience, you need to have the latest graphic driver installed on your system. To uninstall and reinstall drivers Windows 10, follow the upcoming steps:
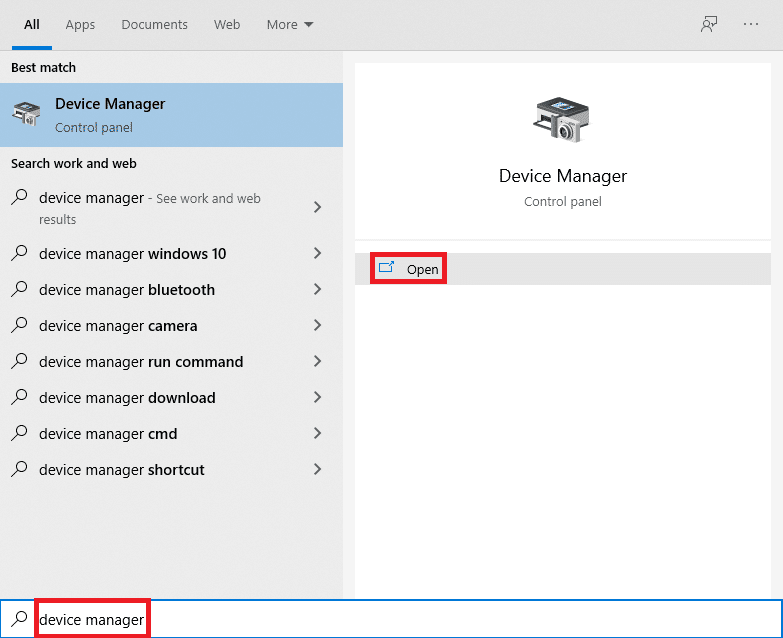
1. Hit the Windows key, type device manager, and click on Open.
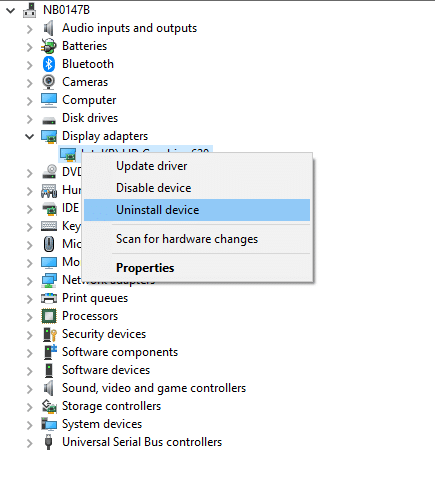
2. Click on the arrow next to Display adapters to expand it.
![]()
3. Right-click on the driver and select Uninstall device as depicted below.
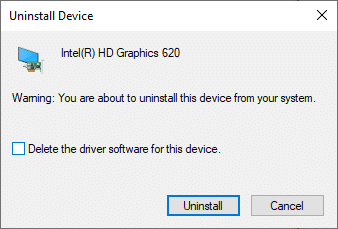
3. A warning prompt will be displayed on the screen. Check the box marked Delete the driver software for this device and click Uninstall.
4 Visit the manufacturer website to manually download the driver as per system specifications. For example,
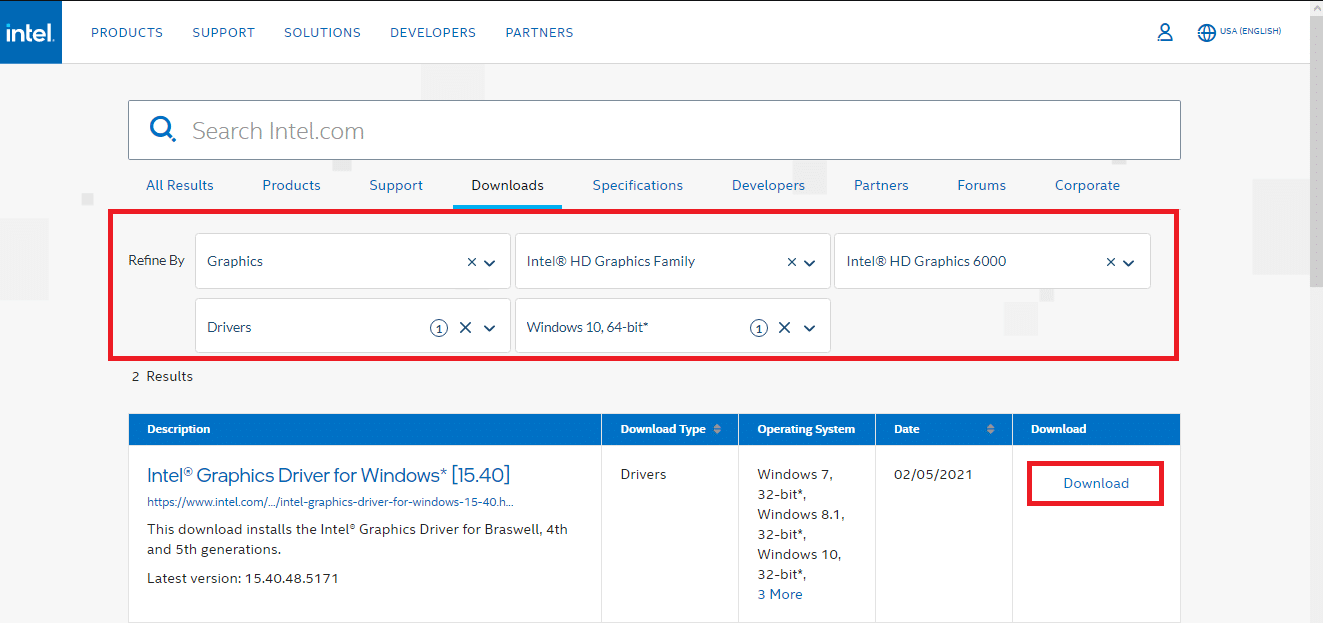

5. Run the downloaded .exe file to install the drivers.
Also Read: How to Tell If Your Graphics Card is Dying
Option II: Uninstall and Reinstall Audio Driver
The audio driver is something that is needed almost every day no matter what you use your computer for; whether it is to stream movies on Netflix or to play your favorite games or to call your friends, family, or co-workers. The first step of this reinstall drivers NVIDIA method is uninstallation.
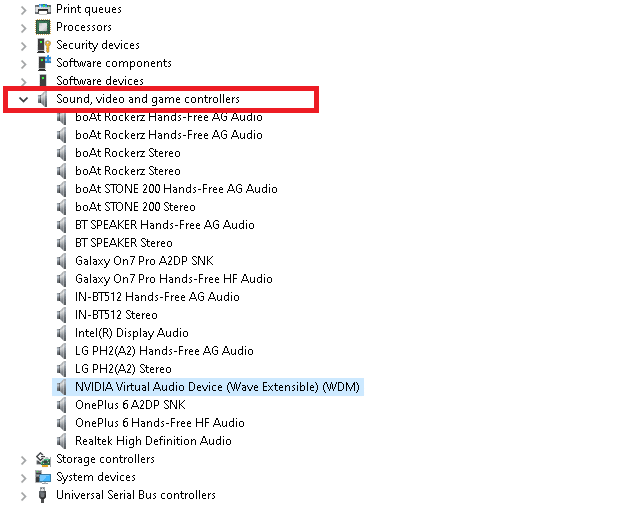
1. Launch Device Manager as earlier and expand the Sound, video and game controllers category as depicted below.
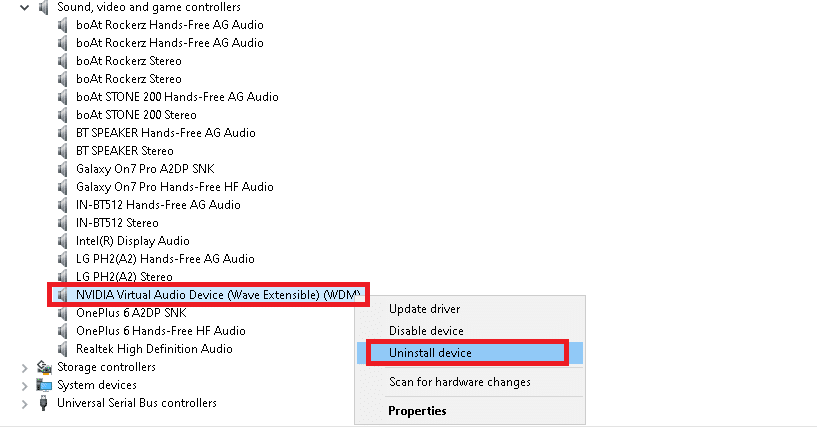
2. Right-click on the audio driver (e.g. NVIDIA Virtual Audio Device (Wave Extensible) (WDM) ) and select Uninstall device, as shown.
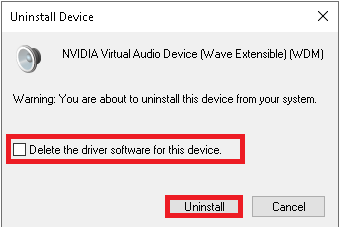
3. Now, check the box Delete the driver software for this device and confirm the warning prompt by clicking Uninstall.
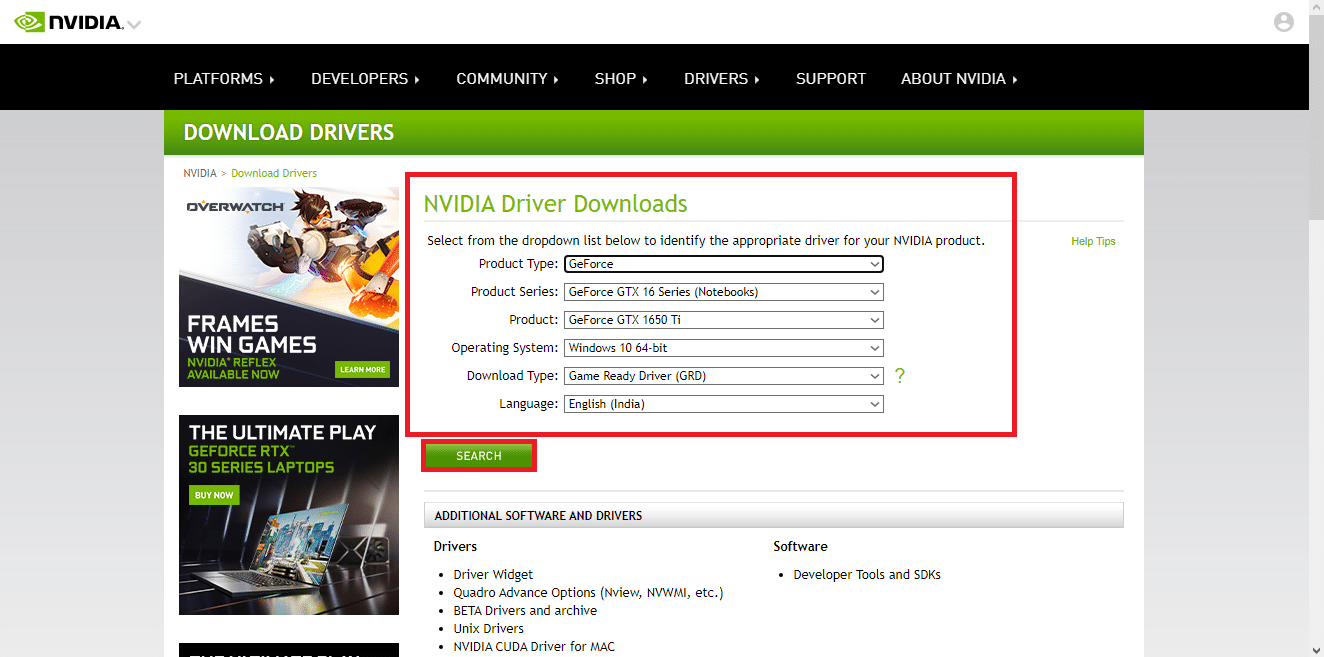
4. Open any web browser and go to the NVIDIA homepage.
5. Here, click on DRIVERS from top menu, as shown.

5. Find and download the driver with relevance to the Windows version on your PC through, as illustrated below.
6. Once downloaded, double click on the downloaded file and follow the given instructions to install it.
Also Read: Fix Windows 10 No Audio Devices are Installed
Option III: Uninstall and Reinstall Network Driver
For the smoothest network connectivity on your system, reinstall drivers Windows 10 as follows:
1. Launch Device Manager from the Windows search menu.
2. Right-click on the driver and select Uninstall device as shown.
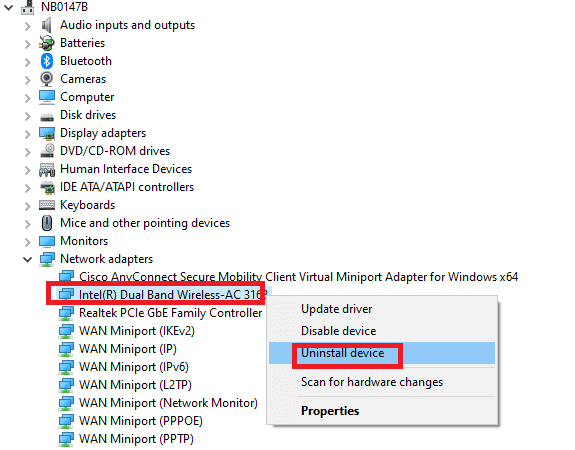
3. A warning prompt will be displayed on the screen. Check the box titled Delete the driver software for this device and confirm it by clicking Uninstall.

4. Visit the manufacturer website e.g. Intel.
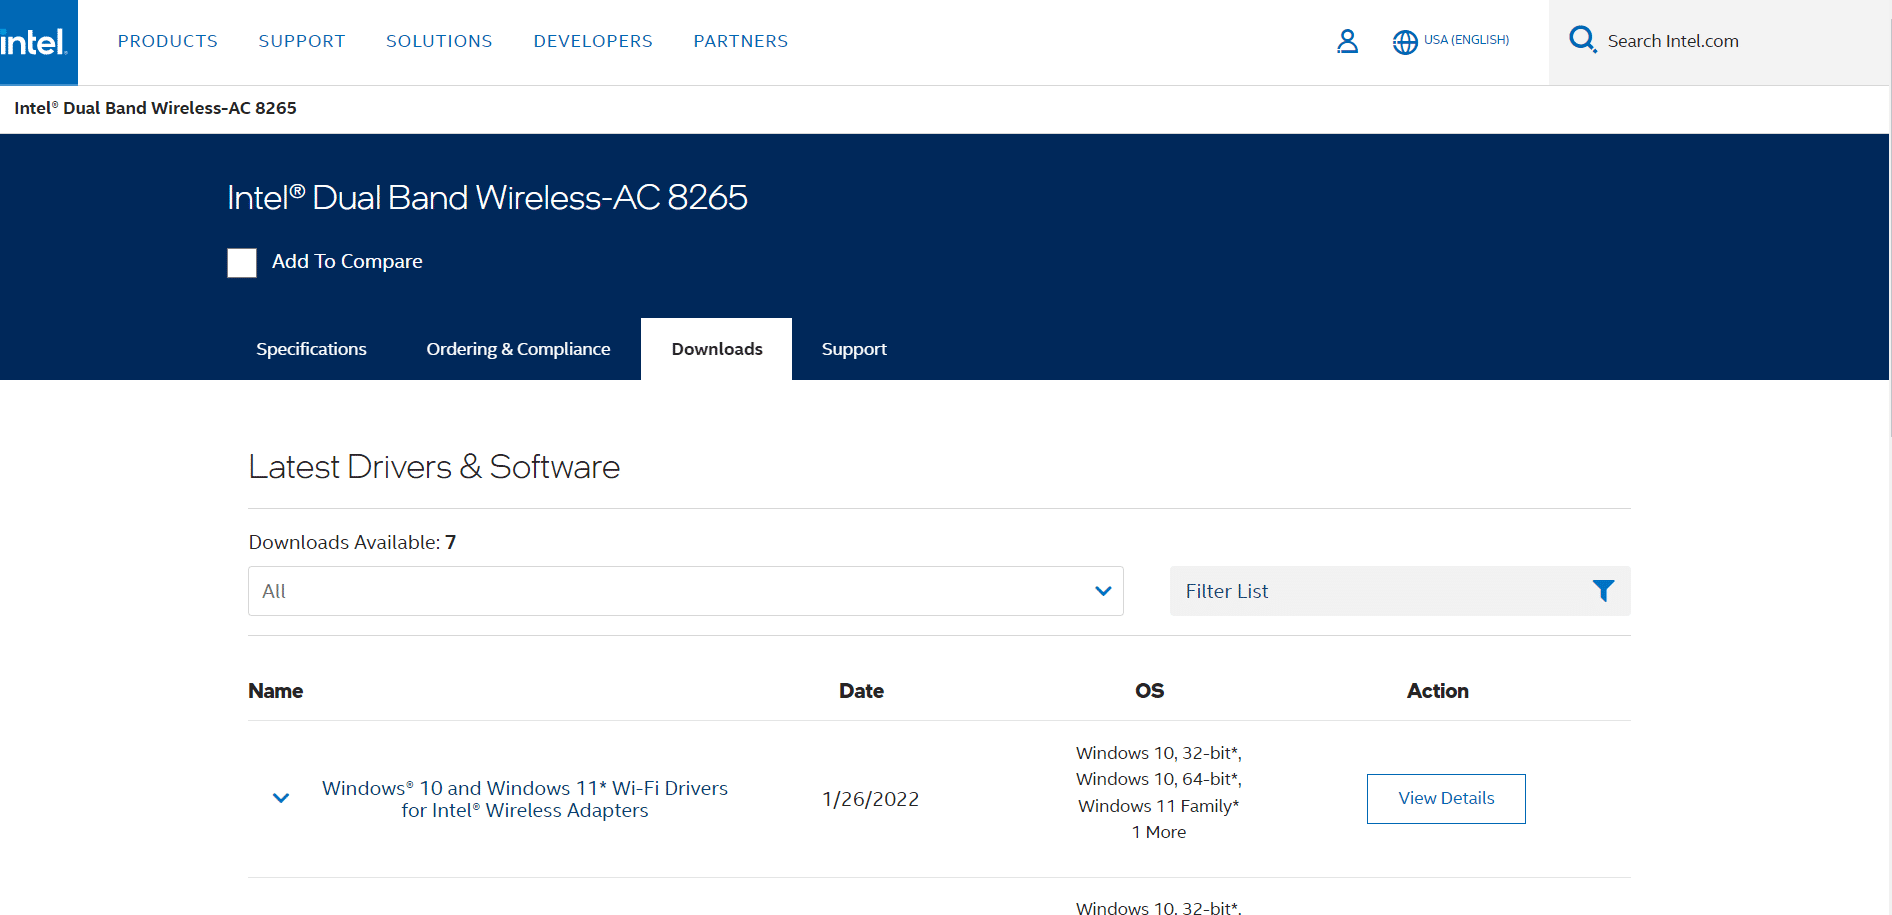
5. Find and Download the drivers corresponding to the Windows version on your PC.
6. Once downloaded, double click on the downloaded file and follow the on-screen instructions to install it.
Recommended:
You learned how to uninstall and reinstall drivers on Windows 10/7. We hope you found this article useful. Keep visiting our page for more cool tips & tricks, and leave your comments below.